Tangy Citrus Bars A Simple Treat
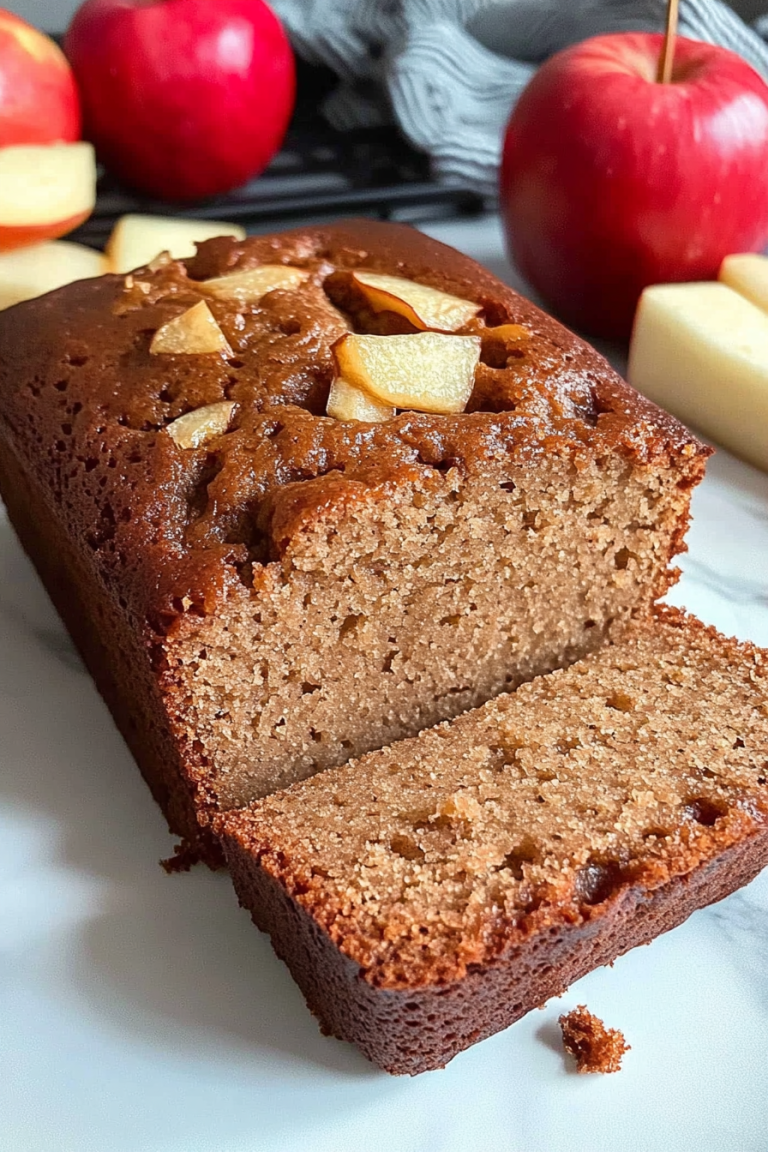
There’s something about this zucchini swirl cake that makes me smile every time I bake it. Maybe it’s how the warm aroma fills the kitchen, or how my kids rush in, noses high in the air, asking, “Is it ready yet?” It’s honestly one of those recipes I keep in my back pocket — perfect for when I need something sweet, but don’t want to fuss over complicated baking. I always do this when I have a few zucchinis lounging in the fridge, thinking they’re just destined for stir-fries. Little do they know, they’re about to turn into this tender, moist, slightly spiced cake — a real family favorite. And trust me, it’s just as good on a busy weeknight as it is for a weekend brunch. My secret? This one’s a lifesaver on busy nights when I want homemade comfort fast. Plus, the swirl of the cinnamon-vanilla filling makes every slice feel like a little treat, even if you’re grabbing it straight from the fridge at 10 p.m.
What is Zucchini Swirl Cake?
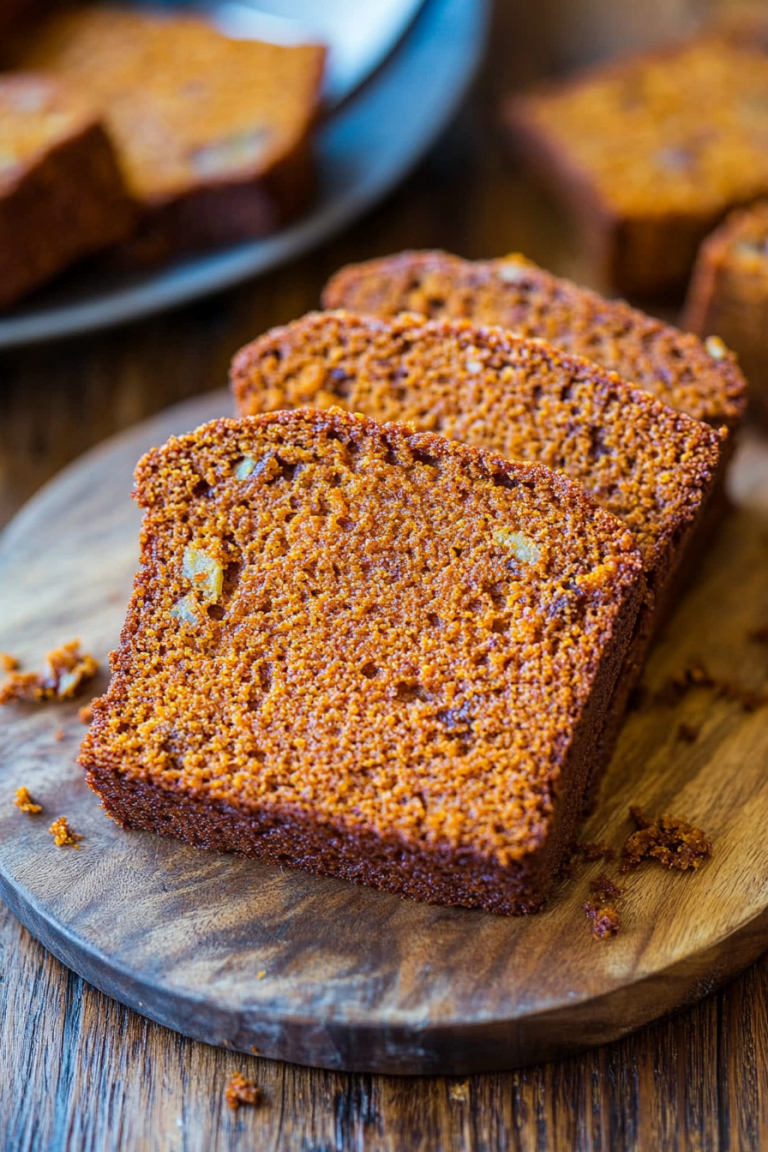
Think of zucchini swirl cake as your classic, moist sponge cake with a sneaky twist — the bright, fresh flavor of zucchini baked right into it. It’s essentially a snazzy loaf or sheet cake, but what sets it apart is that lovely cinnamon-vanilla swirl that runs through every slice. The name might sound funny, but once you taste it, you realize it’s a brilliant way to sneak in some veggies without anyone noticing — yes, even your picky kids! This dish has roots in those cozy, homey baked goods that Grandma used to whip up — comforting, rustic, but with a touch of elegance thanks to that beautiful swirl pattern. It’s basically a fuss-free way to enjoy a slightly healthier, veggie-packed dessert that tastes insanely good. Think of it as a cross between a comforting coffee cake and a moist zucchini muffin, elevated just enough to impress friends at brunch.
Why you’ll love this recipe?
What I love most about this zucchini swirl cake is how it manages to be both simple and impressive at the same time. The smell alone will make your entire house smell like cinnamon-spiced heaven, and it’s quick enough to whip up on a weekday — no fancy ingredients or complicated techniques needed. Plus, it’s budget-friendly: all you really need is zucchinis, flour, sugar, and a few staples from your pantry. My kids actually ask for seconds (and thirds!) of this, which says a lot about its irresistible flavor. The cake’s tender crumb is moist without feeling heavy, thanks to the zucchini, and the swirl adds a pretty, marbled look that makes it feel special. You can serve it warm with a dab of butter or glazed, or even chilled — every bite is as delightful as the last. And because it’s versatile, I’ve done variations with almond extract, swapped maple syrup for sugar, and even added nuts — it’s basically your blank canvas for cozy baking creativity. Trust me on this, once you make it, it’ll be one of those recipes you keep on repeat because it’s just that good — effortless, cozy, and full of love.
How do I make Zucchini Swirl Cake?
Quick Overview
This zucchini swirl cake comes together like a warm hug — start by grating zucchinis, mixing up your batter, and preparing a cinnamon-vanilla swirl that you layer gently into the cake batter. It’s a straightforward one-bowl style if you want, but I prefer mixing in a couple steps to get that perfect texture. The swirl gets carefully layered and marbled through the batter before baking, which creates that gorgeous pattern you see in the slices. The best part? No fancy appliances, just a mixing spoon and an oven. It’s forgiving, quick, and super satisfying to make. The moment you pull it out of the oven, you’ll want to dive right in — that aroma is just pure comfort. And don’t worry if you’re not an experienced baker — this recipe’s one of those “trust me, you’ve got this” kinds. Once baked, it’s moist, flavorful, and the swirl pattern makes it look like a bakery showstopper — but it’s totally homemade and totally doable!
Ingredients
For the Main Batter:
– 2 cups all-purpose flour (I always go for unbleached, but regular works fine)
– 1 cup granulated sugar (or a bit less if you’re watching your sweetness)
– 1 teaspoon baking powder
– ½ teaspoon baking soda
– ½ teaspoon salt
– 1 teaspoon ground cinnamon (a warm pinch of it is a game changer)
– ½ teaspoon vanilla extract (use good quality for that rich aroma)
– ½ cup vegetable oil (or melted butter, if you prefer richer flavor)
– 3 large eggs
– 1 cup grated zucchini (squeezed a little to remove excess moisture; I tested with almond milk once and it was super creamy!)
For the Filling:
– ⅓ cup brown sugar
– 1 teaspoon ground cinnamon
– 1 tablespoon melted butter
– 1 teaspoon vanilla extract
For the Glaze (Optional, but highly recommended):
– ½ cup powdered sugar
– 1–2 teaspoons milk (add gradually until it’s a pourable consistency)
– A splash of vanilla or lemon juice for flavor variations
Step-by-Step Instructions
Step 1: Preheat & Prep Pan
First, I always preheat my oven to 350°F (175°C). Then, I grease my loaf pan or line it with parchment paper — less cleanup that way! If you’re making a sheet cake, a 9×13 dish works great. I like to spray it with non-stick spray and dust with a little flour — makes everything come out cleanly after baking.
Step 2: Mix Dry Ingredients
In a big bowl, whisk together the flour, sugar, baking powder, baking soda, salt, and cinnamon. I love doing this because it evenly disperses the leavening agents and spices, ensuring every bite gets that perfect tender crumb. It’s a simple but crucial step to prevent clumps and uneven rising.
Step 3: Mix Wet Ingredients
In a separate bowl, whisk the eggs, oil, vanilla, and grated zucchini until smooth. I often use a fork if I’m in a rush — no fancy equipment needed! The zucchini should be relatively dry after squeezing out excess moisture; I learned this trick after my first batch came out a little watery, and trust me, it can soggy up the batter if you’re not careful.
Step 4: Combine
Pour the wet mixture into the dry ingredients and stir gently just until combined. Overmixing is a no-no here — you want a slightly lumpy batter, not a smooth one. This keeps the cake tender and moist. I often fold in a handful of nuts or berries if I want extra texture, but that’s optional.
Step 5: Prepare Filling
Mix the brown sugar, cinnamon, melted butter, and vanilla for the swirl filling. It should resemble a thick spread — not too runny, not crumbly. This layer is what gives the cake that candy-cane swirl and sweet, fragrant flavor. Sometimes I add a splash of orange zest or a pinch of nutmeg for a little surprise flavor hint.
Step 6: Layer & Swirl
Pour about half of the batter into your prepared pan, then spread the cinnamon mixture evenly over it. Add the remaining batter on top, and then gently swirl a knife or skewer through the layers — kind of like marbling paper — to create those beautiful swirls. Don’t overdo it; just a few gentle passes give the perfect look.
Step 7: Bake
Pop it in the oven and bake for about 40-45 minutes. Your house will smell like cinnamon and baked goodness, and that’s a sign it’s nearly done. Insert a toothpick in the center — if it comes out clean, you’re golden! Every oven is a little different, so start checking around 38 minutes if you’re anxious. I also cover it loosely with foil if I see it browning too fast.
Step 8: Cool & Glaze
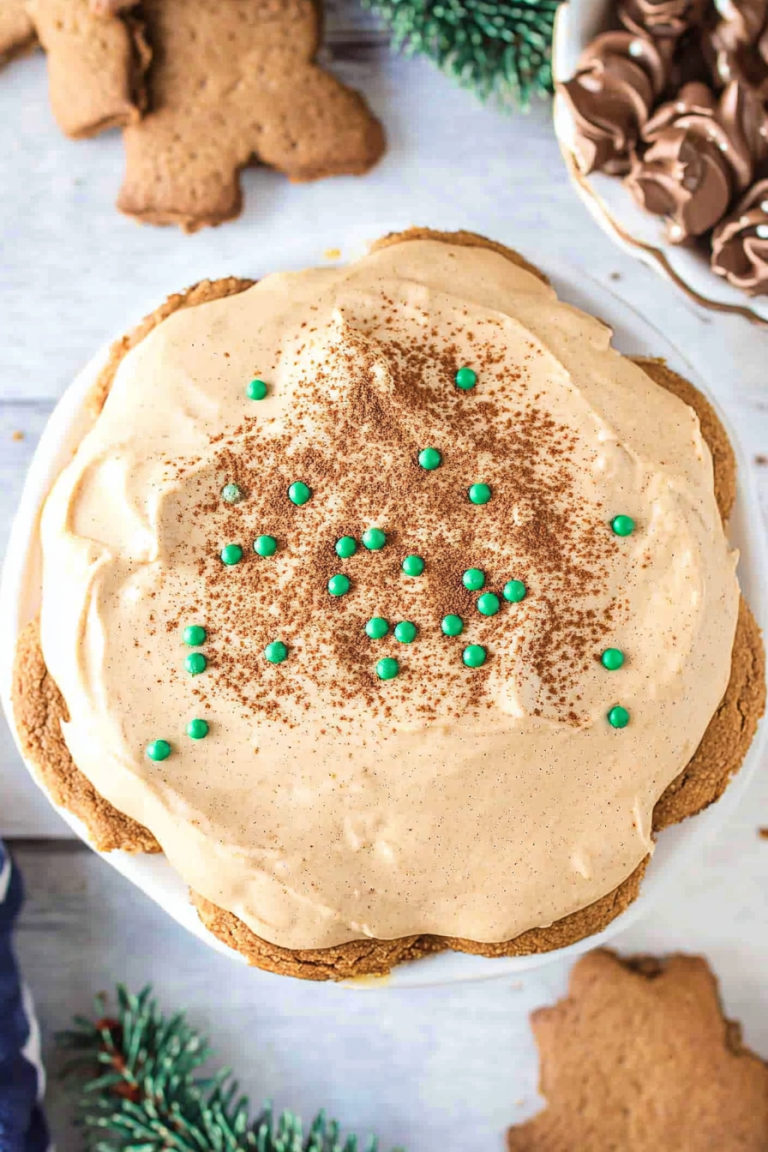
Let the cake cool in the pan for at least 15 minutes — patience is key here. Hot cake and glaze don’t mix well — trust me, I learned the hard way! Once it’s just warm, drizzle that sweet glaze over the top. It adds that extra layer of richness and makes it look super inviting.
Step 9: Slice & Serve
Once completely cooled, slice it with a serrated knife for clean cuts. Serve with a dollop of whipped cream or just as is — it’s tender enough to enjoy on its own. My favorite way? Slightly warmed up with a cup of coffee or milk — total comfort food. And if you have leftovers, just cover tightly and enjoy it for breakfast or snack the next day. It’s like finding a little slice of happiness in each bite.
What to Serve It With
Honestly, this cake is so versatile. For breakfast, I love a simple dusting of powdered sugar and a cup of strong coffee. It’s like early morning comfort with a hint of sweetness. On weekends, I jazz it up with fresh berries and a dollop of whipped cream or a drizzle of honey. It’s truly irresistible as a brunch centerpiece, especially paired with a Bigelow Earl Grey tea or a cold glass of milk.
As a dessert, I serve slices warm with vanilla ice cream or a splash of caramel sauce. It’s wrapped in that cozy, homey feeling that makes everyone crowd around the table. For casual snacking — say, for a quick afternoon treat — I slice it up, keep it in the fridge, and reheat a bit in the microwave for instant comfort. The subtle zucchini flavor makes it so sneaky that even the pickiest eaters ask for seconds.
Top Tips for Perfecting Your Zucchini Swirl Cake
From years of trial and error, I’ve picked up some tricks you’ll want to know. First, always squeeze out as much excess moisture from the zucchini as possible — a soggy cake is no fun. I’ve tested this with grated zucchini soaked in a bit of lemon juice to keep it fresh and flavorful, but draining thoroughly is key. Also, when mixing your batter, fold gently — overmixing can make the cake dense, which nobody wants. For the swirl, I find that a toothpick or skewer makes the pattern look really pretty without much effort, so don’t worry if yours isn’t perfect; it’s all about that marbled beauty. Variations, like swapping almond extract for vanilla or adding chopped walnuts, can elevate this cake even more. I’ve also experimented with gluten-free flour blends, and while it’s not quite the same, it’s still delicious and moist. The baking tip? Keep an eye on it around the 40-minute mark — oven variations can affect bake time. A good rule of thumb is to test with a toothpick; if it’s moist or sticky, give it a few more minutes. Lastly, the glaze — I sometimes add a dollop of lemon zest or a splash of bourbon for depth. Trust me, little tweaks like these make this humble cake even more special!
Storing and Reheating Tips
This cake keeps beautifully for a couple of days if stored properly. I usually cover it tightly with plastic wrap or store it in an airtight container. If it’s a warm day, I keep it in the fridge to prevent it from getting soggy or drying out—especially if you’ve topped it with glaze or icing. For room temperature storage, I recommend consuming within 2 days, wrapped loosely, to keep it fresh. Freezing? Absolutely — just wrap slices individually in foil or freezer bags. It’s perfect for making ahead. When you’re ready to enjoy it again, defrost overnight in the fridge or at room temperature for about an hour. If you want that glaze to stay shiny, add it just before serving. Reheating slices in the microwave for about 15-20 seconds brings back the cozy warmth, making each bite just as good as the first. The moistness stays pretty well, especially if kept in an airtight container, so don’t worry about it drying out. I’ve learned to avoid slicing until it’s fully cooled — cutting it too hot can lead to a crumbly mess. But once chilled, that cake slices like a dream, and the flavors only deepen overnight!
Frequently Asked Questions
Final Thoughts
This zucchini swirl cake has become a must-have in my baking arsenal. It’s like that cozy sweater you pull out on chilly mornings — comforting, dependable, and a little indulgent. The best part? It’s easy enough for a beginner, but impressive enough to serve to guests. I promise, once you get the hang of swirling the cinnamon layer and baking it till just tender, you’ll be hooked. This recipe is a celebration of the simple joys — a little grated zucchini, a swirl of cinnamon, and a lot of love baked into every slice. If you try it, I’d love to hear how it turns out! Or better yet, share your own variations. Happy baking, friends — and may your kitchen always smell like home.
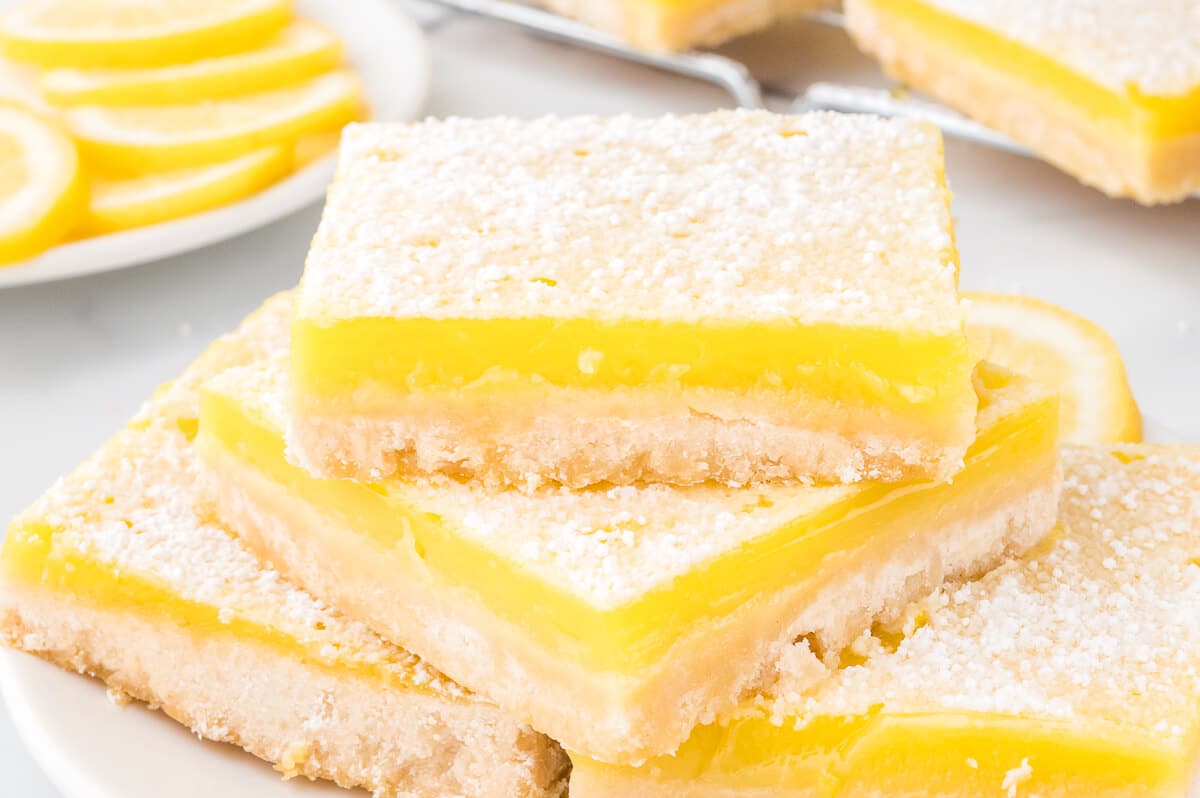
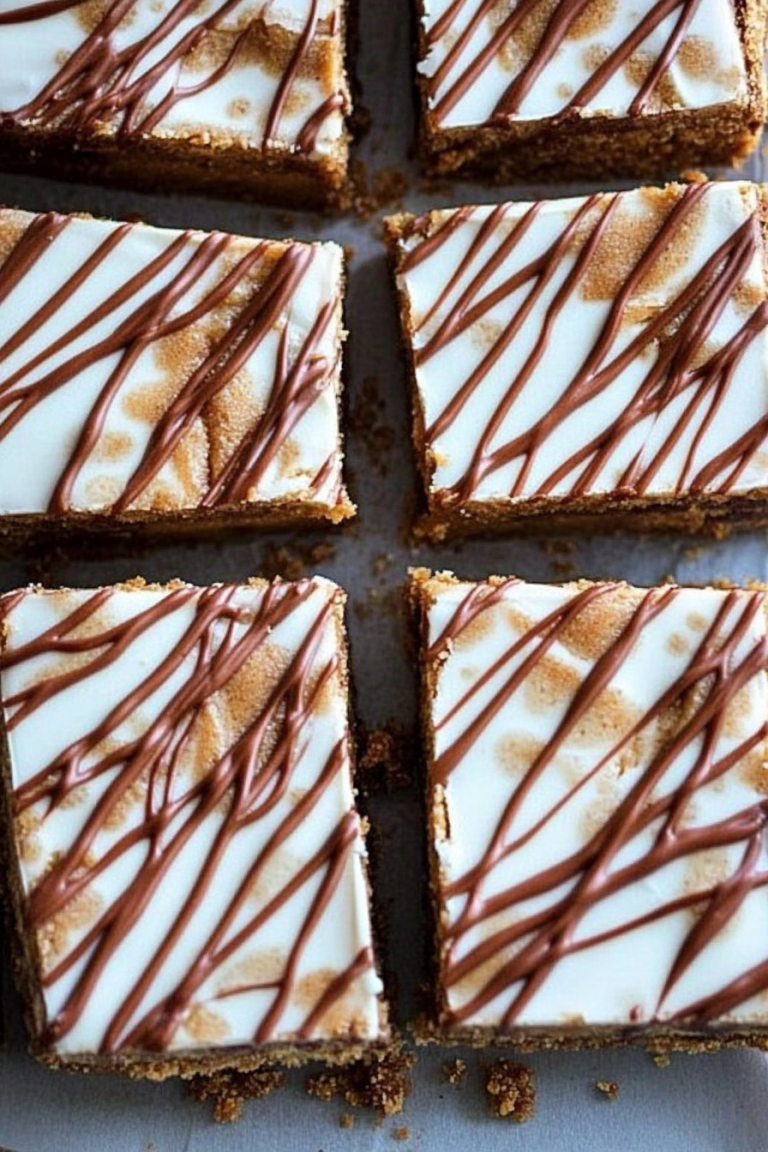
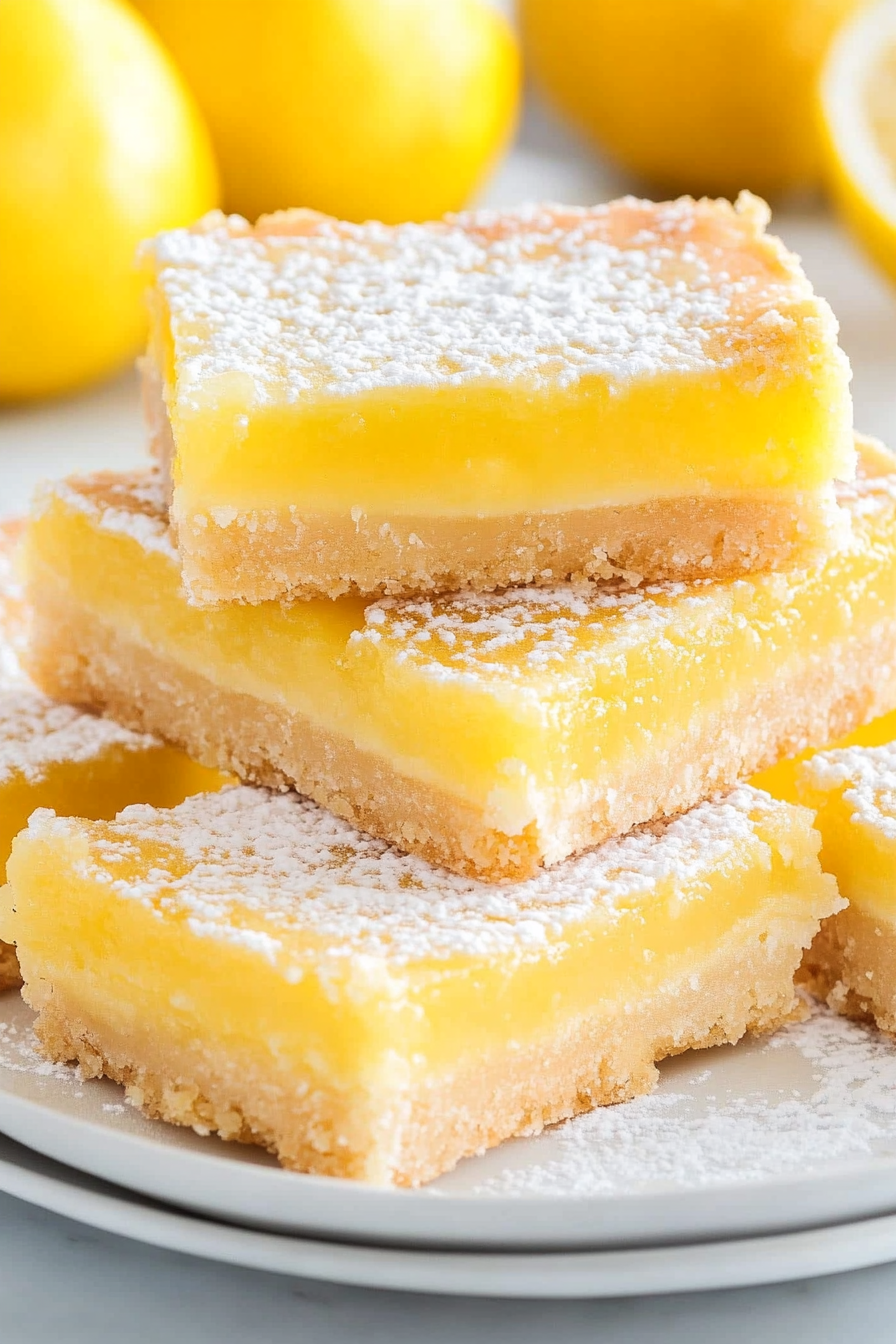
Lemon Bars
Ingredients
Method
- Preheat the oven to 325°F (160°C).
- For the crust: In a medium bowl, whisk together the flour, sugar, and salt. Pour in the melted butter and stir until combined. Press the mixture evenly into the bottom of a greased 9x13 inch baking dish.
- Bake the crust for 20 minutes, or until lightly golden.
- For the filling: While the crust is baking, whisk together the eggs, sugar, lemon juice, flour, and baking powder in a separate bowl until smooth.
- Pour the lemon filling mixture over the hot baked crust. Return the dish to the oven and bake for another 35 minutes, or until the filling is set.
- Let the lemon bars cool completely in the pan before cutting them into squares.
- Dust with powdered sugar, if desired, before serving.