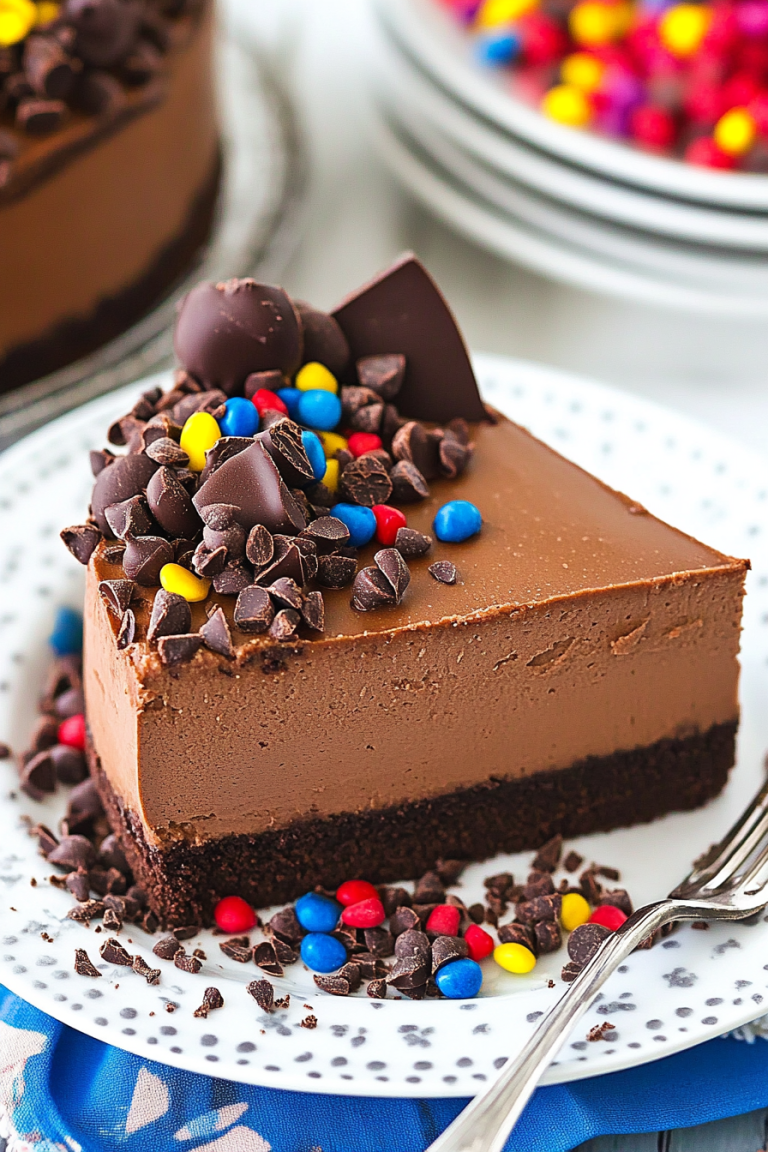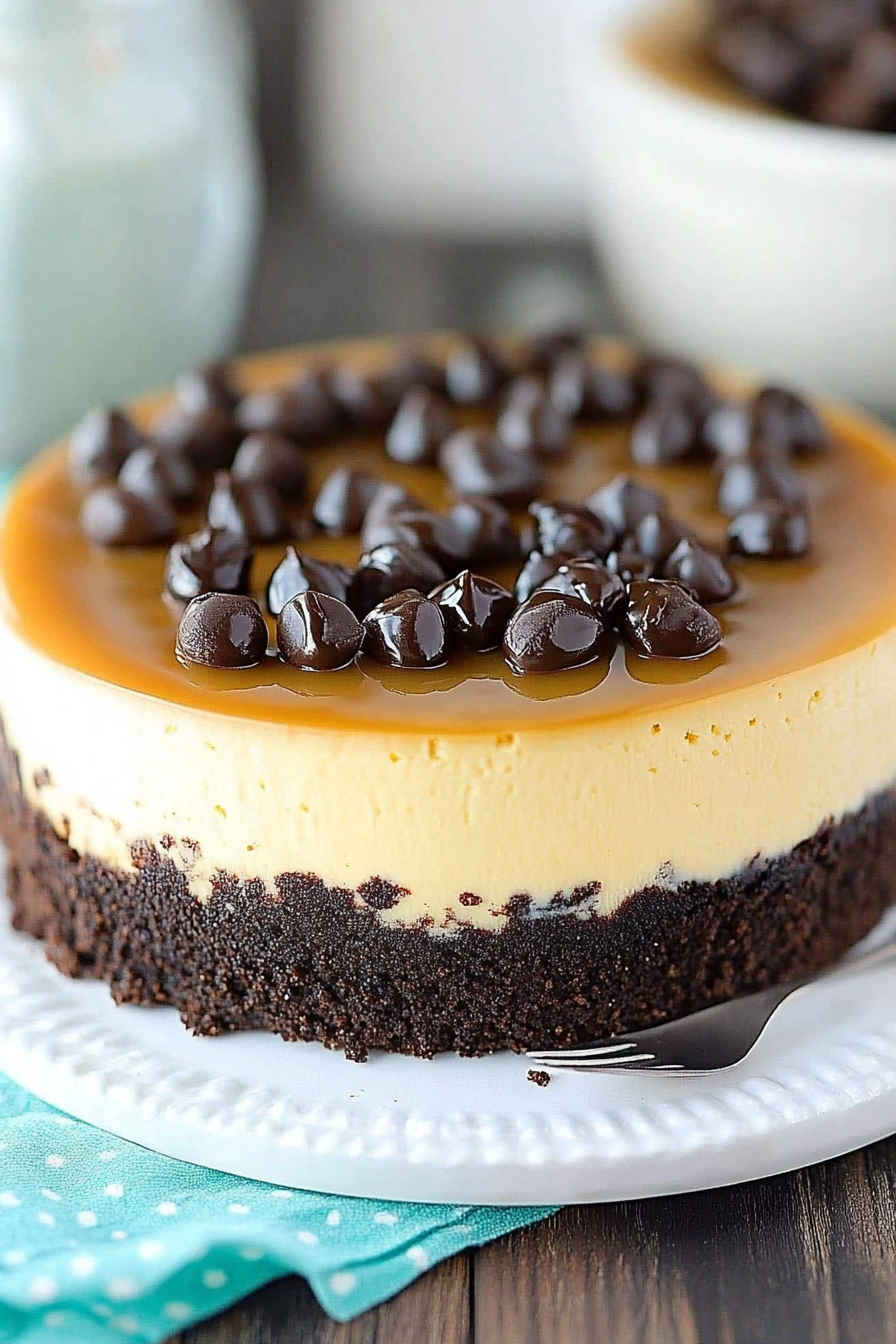
Sweet Caramel Chocolate Chip Cheesecake
You know that feeling when you walk into your kitchen first thing in the morning, and the scent of warm cinnamon and butter just makes everything feel cozier? That’s exactly what this zucchini swirl coffee cake gives me. I’ve made it countless times—especially on busy weekends when I need something that feels indulgent but is surprisingly simple. My kids ask for it all the time, and honestly, it’s a lifesaver on those mornings when I’m rushing around but still want to serve something homemade and comforting. The best part? It’s filled with tiny bursts of zucchini, which—trust me—you can’t even really taste. Instead, they add this incredible moistness and a subtle veggie sweetness that balances out the rich, cinnamon-scented batter. Plus, I love how it’s kinda fancy enough to serve at brunch but effortless enough for a weekday treat. Think of it as a cross between a classic coffee cake and a hidden veggie surprise—delicious, warm, and made with love.
What is Zucchini Swirl Coffee Cake?
This recipe is basically a tender, buttery coffee cake with a cinnamon-spiced zucchini swirl running through the middle. Think of it as a loaf cake that’s perfect for sharing at brunch or even as a cozy snack with a mug of coffee. The name comes from the way the zucchini is grated and gently folded into the batter, then layered with a cinnamon sugar mixture before swirling it all together. It’s kind of a smart way to sneak in vegetables without sacrificing flavor—my kids actually ask for seconds when I make this! This dish is all about comforting textures and flavors, but with a bit of a health kick hidden inside. It’s essentially a moist, crumbly cake that makes your house smell like fall and comfort all at once. And don’t worry—if you’ve never baked with zucchini before, I promise it’s super forgiving and absolutely worth trying.
Why you’ll love this recipe?
One of the reasons I keep coming back to this zucchini swirl coffee cake is the *flavor*. The cinnamon and brown sugar topping creates this irresistible, caramelized crust that everyone fights for. The zucchini keeps everything so moist—my own family jokes that I should just call it “vegetable cake” because they don’t suspect a thing! It’s incredibly *simple* to put together, especially once you’ve grated the zucchini a few times; you can even prep it the night before. Plus, it’s budget-friendly—most of the ingredients are pantry staples like flour, sugar, cinnamon, and that good ol’ zucchini lurking in your fridge. And here’s the best part: it’s super versatile. Serve it warm with a dollop of whipped cream or a drizzle of glaze, or just enjoy it plain with your morning coffee. I love that this recipe adapts easily—add a handful of chopped nuts, swap the sugar for coconut sugar, or even sprinkle some chocolate chips on top if you’re feeling indulgent.
How do I make Zucchini Swirl Coffee Cake?
Quick Overview
This coffee cake comes together in just a few steps: prepare your zucchini swirl filling, whip up a rich batter, layer everything with cinnamon sugar, then swirl and bake. The magic lies in layering the zucchini mixture and using a gentle swirl to create those beautiful marbled veins. Once it’s in the oven, your house will be filled with the cozy smell of baking cinnamon and buttery batter. It’s honestly so straightforward—I’ve perfected this over the years, and trust me, it’s foolproof. The best part? It’s ready in under an hour from start to finish, making it perfect for last-minute mornings or Sunday brunch plans.
Ingredients
For the Main Batter:
– 2 cups all-purpose flour (I like to use unbleached for a richer flavor)
– 1 cup granulated sugar
– 1/2 teaspoon salt
– 1 tablespoon baking powder
– 1 teaspoon cinnamon (plus more for sprinkling)
– 1/2 cup unsalted butter, melted
– 1 cup milk (dairy or almond for a dairy-free option)
– 2 large eggs
– 1 teaspoon vanilla extract
For the Filling:
– 1 cup grated zucchini (squeeze out excess moisture—trust me, this makes all the difference)
– 2 tablespoons brown sugar
– 1 teaspoon cinnamon
For the Glaze (optional but highly recommended):
– 1/2 cup powdered sugar
– 1-2 teaspoons milk or cream
– 1/4 teaspoon vanilla extract
– A pinch of cinnamon (if you love that extra spice)
Step-by-Step Instructions
Step 1: Preheat & Prep Pan
Preheat your oven to 350°F (175°C). Grease a 9-inch round cake pan or line it with parchment paper. I always do this first—makes cleanup so much easier and prevents sticking. If you want that nice crumble topping, have a crumb mixture ready by mixing a few tablespoons of butter with flour and brown sugar—easy peasy to make with a fork. Set everything aside.
Step 2: Mix Dry Ingredients
In a large bowl, whisk together flour, sugar, salt, baking powder, and cinnamon. This step helps distribute the leavening and spices evenly, so every bite gets that cozy cinnamon flavor. I usually do this in about 30 seconds—seriously, it’s the easiest part.
Step 3: Mix Wet Ingredients
In a separate bowl, whisk together melted butter, milk, eggs, and vanilla. Make sure your eggs are at room temperature for better incorporation—trust me on that. The mixture should be smooth and not too cold. If it looks a little lumpy, that’s totally fine; just don’t overmix.
Step 4: Combine
Pour the wet mixture into the dry ingredients and fold gently with a spatula just until combined. Don’t overmix—this keeps the cake light and fluffy. The batter will be somewhat thick but pourable, like a thick pancake batter.
Step 5: Prepare Filling
In a small bowl, combine grated zucchini, brown sugar, and cinnamon. Squeeze out as much moisture as you can from the zucchini—this prevents sogginess. I’ve learned this the hard way, and trust me, dry zucchini makes a huge difference in achieving that perfect swirl and moist crumb.
Step 6: Layer & Swirl
Pour about half of the batter into your prepared pan and spread evenly. Dollop the zucchini mixture over the batter, then add the remaining batter on top. Using a butter knife or skewer, gently swirl through the batter to create a marbled effect—don’t overdo it, just a few gentle passes to see that beautiful pattern emerge.
Step 7: Bake
Pop it into the oven and bake for 40-45 minutes. Check doneness with a toothpick inserted in the center—if it comes out clean, you’re good! If it’s still wet, give it a few more minutes. Every oven is different, so using your nose and the toothpick test is key. The top will turn a lovely golden-brown and smell like cinnamon heaven.
Step 8: Cool & Glaze
Let the cake cool in the pan for at least 15 minutes. Then, transfer it to a wire rack or serve straight from the pan if you’re feeling lazy—no judgment here! Whisk together your glaze ingredients and drizzle generously over the cooled cake. The glaze adds just enough sweetness and a pretty shine.
Step 9: Slice & Serve
Cut nice slices with a sharp knife—warm or cooled, it’s delicious either way. I love serving this with a splash of milk or a hot cup of coffee. When I do that, it’s like breakfast made into a warm hug. And if there’s any leftover (ha!), I swear it tastes even better the next day—firm enough to hold its shape, soft in every bite.
What to Serve It With
This cake is versatile enough to shine in almost any setting. For breakfast, I love pairing it with a robust French roast or a smooth cappuccino—fresh fruit on the side, maybe some Greek yogurt. It’s also perfect for brunch featuring a cheese platter or fresh berries; I often sprinkle some toasted nuts on top for extra crunch. As a dessert, I’ll sometimes serve slices warm with a dollop of whipped cream or vanilla ice cream—trust me, the warm-cold combo is divine. At casual gatherings, it’s great for a cozy coffee break with friends or packed into a lunchbox for a sweet surprise. This is one of those recipes that feels special but is so easy to whip up, I keep it in my back pocket for whenever I want that homemade touch without spending hours in the kitchen.
Top Tips for Perfecting Your Zucchini Swirl Coffee Cake
Over the years, I’ve learned lots of little tricks that take this cake from good to great. First, when grating zucchini, I always use a box grater and then squeeze out as much moisture as possible—this makes the difference between a soggy cake and a perfectly moist one. Trust me, moistness is key, so don’t skip this step. I tested using almond milk instead of regular milk, and honestly, it made the cake even creamier—try it if you want a dairy-free version. When it comes to mixing, I’m a gentle stirrer—I avoid overmixing because that tends to make the cake dense. Swirling is all about creating a pretty marbled look, so take your time. Pattern it however you like—spirals, ribbons, or even random streaks—beauty is in the imperfect. For ingredient swaps, I’ve tried coconut sugar and it adds a lovely caramel undertone. Adjusting the baking time might be necessary if your oven runs hot or cold—trust your nose and toothpick. When glazing, I like to keep it on the thinner side—pour and let it drip naturally for that effortless look. The best advice? Don’t be afraid to experiment and make it your own. This cake is forgiving—once you get the hang of it, you’ll find it becomes part of your own baking story.
Storing and Reheating Tips
This coffee cake keeps remarkably well. At room temperature, wrap it loosely with foil or store it in an airtight container—good for 1-2 days, but I suggest eating it sooner rather than later to enjoy the freshest flavor and texture. If you want to keep it longer, refrigerate and enjoy within 3-4 days; just warm slices briefly in the microwave for that just-baked feel. To freeze, wrap tightly in plastic wrap and then foil—this keeps it fresh for up to 3 months. When you’re ready to eat, let it thaw at room temperature or warm it gently in the oven or microwave. The glaze… I usually add it right before serving so it stays glossy and fresh. If you prefer your cake without glaze, just dust with powdered sugar or add a bit of honey drizzle for a slightly different vibe. Storage is simple and keeps the cake moist and delicious without losing that cozy goodness.
Frequently Asked Questions
Final Thoughts
This zucchini swirl coffee cake is one of those recipes that feels like a warm hug on a plate. It’s cozy, comforting, and secretly healthy—plus, it’s a total crowd-pleaser, whether you’re serving it for breakfast, brunch, or just because you deserve a treat. Over the years, I’ve tested and tweaked every aspect of this, and I genuinely love how versatile it is. The aroma alone makes the house smell inviting, and every time I slice into it, I’m reminded of lazy Sunday mornings with my family around the table. It’s simple enough for a beginner baker but special enough to impress even seasoned cooks. So grab that zucchini from your drawer, dust off your baking utensils, and let’s make some magic happen. Can’t wait to hear how yours turns out—share your tweaks and stories in the comments! Happy baking!
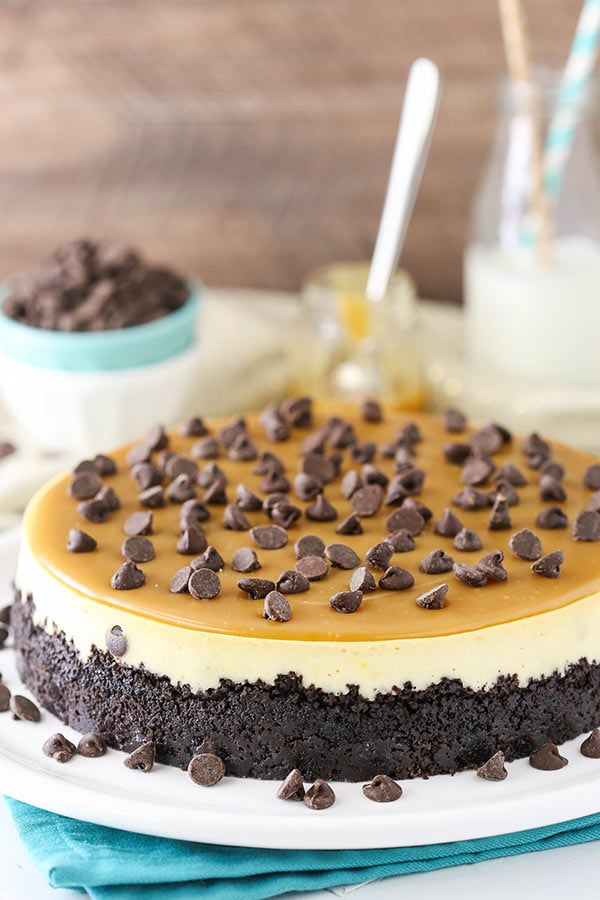
caramel cheesecake
Ingredients
Method
- Preheat the oven to 325°F. Combine graham cracker crumbs and sugar, then press into the bottom of a springform pan. Bake for 10 minutes.
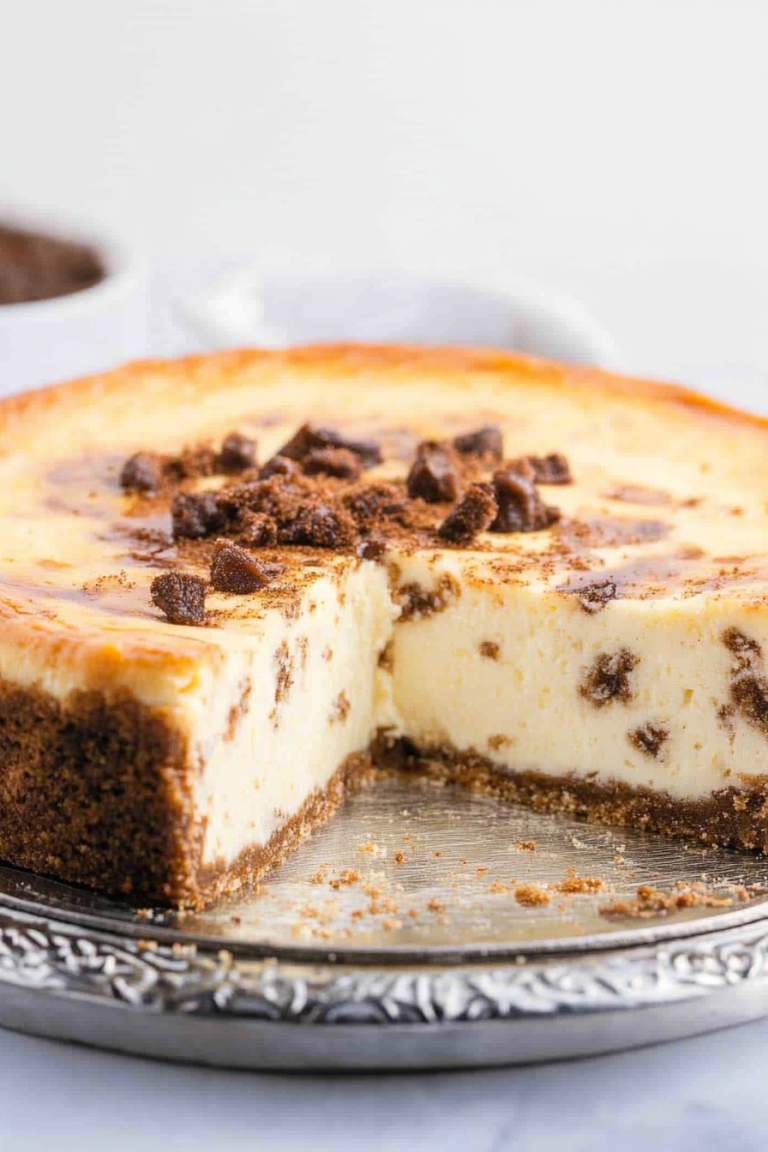
- In a large bowl, beat cream cheese, sour cream, and sugar until smooth. Add eggs one at a time, then vanilla. Mix in chocolate chips.
- Pour the filling into the crust and bake in a water bath for 70 minutes. Turn off the oven and let sit for 30 minutes with the door ajar. Chill in refrigerator overnight.
- Prepare caramel sauce by simmering heavy cream, brown sugar, and butter until thickened. Pour over the chilled cheesecake before serving.