Spiced Muffins How to Bake Holiday Flavor
Honestly, nothing beats the smell of a freshly baked cake filling up my entire house. That warm, sweet aroma just tells my family that something cozy and delicious is happening in the kitchen. I remember peeling zucchinis with my grandma, how she’d pretend they were treasure, not realizing they’d turn into one of our favorite desserts. Over the years, I’ve tweaked that childhood memory into this zucchini swirl cake — think of it as a magic trick where humble zucchini becomes a luscious, cinnamon-streaked treat. It’s kinda like that classic banana bread, but with a surprise twist of veggie goodness, and trust me, no one can tell until you cut into it. This one’s a lifesaver on busy nights when I want something sweet but don’t want to fuss. It’s moist, tender, and the swirl of cinnamon and sugar makes every bite feel like a warm hug. I always do this when I need a little comfort — my kids ask for this all the time, which makes me feel like I’m sneaking veggies into their snack. And honestly? I love how simple it is to whip up. It feels like a secret weapon for when I want to impress but also keep it easy. Once you try it, you’ll see — zucchini isn’t just for savory anymore. Welcome to my kitchen!
What is Zucchini Swirl Cake?
This zucchini swirl cake is a soft, fluffy loaf with a surprise burst of cinnamon-sugar goodness swirling through every slice. It’s sort of like a moist coffee cake, but baked in a more casual, homey bread form. The “swirl” part comes from layering cinnamon-sugar mixture right into the batter before popping it in the oven, so each piece has those pretty, marbled streaks. Think of it as a sneaky way to add extra flavor and texture — and hide some greens, if you’re feeling all health-conscious. It’s essentially a comforting cake you can enjoy for breakfast, dessert, or even a cozy snack with tea. The name kinda says it all: zucchini, because that’s the hero veggie, and swirl, because that beautiful cinnamon ribbon swirls through. The best part? It’s super forgiving, adaptable, and makes your house smell incredible. Plus, it’s one of those recipes I’ve made so many times I can do it in my sleep, but it still feels like a warm hug every single time I bake it.
Why you’ll love this recipe?
What I love most about this zucchini swirl cake is how multi-dimensional it is — you get a delicate sweetness, a hint of spice, and a moist, tender crumb that’s just perfect with a cup of coffee or tea. It’s not overly sweet, which makes it an addictive, “just-one-more-slice” kind of treat. Plus, it’s surprisingly simple to make; I always do this when I need a dessert on short notice or a quick brunch centerpiece. Budget-wise, the ingredients are minimal — a few zucchinis, some pantry staples like flour, sugar, and cinnamon, and you’re good to go. And versatility? Oh, it’s got that in spades. You can swap out the sugar for honey or maple syrup if you want a more natural sweetness, or toss in some nuts or chocolate chips if that’s your vibe. What really makes this stand out is how forgiving it is — I’ve tested it with different sweeteners, gluten-free flour, even almond milk, and it turns out perfectly every time. It’s one of those recipes that just feels right, like a warm blanket on a chilly day. My friends always ask for the recipe, and I don’t mind sharing — because if I can make this, so can they! Plus, it leaves the house smelling heavenly, which makes it impossible not to grab a warm slice as soon as it’s out of the oven.
How do I make Zucchini Swirl Cake?
Quick Overview
This zucchini swirl cake comes together quickly, especially once you get your shredded zucchini prepped. You start by mixing your dry ingredients in one bowl, then whisk your wet ingredients in another. After that, you fold everything together gently — no overmixing! — and layer your batter in a loaf pan, adding a cinnamon-sugar mixture in the middle. Swirl it around, bake until golden, and then cool before drizzling with a simple glaze. It’s a fuss-free process but results in a beautiful, flavorful loaf that’s bound to disappear fast. The secret is not overmixing — it keeps the cake tender. I also love how forgiving it is if you forget to set the timer or want to adjust the sweetness. Plus, the swirling technique is super fun and makes each slice look like a little piece of art. Trust me on this one: once you see those pretty cinnamon ribbons, you won’t want to cut into it — but once you do, you’ll be hooked.
Ingredients
For the Main Batter:
– 2 cups grated zucchini (about 2 medium zucchinis, grated fine and drained well)
– 1 1/2 cups all-purpose flour (or gluten-free blend, I tested and loved it!)
– 1 teaspoon baking powder
– 1/2 teaspoon baking soda
– 1/2 teaspoon salt
– 1 teaspoon ground cinnamon
– 1/2 teaspoon nutmeg (optional but good)
– 1/2 cup granulated sugar (can swap for coconut sugar if you like)
– 1/2 cup packed brown sugar
– 1/2 cup neutral oil like vegetable or canola
– 2 large eggs
– 1 teaspoon vanilla extract
– 1/4 cup milk (dairy or plant-based — I tested almond milk, and it made it even creamier!)
For the Filling:
– 1/4 cup brown sugar
– 1 teaspoon ground cinnamon
– 2 tablespoons melted butter or coconut oil
For the Glaze (optional but fun):
– 1/2 cup powdered sugar
– 1-2 teaspoons milk or lemon juice
– A pinch of vanilla (if using lemon juice, skip vanilla)
Step-by-Step Instructions
Step 1: Preheat & Prep Pan
I usually set my oven to 350°F (175°C) and line a standard loaf pan with parchment paper or give it a quick greasing. This keeps things simple and makes removing the cake much easier. While it’s heating, I shred the zucchinis using the fine side of my grater, then sprinkle a pinch of salt and squeeze out any excess moisture — this is key to preventing sogginess. I learned this trick after a few soggy cakes — trust me, it makes all the difference.
Step 2: Mix Dry Ingredients
In a large bowl, whisk together the flour, baking powder, baking soda, salt, cinnamon, and nutmeg. Sifting isn’t necessary but helps aerate everything, making the crumb even lighter. Doing this first ensures your dry ingredients are evenly distributed, so your cake bakes evenly and rises beautifully.
Step 3: Mix Wet Ingredients
In another bowl, whisk together the sugars, oil, eggs, vanilla, and milk until smooth. It’s okay if it looks a little shiny — that’s good! I always make sure the eggs are at room temperature because it helps everything combine better. I’ve tested this cake with different oils, and honestly, a neutral flavor oil keeps the focus on the cinnamon and zucchini.
Step 4: Combine
Gently fold the wet mixture into the dry, just until combined. I stubbornly used to overmix and ended up with a dense loaf, so now I stop as soon as there’s no dry flour left. The batter will be a little thick, which is exactly what you want — it holds the swirls in place.
Step 5: Prepare Filling
Mix the brown sugar, cinnamon, and melted butter together in a small bowl. It should be crumbly and moist. This filling adds that cozy cinnamon punch and a gooey layer that melts into the batter as it bakes.
Step 6: Layer & Swirl
Pour half the batter into your prepared loaf pan. Sprinkle half of the cinnamon-sugar mixture on top, then add the remaining batter and swirls again. Using a knife or skewer, swirl gently through the batter to create pretty marbling. I love making figure-eight patterns or just zig-zagging across — it’s all about visual fun and flavor distribution.
Step 7: Bake
Pop it into the oven and bake for about 50-60 minutes, or until a toothpick inserted in the center comes out clean. Every oven is different — I’ve found that starting to check around 50 minutes works well. If the top gets too brown early, I sometimes tent it with foil — no one wants a burnt crown!
Step 8: Cool & Glaze
Let the cake cool in the pan for 10-15 minutes, then transfer it to a wire rack to cool completely. This step is important because the cake continues to set as it cools and the glaze will sink in smoothly. When cooled, whisk together your glaze ingredients and drizzle generously over the loaf.
Step 9: Slice & Serve
I prefer slicing this slightly warm with a butter knife, but it’s equally good at room temp. Plate it up with some fresh fruit or a dollop of whipped cream, and there you have it — cozy, sweet, and secretly nutritious. This cake disappears in minutes at my house, and I love how everyone asks for seconds. If you want to get fancy, sprinkle some chopped nuts or a dusting of powdered sugar on top. Simple, satisfying, and downright addictive.
What to Serve It With
Honestly, this cake is so versatile, you can serve it pretty much anytime. For breakfast, I love a warm slice with a mug of strong coffee, perhaps topped with a pat of butter or a smear of cream cheese. It’s also fantastic as a brunch centerpiece — paired with fresh berries or a dollop of Greek yogurt, it instantly elevates your morning spread. When dessert time hits, I like to add a splash of whipped cream or a drizzle of caramel sauce for that extra special touch. And if you’re just craving something comforting and easy, a simple cup of tea and this cake are the perfect cozy combo. I’ve even wrapped slices for school snacks or picnics — the moistness keeps it delicious even a day later. Plus, the cinnamon-sugar aroma keeps everyone curious and eager to see what’s baking. This is truly one of those all-around winners for family, friends, or just me when I need a little pick-me-up in the form of cake.
Top Tips for Perfecting Your Zucchini Swirl Cake
Over the years, I’ve picked up quite a few tricks with this recipe. The first thing I learned was to really drain the zucchini. I used to just toss it in, but squeezing out excess moisture makes your loaf less soggy and more tender. I also tested different sweeteners — brown sugar gives a richer flavor, but honey or maple syrup works beautifully, just cut back a bit on the liquids. When it comes to swirling, don’t overdo it — a few gentle zig-zags with a skewer or fork create beautiful marbling without mixing the layers completely. Personal tip: adding chopped nuts—like walnuts or pecans—into the cinnamon filling adds a lovely crunch and extra flavor. Also, keep an eye on your oven temperature. If your oven runs hot, lower it a bit or tent the top with foil to prevent burning. When I baked this with almond milk, I found the cake came out slightly more moist and tender — I tested it with regular milk, almond milk, and even oat milk, and honestly, I couldn’t notice much difference, so feel free to experiment. The most important lesson? Be gentle when folding and swirling — that’s what creates the beautiful marbled effect and keeps the cake wonderfully light. Trust me, a bit of patience here results in a cake that looks just as beautiful as it tastes.
Storing and Reheating Tips
This cake stays fresh for about 2-3 days at room temperature, loosely covered with a clean towel or stored in an airtight container. If you want to keep it longer, I recommend wrapping it tightly with plastic wrap and popping it in the fridge — it’ll last about a week that way. Reheating a slice in the microwave for about 10-15 seconds brings back that fresh-baked warmth, and it’s just as delicious. For longer storage, freezing slices individually wrapped in plastic is a great option; they thaw quickly at room temperature or in the microwave. When I do this, I usually add the glaze afterward for maximum freshness. For best results, I avoid glazing the bread until just before serving if it’s stored in the fridge, because the glaze might get a little sticky if it sits too long. The cake’s moisture level holds up really well if wrapped properly, especially when cooled completely before storing. This way, you can enjoy a slice whenever that craving hits — and it tastes almost as fresh as when it first came out of the oven.
Frequently Asked Questions
Final Thoughts
If you’re looking for a cozy, approachable cake that’s just as good for breakfast as it is for dessert, this zucchini swirl loaf is a little treasure. It’s a reminder that healthy doesn’t have to mean boring, and sometimes sneaking greens into sweets results in the most delightful surprises. I’ve made this countless times, and every single loaf brings back happy memories — the smell alone, the first slice, the happy faces around the table. It’s simple enough to make on a busy day but special enough that I’d serve it to guests without blinking. So go ahead, give it a try. Once you get comfortable swirling that cinnamon, I bet it’ll become a regular in your baking rotation. Happy baking, friends! And don’t forget to share your photos or variations — I love hearing how you make it your own.
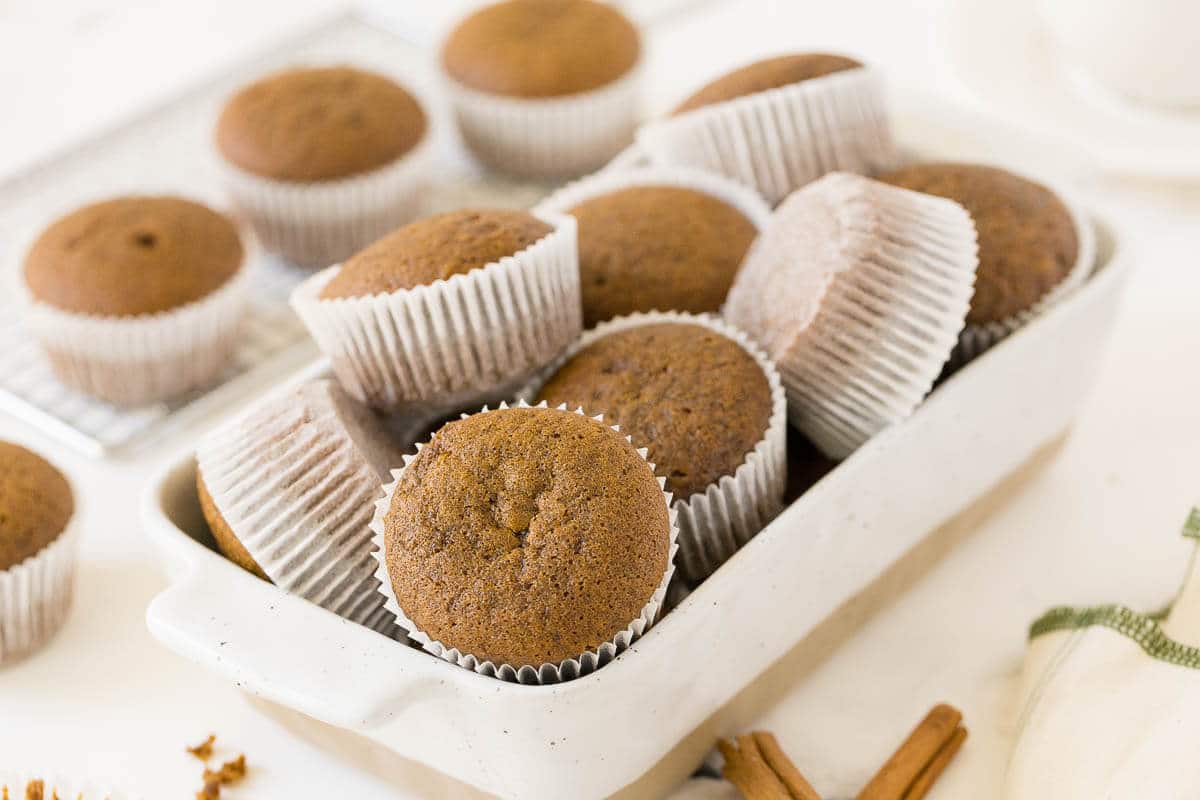
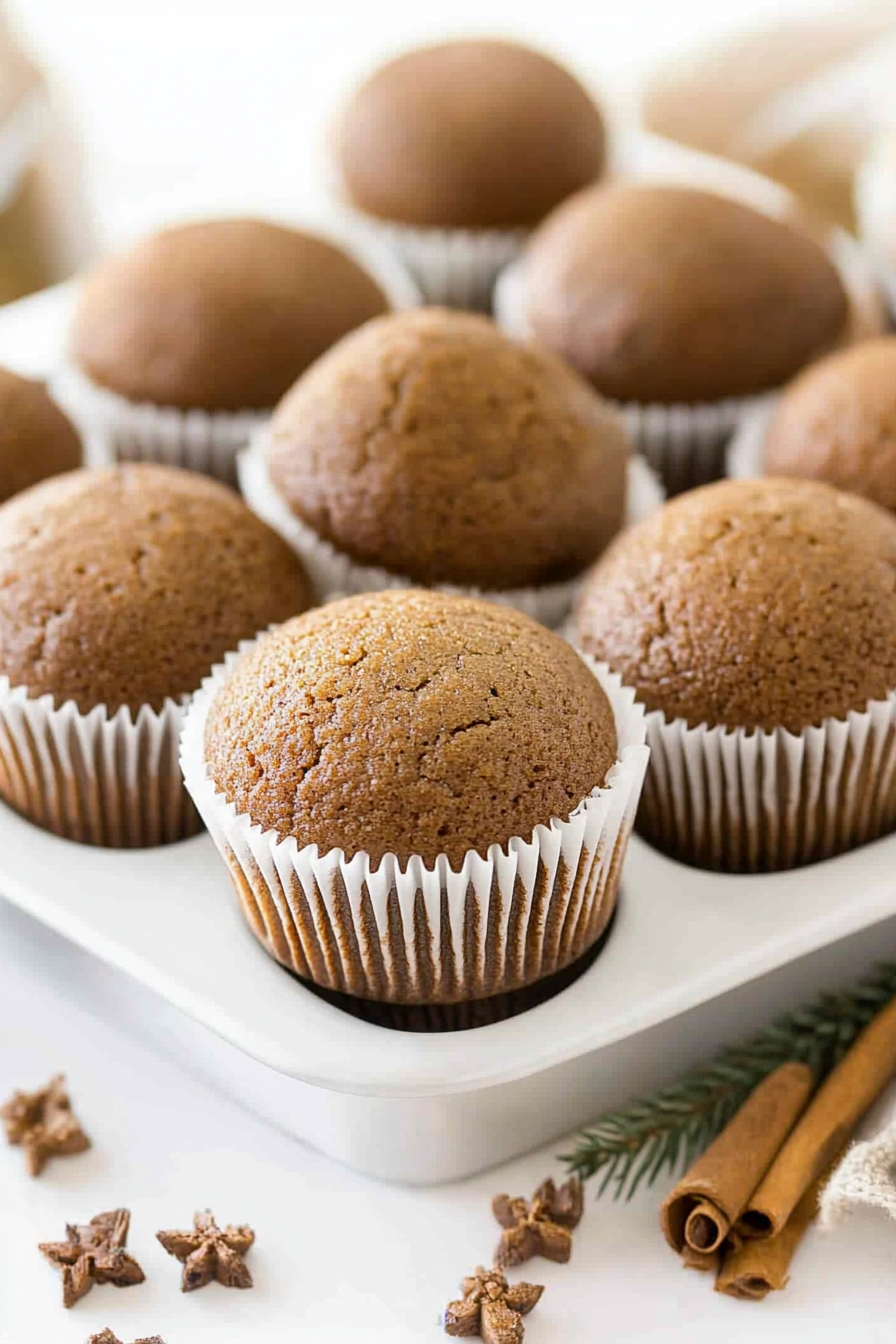
Gingerbread Muffins
Ingredients
Method
- Preheat oven to 350°F. Add paper liners to a muffin tin.
- In large bowl, stir together sugar, brown sugar and oil. Stir in molasses and egg.
- In another bowl, stir together flour, baking soda, cinnamon, ginger and salt. Add dry ingredients to molasses mixture alternately with water.
- Fill muffin tin ⅔ full with batter. Bake for 20 to 25 minutes or until a toothpick comes out clean. Cool for 10 minutes in the pan before removing to a cooling rack.