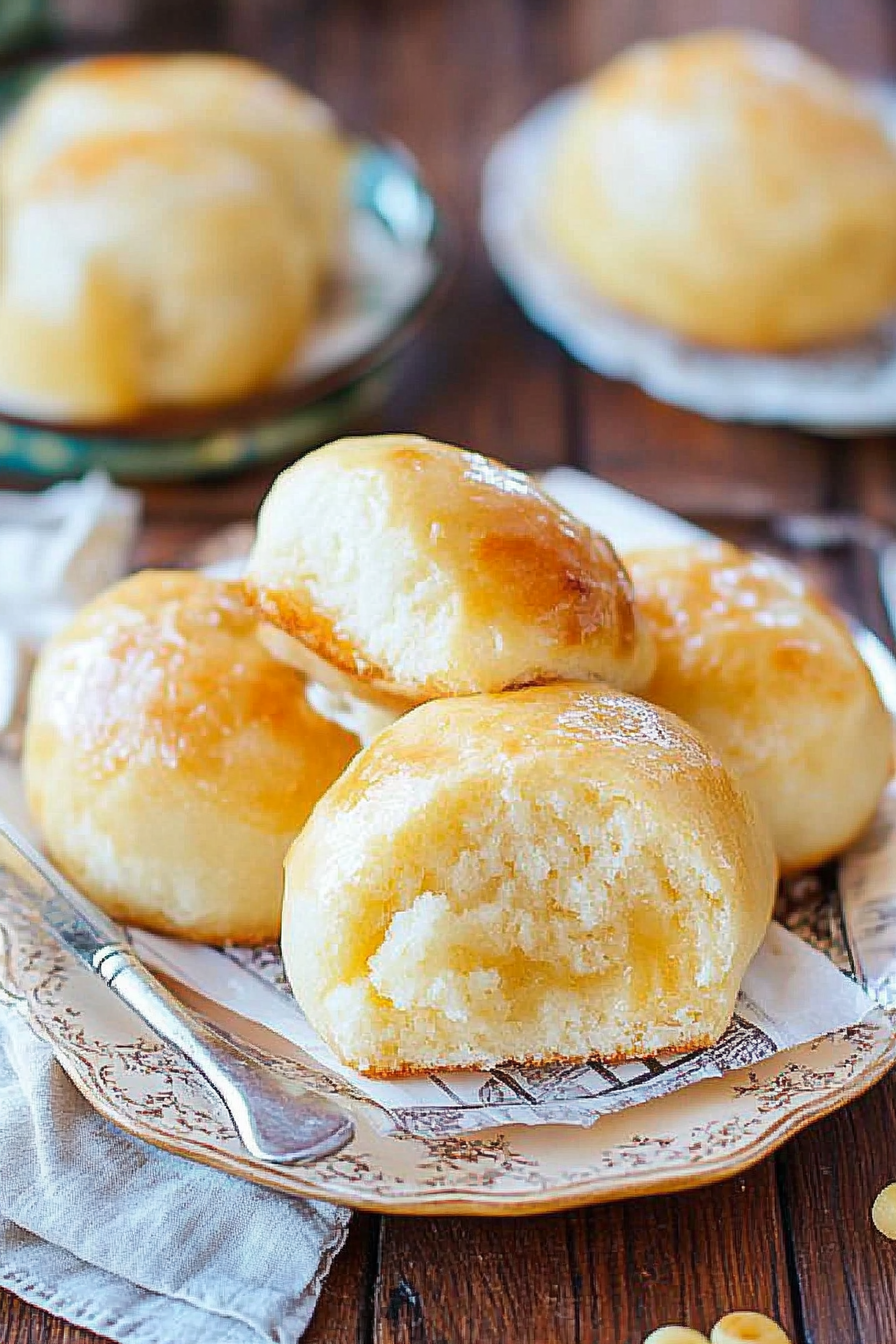
Simple Honey Butter Rolls Ahead of Time
There’s something almost magical about turning humble zucchini into something rich, sweet, and downright addictive. I remember the first time I tried making zucchini brownies — I was skeptical, to be honest. I mean, zucchini? In brownies? But let me tell you, the smell alone had everyone piling into the kitchen. This one’s a lifesaver on busy nights when you want something sweet but don’t want to slave away in the kitchen for hours. Plus, my kids ask for this all the time — it’s become a family staple that I secretly sneak veggies into without a fuss. Trust me on this one: once you make these, you’ll never see zucchini the same way again. They’re moist, chocolatey, and just a little hidden. And the glaze? Oh— that sweet, shiny finish makes it feel like you’re indulging in something fancy, even though it’s super easy. Whether it’s for a quick dessert or a snack that satisfies your sweet tooth, this recipe truly hits all the right notes.
What is Zucchini Brownies with Glaze?
Think of zucchini brownies as a clever twist on the classic chocolate treat. They’re essentially fudgy brownies infused with shredded zucchini, which keeps them delightfully moist and tender. The name might sound a little strange at first — zucchini is such a neutral veggie, and it’s been used in baking for ages to add moisture without extra fat. Here, the zucchini acts like a secret ingredient, making the brownies dense and rich but secretly healthy (well, as healthy as dessert can be!). The glaze on top adds just enough sweetness and a glossy finish, making these brownies look almost too pretty to eat. It’s like a little bite of decadence with a whisper of sneaky veggies. I love that they’re versatile, too: breakfast, snack, or dessert — it’s all good. Plus, they come together quickly, so it’s perfect when you’re short on time but craving something that feels indulgent.
Why you’ll love this recipe?
Honestly, what I love most about these zucchini brownies is how they combine all the best parts of a cozy chocolate dessert with a sneaky twist of nutrition. The flavor? Pure chocolate bliss — rich, fudgy, with just the right amount of earthiness from the zucchini that you don’t even notice after the first bite. The smell as they bake is enough to make your house smell like a bakery, which is such a cozy bonus. These brownies are super simple to make — I’ve tested this with just one bowl, a box grater, and a spoon, so clean-up is minimal. They’re also budget-friendly, since zucchini and pantry staples are always around. What’s really fun is how versatile they are; I’ve served them as a quick weekday snack, a potluck dessert, or even sliced up for brunch with a dollop of whipped cream. My favorite thing? They stay moist for days, which is rare for brownies. Plus, the glaze is the perfect finishing touch — shiny, sweet, and just a little elegant. Honestly, I’ve made this countless times, and it never fails to brighten someone’s day, food or not.
How do I make Zucchini Brownies with Glaze?
Quick Overview
This recipe is a total win because it’s straightforward and quick. You’ll start by shredding zucchini, then mixing up your batter with chocolate, eggs, and a few pantry staples. A quick fold-in of shredded zucchini keeps things moist without complicating the process. Pour the batter into a prepared pan, swirl in a little extra chocolate if you like a richer effect, and bake. Once cooled, a simple glaze made from powdered sugar and a splash of milk (or even almond milk — I tested it, and it’s just as creamy!) gets drizzled on top. It’s a fuss-free way to dress up a humble batch of brownies. Trust me, they’re so good straight from the oven or even the next day — if they last that long!
Ingredients
For the Main Batter:
- 1 cup shredded zucchini (about 1 medium zucchini, grated and drained lightly)
- 1/2 cup all-purpose flour (whole wheat works fine too!)
- 1/4 cup unsweetened cocoa powder (the good stuff makes a difference!)
- 1 teaspoon baking powder
- 1/4 teaspoon salt
- 1/2 cup sugar (white, brown, or a combo — I’ve done both!)
- 2 large eggs
- 1/4 cup vegetable oil or melted butter
- 1 teaspoon vanilla extract
- 1/2 cup chocolate chips (optional but highly recommended!)
For the Filling:
- Extra chocolate chips or chunks for swirling (optional)
For the Glaze:
- 1 cup powdered sugar
- 2-3 tablespoons milk (or almond milk for dairy-free)
- A dash of vanilla or a sprinkle of cocoa powder for flavor variation
Step-by-Step Instructions
Step 1: Preheat & Prep Pan
Preheat your oven to 350°F (180°C). Grease a 9-inch square baking pan or line it with parchment paper. I usually spray mine with some cooking spray and dust with a little cocoa powder — keeps things tidy and prevents sticking. If you’re in a rush, parchment is my go-to for easy clean-up and quick removal.
Step 2: Mix Dry Ingredients
In a medium bowl, whisk together the flour, cocoa powder, baking powder, and salt. Mixing these first ensures the baking soda and cocoa are evenly distributed. It’s a simple step but makes all the difference in avoiding clumps or uneven baking. Set this aside while you prep the wet ingredients.
Step 3: Mix Wet Ingredients
In a large bowl, beat the eggs, sugar, oil (or melted butter), and vanilla until well combined. I like to do this with a whisk — it’s fast and keeps everything smooth. Once merged, add the shredded zucchini, making sure to give it a gentle squeeze to remove excess moisture — too much water can make the batter tricky to handle.
Step 4: Combine
Gradually fold the dry ingredients into the wet, stirring gently until just combined. Don’t overmix — that’s what leads to tough brownies! A few lumps are okay. Carefully add in the chocolate chips, saving a handful for swirling on top if you like that look.
Step 5: Prepare Filling
If you want to swirl extra chocolate or add nuts, now’s the time. I usually sprinkle or drop spoonfuls of extra chocolate chips on the batter, then use a toothpick or butter knife to swirl — it looks pretty and adds a chocolate punch.
Step 6: Layer & Swirl
Pour the batter into your prepared pan, spreading it out evenly. If you’re feeling fancy, add a few more chocolate chips on top and swirl again. A light touch keeps the batter from becoming too dense — the goal is fudgy, not cakey.
Step 7: Bake
Bake for 20-25 minutes, or until a toothpick inserted in the center comes out with moist crumbs. Every oven is different, so start checking around 20 minutes. If it feels soft but not wet on top, it’s probably done. Let them cool in the pan for about 10-15 minutes before transferring to a wire rack.
Step 8: Cool & Glaze
Once cooled, mix your powdered sugar with a splash of milk and vanilla to create a shiny glaze. Drizzle it generously over the brownies while they’re still a little warm — that way, it soaks in slightly and gets beautifully glossy. If you prefer a thicker or thinner glaze, just adjust the milk or sugar ratio.
Step 9: Slice & Serve
When totally cooled and glazed, cut into squares with a sharp serrated knife. I like to wipe the knife clean between cuts to keep the edges tidy. Serve at room temperature, maybe with a dollop of whipped cream or a scoop of vanilla ice cream if you’re feeling extra indulgent. These are also great cold — just layer leftovers in a sealed container, and they’ll stay moist and delicious for days.
What to Serve It With
This little magic zucchini brownie is incredibly versatile. For a quick breakfast, slice a square and serve with your morning coffee or a glass of cold milk. It’s perfect alongside a mug of herbal tea or a latte, especially when you’re craving that cozy, chocolatey scent on a lazy Sunday.
For brunch, pair a slice with some fresh fruit and yogurt — it’s surprisingly light considering how rich it is. Or pile them on a dessert platter with whipped cream, fresh berries, and a drizzle of caramel for special occasions. They also make excellent casual snacks — slip a piece in a lunchbox or keep a stash in the fridge for whenever that chocolate craving hits late at night.
Honestly, my family loves these any time of day. They’re our little secret — sneaky, healthy-ish, and always satisfying. I’ve made these for bake sales, friends’ gatherings, and quiet weekends at home. Honestly, the only problem is how quickly they disappear — so be prepared to make a double batch!
Top Tips for Perfecting Your Zucchini Brownies with Glaze
Over the years, I’ve picked up a few tricks to make these brownies look and taste their absolute best. First, don’t skip draining the zucchini! I always squeeze out as much moisture as possible; otherwise, your batter might be a little too watery, and the brownies won’t set properly. I learned this trick after a few too-soft batches. Also, using good-quality cocoa makes a noticeable difference — don’t go for the cheapest one. It really amps up that deep chocolate flavor.
When mixing, be gentle with the dry ingredients — overmixing can lead to dense brownies, which no one wants. Fold gently, and stop as soon as everything looks combined. For swirling extra chocolate, I love using melted dark chocolate rather than chips for a more velvety finish. And for the glaze, start with less milk and add gradually until you reach your preferred consistency — runny enough to drizzle but not so thin that it just soaks in and disappears.
Finally, don’t rush cooling. Patience is key to a shiny, beautiful glaze and perfect slices. I often wait until the brownies are completely cooled — sometimes even popping them in the fridge for an hour — then adding the glaze for that professional-looking finish. These little tips have made all the difference for me, and I think you’ll find them helpful too.
Oh — and a personal tip: I’ve tested this with almond milk, and it actually made the brownies even creamier! Plus, the flavor was just as rich. Feel free to experiment with ingredients — it’s part of the fun, right?
Storing and Reheating Tips
If you somehow don’t demolish these in one sitting (which, let’s be honest, doesn’t happen in my house), store them in an airtight container at room temperature for up to 2 days. Just cover loosely with foil or a clean cloth — this keeps them from drying out too quickly. If you want to hold onto them longer, pop them in the fridge for 4-5 days. I recommend bringing them back to room temp or warming slightly in the microwave before serving — that melt-in-your-mouth texture is worth it.
To freeze, wrap individual squares tightly in plastic wrap, then stash in a zipper bag or airtight container. They’ll stay good for up to 3 months. Thaw at room temperature or microwave briefly for an instant treat. Be mindful that the glaze might need a quick refresh—just a drizzle or a quick re-melt makes them look and taste just as fresh.
And a tip: if you’re planning to reheat, do so in short bursts—about 10 seconds at a time—so you don’t accidentally overheat and dry out the brownies. The glaze can be reapplied if needed once warmed.
Frequently Asked Questions
Final Thoughts
Honestly, these zucchini brownies with glaze have become one of my favorite comfort foods. They’re a reminder that you can sneak little nutrients into something decadent and still have fun in the kitchen. They’re easy, forgiving, and so satisfying — the kind of treat that makes everyone ask for seconds. If you’re looking for a way to transform zucchini from a neutral veggie into a showstopper, give this recipe a shot. Trust me, once you try it, you’ll be hooked. I love how adaptable it is, too. You can swap ingredients, add nuts, or try different flavors in the glaze — it’s your canvas for chocolatey creativity. They’re perfect for sharing with loved ones or keeping all to yourself — no judgment here. Can’t wait to hear how yours turns out! Happy baking!
dinner rolls
Ingredients
Method
- Warm the water to about 105 to 115 degrees Fahrenheit. Pour into a large mixing bowl.
- Sprinkle the yeast over the warm water and let sit for 5-10 minutes until foamy.
- Add eggs, oil, honey, salt, and whisk to combine.
- Stir in the flour gradually until the dough is thick and slightly sticky.
- Form the dough into a ball, cover with plastic wrap, and let rise in a warm place for 2 hours or until doubled in size.
- Preheat oven to 350°F. Punch down the dough and divide into 24 equal pieces.
- Shape each piece into a ball and place in a greased baking dish close to each other.
- Cover with a towel and allow to rise for 1 hour until puffy.
- Bake for 15-18 minutes until golden brown.
- Brush the hot rolls with honey and melted butter for a shiny glaze.
- Serve warm and enjoy your homemade dinner rolls!