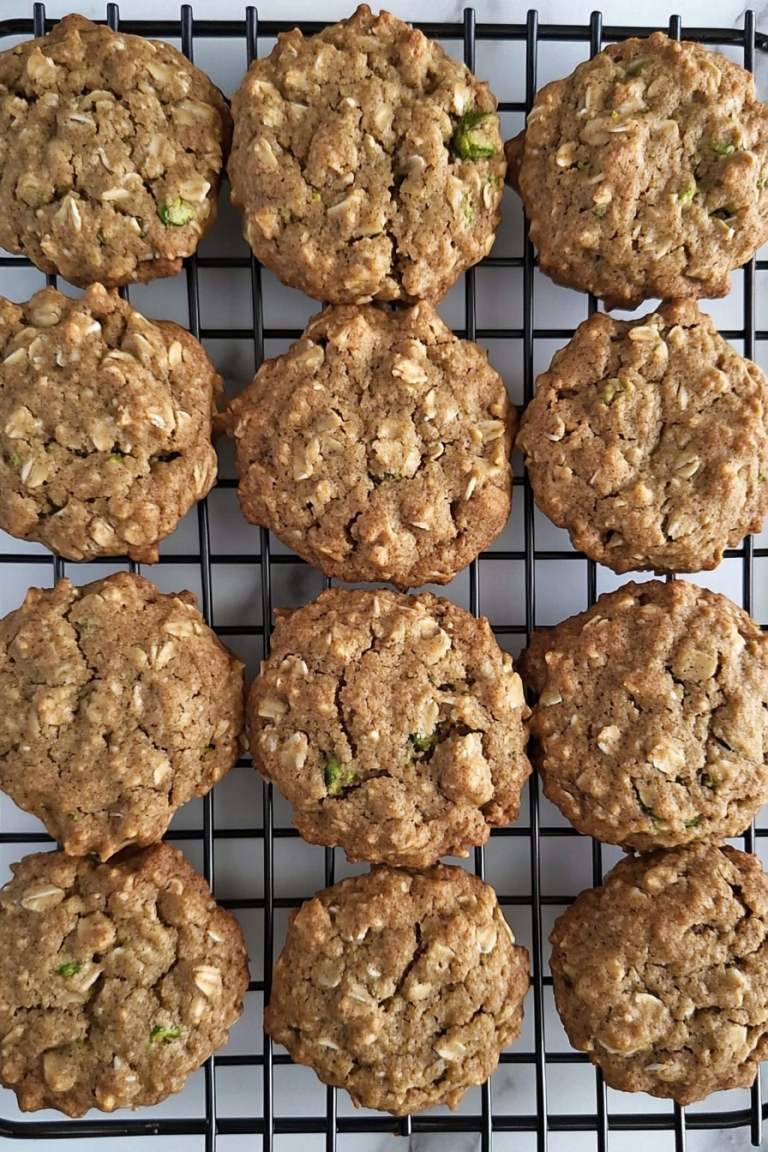
Easy Peanut Butter Treats You’ll Love
If you ask my kids what their favorite after-school treat is, they’ll definitely say this zucchini cinnamon swirl coffee cake. I know, I know—zucchini? In a cake? But trust me on this one. It’s the moistest, fluffiest little slice of comfort you can imagine, and the secret to its incredible flavor is just a touch of cinnamon and a generous swirl of sweet, spiced filling. I always do this when I want something warm and cozy without the fuss of complicated baking. Plus, it’s a sneaky way to get more greens into my kids’ diets without them noticing! The smell alone—oh, the smell!—will draw everyone to the kitchen faster than the oven timer can go off. Honestly, I make this at least once a month, and it disappears in minutes. It’s perfect for lazy Sunday mornings, weekday snacks, or even a casual brunch. The best part? It’s ridiculously easy, and I’ve even tested it with almond milk and coconut oil—turns out, it makes it even creamier and more moist. So, are you ready to bake a little bit of love? Let’s do this!
What is Zucchini cinnamon swirl coffee cake?
This zucchini cinnamon swirl coffee cake is a tender, moist cake that’s layered with a cinnamon sugar swirl—like a little cinnamon roll in cake form. Think of it as a cross between your favorite brunch cake and a cozy dessert you’d crave late at night. It’s essentially a sneaky way to sneak some vegetables into a treat, and I say that’s a win-win. The name’s probably pretty straightforward, right? Zucchini, because that’s the main ingredient, and cinnamon swirl, because those beautiful ribbons of spicy sweetness run through all that soft, buttery batter. It’s a cake that’s not too sweet, with just enough spice to make your tastebuds dance, but not so much that it can’t pass as breakfast. I love that it’s versatile—you can serve it warm with a drizzle of glaze or just on its own with a cup of coffee. Think of it as the comforting cousin of zucchini bread, but in cake form. It’s so approachable, even if baking’s not your thing, I promise you’ll feel like a professional baker sneaking in flavors and textures that impress every time.
Why you’ll love this recipe?
What I love most about this zucchini cinnamon swirl coffee cake is how it manages to be both quick and impressive—like a little miracle in your kitchen. The first thing that hits you is the smell—warm cinnamon, buttery batter, and that sweet swirl baking into perfection. It makes my kitchen feel like a bakery every single time. Plus, it’s super friendly on the budget with simple pantry staples—flour, sugar, eggs, a little zucchini, and a splash of milk. I’ve tested this recipe with a few swaps like coconut oil and almond milk, and honestly, it turned out even better—moist, tender, and with a subtle nutty note that I adore. What I appreciate most is its versatility. My kids love it plain, but I’ve also drizzled a vanilla glaze on top for a more dessert-like vibe. And on mornings when I’m running out the door, I make this the night before… the smell alone keeps my family lingering at the breakfast table waiting for a slice. It’s perfect when you want something comforting but don’t want to slave in the kitchen — honestly, this one’s a lifesaver on busy nights. It’s not overly sweet, which means you can enjoy it any time of day. I swear, once you bake this, it’s going to be a family favorite, just like it is in mine.
How do you make Zucchini Swirl Coffee Cake?
Quick Overview
This coffee cake comes together in three easy steps: mix your dry ingredients, combine wet ingredients, and then fold everything together. The fun part is layering the cinnamon sugar filling and swirling it into the batter before baking. No fancy equipment needed—just a whisk, a spatula, and a spoon. The batter is so forgiving; I’ve made it with chunky shredded zucchini and it still turns out perfect. It’s a one-bowl situation mostly, which makes cleanup a breeze too. The baking time is around 40-45 minutes, and I usually check it with a toothpick—trust me, you want it moist but not doughy. Once out of the oven, let it cool just enough so the glaze doesn’t melt completely, but still warm enough to have that fudgy, gooey goodness.
Ingredients
For the Main Batter:
– 2 cups all-purpose flour (or gluten-free blend, see tips below)
– 3/4 cup granulated sugar
– 1 teaspoon baking powder
– 1/2 teaspoon baking soda
– 1/2 teaspoon salt
– 1 teaspoon ground cinnamon
– 1/2 cup vegetable oil (or melted coconut oil for extra flavor)
– 1 cup grated zucchini (squeeze out excess moisture)
– 1/2 cup buttermilk or almond milk
– 2 large eggs
– 1 teaspoon vanilla extract
For the Filling:
– 1/2 cup packed brown sugar
– 1 tablespoon ground cinnamon
– 2 tablespoons softened butter or coconut oil
For the Glaze:
– 1 cup powdered sugar
– 2-3 teaspoons milk (or more for desired consistency)
– 1/2 teaspoon vanilla extract
– Optional: a pinch of cinnamon or lemon zest for extra flavor
Step-by-Step Instructions
Step 1: Preheat & Prep Pan
Set your oven to 350°F (175°C). Grease a 9-inch round or square baking pan with butter or non-stick spray. I like to line mine with parchment paper for easy removal, but that’s up to you. Having everything ready beforehand makes baking much smoother—trust me, once the batter’s made, you’ll wanna get that into the oven fast!
Step 2: Mix Dry Ingredients
In a large bowl, whisk together the flour, sugar, baking powder, baking soda, salt, and cinnamon. I always do this first—it ensures all your leavening agents are evenly distributed and your cake will rise nice and fluffy without lumps or streaks.
Step 3: Mix Wet Ingredients
In a separate bowl, beat the eggs, milk, oil, and vanilla until combined. I usually do this with a fork or whisk—whatever’s handy. Make sure the eggs are fully incorporated, and if your eggs are cold, just give the mixture a few seconds longer. I’ve tested this with almond milk, and honestly, it made the batter a touch creamier, which I loved!
Step 4: Combine
Pour the wet mixture into the dry ingredients and fold gently with a spatula. Don’t overmix; just until everything’s combined and there are no streaks. If you overmix, your cake might be a little denser, and nobody wants that.
Step 5: Prepare Filling
In a small bowl, mix the brown sugar, cinnamon, and softened butter until crumbly. I sometimes add a pinch of nutmeg or cardamom if I’m feeling adventurous—depends on what’s in the spice drawer! Set this aside for layering.
Step 6: Layer & Swirl
Pour the batter into your prepared pan, spreading it evenly. Dollop the cinnamon sugar mixture over the batter and use a knife or skewer to swirl it through, creating those beautiful ribbons. This part’s my favorite—watching that swirl come to life makes me feel like a pro baker every time!
Step 7: Bake
Pop it into the oven and bake for 40-45 minutes. Check doneness by inserting a toothpick in the center—if it comes out clean, you’re golden. If not, give it a few more minutes; ovens vary. You want it to be moist but cooked through.
Step 8: Cool & Glaze
Let the cake cool in the pan for about 10 minutes before transferring to a wire rack. When it’s just warm, drizzle with your glaze—my favorite is powdered sugar mixed with just enough milk and vanilla to pour easily. For a fancy touch, sprinkle a little extra cinnamon or lemon zest on top while the glaze is still wet.
Step 9: Slice & Serve
Once cool enough to handle, slice beautifully with a sharp serrated knife. I love serving this slightly warm, but it’s just as good at room temp. A dollop of whipped cream or a scoop of vanilla ice cream can turn this into a show-stopping dessert. Trust me, it tastes just like a cozy cinnamon roll, but way easier to make on a busy weekday.
What to Serve It With
This zucchini cinnamon swirl coffee cake is so versatile, it works for everything. For breakfast, serve a slice alongside your morning coffee or tea—french press or a strong black brew pair wonderfully. I love to sprinkle a little extra cinnamon on top before serving hot, for that aromatic punch.
At brunch, team it up with fresh fruit—blueberries, strawberries, or slices of ripe pear—and a little dollop of Greek yogurt for a more elegant presentation. My family loves it as a brunch dessert, especially with a drizzle of honey or maple syrup.
If you’re craving a sweet treat after dinner, warm a slice and add a swirl of whipped cream or even a scoop of vanilla ice cream. It’s the kind of dessert that hits all the right spots—creamy, spiced, slightly sweet, and completely homemade.
And honestly, this is my go-to snack when I need a quick pick-me-up or something comforting during a rainy afternoon. I’ve served it to friends staying over, to visitors, and even brought slices to potlucks—every single time, it gets rave reviews. It’s cozy, homey, and has that “I made this with love” quality that everyone appreciates. Plus, my kids ask for this all the time, so I keep the zucchini coming. It’s a family favorite, through and through.
Top Tips for Perfecting Your Zucchini Cinnamon Swirl Coffee Cake
Over the years, I’ve picked up a few tricks that make this cake turn out just right every time. First, always squeeze out excess moisture from your zucchini. I use a clean kitchen towel or paper towels—this keeps the batter from getting soupy and ensures the cake stays moist without being heavy. I’ve tested with shredded zucchini fresh from the garden and frozen, and both work fine—just make sure it’s well-drained.
When mixing the batter, I used to overmix, which made the cake dense. Now, I fold gently until just combined—no more. The texture is so much lighter and fluffier this way. Also, don’t skip the swirl! Use a skewer or butter knife to create a marbled effect—it’s what makes this cake special and visually stunning. If you want extra spice, toss in a pinch of cardamom or ginger with the cinnamon sugar filling.
Test your oven’s temperature—mine runs a bit hot sometimes, so I use an oven thermometer. If your cake edges brown too quickly, cover loosely with foil for the last 10 minutes. For the glaze, I mix powdered sugar with a splash of milk and vanilla, but I sometimes add a hint of lemon zest to brighten it up. It’s all about balancing flavor and visual appeal. When in doubt, go light on the sugar—this cake is flavorful enough on its own.
One mistake I made early on was not sifting my dry ingredients—trust me, it’s worth the extra second to ensure everything’s evenly distributed. Also, don’t forget to check for doneness with a toothpick; even if it looks done on top, the middle might still need a couple more minutes. And finally, let the cake cool completely before glazing—otherwise, your beautiful swirl will just melt away into a sugary puddle.
This recipe is so forgiving once you get the hang of it. I’ve played around with different sweeteners, added chopped walnuts, or even swirled in some apple sauce for extra moisture. My best advice? Have fun with it, and don’t stress if it’s not perfect—what matters is that every bite brings back great memories and warm feelings. Trust me, your family will thank you for this one.
Storing and Reheating Tips
This coffee cake keeps surprisingly well. After it’s cooled completely, store leftovers in an airtight container at room temperature for up to two days—cover it loosely with foil or a clean towel to keep it fresh. If you want to keep it longer, pop individual slices into an airtight container and refrigerate for up to five days. Just warm a slice in the microwave for about 15-20 seconds before serving—this brings back the cozy, freshly baked smell. I’ve also frozen slices wrapped tightly in plastic wrap and then foil for up to three months; to reheat, just thaw overnight in the fridge and warm briefly in the microwave.
If you’re planning to add a glaze later (like with cream cheese or lemon icing), wait until the cake is fully cooled. Slathering glaze on a warm cake can make it run off, and who wants that mess? Keep the glaze separate, and add it just before serving for the best glossy finish and fresh flavor.
Oh, and if you’re storing the cake for a couple of days, I find that lightly warming it in the oven at 300°F for 10 minutes helps restore that just-baked softness. It’s like magic—fluffy again, and the aroma just fills the kitchen. For ultimate freshness, I recommend eating it within 3-4 days, but honestly, mine never lasts that long!
Frequently Asked Questions
Final Thoughts
Honestly, this zucchini cinnamon swirl coffee cake has become a staple in my house. It’s comforting, effortless, and packed with flavor. Every time I bake it, I feel like I’m sharing a little piece of home. It’s a way to bring warmth and sweetness, not just through taste but through the memories and smiles it creates. Whether you serve it for breakfast, brunch, or a cozy snack, I promise it’s one of those recipes that will make everyone ask for seconds—and maybe even thirds. So go ahead, grab some zucchini from your garden or fridge, and give this a try. I’d love to hear how yours turns out—leave a comment or tag me in your photos! Happy baking, friends!
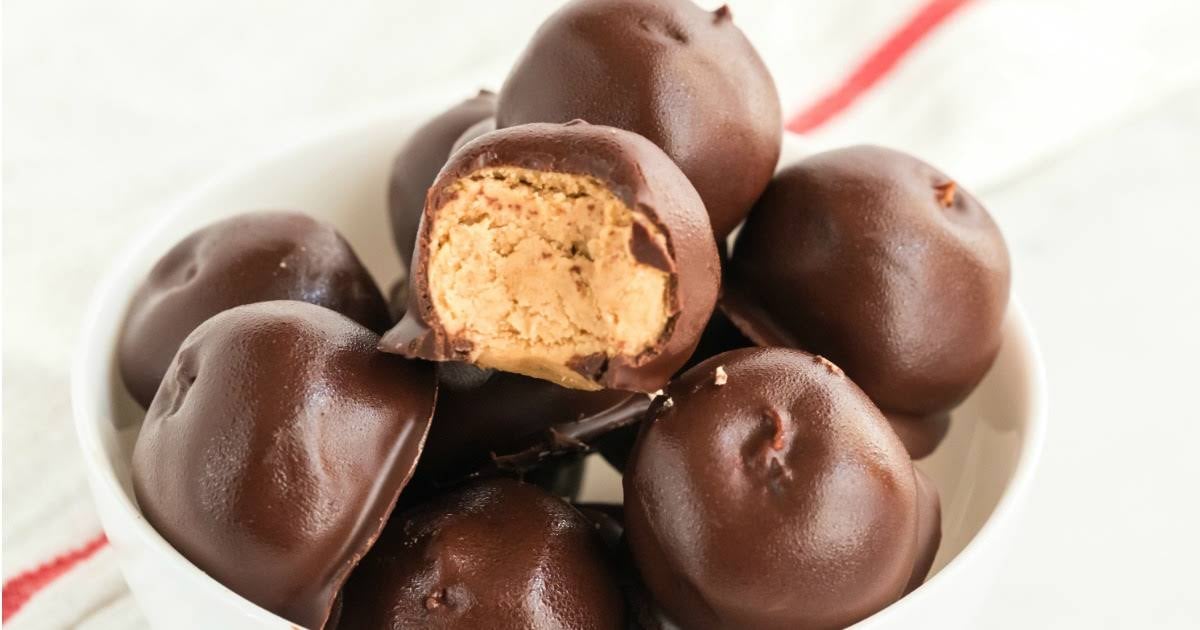
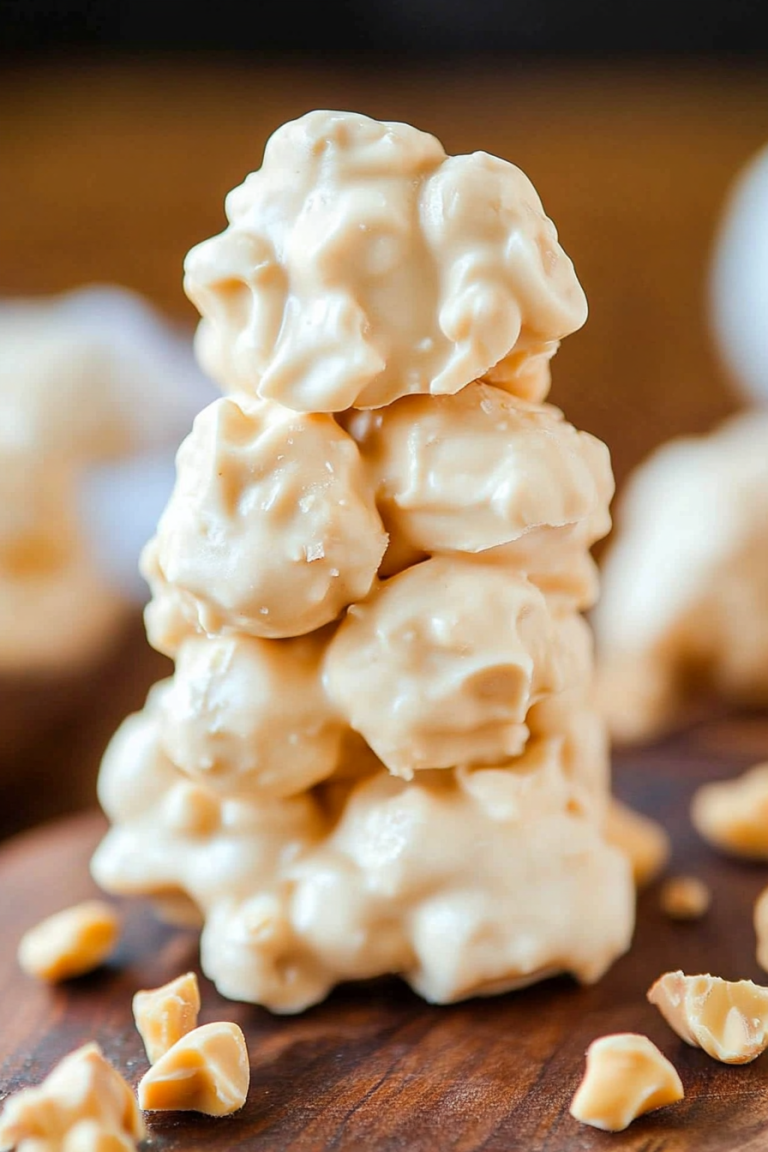
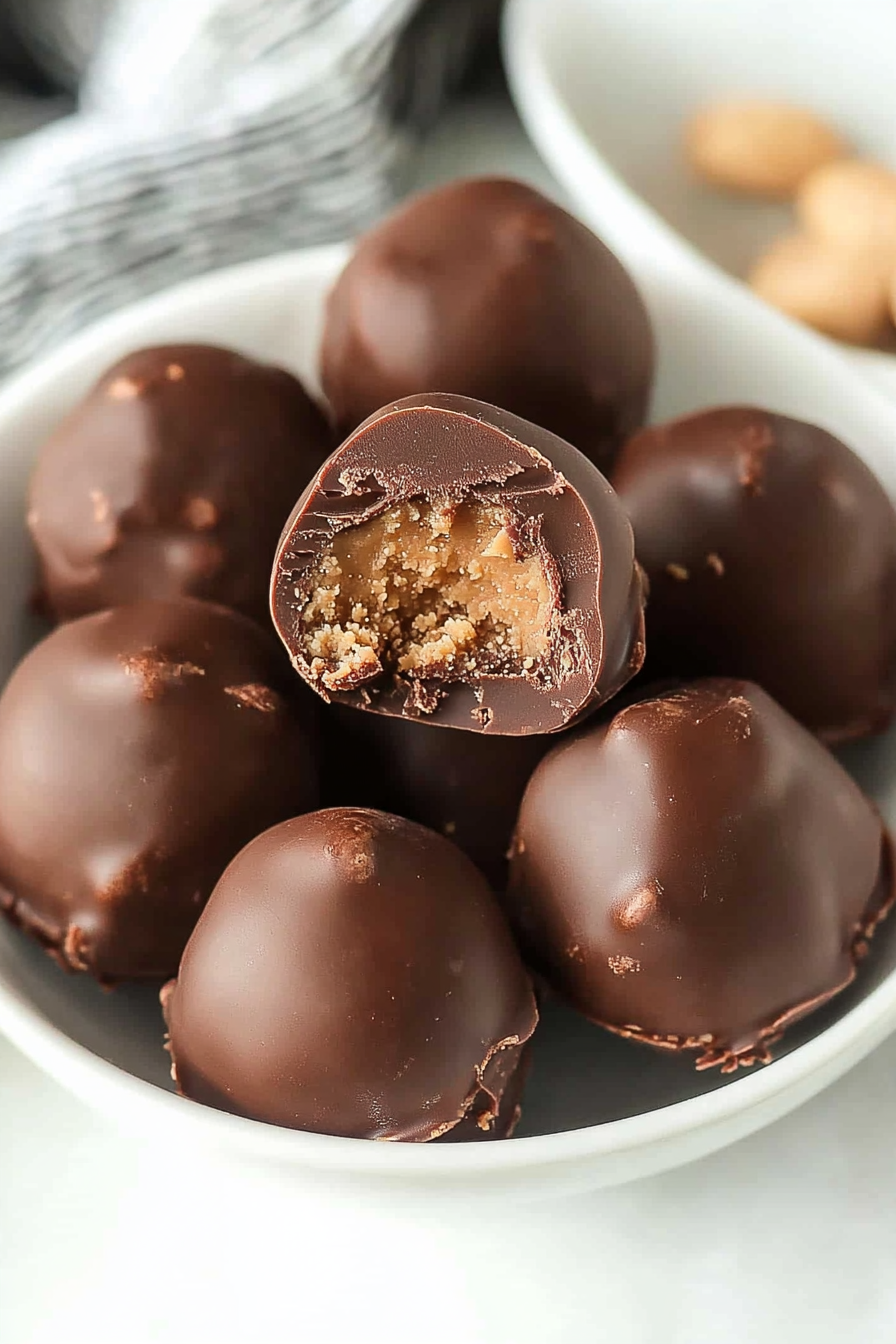
No-Bake Peanut Butter Balls
Ingredients
Method
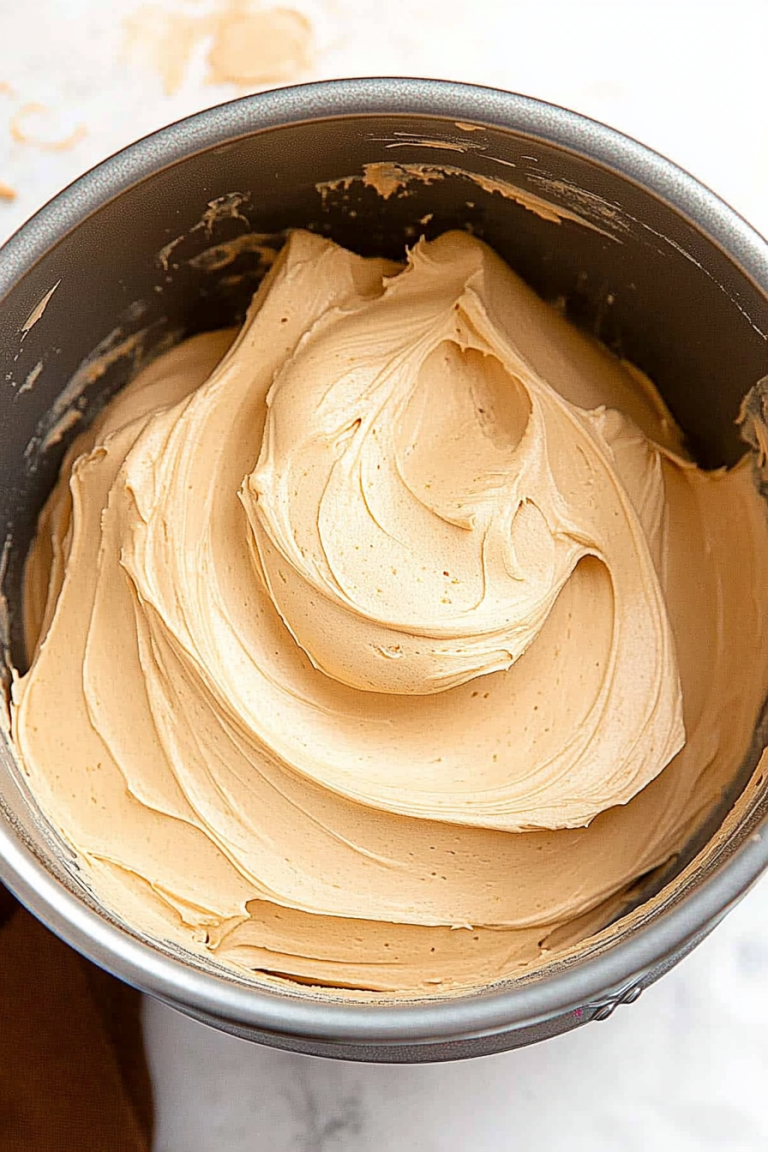
- In a large bowl, combine peanut butter, softened butter, powdered sugar, and vanilla extract. Mix until well combined.
- Roll the mixture into 25 balls.
- In a double boiler, bring water to a rolling boil. Add chocolate chips and paraffin wax. Stir until smooth and melted.
- Using a spoon, dip each peanut butter ball into the melted chocolate to coat. Place the dipped balls on a baking sheet lined with wax or parchment paper.
- If desired, sprinkle with holiday-themed sprinkles or drizzle with white chocolate.
- Place the baking sheet in the freezer for about 30 minutes to allow the balls to harden.