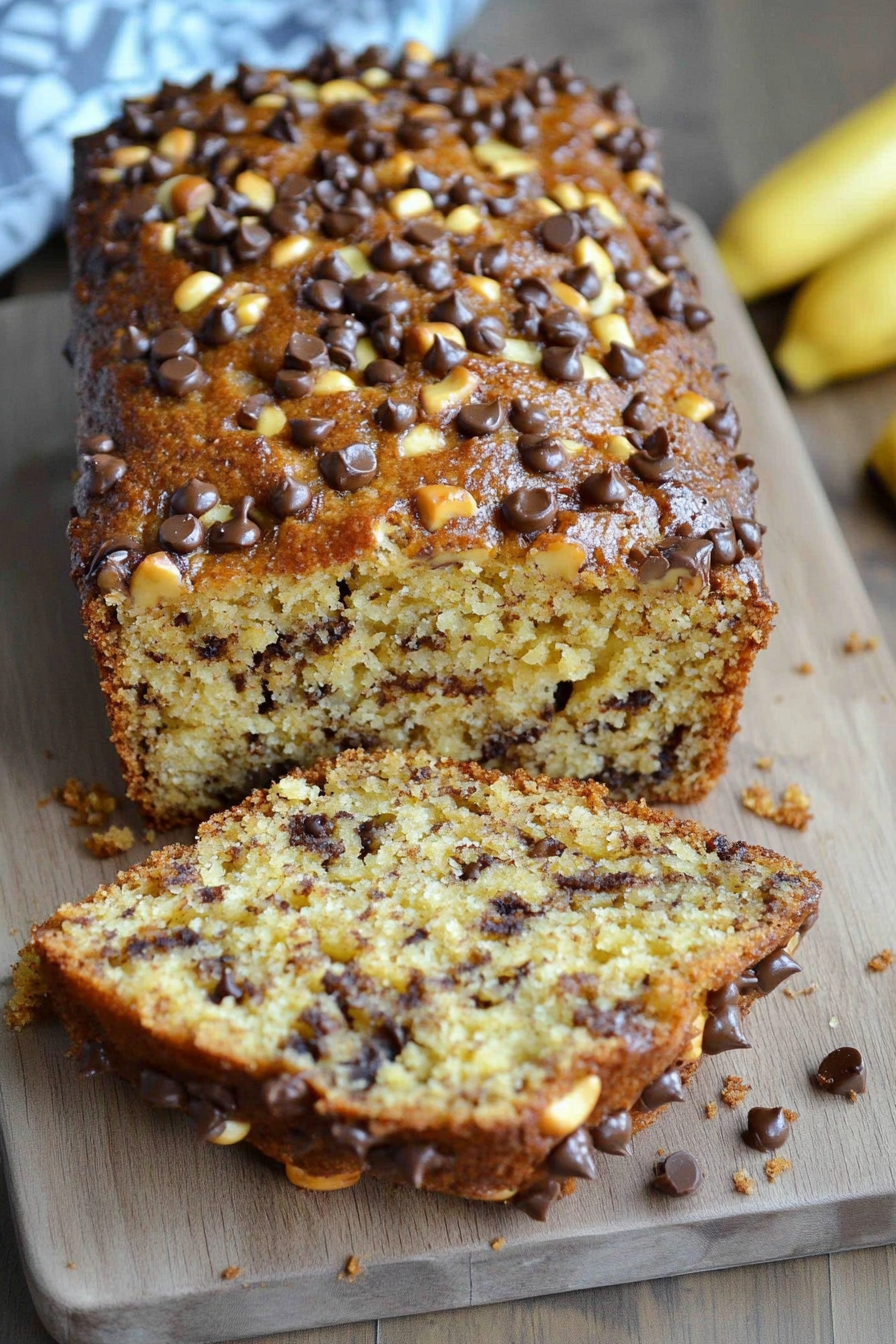
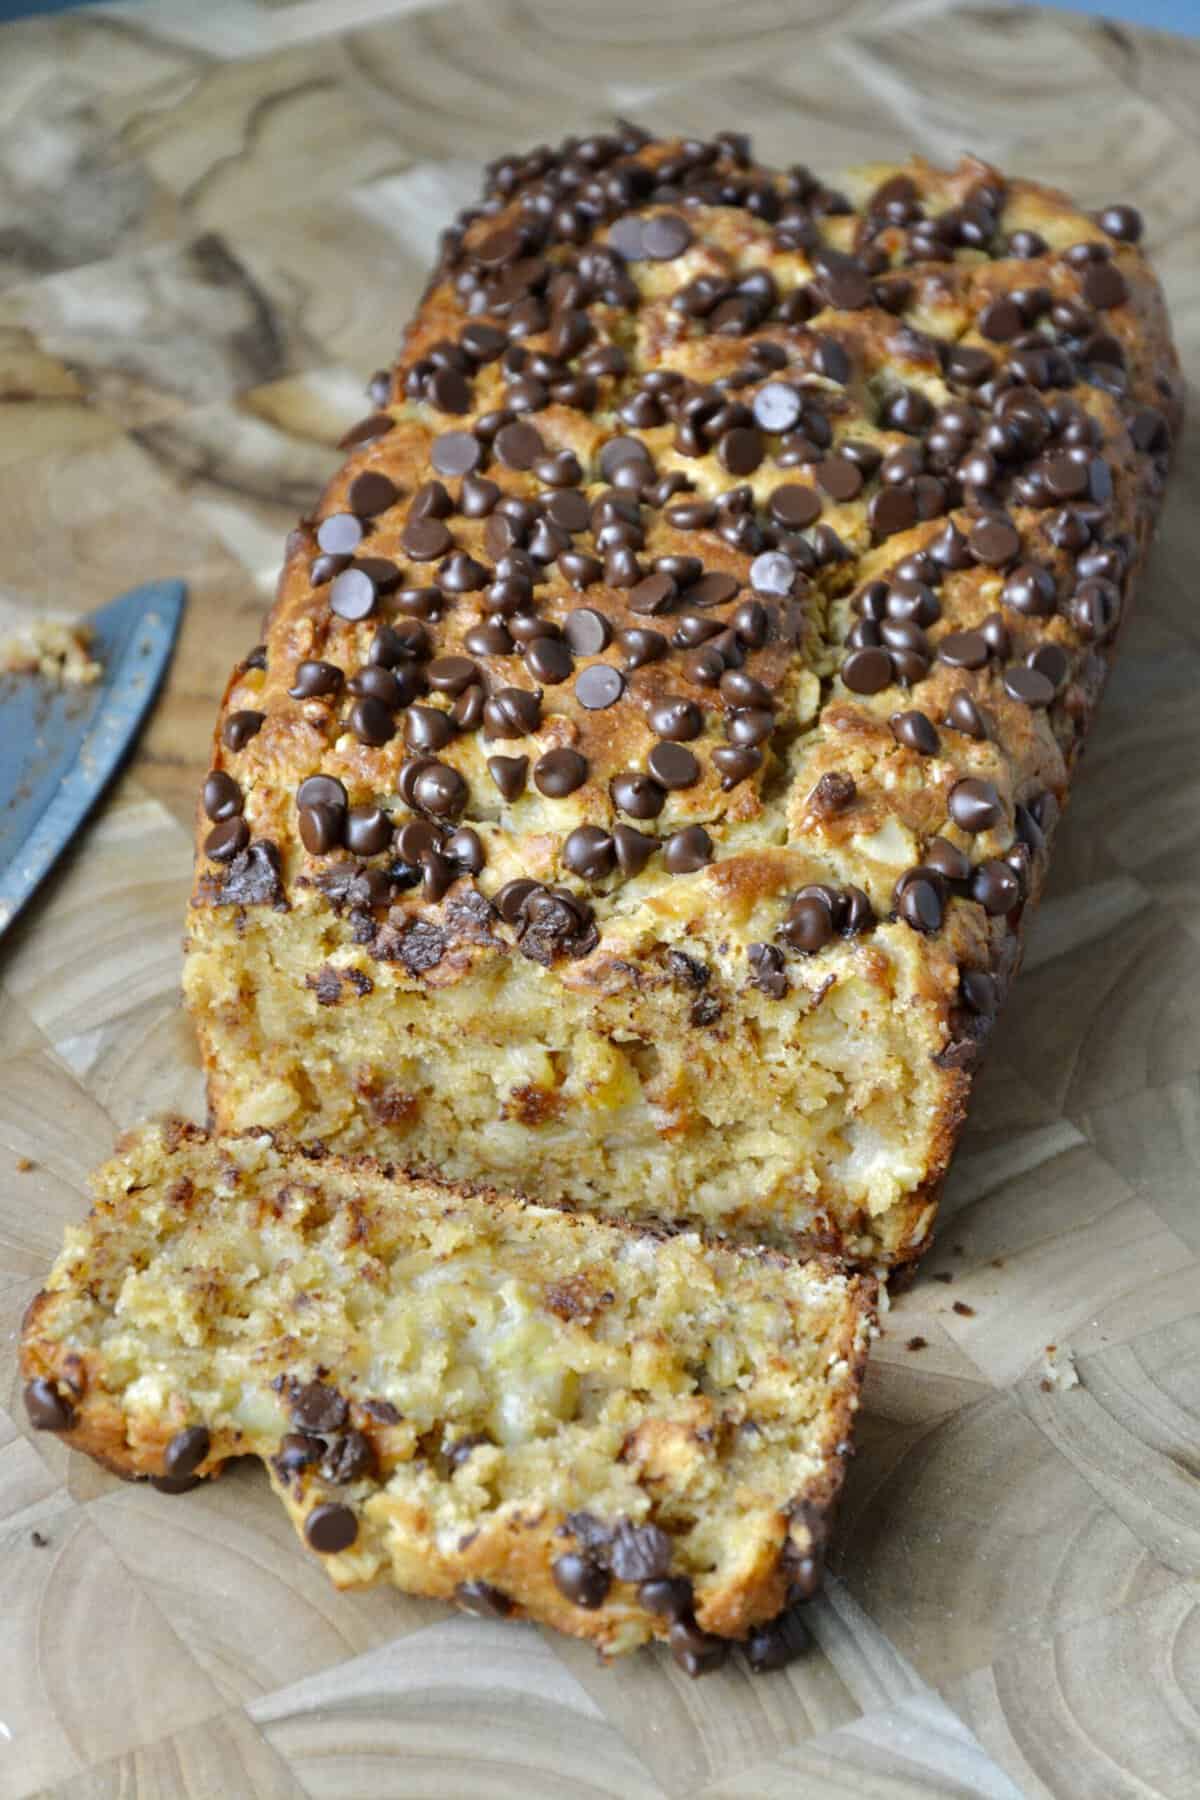
Easy Peanut Butter Oatmeal Banana Bread
There’s something about the smell of a freshly baked loaf that instantly takes me back to lazy Sunday mornings at my grandma’s house. She’d always have something warm and comforting waiting on the counter—usually a zucchini bread or a quick sweet cake that filled the whole house with aroma. That feeling of cozy warmth and nostalgic comfort is something I chase every time I bake, especially with this zucchini swirl loaf. It’s basically a love letter to those mornings—moist, tender, slightly sweet, and with a beautiful marbled swirl of rich batter and vibrant zucchini filling. I always do this when I crave something sweet that’s not too heavy or complicated to make. This loaf disappears in minutes at my house, and I love knowing I can whip it up on a busy weekday or serve it for weekend brunch. Trust me, this one’s a lifesaver on busy nights or when I need a quick treat that feels special—but really, it’s more about the memories it stirs up. Let me walk you through it—I promise this recipe is easier than you think and delivers that unforgettable, warm slice every single time.
What is Zucchini Swirl Loaf?
This zucchini swirl loaf is a tender, moist bread that combines the subtle sweetness of a classic sweet loaf with the fresh, mild flavor of zucchini. Think of it as a cross between zucchini bread and a marbled cake—think colorful, swirled ribbons of batter that look almost too pretty to cut, but are irresistibly delicious. The name “swirl” really comes from how you layer the batter and the zucchini mixture before baking, creating beautiful marbled patterns inside each slice. It’s essentially a hybrid: part quick bread, part dessert, yet totally versatile. The best part? It’s incredibly forgiving. You don’t need fancy ingredients—just pantry staples and a bit of patience—and suddenly, you’ve got a stunning loaf that’s perfect for breakfast, brunch, or even an afternoon snack. I find that the zucchini keeps the loaf moisture-rich, while the hint of cinnamon and vanilla gives it that cozy, homey feel. Plus, kids love it because of the swirled look and slightly sweet flavor. It’s truly one of those recipes I turn to when I want to impress without stress.
Why you’ll love this recipe?
What I love most about this zucchini swirl loaf is how it combines all those comforting flavors with a splash of freshness. The zucchini adds a subtle moisture and nutrition boost, making it feel a little healthier—though honestly, I don’t tell my kids that! The flavor profile is simple but sophisticated: warm cinnamon, vanilla, and just a touch of sweetness that’s not overpowering. The best part? It’s so easy to make, and you probably already have everything you need in your pantry. Honestly, if you’ve ever made banana bread or classic zucchini bread, you’ll find this is just as straightforward—if not more so—plus the swirl element makes it a bit fancy but still totally manageable. It’s budget-friendly, too—no fancy ingredients, and you can swap in what you have on hand. I’ve tested this with almond milk and even coconut oil, and it still turns out moist and flavorful. My kids ask for this all the time, especially when I want to sneak some veggies into their breakfast without a fuss. It’s perfect for mornings, picnics, or even a quick afternoon treat with tea. Plus, it makes the house smell incredible, drawing everyone to the kitchen like a magnet.
How do you make Zucchini Swirl Loaf?
Quick Overview
This loaf comes together in just a few simple steps: grate your zucchini, mix up the batter, layer the zucchini with a little cinnamon-sugar filling, swirl it all together, and bake. It’s a one-bowl kind of situation for the batter—no overcomplicated techniques here—and the layering and swirling add a fun visual touch that makes it look just as pretty as it tastes. The key is not overmixing once you combine everything; a gentle fold keeps the batter light and tender. Once baked, you get a loaf that’s beautifully marbled, moist, and filled with cozy flavors. It’s perfect for when you want something comforting but don’t have hours to fuss in the kitchen. And trust me, the smell alone will make your house smell like a bakery.
Ingredients
For the Main Batter:
- 1 ½ cups all-purpose flour (you can use half whole wheat for a healthier twist)
- 1 teaspoon baking powder
- ½ teaspoon baking soda
- ½ teaspoon salt
- 1 teaspoon ground cinnamon
- ½ teaspoon nutmeg (optional but gives a warm depth)
- 1 cup granulated sugar (or coconut sugar for a bit more depth)
- ½ cup vegetable oil or melted coconut oil
- 3 large eggs
- 1 teaspoon vanilla extract
- ¾ cup milk (dairy or almond milk works great)
- 1 cup grated zucchini (squeezed dry to remove excess moisture)
For the Filling:
- ¼ cup brown sugar or coconut sugar
- 1 teaspoon cinnamon
- Optional: chopped nuts or chocolate chips for extra texture or indulgence
For the Glaze:
- ½ cup powdered sugar
- 1–2 teaspoons milk or lemon juice for tangy contrast
- Optional: a pinch of vanilla extract or a drizzle of honey for extra flavor
Step-by-Step Instructions
Step 1: Preheat & Prep Pan
Set your oven to 350°F (175°C). Grease a standard loaf pan or line it with parchment paper—trust me, this makes cleaning soooo much easier. I usually do a quick spray of non-stick spray and then lightly dust with flour or sugar, just to make sure nothing sticks. While it’s preheating, grate your zucchini and squeeze out as much moisture as possible with a paper towel. This helps keep your bread from getting soggy and makes each slice perfectly tender.
Step 2: Mix Dry Ingredients
In a big mixing bowl, whisk together the flour, baking powder, baking soda, salt, cinnamon, and nutmeg. I always do this first—gets everything evenly distributed and saves me from clumps later. It’s important because those leavening agents need full contact with the dry ingredients to give you that nice lift and light texture.
Step 3: Mix Wet Ingredients
In a separate bowl, beat your eggs, sugar, vanilla, oil, and milk until well combined. I add the eggs one at a time so everything stays smooth. I’ve tested it with almond milk with great results—makes it a bit richer, but regular milk works just fine. Splash in the grated zucchini and mix gently; the batter will smell faintly sweet and zucchini-y, which is always a good sign.
Step 4: Combine
Pour the wet ingredients into the dry and fold gently—no stirring wildly, or you’ll end up with a dense loaf. Just enough to combine—I usually stop once there are no streaks of flour. Overmixing can make the bread tough, and that’s the last thing you want.
Step 5: Prepare Filling
Mix together the brown sugar, cinnamon, and any nuts or chocolate chips if you’re using them. This sweet cinnamon filling complements the subtle zucchini flavor and creates those beautiful swirls inside.
Step 6: Layer & Swirl
Pour half of your batter into the loaf pan. Then sprinkle the cinnamon-sugar mixture evenly over it. Add the remaining batter on top. Using a knife or skewer, gently swirl down and around to create those lovely marbled patterns—don’t overdo it, just gentle zig-zags work best. The swirl pattern isn’t just pretty; it’s what makes each slice such a visual treat and guarantees that each bite has a little burst of cinnamon-spiced goodness.
Step 7: Bake
Slide the loaf into the oven and bake for about 50-60 minutes. To test doneness, insert a toothpick into the center—that should come out clean or with just a few moist crumbs. If the top gets too golden before it’s fully baked, tent it loosely with foil. Every oven is different, so keep an eye on it after 45 minutes—no one wants a dry loaf.
Step 8: Cool & Glaze
Let the loaf cool in the pan for about 15 minutes, then transfer to a wire rack. If you’re glazing, mix your powdered sugar with a splash of milk or lemon juice—aim for a drizzle-able consistency. Pour over the cooled loaf once it’s slightly warm (not cold, or the glaze will crack). The glaze is optional but adds that nice sweet sticky finish and a little shine.
Step 9: Slice & Serve
Use a bread knife for clean slices, and wait until it’s cooled enough so it doesn’t squish out the swirl. It’s lovely served warm or room temperature. I love pairing it with a cup of coffee or tea. Sometimes I toast a slice and spread a little butter—heaven. And a little whipped cream or a dollop of yogurt on the side makes it feel a bit more indulgent, perfect for weekend brunch or a cozy afternoon treat.
What to Serve It With
This zucchini swirl loaf is so versatile that it plays nicely with a bunch of different serving ideas. For breakfast, I love it with a drizzle of honey and fresh berries—looks pretty, tastes divine. It’s perfect for brunch, paired with a fluffy scramble or some crisp bacon on the side, and a nice milky latte or herbal tea. When I serve it as a dessert, I like to warm it up slightly and add a dusting of powdered sugar or a splash of vanilla glaze. If I’m craving something casual, I’ll just slice it up, spread some butter, and call it good—my kids actually ask for this all the time. I’ve also made mini muffins with this batter—same great flavor, just as adorable and great for on-the-go snacks. Trust me on this one: it’s a lazy weekend hero and a real crowd-pleaser!
Top Tips for Perfecting Your Zucchini Swirl Loaf
Over the years, I’ve learned a few tricks to make this loaf absolutely foolproof. First, squeeze out as much moisture from the zucchini as possible—that step can’t be skipped. Moisture is the enemy of a tender crumb! I recommend using a clean dish towel or a paper towel for this, pressing out the water gently. For the mixing, always fold—no beating or vigorous stirring—that keeps the batter light and airy. When layering and swirling, don’t overmix after adding the filling; you want those beautiful ribbons of cinnamon to really pop. A good tip: use a skewer or butter knife to create your swirls—don’t worry if they look imperfect; that’s part of the charm! You can swap out ingredients—try brown sugar instead of white, or swap in applesauce for some moisture if you want to cut back on oil. When baking, keep an eye on the loaf’s color—every oven varies, and you don’t want a crust that’s too dark or a loaf that’s underbaked. I learned this the hard way! And the glaze—it’s best added once the loaf is completely cooled so it doesn’t melt away into the batter. I’ve experimented with adding a splash of vanilla or orange zest to the glaze, which adds a lovely brightness. Little tweaks make a big difference, so don’t be afraid to make it yours.
Storing and Reheating Tips
This loaf keeps beautifully on the counter covered with a clean towel or wrapped in foil for about 2-3 days. Keep in mind, if it’s warm in your house, airtight storage is best to prevent mold. I usually slice it first so I can grab just what I need—less waste that way. In the fridge, it’ll last about a week if stored in an airtight container—just give it a quick toast or warm-up in the oven before serving to revive that fresh-baked texture. If you want to keep it longer, the freezer is your friend: wrap the cooled loaf tightly in plastic wrap and then foil. It can stay good for up to 3 months! To thaw, just leave it at room temperature or warm slices gently in the microwave. If you’re adding glaze later, wait until the loaf is fully defrosted. Sometimes, I even freeze extra slices for quick weekday mornings—toast it, spread a bit of butter or jam, and you’re good to go. Plus, the moist nature of zucchini helps it stay fresh in the fridge or freezer longer—my secret to making it last.
Frequently Asked Questions
Final Thoughts
This zucchini swirl loaf has become a staple in my kitchen—not just because it tastes amazing, but because it’s a recipe I can rely on. With its beautiful marbled look and cozy flavor, it never fails to bring smiles around my table. The fact that it’s so forgiving, customizable, and made with everyday ingredients makes it extra special. I love experimenting with different fillings, adding chopped nuts or even a hint of orange zest—every batch is a new adventure. If you’re looking for a way to sneak a vegetable into a sweet treat, or just want a loaf that’s a little more interesting than your usual banana bread, give this a try. And don’t forget—baking is all about loving what you make and sharing it with those you care about. I can’t wait to hear how yours turns out! Feel free to leave a comment, share your tweaks, or ask questions—I’m right here, baking alongside you.
banana bread
Ingredients
Method
- Preheat your oven to 375°F. Spray your 9x5 inch loaf pan or line with parchment paper.
- In a large bowl, whisk together the flour, oats, sugar, baking powder, and salt.
- In a medium bowl, mash the bananas. Stir in the oil, peanut butter, sour cream, and beaten egg. Add this mixture to the dry ingredients and combine (do not overmix). Stir in the chocolate chips.
- Transfer the batter to your prepared loaf pan and spread evenly with a spatula. Optional: sprinkle extra chocolate chips on top. Bake for 30 minutes, then loosely cover with foil and bake for another 15-20 minutes or until a toothpick comes out clean. Cool at least 30 minutes in the pan before removing and slicing.