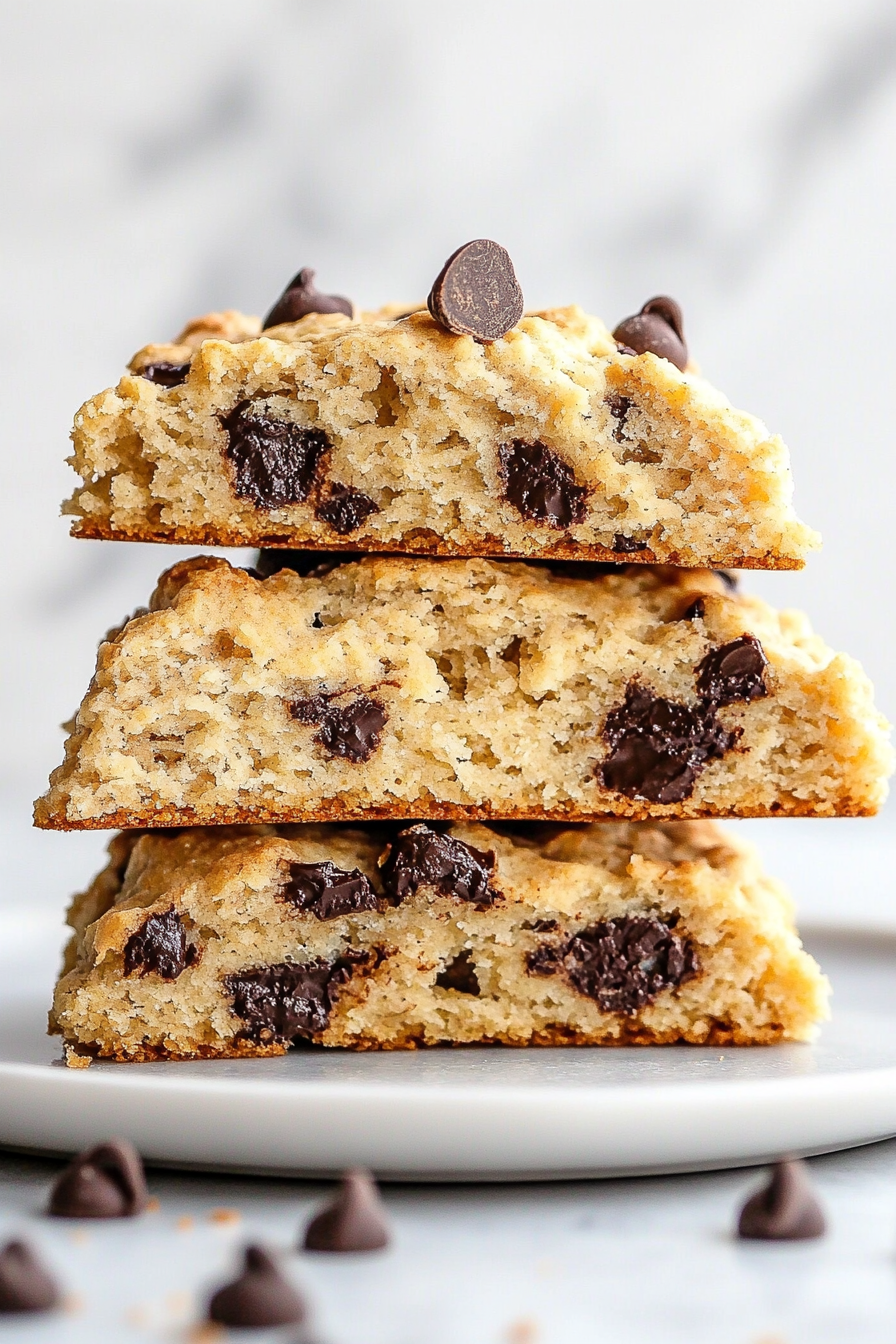
Easy Chocolate Chip Buttermilk Scones
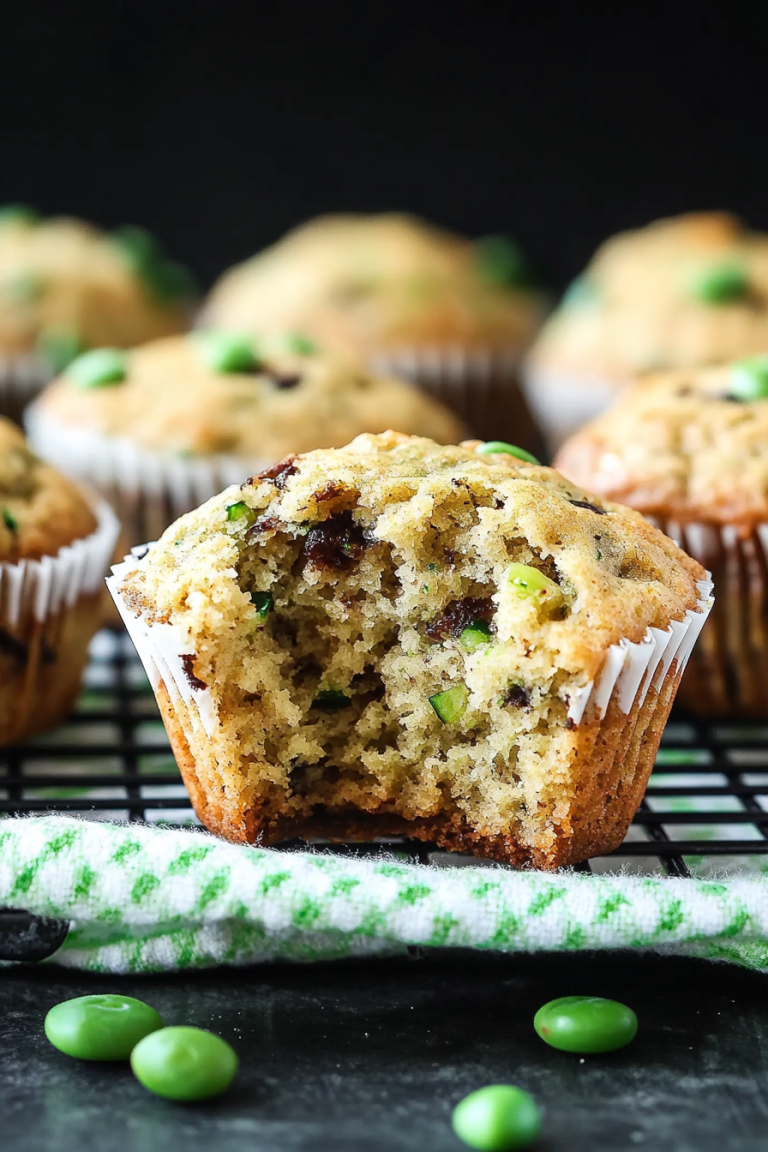
There’s just something about baking bread that makes my house feel cozy, like I’m wrapping everyone in a warm hug. This zucchini banana bread? Oh my gosh, it’s become a family favorite around here — I always do this when I want something comforting but still a little special. The smell alone gets everyone rushing into the kitchen, and I swear, it disappears in minutes at my house. My kids ask for this all the time, especially when those overripe bananas start to pile up on the counter. It’s sweet, moist, and RICH without being overly sugary — perfect when you’re craving something sweet at 10pm but don’t want to bake a whole cake. Plus, sneaking zucchini in? Consider this a win for sneaky veggie eating! I’ve tested this with almond milk and it actually made it even creamier — trust me, it’s a game changer. So if you’re ready to turn simple ingredients into a showstopper, let’s dive into this cozy, delicious zucchini banana bread that I swear will become your new go-to!
What is Zucchini Banana Bread?
Think of zucchini banana bread as a lovely family recipe that marries the best of breakfast bread and a little indulgence. It’s essentially a moist, tender loaf made with ripe bananas and grated zucchini — two ingredients that add both flavor and moisture without making it heavy. The name might sound a little odd at first: zucchini, often seen as a vegetable, pairs beautifully with sweet bananas, giving the bread a subtle, veggie-enhanced richness. The concept behind it is pretty simple: use up those bananas that are turning brown and the zucchini lurking in the fridge before they go bad. This bread is perfect for breakfast, snack-time, or even a light dessert. It’s a great way to sneak in some extra veggies, especially if you have picky eaters, and it’s kind of like a hug in bread form. Think of it as a comforting, nutritious treat that’s just as good with a cup of coffee in the morning as it is for a cozy afternoon snack — seriously, it’s that flexible!
Why you’ll love this recipe?
What I love most about this zucchini banana bread is how wonderfully it combines simplicity with flavor. The first bite is like a soft cloud of sweetness with just the right hint of earthiness from the zucchini. The bananas give it that rich, caramelized flavor — you know, that kind of warm smell that hits your nose and instantly makes you feel at home. Plus, the process is so straightforward; I’ve made this countless times, and it never fails. Even if you’re not a seasoned baker, you’ll find this so easy to whip up on a lazy Sunday or a busy weekday when you need a little comfort. Budget-wise? It’s super affordable since it uses pantry staples—ripe bananas, zucchini, flour, sugar, and eggs. Best part? It’s incredibly versatile. Serve it warm with butter, drizzle a glaze over it, or even top with some chopped nuts. What I really love most about this is that it’s a sneaky way to get extra veggies into my kids without them noticing. The texture is so moist and tender, and the flavor strikes that perfect balance — sweet but not overly sugary. Plus, it’s forgiving. You can swap ingredients, tweak sweetness, or add extras — it’s just that kind of cozy recipe that feels like a warm hug. Honestly, I think everyone needs a comforting loaf like this in their back pocket — it’s a lifesaver on busy nights or when friends drop by!
How do you make Zucchini Banana Bread?
Quick Overview
This zucchini banana bread is all about ease and flavor. You start by mixing the dry ingredients, then mash your ripe bananas and grate some zucchini — no fancy techniques required. Combining everything takes just a few minutes, and baking is pretty straightforward. The best part? The batter is super forgiving, so don’t worry if your zucchini isn’t perfectly drained or your bananas aren’t exactly squishy. Once it’s in the oven, you get a scented, golden loaf that’s moist and packed with flavor. The glaze adds that extra touch of sweetness and shine, but you can skip it if you’re feeling minimalist. Trust me, this bread is the type of comfort food that feels like home — it’s perfect for sharing or for keeping all to yourself during a lazy weekend.
Ingredients
For the Main Batter:
– 2 cups all-purpose flour (or whole wheat for a healthier twist)
– 1 teaspoon baking soda
– ½ teaspoon salt
– 1 teaspoon cinnamon (optional but recommended)
– 1 cup sugar (white or brown, depending on your preference)
– ½ cup unsalted butter, melted (or coconut oil for dairy-free)
– 2 large ripe bananas, mashed
– 1 cup grated zucchini (squeezed out excess moisture)
– 2 large eggs
– 1 teaspoon vanilla extract
For the Filling (Optional):
– Chopped walnuts or pecans
– A handful of mini chocolate chips
– Dried cranberries for a touch of tartness
For the Glaze:
– ½ cup powdered sugar
– 1-2 teaspoons milk or lemon juice
– A splash of vanilla (if you like)
Step-by-Step Instructions
Step 1: Preheat & Prep Pan
Preheat your oven to 350°F (175°C). Grease a loaf pan with butter or line it with parchment paper — I like to give it a quick spritz of non-stick spray just to be safe. This way, the bread slides out easily and keeps that perfect shape. Set it aside while we get our batter ready.
Step 2: Mix Dry Ingredients
In a large bowl, whisk together the flour, baking soda, salt, and cinnamon. This step ensures everything is evenly distributed so your bread bakes uniformly and gets that lovely rise. It’s a quick whisk that makes all the difference—trust me on this one. An overly mixed batter can get dense, so I just do this gently.
Step 3: Mix Wet Ingredients
In a separate bowl, mash the bananas until smooth — I do this with a fork, but a potato masher works too. Then, add the melted butter, eggs, and vanilla, whisking until smooth and well combined. I’ve tested this with almond milk instead of butter, and it made the bread even more tender and moist — totally worth trying if you’re dairy-free. The key is to keep everything at room temp so the butter doesn’t seize up.
Step 4: Combine
Add the wet ingredients to the dry and gently fold together until just combined. Overmixing can make the bread dense, so the moment it looks just combined, stop. The batter will be thick but pourable. If it feels too stiff, a splash more milk can loosen it up.
Step 5: Prepare Filling
If you’re using extras like nuts or chocolate chips, fold them into the batter now. Or, if you prefer, sprinkle some on top before baking for a pretty finishing touch. I love adding walnuts for a bit of crunch, but the mini chocolate chips make it even more irresistible for my kids.
Step 6: Layer & Swirl
Pour half of the batter into your prepared loaf pan. If you’re adding filling, spread it evenly over, then pour the remaining batter over the top. For a pretty swirl, drop spoonfuls of extra mashed banana or zucchini mixture and use a skewer or knife to gently swirl through, creating pretty ribbons and marbling effect.
Step 7: Bake
Pop your loaf into the oven and bake for about 50-60 minutes. The house will smell divine — that warm cinnamon smell is just the beginning. I start checking around 50 minutes; insert a toothpick or cake tester in the center — if it comes out clean, you’re good. If it’s sticky, bake for a few more minutes. Variations in oven calibration can affect bake times, so keep an eye on it!
Step 8: Cool & Glaze
Once baked, let the bread cool in the pan for about 10 minutes, then transfer it to a wire rack. Cooling helps set the crumb and makes slicing easier. For the glaze, whisk together powdered sugar and milk or lemon juice until smooth. Drizzle over the slightly warm loaf and let it set for a few minutes. I like to add a touch of vanilla to my glaze for that extra flavor punch.
Step 9: Slice & Serve
Use a sharp serrated knife to slice — cut through with gentle sawing motions for perfectly neat pieces. Serve warm or at room temperature. I love this with a smear of butter or a dollop of whipped cream for dessert. Or, breakfast-style, with a hot cup of coffee and a few fresh berries. It makes a lovely, comforting snack or a sweet start to any day.
What to Serve It With
Honestly, this bread is so versatile, it pairs well with just about anything. For breakfast, I love serving it with a steaming mug of coffee or Earl Grey tea, maybe with a small bowl of yogurt on the side. My family loves it with fresh fruit — strawberries or sliced peaches really brighten up the entire plate.
On weekends, I’ll make it fancy with a dollop of mascarpone cheese or cream cheese spread. Sometimes, I toast a slice and spread a bit of butter or almond butter — it’s like a cozy brunch vibe. When I want to serve it as a fancy dessert, I drizzle honey or caramel over it, and sprinkle some chopped nuts for crunch. It’s also perfect for packed lunches or quick snacks — just slice and wrap tightly.
My favorite tradition? Cutting a thick slice, smothering it with butter, and serving it with a hot cuppa. The smell alone brings everyone to the kitchen, and it’s like a mini celebration every time. I’ve even frozen slices for busy mornings; they toast up beautifully straight from the freezer. Trust me, it’s one of those recipes that makes everyday moments feel special.
Top Tips for Perfecting Your Zucchini Banana Bread
Like any good baker, I’ve learned a few tricks over the years that make this bread turn out just right every time. Here are my pro tips:
- Zucchini Prep: Always squeeze out excess moisture after grating. Moisture is the enemy of fluffy bread, so if your zucchini is too watery, your loaf might turn out dense.
- Mixing Advice: Be gentle when combining wet and dry. Overmixing will give you a tough crumb. Stop as soon as the batter is just combined — that’s when it’s perfect.
- Swirl Customization: For more beautiful marbling, add dollops of batter and zucchini mash in alternating layers, then swirl with a toothpick. Practice makes perfect — don’t stress if it’s not picture-perfect the first few times.
- Ingredient Swaps: I’ve swapped out half the flour for oats or almond meal, which adds a nice texture. Using coconut sugar instead of regular gives a deeper flavor. Just remember, swaps can tweak bake time and moisture — test and adjust accordingly!
- Baking Tips: For evenly baked bread, make sure your oven rack is in the middle and avoid opening the door too often. Use a toothpick test and remember that residual heat keeps baking even outside the oven.
- Glaze Variations: Want it dairy-free? Use a sprinkle of shredded coconut or a squeeze of lemon on top for shine and flavor. For a more decadent touch, sprinkle a tiny bit of sea salt on the glaze before it sets — it balances the sweetness beautifully.
This recipe has been such a staple that I’ve experimented with it endlessly. The key is patience and tasting as you go — I promise, once you get the hang of it, it’s foolproof. Sometimes, I throw in a handful of dried cranberries or a dash of orange zest — little tweaks that make it feel new each time. Just remember, the secret is in the balance — moist but not greasy, sweet but not cloying. Once you nail that, you’ll be making this weekly. Trust me, your family will thank you.
Storing and Reheating Tips
This bread keeps surprisingly well, especially if wrapped tightly. Sheets of plastic wrap or foil work great, or you can put it in an airtight container. At room temperature, it’s good for about 2 days — just make sure to keep it out of direct sunlight or humid spots to prevent mold. If you want to keep it longer, pop slices into the refrigerator for up to a week, making sure they’re tightly wrapped. Reheat slices in the microwave for about 15-20 seconds for an almost-fresh feel. If freezing, wrap slices individually and store for up to 3 months. Thaw at room temp or give it a quick microwave nudge. I recommend adding the glaze after reheating if you’re going for that glossy, sweet finish. This way, it stays fresh-looking and flavorful, even days later. The bread stays tender and moist, making it a reliable go-to for whenever you need a little comfort in a slice.
Frequently Asked Questions
Final Thoughts
Honestly, this zucchini banana bread has become more than just a recipe in my kitchen — it’s a little tradition, a quick fix for all kinds of moods. Its soothing aroma, tender crumb, and subtle sweetness just hit the spot every single time. I love that it sneaks in some veggies, making it a slightly healthier treat, but my real reason for making it? Because it’s cozy, versatile, and downright delicious. This loaf has seen me through lazy Sundays, quick breakfast emergencies, and even last-minute guest visits. Once you’ve made it a few times, I bet it’ll be your pantry-saving hero, too. So grab those bananas and zucchini — your next favorite baking adventure awaits! Drop me a comment below if you try it — I love hearing how yours turns out, and don’t forget to share your fun tweaks. Happy baking!
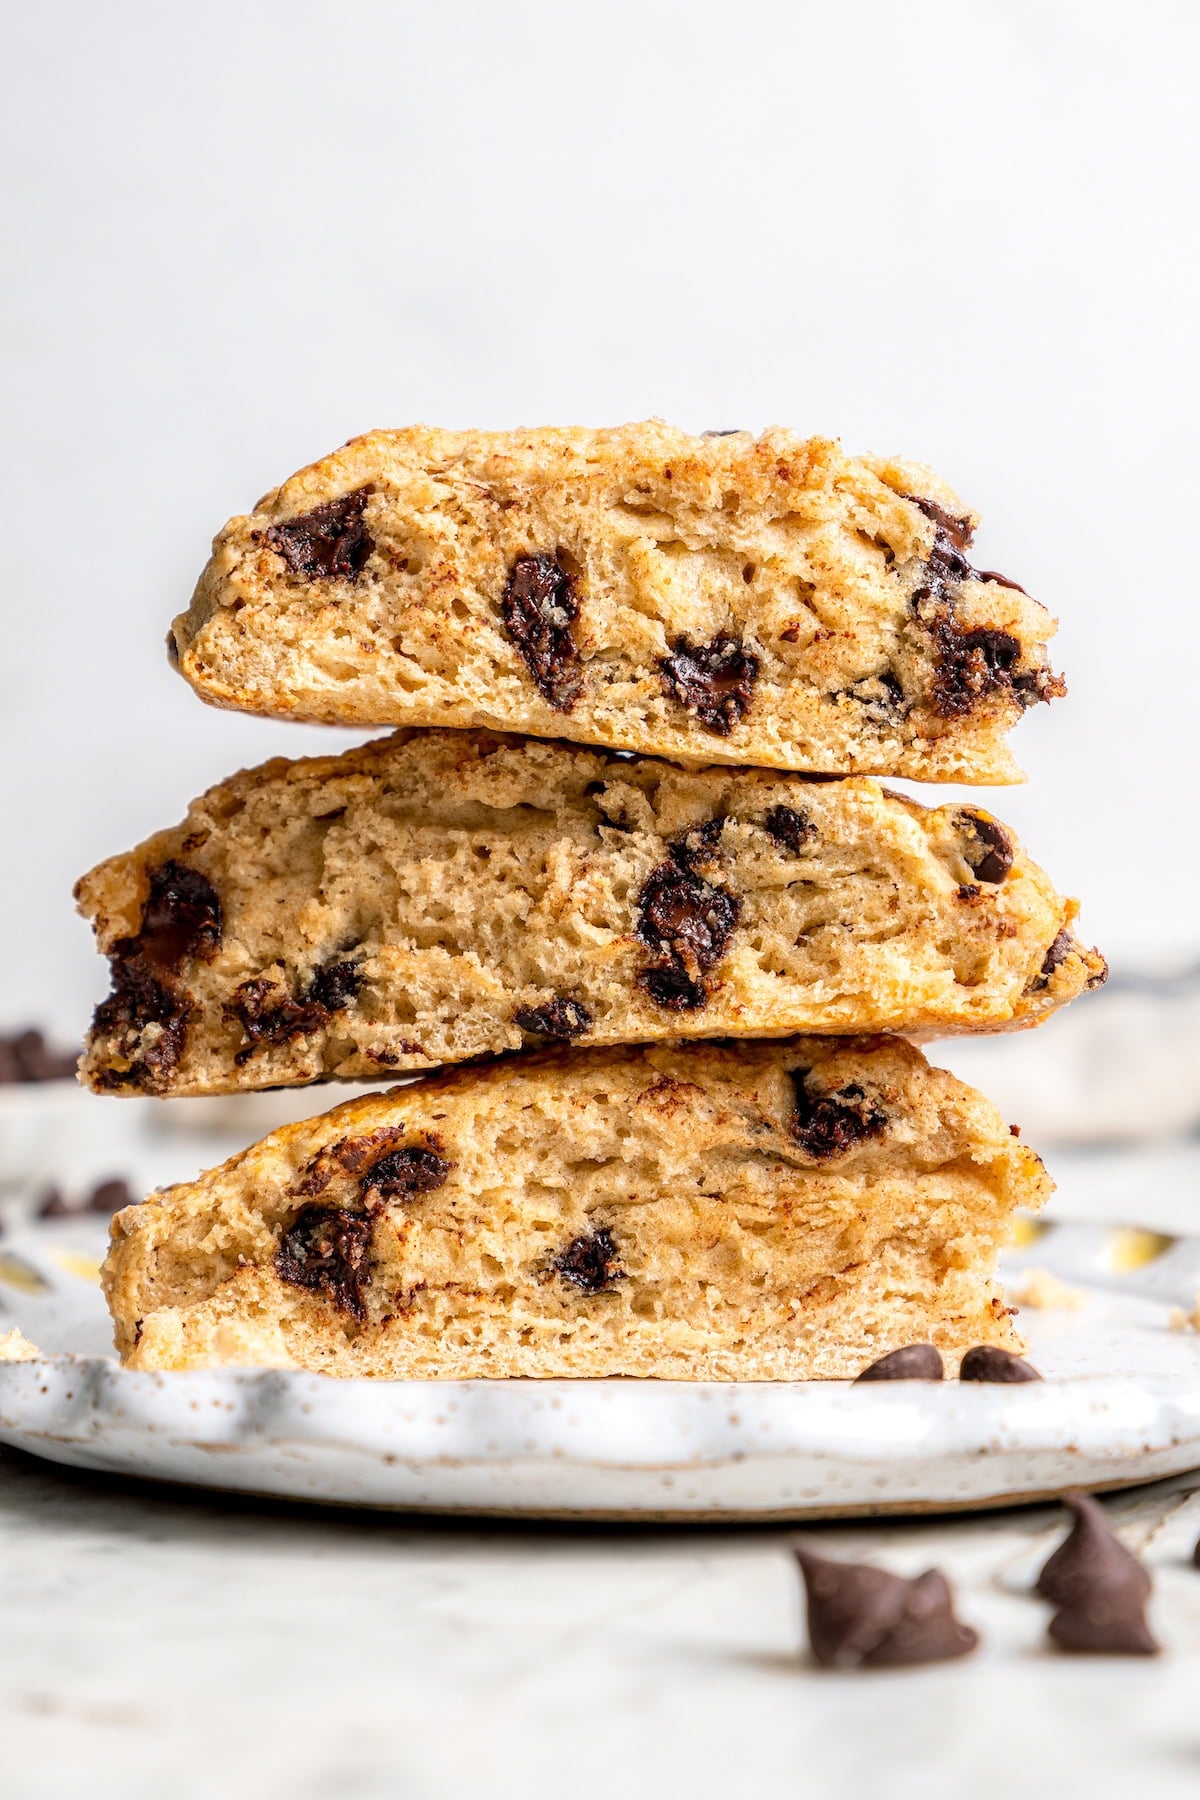
chocolate chip scones
Ingredients
Method
- Preheat oven to 375°F.
- Combine the first four ingredients in a medium bowl, stirring with a whisk.
- Spray baking sheet with cooking spray.
- Combine flour, baking powder, salt in a large bowl, stirring with a whisk. Cut in chilled butter until the mixture resembles coarse meal.
- Gently fold in chocolate chips. Add milk mixture, stirring just until moist.
- Place dough onto a floured surface and knead lightly four times with floured hands.
- Form dough into a 9-inch circle onto baking sheet, about 3/4 inch thick.
- Using a knife, cut dough into 12 wedges all the way through.
- Brush egg white over dough and sprinkle evenly with sugar.
- Bake until golden, about 18-20 minutes. Serve warm.