Brownie Cookie Bars How to Make Them
There’s just something about a loaf that makes the kitchen feel warm and inviting, isn’t there? I remember the smell of my grandma’s kitchen when she baked her zucchini bread—those sweet, citrusy notes wafting through the air, making everyone gather just because. That memory sticks with me, especially when I whip up this zucchini lemon loaf. It’s honestly become my go-to quick treat when I want something comforting yet bright and fresh. My kids ask for this all the time, especially during summer when zucchini is plentiful from our garden, and I swear, it’s the best way to sneak in some veggies without anyone noticing. Trust me, this one’s a lifesaver on busy weeknights when dessert feels like a distant dream but you still crave something sweet and uplifting. Plus, it’s so easy, I always do this when I need a little slice of happiness—no fancy equipment needed. It’s a recipe I love because it’s versatile, forgiving, and smells like sunshine. Let’s get baking—your kitchen’s about to smell incredible!
What is Zucchini Lemon Loaf?
Think of this zucchini lemon loaf as a little hug in baking form. It’s essentially a moist, tender loaf cake that marries the subtle earthiness of zucchini with the zingy brightness of fresh lemon. The name might sound fancy, but I promise, it’s super simple to make. It’s a bit like a more sophisticated quick bread that feels fancy enough for weekend brunch but casual enough to whip up on a weekday. The magic of it is in how the grated zucchini keeps the crumb moist and tender, while the lemon zest and juice add a fresh, tangy punch that awakens your senses. It’s a hit with everyone I’ve ever made it for—adults, kids, even picky eaters, and the best part? It’s really forgiving, meaning you can tweak the sugar or lemon to suit your taste. Think of it as a cozy little cake that’s perfect with a cup of coffee or tea, and a great way to get kiddos to eat their veggies without fuss. That’s what makes this recipe special—delicious, simple, and a little bit nourishing too!
Why you’ll love this recipe?
What I love most about this zucchini lemon loaf is how it hits every note with minimal fuss. For starters, the flavor—bright, citrusy, with just a hint of sweetness. Honestly, it’s like a sunny day in every bite. The lemon zest really brightens up the zucchini, making this more than just a ‘healthy’ snack; it’s an indulgence that’s guilt-free. It’s also crazy easy to pull together. I’ve made this countless times, and I still love how straightforward the prep is—mix, pour, bake, done! No complicated techniques, no fancy gadgets—just simple, honest ingredients. And if you’re on a budget, you’ll be pleased to know that most of what you need is already in your pantry and fridge—flour, sugar, eggs, and of course, zucchini from your garden or farmers’ market. Plus, the versatility is endless. Want to make it gluten-free? Swap in almond or gluten-free flour. Love extra lemon? Add a little more zest or even a lemon glaze on top. My biggest win? How it makes my kitchen smell—fresh, citrusy, and irresistible. It’s one of those recipes that feels like a warm hug and a burst of sunshine all at once. Honestly, it’s become a family favorite, and I think it will be yours too once you try it.
How do I make Zucchini Lemon Loaf?
Quick Overview
This zucchini lemon loaf comes together in just about an hour, from start to finish. First, you grate the zucchini (no need to peel), squeeze out excess moisture—trust me, that step makes all the difference—then whisk up your wet ingredients. Meanwhile, you combine your dry ingredients and gently fold everything together, careful not to overmix (a common mistake I used to make!). After assembling the batter in your loaf pan, it bakes into a beautifully moist and fragrant cake. While that’s cooling, I usually prep the lemon glaze—simple powdered sugar and lemon juice—my secret weapon for that shiny, tangy finish. This recipe is forgiving, so if you’re in a rush, you can skip the glaze or add some nuts on top—totally up to you. Honestly, once you get the hang of it, you’ll see how quick and adaptable it is. The best part? It’s perfect for a snack, breakfast, or even an impromptu gift. Just pop it in the oven, and your kitchen is filled with the most delightful aroma—your family will thank you!
Ingredients
For the Main Batter:
- 2 cups all-purpose flour (or gluten-free flour blend)
- 1 teaspoon baking powder
- 1/2 teaspoon baking soda
- 1/4 teaspoon salt
- 1/2 cup granulated sugar
- 1/2 cup light brown sugar (for depth and moisture)
- 3/4 cup vegetable oil (or melted coconut oil for a richer flavor)
- 3 large eggs
- 1 teaspoon vanilla extract
- Zest of 2 lemons
- 1/4 cup fresh lemon juice
- 1 1/2 cups grated zucchini (about 1 medium zucchini)
For the Filling:
- Optional: 1/2 cup chopped nuts (walnuts or pecans work beautifully)
For the Glaze:
- 1 cup powdered sugar
- 2-3 tablespoons fresh lemon juice
- Additional lemon zest for garnish (optional)
Step-by-Step Instructions
Step 1: Preheat & Prep Pan
Set your oven to 350°F (175°C). Grease your loaf pan with butter or non-stick spray and lightly dust with flour, or just line it with parchment paper. This makes cleanup a breeze and keeps your loaf from sticking—trust me, I’ve learned this one the hard way more than once. While the oven warms, zest and juice your lemons, then set aside.
Step 2: Mix Dry Ingredients
In a large bowl, whisk together the flour, baking powder, baking soda, and salt. This step ensures everything mixes evenly and avoids clumps—something I always do to prevent dense spots in the loaf. Set this aside for now.
Step 3: Mix Wet Ingredients
In a separate bowl, whisk together the sugars, oil, eggs, and vanilla until smooth. I like to do this with a fork at first, then switch to a whisk—makes blending easier. Add the lemon zest and juice, then beat again until fragrant and well combined. A tip: don’t overmix at this stage; just get it combined so your loaf stays tender.
Step 4: Combine
Pour the wet mixture into the dry ingredients. Gently fold together using a spatula—think slow and gentle here. Overmixing can create a tough crumb, and believe me, I learned this after a few dense loaves. Fold until just combined—you want it to look a little lumpy and rustic.
Step 5: Prepare Filling
If you’re adding nuts, fold these in now. They add a nice crunch and a subtle flavor boost. You can also leave it plain—either way works beautifully.
Step 6: Layer & Swirl
Pour half the batter into your pan, then sprinkle on some nuts if using, followed by the rest of the batter. If you want a pretty swirl, drop spoonfuls of lemon curd or additional lemon zest on top, then swirl gently with a toothpick or skewer. This adds a lovely design and extra flavor punch.
Step 7: Bake
Pop it into your preheated oven and bake for 50-55 minutes. Keep an eye on it, and do the toothpick test—insert in the center, and if it comes out clean, it’s ready. Honestly, I find that every oven varies, so start checking at 50 minutes. If the top browns too fast, tent it with foil.
Step 8: Cool & Glaze
Let the loaf cool in the pan for about 10 minutes, then transfer to a wire rack. While it’s still slightly warm, drizzle with your lemon glaze. For the glaze, mix powdered sugar with lemon juice until smooth—add more sugar if it’s too runny, more lemon if you want extra zing. This glossy finish makes it look as good as it tastes!
Step 9: Slice & Serve
Once cooled completely, slice with a serrated knife. The loaf should be moist and flavorful, with zesty bursts in every bite. Serve at room temperature with a hot cup of tea or coffee—absolutely heavenly. Also, enjoy the leftover slices the next day; it’s just as good, if not better, once the flavors meld a bit.
What to Serve It With
This zucchini lemon loaf is versatile enough to shine at any occasion. For breakfast, I love serving it alongside my morning coffee—brightened with a squeeze of fresh lemon on top. It’s also perfect for brunch—pair it with a dollop of whipped cream or a drizzle of honey, and maybe some fresh berries for color and acidity. As a dessert, I add a dusting of powdered sugar or a little extra lemon zest, alongside a scoop of vanilla ice cream or a dollop of Greek yogurt. My family’s favorite is having it as a casual snack—cut into thick slices and enjoyed with a glass of cold milk or a warm cup of herbal tea. Honestly, it’s become a staple at our house, especially during summer zucchini season. Whether you’re making this for yourself or sharing with loved ones, I guarantee it’ll bring a little sunshine to your day.
Top Tips for Perfecting Your Zucchini Lemon Loaf
After making this dozens of times, I’ve picked up a few tips I think you’ll find helpful. First, when grating zucchini, use a box grater and press out as much moisture as possible—this step is key to getting a light, airy crumb. I’ve tried using almond milk instead of regular milk in the glaze and it actually made it even creamier, so feel free to experiment with dairy-free options if you like. When mixing the batter, fold gently—overmixing can turn your loaf dense, and nobody wants that! If you want more lemon punch, add extra zest or lemon extract—just taste as you go. For a prettier swirl, drop spoonfuls of lemon curd in the batter before swirling with a skewer or butter knife. Baking times might vary depending on your oven, so start checking at 50 minutes and look for a golden top and a clean toothpick. Lastly, if you prefer a drier loaf for packing in lunches, bake a little less; if you like it extra moist, give it a few more minutes, but keep an eye on it. I’ve learned that each oven is unique, so trust your senses—look, smell, and test—and you’ll nail it every time.
Storing and Reheating Tips
This loaf keeps well for several days if stored properly. For the best freshness, wrap it tightly in plastic wrap or keep it in an airtight container at room temperature for up to 2 days. If you want it to stay moist longer, pop it in the fridge—just make sure it’s well wrapped; sunlight and air are enemies of freshly baked goods. The fridge will extend its life to about 4 days, and I find that it actually tastes just as good cold or slightly warmed. To freeze, wrap slices individually in plastic wrap, then place in a zip-top bag. It’ll last for about a month, and I always take slices out the night before if I want to enjoy it warm in the morning. To reheat, just warm the slice in the microwave for about 15-20 seconds, or toast it lightly—delicious either way. If you’re adding glaze after freezing, do that right before serving—that’s the secret to that glossy, fresh look. Honestly, I’ve preserved this loaf perfectly in the freezer, and it’s like time travel—coming out just as tasty as fresh.
Frequently Asked Questions
Final Thoughts
This zucchini lemon loaf is more than just a recipe; it’s a love letter to simple, honest baking. Every time I make it, I’m reminded of childhood mornings and laughing with my family during summer picnics. It’s proof that you don’t need fancy ingredients or complicated steps to create something truly special—just good ingredients, a little patience, and a sprinkle of love. I’ve tested this so many times, and it never fails to make my kitchen smell like sunshine. Whether you’re looking for a quick breakfast, a cheerful snack, or a light dessert, this loaf checks all the boxes. I hope you try it and find as much joy in baking and sharing it as I do. Don’t forget to leave a comment or tag me in your photos—I love hearing how yours turns out. Happy baking, my friend—enjoy every luscious, citrusy bite!
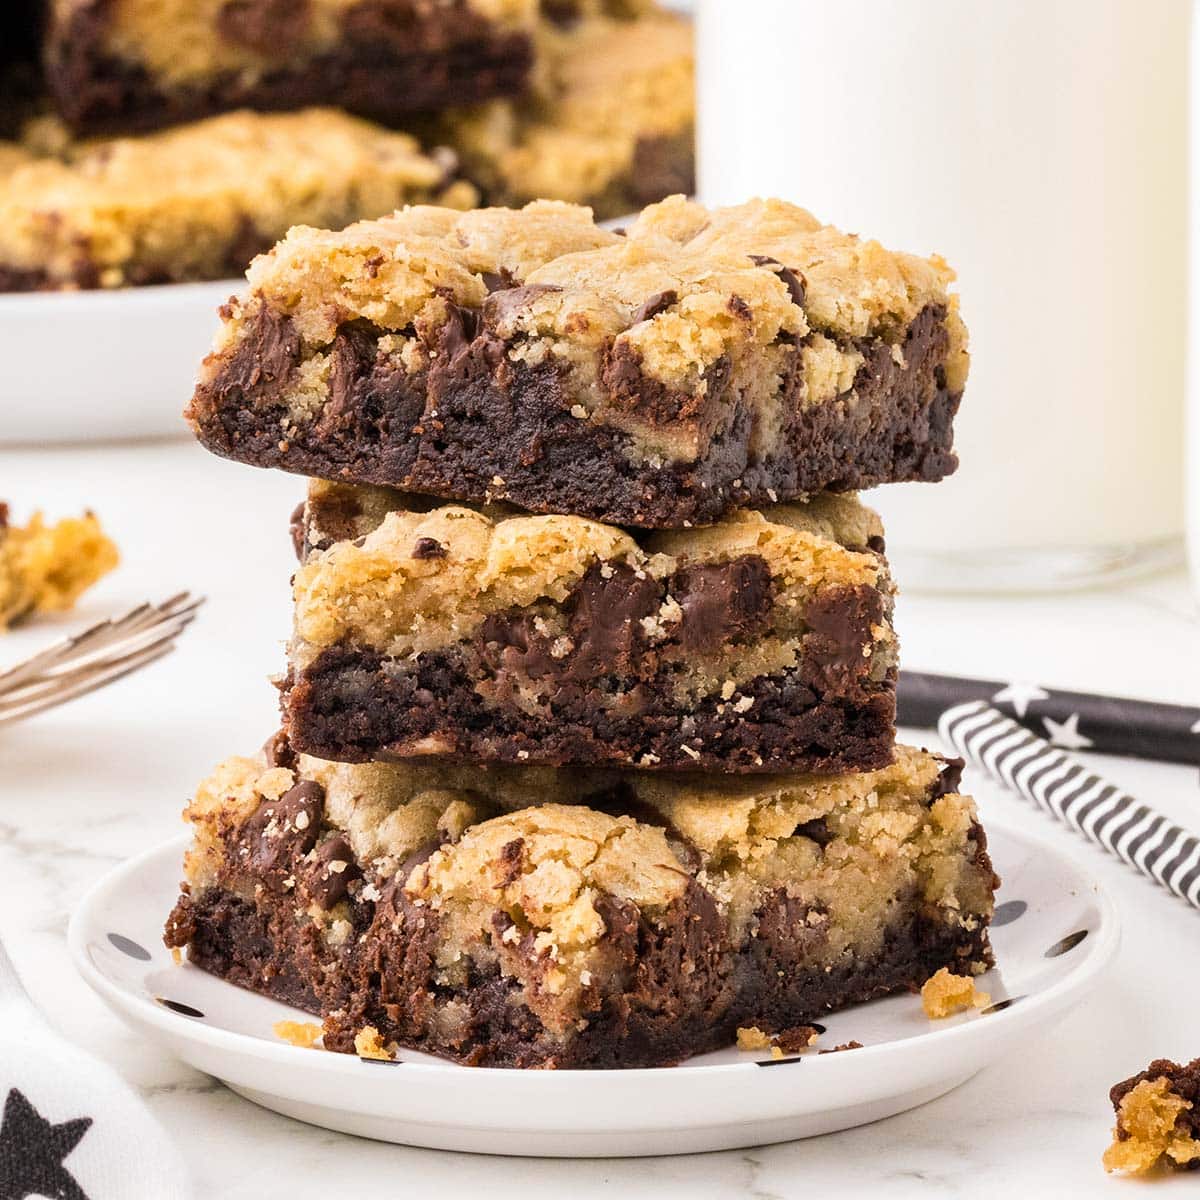
brownie cookie bars
Ingredients
Method
- Preheat the oven to 325°F. Line a 9x13 inch baking pan with parchment paper and lightly spray with non-stick spray. Set aside.
- In a large bowl, add the brownie mix, eggs, water, vegetable oil, and stir to combine according to package directions.
- Pour the brownie batter into the prepared baking pan and spread evenly. Set aside.
- In a separate bowl, beat melted butter, light brown sugar, and granulated sugar until fully combined.
- Add the egg, egg yolk, and vanilla extract. Mix until smooth.
- Add flour, cornstarch, baking soda, and salt to the wet mixture. Mix on low speed until no dry streaks remain.
- Fold in chocolate chips evenly into the cookie batter.
- Drop spoonfuls of cookie dough over the brownie layer and gently spread to cover most of the surface.
- Bake for 20 minutes covered with aluminum foil, then remove foil and bake for an additional 15-20 minutes until golden and set.
- Cool completely before lifting out and slicing into bars.