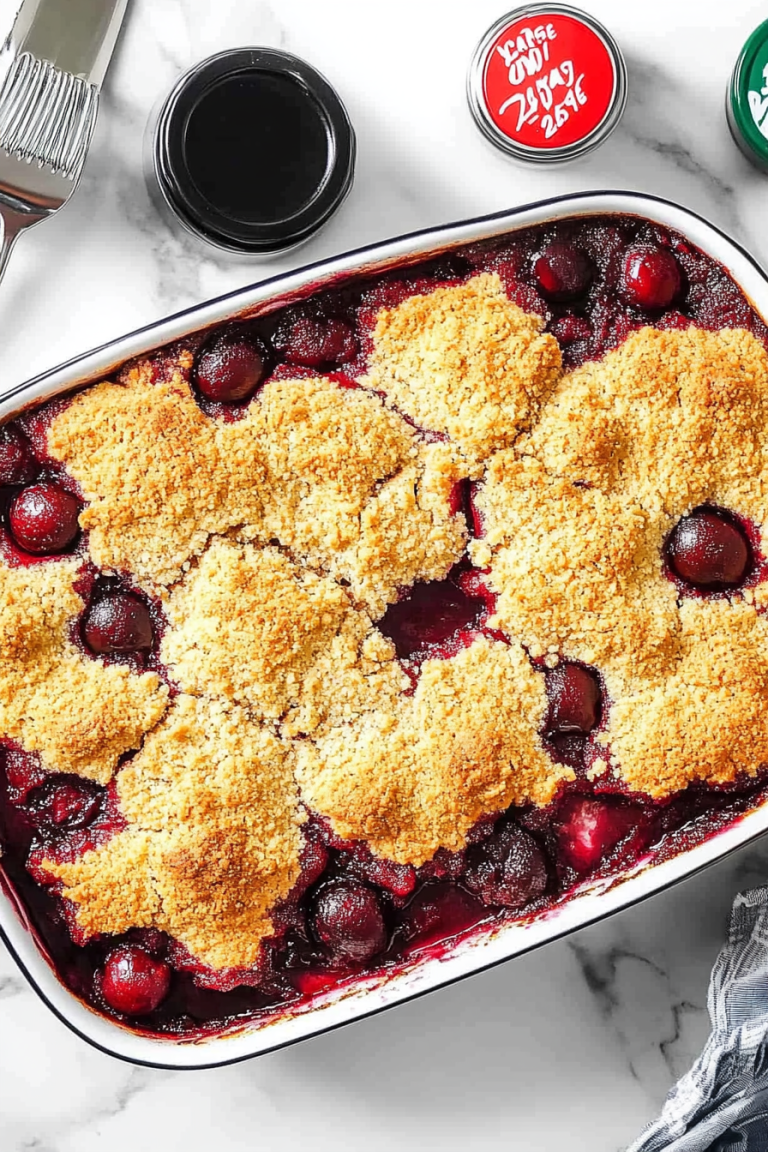
Easy Refreshing Cherry Lime Pops
Oh, where do I even begin with this zucchini bread? It’s more than just a recipe; it’s like a warm hug on a chilly morning, or that sweet little treat you deserve after a long day. My grandma used to make this for us every summer when the garden overflowed with zucchini, and the smell of it baking would fill our whole house. Honestly, it’s the kind of thing that makes me feel instantly nostalgic and incredibly comforted. It’s so wonderfully moist and packed with cinnamon-y goodness that it rivals any fancy bakery loaf. If you’ve ever thought zucchini bread was bland or just… there… you haven’t tried *this* one. It’s the ultimate zucchini bread, and I’m so excited to share it with you!
What is Zucchini bread?
So, what exactly *is* zucchini bread? At its heart, it’s a quick bread – meaning it uses a chemical leavener like baking soda or baking powder instead of yeast, so you don’t have to wait around for dough to rise. Think of it as a super moist, slightly sweet cake that happens to have grated zucchini tucked away inside. The zucchini, believe it or not, is the secret weapon here! It adds an incredible amount of moisture and a tender crumb without imparting any strong zucchini flavor, especially if you use it when it’s fresh and young. The name “zucchini bread” is pretty straightforward, but the magic comes from how those simple ingredients come together to create something so incredibly delicious and satisfying. It’s a classic for a reason, and this version is truly the king of them all!
Why you’ll love this recipe?
Okay, let me gush for a second about why this recipe is a total winner in my book. First off, the flavor is just out of this world. It’s perfectly spiced with cinnamon and nutmeg, and the subtle sweetness is balanced just right. Every bite is incredibly moist thanks to all that zucchini goodness – no dry, crumbly bread here, I promise! And the texture? Oh my gosh, it’s so tender and delicate, almost like a cake but with that satisfying bread-like chew. What I love most about this is how ridiculously simple it is to make. You can seriously whip up the batter in about 10-15 minutes, which is a lifesaver on busy weeknights when everyone’s asking “What’s for snack?” The ingredients are all pantry staples, too, so it’s super budget-friendly. Plus, it’s incredibly versatile! You can toss in some chopped walnuts or chocolate chips, serve it warm with a pat of butter, or even toast slices for a cozy breakfast. I’ve made this countless times, and it never, ever fails to get rave reviews. It’s just pure, unadulterated comfort food that happens to be pretty darn healthy for you too, thanks to all those sneaky veggies!
How do you make Zucchini bread?
Quick Overview
This recipe is designed for maximum flavor and minimum fuss. You’ll simply whisk together your dry ingredients, mix your wet ingredients, combine them gently, fold in the star ingredient (zucchini!), and bake it until golden and fragrant. It’s all about that easy, no-stress approach that delivers a spectacular result every single time. The beauty of this method is how it ensures every bite is perfectly moist and flavorful, without any complicated steps. It’s truly a foolproof way to make the best zucchini bread you’ve ever tasted!
Ingredients
For the Main Batter:
2 cups all-purpose flour: I always use all-purpose flour, and I find sifting it helps create an even lighter texture, though it’s not strictly necessary if you’re in a rush. Make sure it’s not self-rising flour; we’re using our own leaveners.
1 teaspoon baking soda: This is crucial for that lovely rise and tender crumb. Make sure yours is fresh!
½ teaspoon baking powder: A little extra lift never hurt anyone, right?
½ teaspoon salt: Balances the sweetness and enhances all the other flavors.
1 teaspoon ground cinnamon: The heart and soul of this bread! I use a good quality cinnamon, it really makes a difference.
¼ teaspoon ground nutmeg: Just a touch to add that warm, cozy depth.
2 large eggs: Room temperature eggs incorporate much better into the batter, so let them sit out for about 30 minutes before you start.
1 cup granulated sugar: For that perfect sweetness. I’ve tried reducing it slightly, but I find this amount gives it that classic flavor.
½ cup vegetable oil or melted unsalted butter: Oil keeps it super moist, but melted butter adds a richer flavor. I’ve even done half and half with great success!
1 teaspoon vanilla extract: A must for any good baked good.
2 cups grated zucchini: About two medium zucchini, peeled (optional, but I’ll get to why I do it!) and very well squeezed to remove excess moisture. This is KEY!
For the Filling (Optional, but Highly Recommended!):
½ cup chopped walnuts or pecans: Adds a lovely crunch and nutty flavor. Toast them lightly beforehand for an even better taste!
½ cup chocolate chips: Because who doesn’t love chocolate? Dark or semi-sweet are my go-to.
For the Glaze (Optional, but Gorgeous!):
1 cup powdered sugar: Sifted to avoid lumps.
2-3 tablespoons milk or lemon juice: Milk makes a classic sweet glaze, while lemon juice adds a lovely tangy contrast that really cuts through the sweetness of the bread. Start with 2 tablespoons and add more until you reach your desired consistency.
Step-by-Step Instructions
Step 1: Preheat & Prep Pan
First things first, get that oven preheating to 350 degrees Fahrenheit (175 degrees Celsius). This is a pretty standard baking temperature and gives us a nice, even bake. Grab a 9×5 inch loaf pan. I like to grease it really well with butter or non-stick spray and then dust it with a little flour, tapping out any excess. This little step prevents any sticking disasters, and nobody wants their beautiful loaf stuck to the pan! If you’re feeling fancy, you can also line it with parchment paper, leaving some overhang on the sides to make lifting it out a breeze. I usually do the grease and flour method, it’s been my go-to for years.
Step 2: Mix Dry Ingredients
In a medium-sized bowl, whisk together the flour, baking soda, baking powder, salt, cinnamon, and nutmeg. Whisking them all together thoroughly ensures that the leaveners and spices are evenly distributed throughout the batter. You don’t want any surprise pockets of baking soda! If you have a sifter, I highly recommend giving them a quick sift – it really makes for a lighter final product. Give it a good whisk until everything looks uniformly combined. This simple step is so important for the overall texture and flavor of your zucchini bread.
Step 3: Mix Wet Ingredients
In a separate, larger bowl, whisk together the eggs and granulated sugar until they’re well combined and the mixture is lighter in color. This step helps to dissolve the sugar and creates a smoother base for the batter. Then, gradually pour in the vegetable oil (or melted butter) and the vanilla extract while whisking continuously. Keep whisking until everything is smooth and emulsified. It should look nicely blended and a little glossy. This is the foundation of that incredible moisture!
Step 4: Combine
Now for the magic! Add your dry ingredients to the wet ingredients. Here’s where you need to be gentle. Use a spatula or a wooden spoon to gently fold the dry ingredients into the wet until they are *just* combined. It’s really important not to overmix here! A few streaks of flour are okay – they’ll disappear as you add the zucchini. Overmixing develops the gluten in the flour too much, which can lead to a tough, dense bread. We want tender and moist, remember?
Step 5: Prepare Filling
If you’re adding walnuts, pecans, or chocolate chips, now’s the time! Gently fold them into the batter. Make sure they’re evenly distributed throughout so you get a bit of crunch or chocolatey goodness in every slice. If you’re using nuts, I always like to toss them in a tablespoon of the flour mixture before adding them to the batter. This helps prevent them from sinking to the bottom of the loaf while it bakes. It’s a little trick I learned after one too many loaves with all the goodies clustered at the base!
Step 6: Layer & Swirl
Stir your grated and *well-squeezed* zucchini into the batter. Again, be gentle and fold it in until it’s just incorporated. You’ll see how the batter transforms, becoming thicker and studded with those green flecks. Pour about half of the batter into your prepared loaf pan and spread it evenly. If you’re adding a swirl, now’s your chance. I sometimes like to add a layer of chocolate chips or chopped nuts here, or even a drizzle of my favorite jam. Then, spoon the remaining batter on top and smooth it out. If you’re feeling artistic, you can even create a slight swirl on top with a knife or toothpick. I usually just aim for an even distribution.
Step 7: Bake
Pop that pan into your preheated oven. Bake for about 50-60 minutes. The exact time can vary depending on your oven, so start checking around the 50-minute mark. You’ll know it’s done when a wooden skewer or toothpick inserted into the center comes out clean, with no wet batter attached. A few moist crumbs are perfectly fine, but no wet batter! The top should be golden brown and beautiful. If the top is browning too quickly before the inside is cooked, you can loosely tent it with aluminum foil for the remainder of the baking time. This is my go-to trick when I’m worried about the top getting too dark!
Step 8: Cool & Glaze
Once it’s baked to perfection, carefully remove the loaf pan from the oven and let it cool in the pan on a wire rack for about 10-15 minutes. This allows the bread to set up properly. Then, invert the pan to release the loaf onto the wire rack to cool completely. It’s *so* tempting to slice into it while it’s warm, but trust me, letting it cool is worth it, especially if you plan to glaze it. For the glaze, whisk together the sifted powdered sugar and your chosen liquid (milk or lemon juice) until smooth. You’re looking for a pourable but not watery consistency. Once the bread is completely cool, drizzle or spread the glaze over the top. It’ll harden slightly as it sets, giving you that gorgeous finish.
Step 9: Slice & Serve
Once the glaze has set (or if you skipped the glaze!), it’s time to slice and enjoy! I like to use a serrated knife for clean cuts. The perfect slice is about ¾ inch thick, showcasing the tender crumb and any add-ins. Serve it at room temperature for the best flavor and texture. It’s absolutely delicious on its own, but a little pat of butter or even a smear of cream cheese is divine. My kids usually go wild for this, especially with a few chocolate chips tucked inside. It just disappears so quickly!
What to Serve It With
This zucchini bread is so versatile, it’s practically a culinary chameleon! For a lovely breakfast treat, I love to serve a warm slice with a good cup of coffee. It’s simple, satisfying, and just wakes you up right. For a more elegant brunch setting, I’ll slice it a bit thinner and arrange it on a pretty platter alongside fresh fruit salad and maybe some yogurt. It adds a touch of homemade charm that everyone appreciates. As a dessert, it’s a winner too! A slightly larger slice, perhaps warmed up with a dollop of whipped cream or a scoop of vanilla bean ice cream, is pure indulgence. And for those cozy snack times, especially when the weather turns cooler, a thick slice with a glass of milk is absolute perfection. My family loves it so much, we often have it as an after-school snack, and it’s never lasted long!
Top Tips for Perfecting Your Zucchini Bread
Over the years, I’ve learned a few tricks that have really elevated this zucchini bread from good to absolutely spectacular. For zucchini prep, the most crucial step is squeezing out as much moisture as possible. Grate your zucchini, then place it in a fine-mesh sieve over a bowl and press down firmly with a spoon or your hands. You’ll be amazed at how much liquid comes out! This prevents a soggy loaf and ensures a tender crumb. If you don’t squeeze it enough, your bread can end up dense and gummy, which is definitely not what we want. When it comes to mixing the batter, remember my mantra: “Don’t overmix!” Seriously, just fold until the streaks of flour are *almost* gone. A few are okay; they’ll disappear during baking. Overmixing is the enemy of tender baked goods. For the swirl effect, if you decide to add something like a cinnamon-sugar mixture or a chocolate ganache swirl, don’t go too deep or you might make the bread soggy. A gentle swirl just through the top layer is usually best. For ingredient swaps, I’ve tested this with whole wheat flour, but I find using about half whole wheat and half all-purpose gives a nice balance without making it too heavy. You might need an extra tablespoon or two of liquid if you go this route. If you don’t have vegetable oil, melted butter works beautifully and adds a lovely richness. I’ve even used melted coconut oil in a pinch! Baking can be tricky; always know your oven. If it tends to run hot, reduce the temperature by 10-15 degrees. I also find that placing the loaf pan on the middle rack gives the most even heat circulation. And for the glaze variations, if you want a thicker glaze, use less liquid; for a thinner one, add more. You can also add a pinch of spice like cinnamon or cardamom to the glaze for an extra flavor kick. These little tweaks make all the difference!
Storing and Reheating Tips
Storing this delicious zucchini bread is pretty straightforward, and it stays wonderfully moist for days. At room temperature, it’s best kept in an airtight container or well-wrapped in plastic wrap for up to 3 days. I usually find it’s gone by then anyway! If you’re in a warmer climate or just want to extend its life a bit, refrigerating it is a great option. Wrap it tightly in plastic wrap, then place it in an airtight container. It will stay fresh in the refrigerator for up to a week. The texture might firm up slightly in the fridge, but it’s still incredibly delicious. For longer storage, freezing is your best friend! Wrap the completely cooled loaf (or individual slices) tightly in plastic wrap, then in a layer of aluminum foil, and finally pop it into a freezer-safe bag. It can stay in the freezer for up to 3 months. To thaw, simply unwrap it and let it come to room temperature on the counter for a few hours, or gently reheat slices in a toaster oven or microwave. If you’ve glazed the bread, I usually recommend adding the glaze *after* reheating if you’re planning to freeze it. Glazed bread can sometimes become a bit sticky when thawed from frozen. For reheating slices, a toaster oven is fantastic for bringing back a little crispness to the edges, while a microwave is quick for just warming it through. Honestly, it’s so good cold, warm, or at room temp, you can’t really go wrong!
Frequently Asked Questions
Final Thoughts
So there you have it – my absolute favorite zucchini bread recipe! It’s a recipe that truly embodies comfort and deliciousness, and I’m so happy to have shared it with you. It’s proof that sometimes the simplest ingredients, when treated with a little love and care, can create something truly spectacular. Whether you’re an experienced baker or just starting out, I promise you this recipe is a winner. It’s the perfect balance of moist, tender, and flavorful, and it’s so versatile. Give it a try, and I bet it’ll become a staple in your kitchen too. I can’t wait to hear what you think of it and how yours turns out! Don’t forget to leave a comment below with your own tips or any fun variations you try.

Cherry Lime Pops
Ingredients
Method
- Stem the cherries and remove the pits.
- In a medium saucepan over medium heat, combine the cherries with the water, sugar, and lime juice, and cook until the cherries are very soft and cooked through, about 10-15 minutes.
- Remove from heat and let it cool to room temperature.
- Puree the cherries and their liquid. Strain the mixture through a fine sieve.
- Pour the mixture into ice pop molds and freeze for at least 2 hours.