Spicy Egg Pasta Salad How To
There’s something about cozy kitchen smells that take me right back to childhood. Maybe it’s my grandma’s Sunday mornings or my mom’s baking Sundays when we’d all gather around the counter, fighting over the last slice. One of my favorite memories is sneaking a piece of zucchini bread before breakfast — not knowing that hidden veggie was about to become my secret weapon. And today, I want to share a recipe that’s just as comforting, but with a delicious chocolate twist — zucchini chocolate swirl bread. It’s incredible because it’s moist, not overly sweet, and the swirl of rich chocolate makes it feel decadent but still totally homey. Plus, this “human” touch means it’s foolproof — I’ve tested this countless times, and it’s always a hit. It’s perfect when you want a quick dessert, an afternoon snack, or a breakfast treat that feels special but is so easy to whip up. Trust me, your family will ask for this all the time! It’s like a warm hug in every slice, with that secret veggie sneaking in just enough to make you feel a little virtuous.
What is Zucchini Chocolate Swirl Bread?
Think of this zucchini chocolate swirl bread as the lovechild of classic zucchini bread and chocolate cake — but way simpler and more adaptable. It’s basically a soft, tender loaf that’s packed with shredded zucchini, which keeps it crazy moist and adds a sneaky veggie boost. The chocolate swirl is like a little surprise—hidden inside in gorgeous ribbons or marbled through the batter, giving every slice a luscious, gooey touch of cocoa goodness. This dish actually stems from those old school recipes for zucchini bread, but I couldn’t resist adding a chocolate layer — because, let’s be honest, a little chocolate makes everything better. It’s essentially a cozy, rustic bread that’s begging to be sliced thick, served warm, and enjoyed with a cup of coffee or tea. And the best part? It’s as simple to make as your favorite quick bread, but with an upgraded flavor profile that feels fancy enough for guests or a weekend brunch.
Why you’ll love this recipe?
Okay, let me tell you why I keep coming back to this zucchini chocolate swirl bread. First up, flavor-wise, it’s just… divine. You get that rich cocoa vibe balanced by the subtle sweetness of the bread and the fresh burst of zucchini—a combo I never knew I needed until I made this. The chocolate isn’t overpowering; it’s more like a velvety ribbon that swirls through each bite. Second, it’s super simple to pull together. No complicated techniques or fancy tools—just a bowl, a few ingredients, and some patience in the oven. This one’s a lifesaver on busy nights or when friends pop by unexpectedly. And, can we talk about cost? It’s budget-friendly because it uses pantry staples—flour, sugar, cocoa, zucchini—that I usually have on hand. Plus, it’s really versatile; you can swap in dark chocolate chips or nuts if you want to dress it up. What I love most about this is how everyone at my house asks for a second slice. My kids, who normally only care about sweets, ask if this has “superpowers” because it’s so moist and delicious. Honestly, it’s become our go-to weekend treat, and I love that it feels like a little surprise every time I bake it.
How do you make Zucchini Chocolate Swirl Bread?
Quick Overview
This zucchini chocolate swirl bread comes together in just a few steps, starting with shredding the zucchini and mixing up a basic batter. The trick here is saving some of the batter to mix with melted chocolate or cocoa, creating that beautiful swirl you see in the loaf. Then, you layer the batter in your pan—half plain, half chocolate—and swirl them together with a knife for a marbled effect. After a quick bake, you get this gorgeous, moist loaf that’s just bursting with flavor. Trust me, once you’ve made this once, you’ll have a new favorite for every occasion — from cozy mornings to kid-approved snacks. It’s that simple and totally addictive!
Ingredients
For the Main Batter:
– 2 cups all-purpose flour (I like to use unbleached for a slight nuttiness)
– 1 & 1/2 teaspoons baking powder
– 1/2 teaspoon baking soda
– 1/4 teaspoon salt
– 3/4 cup granulated sugar (or maple sugar if you want a richer flavor)
– 1/2 cup vegetable oil (or coconut oil for a tropical twist)
– 2 large eggs (room temp helps everything blend smoothly)
– 1 teaspoon vanilla extract
– 1 cup shredded zucchini (about 1 medium zucchini, grated and drained slightly)
For the Filling:
– 1/3 cup cocoa powder (I prefer Dutch-process for a smoother taste)
– 1/4 cup milk or almond milk (I tested this with almond milk and it made it even creamier!)
– 1/4 cup powdered sugar or honey (adjust based on sweetness preference)
– 1 teaspoon vanilla
– 1/4 cup chocolate chips or chopped dark chocolate (optional but highly recommended)
For the Glaze:
– 1/2 cup powdered sugar
– 1-2 teaspoons milk or cream
– A splash of vanilla or extra cocoa for depth
– Flour for dusting (if you want a dusted look)
Step-by-Step Instructions
Step 1: Preheat & Prep Pan
Set your oven to 350°F (175°C). Grease a standard loaf pan or line it with parchment paper — I always do this for easy removal. Make sure your zucchini is grated and slightly drained—don’t want too much moisture to mess with the batter’s rise. I also like to have my eggs, oil, and vanilla at room temp so nothing clumps when mixing.
Step 2: Mix Dry Ingredients
In a large bowl, whisk together the flour, baking powder, baking soda, salt, and sugar. Doing this first ensures everything’s evenly distributed and prevents lumpy batter. I’ve learned the hard way that skipping this step can sometimes lead to uneven rising — not fun when you want a perfect loaf!
Step 3: Mix Wet Ingredients
In a separate bowl, beat the eggs, then stir in the oil and vanilla. Add the shredded zucchini and mix well. I’ve tested this with a hand whisk and a wooden spoon — both work fine, but I find a gentle whisk helps incorporate everything smoothly. The zucchini should be evenly dispersed, no big clumps.
Step 4: Combine
Pour the wet mixture into the dry ingredients—don’t overmix! Just fold gently until combined. If you overmix, you risk a dense bread instead of a tender, fluffy loaf — learned that the hard way on my first try!
Step 5: Prepare Filling
Combine the cocoa powder with milk, vanilla, and powdered sugar to create a smooth, pourable chocolate batter. If it’s thick, add a touch more milk; if it’s runny, sprinkle in a little cocoa. Stir in that optional chocolate chips if you’re feeling extra indulgent.
Step 6: Layer & Swirl
Pour about half of the plain batter into your loaf pan. Spread the chocolate mixture over it, then top with the remaining plain batter. Using a butter knife or a skewer, swirl gently through the batter — try to create a marbled effect without mixing it all into one uniform color. This part is fun because every slice turns out a little different, like a little piece of art.
Step 7: Bake
Bake for about 50-60 minutes, or until a toothpick inserted in the center comes out clean with just a few moist crumbs. Ovens vary, so start checking at 50 minutes. If the top gets too dark but the middle’s not set, cover loosely with foil and keep baking. I’ve learned to trust the toothpick test more than the clock!
Step 8: Cool & Glaze
Let the loaf cool in the pan for about 10 minutes, then transfer to a wire rack. While still warm, drizzle with your prepared glaze for that sweet, shiny finish. I like to wait until it’s mostly cooled so the glaze doesn’t melt away completely — but honestly, a warm drizzle is also pretty delicious.
Step 9: Slice & Serve
Use a serrated knife to slice thick pieces—this bread is moist and tender, so gentle cuts help keep it pretty. Serve warm, maybe with a pat of butter or a dollop of whipped cream, and enjoy the aroma filling your kitchen. My favorite is to pair it with a hot cup of coffee in the morning or a glass of cold milk for the kids. It’s a crowd-pleaser no matter when you serve it.
What to Serve It With
This zucchini chocolate swirl bread is quite versatile. For breakfast, it’s a delightful start with some fresh fruit and your favorite brew — I love a strong cup of black coffee or a hot latte for that perfect morning combo. I’ve also served slices at brunch alongside scrambled eggs and bacon, and everyone loves how the chocolate ribbons peek through every slice. As a dessert, it’s amazing warm with a scoop of vanilla ice cream or a dusting of powdered sugar. It’s even great as an afternoon snack with a cold glass of milk or herbal tea. I’ve made this for family gatherings, and it disappears in minutes — it’s the kind of treat that feels indulgent but is honestly pretty healthy with all that zucchini sneaking in. Plus, it’s perfect for packing into lunch boxes or giving as a little homemade gift. Trust me, once you get the hang of it, you’ll be making this every chance you get. It’s comfort food with a little extra flair.
Top Tips for Perfecting Your Zucchini Chocolate Swirl Bread
Learning from my own attempts, I’ve picked up a few tricks to make this even better. First, squeeze out excess moisture from the zucchini after shredding — this keeps the bread from getting soggy. I learned this after my first batch came out a little too dense because of too much water. Use fresh zucchini because it’ll be more tender, and if you’re using organic, just give it a good rinse and dry — no need to peel unless you prefer a more uniform look. When mixing, don’t overdo it; a few gentle folds are all you need. Overmixing leads to tougher bread, and no one wants that. For the swirl, take your time; a simple figure-eight pattern or zigzag motion with your knife creates that beautiful marbled effect. If you want to add nuts or dried fruit, fold them into the plain batter before layering — just think of it as customizing your treat. I’ve tried swapping the cocoa for peanut butter or adding a splash of peppermint extract during the chocolate layer, and wow, those are game-changers when you want a different flavor. When baking, keep an eye on the oven’s heat — I always position my loaf in the middle rack for even baking. If you see the top darkening too fast, placing foil over the top prevents burning while the inside finishes perfectly. And finally, don’t skip the glaze — it adds just the right finishing touch, making every bite feel extra special.
Storing and Reheating Tips
This bread is best enjoyed within 2 days at room temperature, wrapped loosely in foil or stored in an airtight container. If you’re saving leftovers longer, keep it in the fridge for up to 5 days. Just make sure to cover it well so it doesn’t dry out — I like to use a cake keeper or a plastic container with a lid. Reheating is easy: slice what you need and warm in the microwave for about 20 seconds — it’ll regain that fresh-baked softness. For longer storage, you can freeze individual slices wrapped tightly in plastic wrap and aluminum foil for up to 3 months. Thaw at room temperature or gently reheat. I’ve tested this with frozen slices, and they still taste great, almost as fresh as when they just came out of the oven. If you’ve glazed it, wait until serving to do so, or the glaze might become sticky when frozen. That’s a small trade-off for making ahead! Honestly, this bread rewarms beautifully, and the flavors seem to deepen overnight, making it even more irresistible the next day.
Frequently Asked Questions
Final Thoughts
This zucchini chocolate swirl bread is one of those recipes that makes you feel cozy just thinking about it. It’s sweet without being cloying, moist without being heavy, and the chocolate ribbons practically make it a dessert disguised as bread. I love how forgiving it is — you can swap ingredients, add extras, or skip the glaze — and it still turns out delicious every time. Over the years, I’ve made this for family breakfasts, kid playdates, or even as a little homemade gift for friends — always a hit. If you’ve got zucchini in the fridge and a craving for something sweet, I promise this will come together faster than you think. And honestly, the smell alone will make your whole house feel like a warm hug. I can’t wait to hear how yours turns out — happy baking, friends!
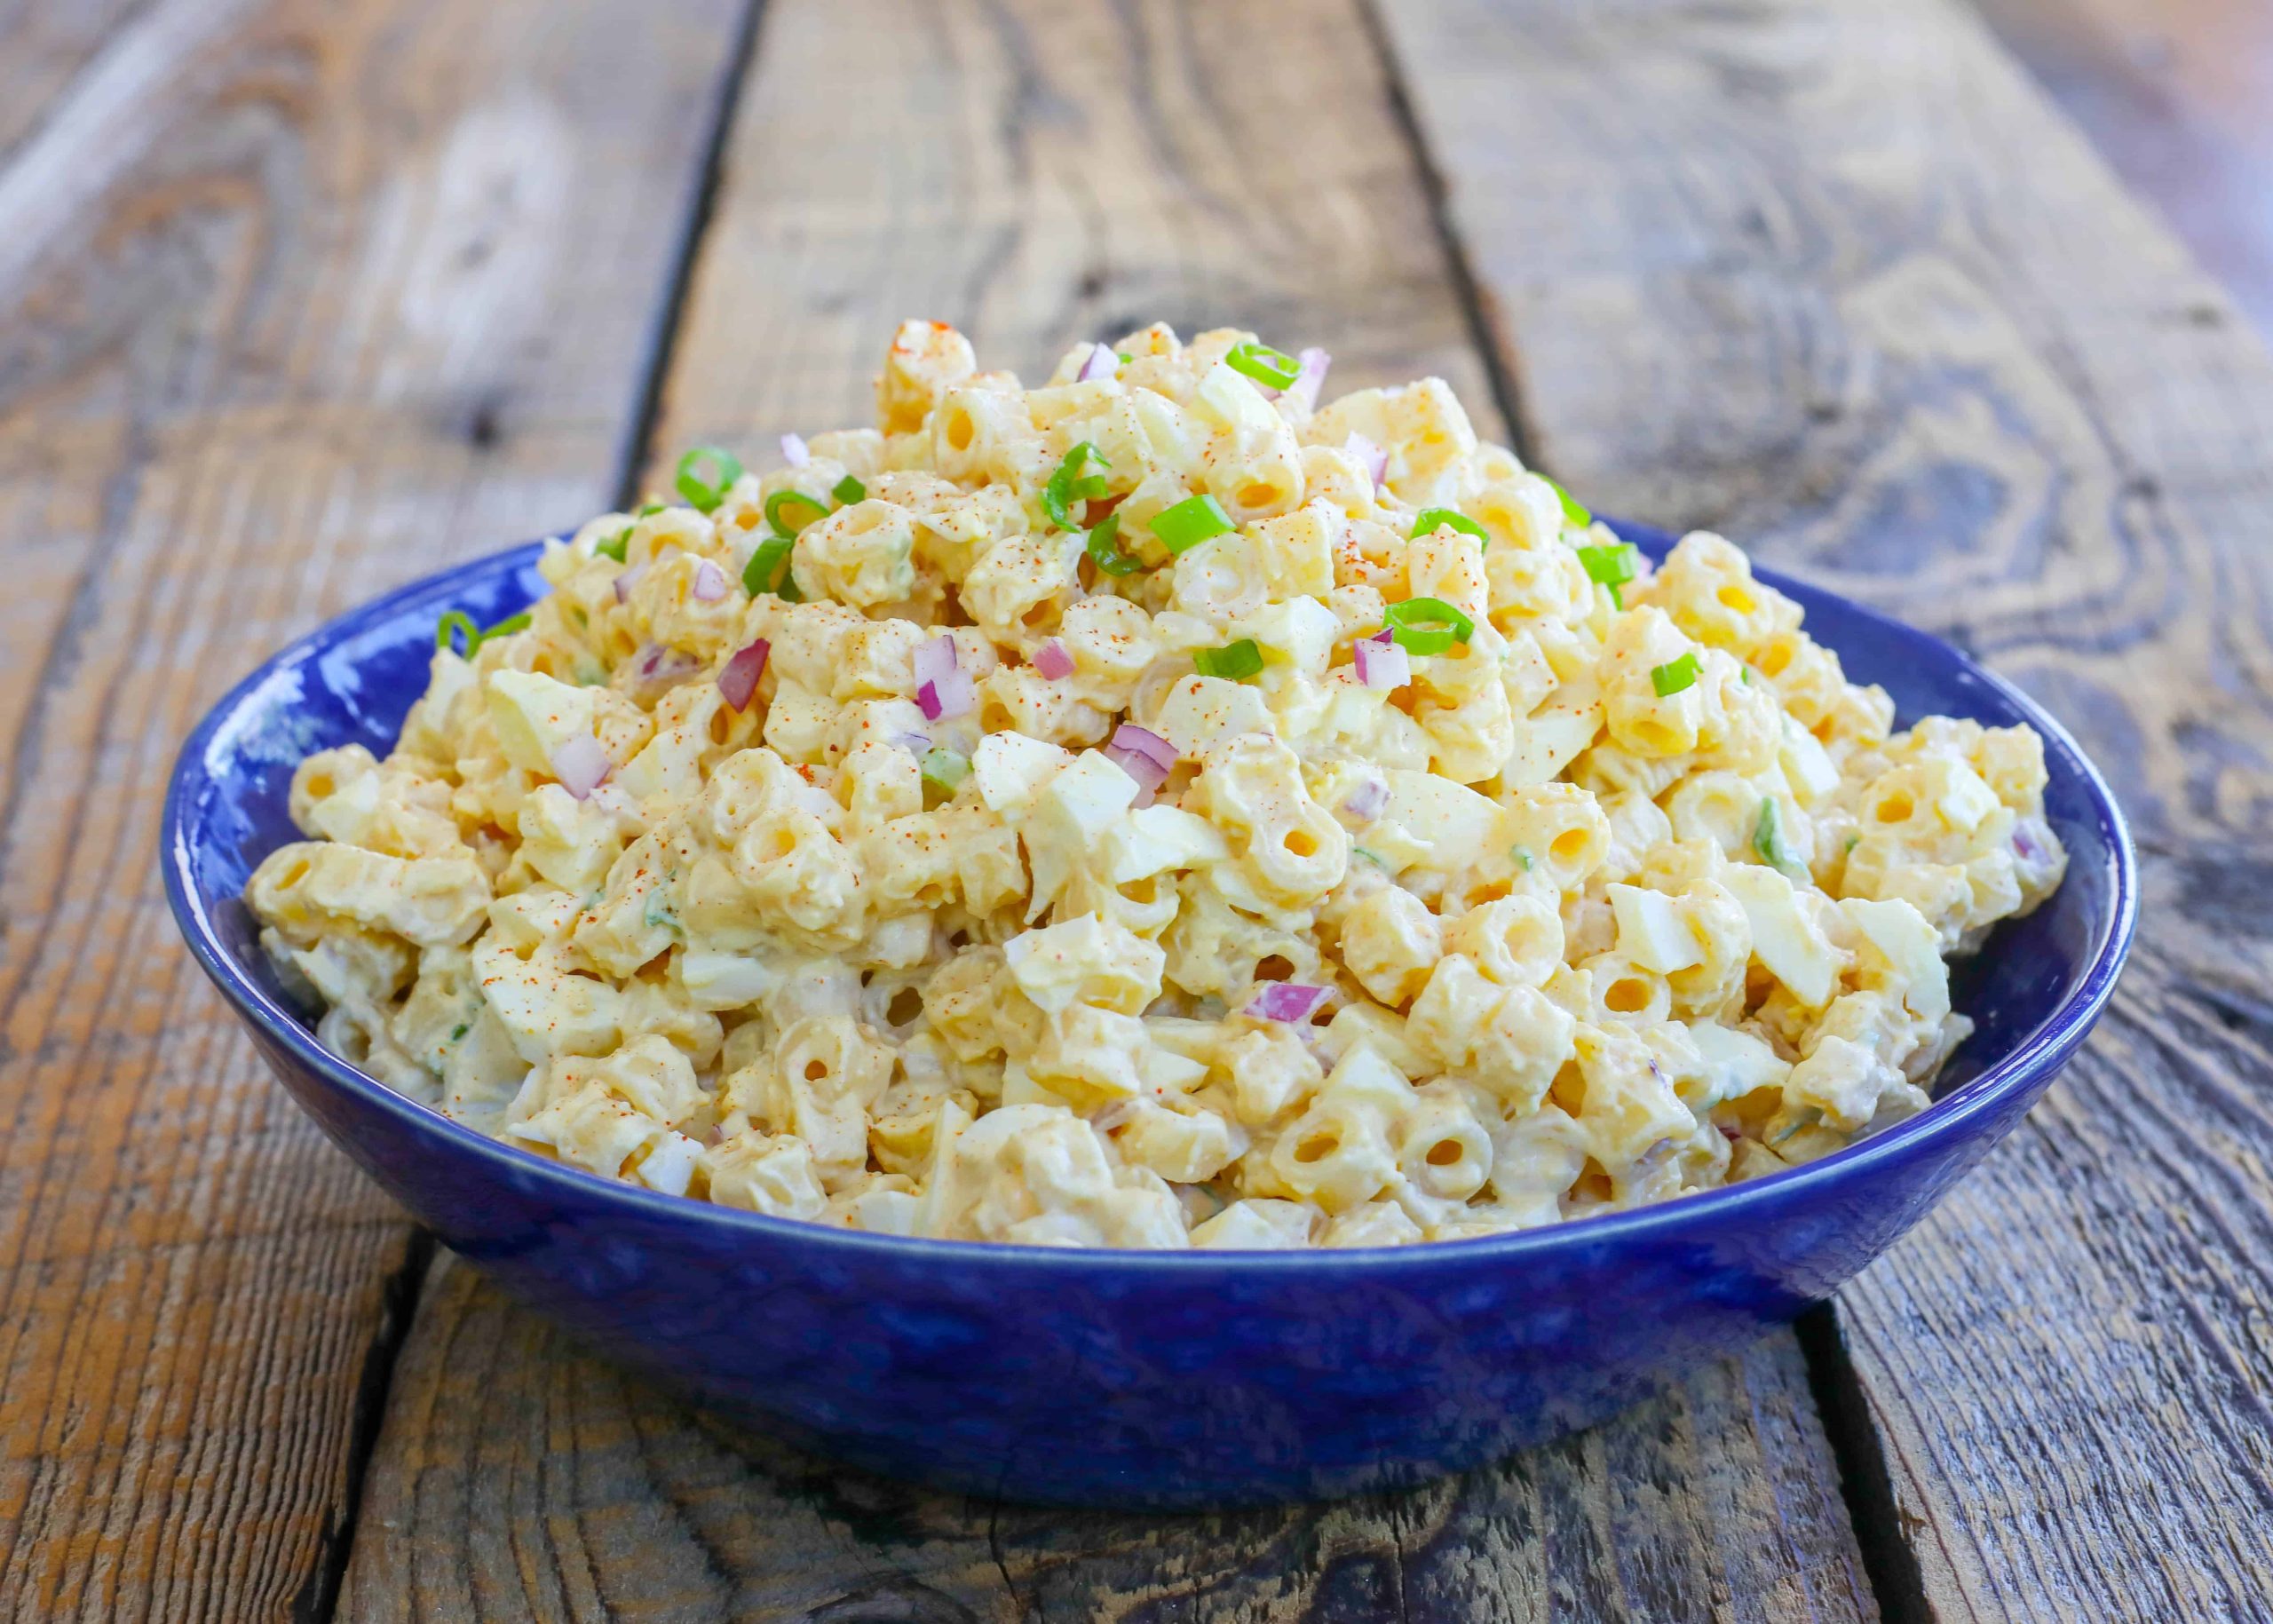
deviled egg pasta salad
Ingredients
Method
- Cook the pasta according to the package directions, adding a generous tablespoon of salt to the water. Drain and rinse with cool water. Peel the eggs and separate the yolks from the whites.
- Chop the egg whites and set aside. Crush the yolks into a fine powder or press through a fine metal strainer into a large bowl. Mix in mayonnaise, mustard, vinegar, garlic, salt, paprika, and cayenne pepper.
- Add the drained pasta to the dressing and mix well. Stir in red onion, green onions, and egg whites. Garnish with additional green onions and paprika if desired. Serve immediately or refrigerate until ready.