Spiced Cookie Dip How to Make It Easy
If you’re like me, you’re always on the lookout for those sneaky ways to sneak veggies into dessert—because let’s be honest, who doesn’t want to feel a little better about indulging? I’d made countless batches of classic brownies, and while everyone loves that rich, chocolaty bite, I started dreaming up ways to make them a tad healthier without sacrificing that gooey, decadent magic. Enter zucchini brownies. Sounds weird, I know, but trust me on this: these brownies are deceptively incredible. Moist, fudgy, with just a hint of that veggie sweetness—they disappear in minutes at my house, and honestly, I always do this when I need a quick dessert fix that’s a little smarter. My kids ask for these all the time, and I love knowing that even my pickiest eater is secretly getting his greens. Plus, they’re super easy to whip up after a long day—no fancy ingredients, just everyday staples. Seriously, this one’s a lifesaver on busy nights or when I want a treat without the guilt. Let’s get into it, shall we? It’s so worth it!
What is Zucchini Brownies?
Think of zucchini brownies as the lovechild of a classic fudgy square and a sneaky health booster. They’re essentially your favorite chocolate brownies, but with grated zucchini folded into the batter. This veggie might sound like a strange addition, but zucchini brings plenty of moisture and a subtle sweetness that actually enhances the fudgy texture. The name is pretty straightforward—‘zucchini’ because of the vegetable involved, and ‘brownies’ because, well, they look, smell, and taste just as decadent as the real deal. It’s a clever trick I learned from my grandmother’s kitchen, where she’d add grated carrots or zucchini to keep things moist and flavorful. And honestly, once you try them, you’ll see that the zucchini flavor mostly melts away, leaving behind this divine chocolatey bite that’s perfect for satisfying a sweet tooth without overloading on sugar or butter. Think of it as coming together of health-conscious baking and pure comfort food—who says you can’t have both?
Why you’ll love this recipe?
What I love most about zucchini brownies is that they’re friendly in so many ways. First, the flavor—oh, the flavor! They’re rich, chocolaty, and irresistibly fudgy, with just enough sweetness to make you do a happy dance. The zucchini? You barely notice it, but it adds a beautiful moistness that I’ve honestly never achieved with just butter alone. It’s like magic—no weird aftertaste, just a tender crumb that melts in your mouth. The second thing? They’re ridiculously simple. You don’t need fancy equipment or obscure ingredients. Just a grater, a mixing bowl, and a baking pan—you know, stuff you already have at home. Then there’s the budget-friendly factor: zucchini is cheap and abundant, especially during summer, and I always have cocoa powder, flour, and eggs lying around. Plus, this recipe is super versatile. Want to add a handful of walnuts? Go for it. A sprinkle of sea salt on top? Yes, please. Felt like making them vegan? I’ve tested with almond milk, and trust me, it made them even creamier! These brownies are my go-to whenever I want something sweet but feel good about it—my secret weapon for quick treats that don’t sacrifice flavor. My friends often ask if I added any ‘secret ingredients,’ but nope—just pure, simple, delicious magic. And honestly, once you get the hang of it, you’ll be making these all the time, too.
How do I make Zucchini Brownies?
Quick Overview
These zucchini brownies come together in just a few easy steps. You start by grating fresh zucchini—no need to peel, just wash it well. Then, mix up your dry ingredients—cocoa powder, flour, sugar, baking powder. In a separate bowl, whisk your eggs, oil, and vanilla, and then fold in the shredded zucchini. Carefully combine wet and dry—don’t overmix! Pour the batter into a prepared baking pan, swirl in a little extra chocolate or nuts if you want, and bake until a toothpick comes out just fudgy. That’s it! They’re best enjoyed once cooled a bit—trust me, the texture gets even better as it sets. Honestly, the hardest part is waiting for them to cool down enough to cut into perfect squares. But once you do, I promise, you’ll feel like a baking genius showing off this secret recipe.
Ingredients
For the Main Batter:
– 2 cups grated zucchini (about 2 small zucchinis, finely shredded)
– 1/2 cup vegetable or melted coconut oil
– 3/4 cup granulated sugar (or coconut sugar for a healthier twist)
– 2 large eggs
– 1 teaspoon vanilla extract
– 1/2 cup unsweetened cocoa powder
– 1 cup all-purpose flour (or gluten-free blend if you prefer)
– 1 teaspoon baking powder
– Pinch of salt
For the Filling (optional):
– 1/2 cup chopped walnuts or chocolate chips
– Extra grated zucchini (if you want extra moisture)
For the Glaze:
– 1/2 cup powdered sugar (or more cocoa powder for a dry dusting)
– 1 tablespoon milk or plant milk
– 1 teaspoon vanilla (if desired)
– Optional: a dash of sea salt or cinnamon
Step-by-Step Instructions
Step 1: Preheat & Prep Pan
Preheat your oven to 350°F (175°C). Line an 8×8-inch square baking dish with parchment paper or lightly grease it. This will make slicing a whole lot easier later. I always do this first—nothing more annoying than burnt cleanup or the brownies sticking to the pan, trust me! While the oven heats up, wash your zucchinis well; we’re eating the skin, so no peeling necessary unless you prefer it that way.
Step 2: Mix Dry Ingredients
In a medium bowl, sift together cocoa powder, flour, baking powder, and salt. Sifting keeps everything light and airy and prevents clumps, which is especially important when working with cocoa powder. It’s a simple step that makes the texture so much nicer.
Step 3: Mix Wet Ingredients
In a large bowl, whisk eggs, sugar, vanilla, and oil until smooth and slightly frothy. I like to do this with a whisk—less mess, more control. The mixture should look glossy and feel warm to the touch, which helps the zucchini distribute better. Add the grated zucchini and fold gently until evenly incorporated. The mixture will be a little chunky, and that’s perfect.
Step 4: Combine
Gradually add the dry ingredients into the wet, folding gently—no overmixing! Overmixing can make the brownies tough instead of fudgy. You want just combined, with a beautiful chocolatey batter that’s thick but still scoopable.
Step 5: Prepare Filling
If you’re adding nuts or chocolate chips, fold them in now. I love walnuts here—they add a little crunch and earthy flavor. If you want to keep it simple, just skip this step and keep the batter as is.
Step 6: Layer & Swirl
Pour the batter into your prepared pan, smoothing the top with a spatula. For a more marbled look, gently swirl a few more chocolate chips or even nut butter on top. Use a toothpick or skewer to create swirls—this makes each piece look like a little artwork.
Step 7: Bake
Bake for about 25-30 minutes, or until the edges are set but the center still feels a little fudgy when you press on it. Insert a toothpick—if it comes out with a few moist crumbs, you’re good. Remember, brownies continue to set as they cool, so don’t overbake!
Step 8: Cool & Glaze
Let the brownies cool completely in the pan before slicing—this lets them firm up and makes slicing much cleaner. If you’re adding a glaze, mix powdered sugar with a splash of milk and vanilla until smooth. Drizzle on top once the brownies are cooled, and let that glaze set for about 15 minutes.
Step 9: Slice & Serve
Use a sharp knife, wipe clean between cuts, and slice into squares. Serve with a cold glass of milk or a hot cup of coffee—my favorite pairing. These brownies are best eaten slightly warm or at room temperature. My favorite way to enjoy them is with a dusting of extra cocoa powder or a sprig of fresh mint—they’re just so versatile and good for any occasion.
What to Serve It With
If you’re looking for creative ways to serve these zucchini brownies, the options are endless. For breakfast, slice them up and serve with a dollop of Greek yogurt and some fresh berries—perfect with your morning coffee. They’re also fantastic for brunch, paired with a glass of orange juice or a spiced chai latte, making the chocolate flavor pop even more. As a dessert, serve warm with a scoop of vanilla ice cream or a drizzle of caramel sauce. It’s one of those recipes that makes your house smell incredible, and that aroma alone draws everyone to the table. When I make these for cozy afternoons, I love slicing them into thick, gooey bites and sharing with friends. Or, if you need a quick snack for busy days, I stash a few in the fridge, and they’re just as good cold—even better the next day. They’re such a hit that I’ve started stocking the freezer—just wrap them tightly, and they reheat beautifully in minutes. Honestly, I think everyone needs a batch of these in their recipe box. It’s a simple, delicious way to sneak some extra veggies into your day and still get that chocolate fix. Trust me, they’ll become a staple!
Top Tips for Perfecting Your Zucchini Brownies
Everyone’s oven is a little different, and I’ve learned some tricks over the years to make these brownies perfect every time. First, when preparing your zucchini, I always squeeze out excess moisture after shredding—especially if your zucchinis are big or extra watery. Trust me, nothing ruins a fudgy brownie faster than soggy batter. I usually put the grated zucchini in a clean kitchen towel and give it a good squeeze; this step makes a noticeable difference. When it comes to mixing, don’t overdo it. Once the wet and dry ingredients are combined, stop. Overmixing can make the brownies tough and less fudgy. The batter should be thick and fudgy, not runny. If you want a more marbled effect, I recommend dropping spoonfuls of peanut butter or chocolate spread on top before swirling—looks pretty and adds an extra layer of flavor. Substituting ingredients? I’ve tried coconut oil, applesauce, even almond milk—trust me, almond milk made the brownies even creamier, and they still kept that moist, fudgy texture. For baking, I always check around the 25-minute mark; every oven heats a little differently, and you don’t want to overbake. Edges will crack slightly, and the middle should be moist but not wet. Once out of the oven, let them cool fully—rushing this step will make slicing tricky. For the glaze, I like adding a splash of coffee or cinnamon—it intensifies the chocolate flavor and makes every bite richer. I’ve learned that a little experimentation and patience really pays off, so don’t be afraid to tweak things as you go. After plenty of tests, I can honestly say these brownies are my universal crowd-pleaser—dairy-free, gluten-free if you swap the flour, and always delicious!
Storing and Reheating Tips
This is a big one—these brownies are so moist, they tend to get a bit gooey if left out too long. The best way to store them depends on how soon you plan to eat them. If you’re enjoying them within a day or two, just keep them in an airtight container at room temperature—cover them loosely with foil or plastic wrap. They stay soft and fresh for about 2 days this way. If you want to keep them longer, I recommend refrigerating. Place them in a container with a tight-fitting lid—trust me, they won’t dry out as long as you keep them airtight. They last for up to a week in the fridge, and honestly, they’re just as good cold or slightly warmed up. For longer storage, wrap individual pieces tightly in plastic wrap and freeze. They’ll keep for up to 3 months, which is perfect for those times you crave a midweek treat. Thaw in the fridge overnight or pop a frozen piece in the microwave for 30 seconds—just enough to bring out the fudgy goodness. If you’re adding glaze or frosting, it’s best to do that fresh—moisture can make the glaze slide off or make the top soggy if you add it too early. A little planning makes all the difference—these brownies are forgiving, and I promise, they reheat beautifully for that warm, melt-in-your-mouth experience.
Frequently Asked Questions
Final Thoughts
If you’re looking for a way to sneak some extra veggies into your treats while still indulging in chocolate heaven, I can’t recommend these zucchini brownies enough. They’re deeply fudgy, incredibly easy, and versatile enough to adapt to whatever you have in your pantry. Trust me, once you make these once, they’ll become a regular in your baking rotation. I love how they satisfy that craving for something sweet without feeling like a total cheat—plus, the whole family loves them (and not just because they’re chocolate). I hope you give this recipe a try and find it as fun and rewarding as I do. And hey, I’d love to hear how yours turn out—drop a comment or a photo! Happy baking, and don’t forget to share the love.
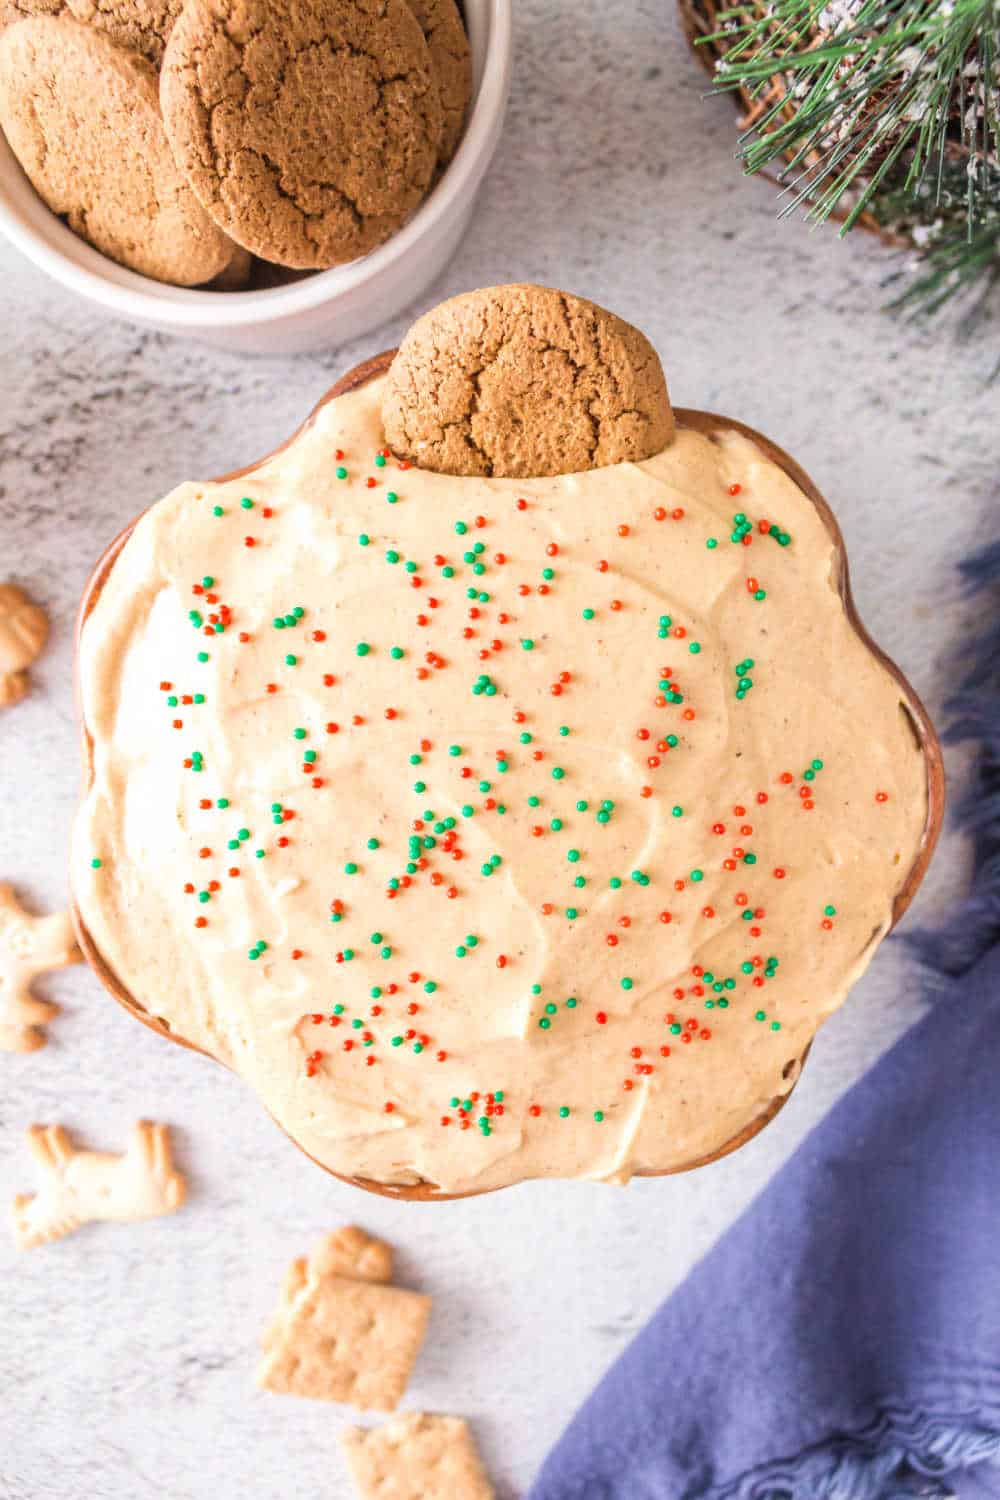
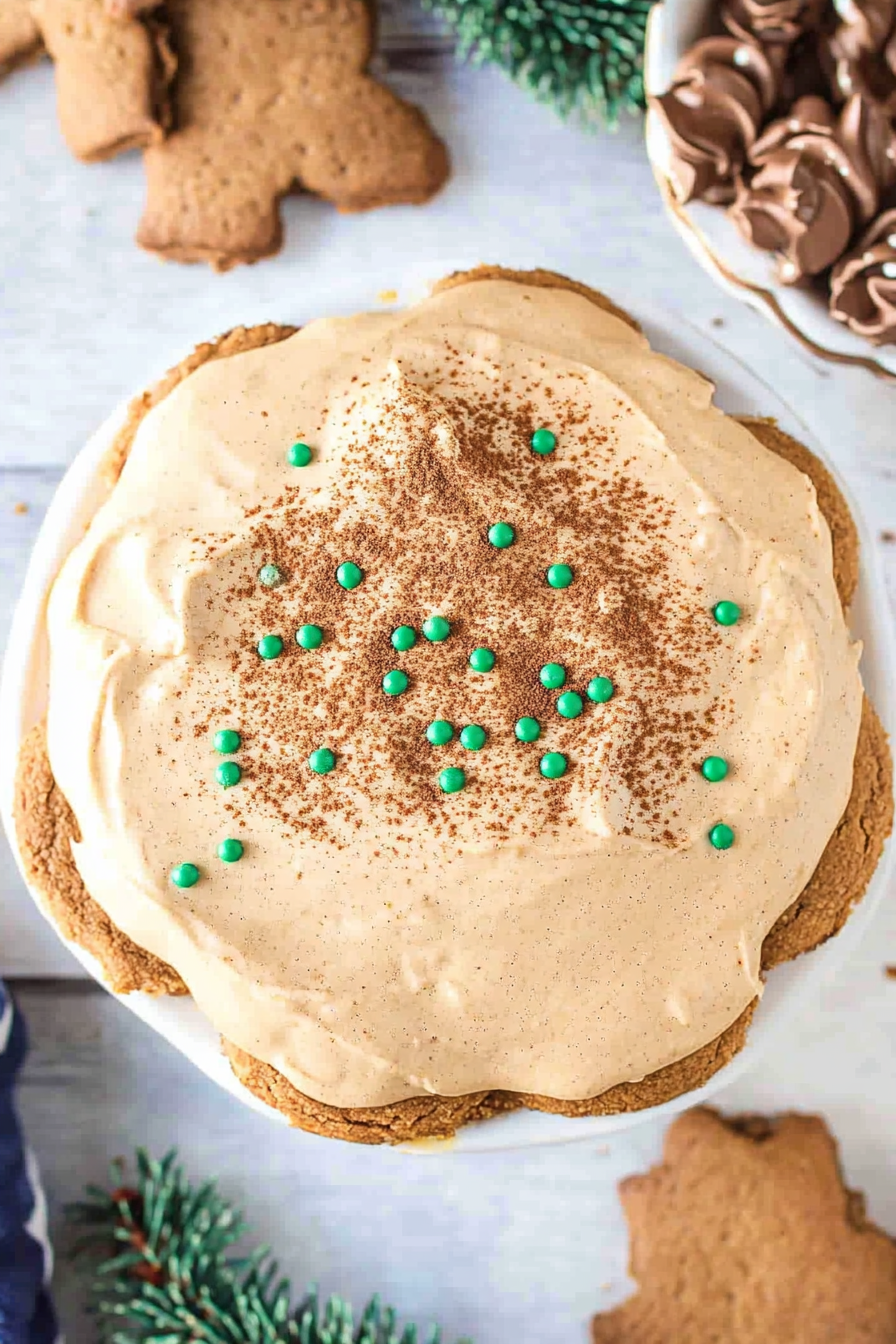
gingerbread dip
Ingredients
Method
- Prepare the homemade whipped cream. See Notes.
- Add cream cheese, light brown sugar, powdered sugar, and molasses to a large mixing bowl. Mix with a mixer until combined and fluffy.
- Add nutmeg, cinnamon, and ground cloves. Mix until combined.
- Add the whipped cream and gently fold with a spatula.
- Pour into your favorite serving dish and refrigerate for 15 minutes. Serve chilled and enjoy!