Autumn Spice Dip How to Make It Easy
There’s something about biting into a slice of warm, gooey coffee cake that instantly makes my house feel cozier. I still remember the first time I baked this zucchini walnut coffee cake with a rich cream cheese swirl—my kitchen filled up with that intoxicating aroma of cinnamon, toasted walnuts, and sweet zucchini? Yes, zucchini! It sounds strange, I know, but trust me, it’s a game-changer. I always do this when I want something comforting and satisfying but with a little unexpected twist. My kids ask for this all the time—especially when I sneak a little extra zucchini into the batter (shh, don’t tell!). Honestly, it’s a lifesaver on busy mornings or when I want a crowd-pleasing dessert. The best part? It’s so easy to make, and the flavors somehow seem even better after a day or two. Grab a cup of coffee and let me share this warm, family-favorite slice of heaven with you. You’ll be hooked the first time, I promise!
What is Mocha Zucchini Walnut Coffee Cake?
This is one of those recipes I like to think of as a hidden gem—think of it as a zucchini cake, but with a cozy coffeehouse vibe. It’s essentially a moist, tender crumb cake loaded with freshly grated zucchini, chopped walnuts, and warm spices. The star here is that luscious swirl of cream cheese running through the middle, making each bite creamy and slightly tangy, balancing the sweetness perfectly. The name might sound fancy, but it’s really just a relaxed, homey version of a coffee cake—perfect for breakfast, brunch, or an afternoon treat. Think of it as a nurturing hug with every slice. I love how versatile it is; you can tweak the nuts, add chocolate chips if you’re feeling indulgent, or even skip the glaze for a more rustic look. And because it’s made with simple pantry ingredients, it’s the kind of baked good anyone can pull off—even if you’re new to baking!
Why you’ll love this recipe?
What I love most about this zucchini walnut coffee cake is how it hits all the right notes—moist, flavorful, and just a little fancy with that swirl of cream cheese. The first time I made it, I was surprised how the zucchini kept the cake so tender without overpowering it—kind of magical, really. The aroma alone will draw everyone into the kitchen; I swear, it’s impossible to resist. Plus, it’s super easy to whip together, so it’s perfect for last-minute guests or a weekend baking project that feels a little indulgent but is actually quite budget-friendly. The walnuts add a lovely crunch, and I’ve tested this with almond flour for a gluten-free version and it still came out fantastic. What’s more, this recipe offers so many ways to customize—swap the walnuts for pecans, add a handful of dark chocolate chips, or even sprinkle cinnamon sugar on top before baking. Honestly, I keep coming back to this cake because it’s a reliable crowd-pleaser and a sneaky way to get a little extra veggie in my kids’ diets. My family soap it up in seconds every time it’s on the table. It’s one of those recipes that just feels like home, you know?
How do I make Zucchini Walnut Coffee Cake with Cream Cheese Swirl?
Quick Overview
This cake comes together pretty fast—no fancy equipment needed, just a mixing bowl, a whisk, and a spatula. You start by preheating your oven, mixing the dry ingredients, then blending the wet ingredients (including finely grated zucchini!). After that, it’s a matter of layering the batter with the cream cheese mixture, swirling it gently, and baking until golden and just set. The whole process takes about an hour, and wow—your house will smell like cinnamon paradise. The key to perfect moisture is not overmixing the batter and soaking up those tiny zucchini shreds. Trust me, once it’s baked and cooled, this cake’s crumb stays incredibly tender and keeps that fresh-boke scent for days. It’s honestly one of my go-to desserts because I can whip it up quickly, and everyone’s always asking for seconds.
Ingredients
For the Main Batter:
– 2 cups all-purpose flour (or a gluten-free blend if you prefer)
– 1 cup granulated sugar (or coconut sugar for a healthier twist)
– 1 teaspoon baking powder
– 1/2 teaspoon baking soda
– 1 teaspoon ground cinnamon
– 1/4 teaspoon salt
– 1 cup grated zucchini (squeeze out excess moisture)
– 1/2 cup vegetable oil (or melted coconut oil)
– 3 large eggs (room temp helps with better rise)
– 1 teaspoon vanilla extract
For the Filling:
– 8 oz cream cheese, softened
– 1/4 cup powdered sugar
– 1 teaspoon vanilla extract
For the Glaze (optional):
– 1 cup powdered sugar
– 2-3 teaspoons milk or cream
– A splash of vanilla or cinnamon for flavor
Step-by-Step Instructions
Step 1: Preheat & Prep Pan
Set your oven to 350°F (175°C). Grease a 9-inch round or square baking pan, or line it with parchment paper for easy removal. I always do this because it prevents sticking—trust me, nothing worse than breaking your beautiful cake when you’re trying to serve it!
Step 2: Mix Dry Ingredients
In a large bowl, whisk together the flour, sugar, baking powder, baking soda, cinnamon, and salt. Sifting isn’t necessary but it helps aerate the flour and keeps lumps away. This is the foundation of that tender crumb everyone loves.
Step 3: Mix Wet Ingredients
In a separate bowl, whisk together the eggs, oil, vanilla, and shredded zucchini. Make sure your eggs are at room temperature—this helps everything blend smoothly. I’ve tested this with slightly chilled eggs, but the batter comes together better when they’re at room temp. The zucchini should be grated finely, almost like a mash, to prevent huge chunks—this way the cake stays moist but not chunky!
Step 4: Combine
Pour the wet mixture into the dry ingredients and fold gently with a spatula until just combined. Be careful not to overmix—this can make the cake dense. It’s okay if a few streaks of flour remain; those will disappear during baking. The batter will be thick but pourable.
Step 5: Prepare Filling
While your batter is resting, make your cream cheese filling. Mix the softened cream cheese with powdered sugar and vanilla until smooth. I like using a handheld mixer here, but a spoon works too if you’re patient and want to avoid washing extra dishes.
Step 6: Layer & Swirl
Pour half of the batter into your prepared pan. Drop spoonfuls of the cream cheese filling evenly over the surface. Add the remaining batter on top, then use a toothpick or butter knife to swirl everything gently—don’t overdo it, or you’ll lose the lovely marbled effect. This swirling creates those beautiful ribbon-like streaks of cream cheese inside.
Step 7: Bake
Pop it into your preheated oven and bake for about 45-50 minutes. Check for doneness by inserting a toothpick into the center—if it comes out clean, you’re good! Remember, ovens vary; if your cake browns too fast, tent it with foil. The top should be golden, and the edges slightly pull away from the pan.
Step 8: Cool & Glaze
Let the cake cool in the pan for at least 15 minutes before transferring to a wire rack. This helps it set and prevents crumbling. If you’re adding glaze, mix powdered sugar with a splash of milk and a hint of vanilla, then drizzle it over the slightly warm cake. The glaze hardens just enough to add a sweet finish without making it overly sticky.
Step 9: Slice & Serve
Cut into squares or slices—whatever suits your mood—and serve slightly warm or at room temperature. A dollop of whipped cream or a sprinkle of extra walnuts makes it even prettier. My family loves this for breakfast or dessert, and honestly, it’s fantastic chilled from the fridge too!
What to Serve It With
This cake pairs beautifully with a steaming cup of coffee or a frothy latte—my absolute favorite combo. For breakfast, serve a slice alongside fresh fruit and a drizzle of honey, or with a dollop of Greek yogurt for added protein. When I entertain brunch guests, I love to heat up slices and serve with a dusting of powdered sugar and a side of fresh berries. It also works great after dinner, perhaps with a glass of almond milk or even a splash of bourbon for grown-up indulgence. My kids ask for this on lazy weekends with a big glass of milk—instant comfort food! It’s amazing how a simple slice of cake can turn a regular morning or afternoon into a special moment. I’ve even packed slices into lunchboxes, and they disappear quickly—kids are their own best critics, aren’t they? Whatever the occasion, this zucchini walnut coffee cake brings that warm, nostalgic vibe to any table.
Top Tips for Perfecting Your Moist Zucchini Walnut Coffee Cake
The key here is balance—overmixing leads to dense, tough crumb, so fold your batter carefully and just until combined. I’ve learned that squeezing out excess moisture from the zucchini is essential; I usually do this by wrapping grated zucchini in a clean dish towel and pressing out the liquid—it makes the cake much lighter. When making the swirl, I drop spoonfuls in random spots and then use a skewer or knife to make swirling motions—this creates a beautiful marbled effect that’s almost like art on a plate. Trust me, don’t over swirl; the goal is a gentle ribbon, not a muddy mess. For ingredient swaps, I’ve tried almond flour for a nutty flavor, and adding a teaspoon of espresso powder really enhances the cinnamon and walnut notes. I’ve also tested vegan cream cheese, which works fine but slightly alters the tang. Baked my cake on the middle rack for even heat distribution—don’t forget to rotate halfway through if your oven runs hot. The glaze is optional but adds such a nice shiny finish—if you want to skip it, dust with powdered sugar instead for a simple touch. Oh, and one last tip: storing leftovers in an airtight container at room temp keeps it moist for up to two days, but honestly, it’s best enjoyed within 24 hours—I promise, it’ll disappear fast! I’ve made this countless times, and every single one turns out beautifully. Just trust the process and enjoy every delicious bite.
Storing and Reheating Tips
This cake is pretty forgiving when it comes to storage. If you’re not eating it all at once (who am I kidding, I definitely try!), you can store it at room temperature in an airtight container for up to two days—cover it loosely with foil or a cloth to keep the crust crispy. For longer storage, pop it in the fridge in an airtight container—this keeps the cream cheese swirl from spoiling and maintains moisture. It’s best to reheat slices gently in the microwave for about 15 seconds or in a low oven (around 300°F) wrapped in foil—this helps revive the moist, tender crumb without drying it out. If you plan to freeze the entire cake, wrap it tightly in plastic wrap and then foil, and it’ll keep for up to a month. Thaw it overnight in the fridge, then warm up slightly before serving. I usually add the glaze right before serving, especially if it’s been refrigerated—that fresh shine and sweetness make all the difference. Just a quick tip: if you’re taking the cake to a picnic or brunch, slice it beforehand and pack it separately to keep the texture perfect. No matter how you store it, I promise, every bite will feel just as delightful as fresh from the oven!
Frequently Asked Questions
Final Thoughts
This zucchini walnut coffee cake is one of those recipes that feels like a warm hug in dessert form. I love how it manages to be moist, flavorful, and unexpectedly wholesome with all that zucchini sneaking in—my secret weapon for sneaky veggies! The cream cheese swirl? It’s the kind of indulgence that elevates a simple cake into a special treat, whether for weekend brunch or a casual family dessert. Over the years, I’ve baked this countless times, and it never fails to bring smiles and grab seconds—sometimes thirds. It’s forgiving, customizable, and, best of all, makes your house smell incredible. If you’re craving something comforting but don’t want to spend hours in the kitchen, this is your answer. Feel free to experiment with nuts, fillings, or even a dash of espresso powder for a mocha twist. I’d love to hear how yours turns out—leave a comment below or share your own tweaks! Happy baking, my friend—trust me, this one’s a keeper!
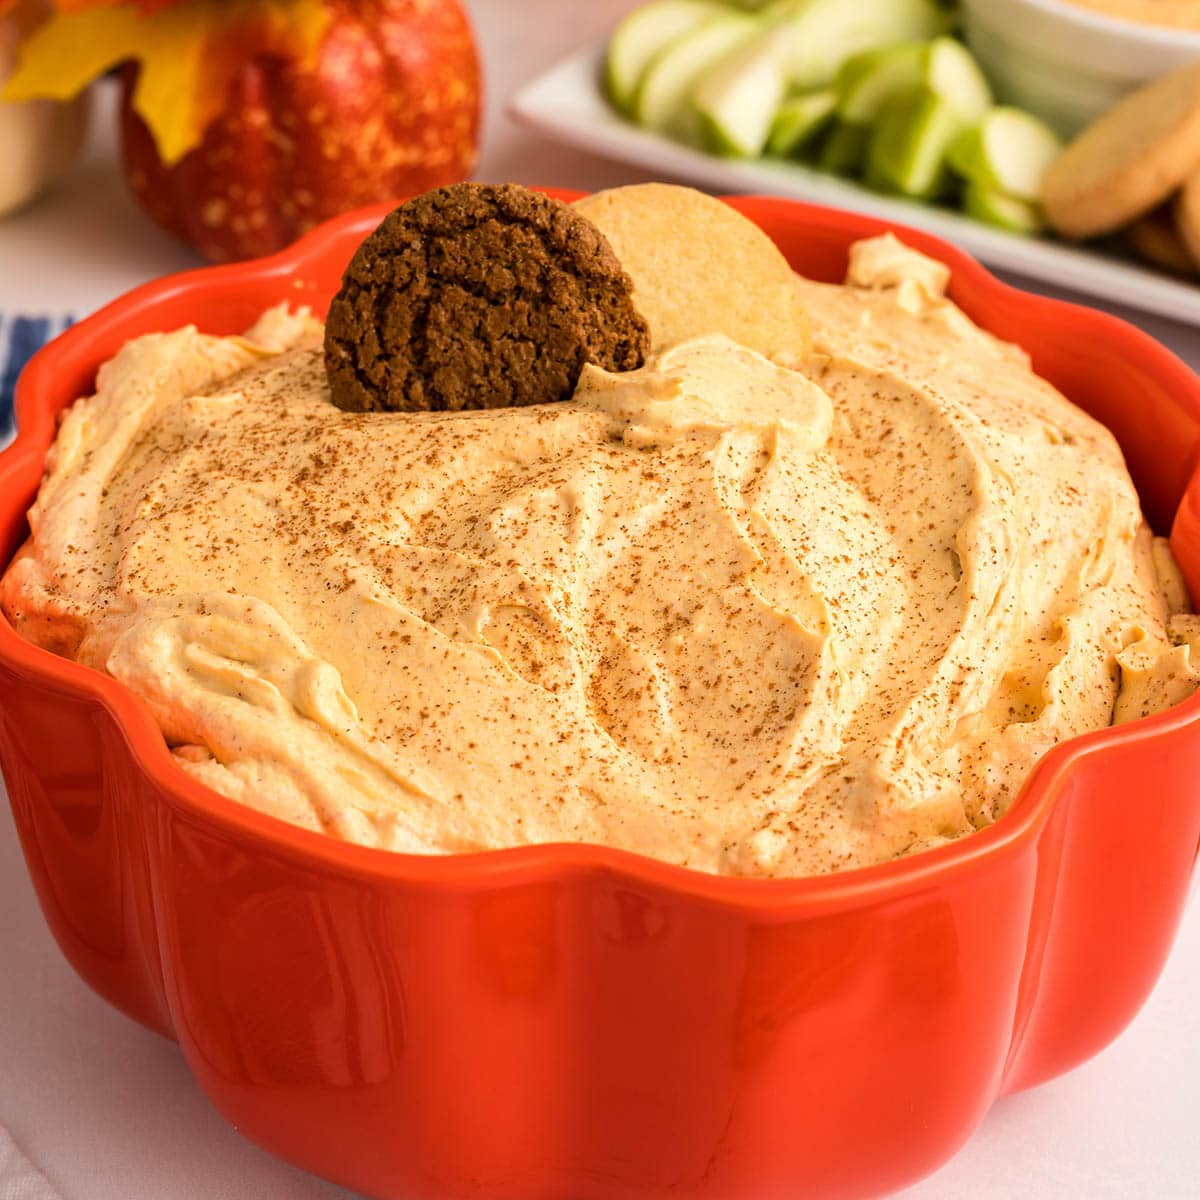
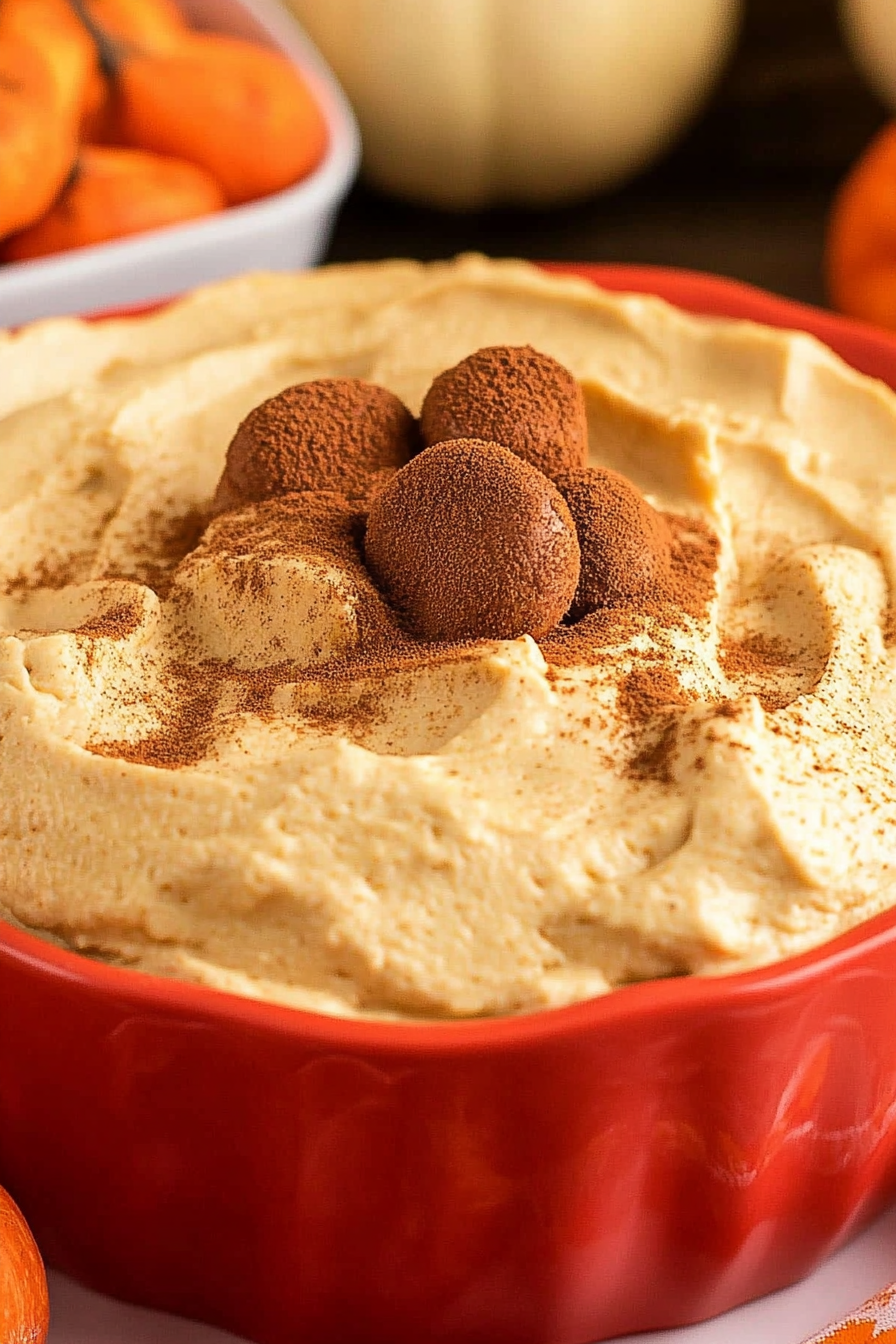
Pumpkin Pie Dip
Ingredients
Method
- In a medium sized mixing bowl, whip together the cream cheese and powdered sugar until smooth and creamy.
- Add the pumpkin puree and pumpkin spice, whip until fully incorporated.
- Using a rubber spatula, fold in the whipped topping.
- Cover and chill in the refrigerator for at least 30 minutes.
- Serve with your favorite dippers, enjoy.