Easy Roasted Butternut Squash Recipe
I remember the first time I made this zucchini coffee cake. My grandma used to bake something similar, and I always loved walking into her kitchen— the smell of warm cinnamon, the soft crumb of freshly baked bread, and that little hint of sweetness from the zucchini. It’s honestly the kind of treat that makes your house feel cozy and inviting, especially on a lazy Sunday morning. Over the years, I’ve tweaked it a bit—adding more cinnamon, using sour cream for that extra tender crumb, and I swear, it’s become a family favorite. My kids ask for this all the time, and honestly, it’s great for breakfast, brunch, or even a late-night snack when I’m craving something comforting but don’t want to turn on the oven for a big dessert. The best part? It’s just so *easy*—I always do this when I need a quick, delicious baked good that impresses everyone without slaving over a complicated recipe. Trust me on this one, it disappeared in minutes at my house! I think you’re going to love making this, and I bet your family will be asking for it every week too.
What is Zucchini Coffee Cake?
Think of zucchini coffee cake as a soft, cozy cake that’s bursting with warm cinnamon swirls and tender pieces of zucchini hidden inside. It’s essentially a breakfast or snack cake, inspired by those classic coffee cakes you find at bakeries but with a little more veggie sneaking in—because, hey, sometimes you need a bit of *secret health* in your treats. The name might sound fancy, but it’s actually super simple to throw together. The zucchini keeps the cake moist and adds just a subtle freshness that balances out the cinnamon sugar swirl. This dish originally got its name from the traditional coffee cake, which pairs perfectly with a hot cup of coffee or tea. The magic here is that it’s versatile, cozy, and scales up beautifully for brunch parties or lazy weekend mornings. Basically, it’s a sneaky way to get your kids to eat more vegetables, all while enjoying a slice of something sweet—and that’s what I call a win-win.
Why you’ll love this recipe?
What I love most about this zucchini coffee cake is how it combines the best of both worlds: a tender, buttery crumb with a cinnamon swirl that’s just the right amount of sweet. The aroma alone will have your whole house smelling like a bakery—seriously, I often catch my kids sneaking bites before it’s even cooled. It’s so easy to make, too. I’ve tested this with different flours, like almond or whole wheat, and it still turns out moist and flavorful—so it’s flexible if you’re trying to tweak your diet or just clear out what’s in your pantry. Plus, it’s budget-friendly; the ingredients are simple, and you probably already have most of them at home. I also love how versatile it is. Want to make it gluten-free? Just swap in a gluten-free flour blend. Looking for a little more decadence? Add a handful of chopped nuts or a drizzle of cream cheese frosting. It’s one of those recipes that adapts perfectly to your mood and what’s in your fridge.
And let me tell you, what I find most satisfying about this one is how it’s a little project everyone in my family looks forward to. My kids love helping layer the zucchini and sprinkle cinnamon sugar—messy but so worth it. And the fact that it stays moist for days makes it perfect for those busy mornings when I need something quick but satisfying. Honestly, this is one that I keep going back to, because it’s trustworthy, cozy, and just…happy.
How do I make Zucchini Coffee Cake?
Quick Overview
This zucchini coffee cake is almost embarrassing in how simple it is. You just mix the dry ingredients, beat the wet ingredients separately so everything’s smooth and fluffy, then fold everything together gently. After that, you layer in the zucchini and swirl a cinnamon sugar mixture through the batter. It bakes in about 45 minutes at 350°F until golden and fragrant. The cool part? You can make this in one bowl if you’re feeling lazy, and it’s ready to eat pretty quickly once out of the oven. I love how the zucchini stays moist during baking, and that cinnamon swirl? It’s the real star—like a little pop of spicy sweetness in every bite. Honestly, you’ll be surprised how foolproof this recipe is. I’ve made it for friends, family, even last-minute brunches, and it’s always a hit.
Ingredients
For the Main Batter:
- 2 cups all-purpose flour (I always use unbleached, but regular works fine!)
- 1 cup granulated sugar (for gentle sweetness)
- 1 teaspoon baking powder
- ½ teaspoon baking soda
- ½ teaspoon salt
- 1 teaspoon ground cinnamon (because we’re not skimping on flavor!)
- ½ teaspoon nutmeg (optional, but adds a lovely warmth)
- 1 cup sour cream (or Greek yogurt for extra tang)
- ½ cup vegetable oil (or melted unsalted butter)
- 3 large eggs
- 1 teaspoon vanilla extract
For the Filling:
- 1 cup grated zucchini (squeeze out excess moisture—trust me, this keeps your cake from getting soggy)
- ¼ cup brown sugar
- 1 teaspoon cinnamon
For the Glaze (optional but recommended):
- ½ cup powdered sugar
- 1 tablespoon milk or lemon juice (for a fresh zing)
- ½ teaspoon vanilla extract
Step-by-Step Instructions
Step 1: Preheat & Prep Pan
Set your oven to 350°F and grease a 9-inch round or square baking pan. I like to line mine with parchment paper for easy removal. While it’s heating, grate your zucchini and squeeze out as much moisture as possible using a clean kitchen towel. Moisture is the sneaky culprit that can turn your cake soggy, so don’t skip this step!
Step 2: Mix Dry Ingredients
In a large bowl, whisk together the flour, sugar, baking powder, baking soda, salt, cinnamon, and nutmeg. This ensures everything’s evenly distributed. It also helps avoid clumps, which can make your cake uneven—lesson learned the hard way!
Step 3: Mix Wet Ingredients
In a separate bowl, beat together the eggs, sour cream, oil, and vanilla until smooth and slightly frothy. This just takes a couple of minutes with a hand whisk or a mixer. When I do it by hand, I like to make sure everything’s well incorporated—trust me, that extra minute makes a difference in the final texture.
Step 4: Combine
Pour the wet mixture into the dry ingredients and gently fold together until just combined. Do not overmix—this part’s crucial for a light, tender crumb! A few lumps are okay; overdoing it will toughen up the batter.
Step 5: Prepare Filling
In a small bowl, combine the grated zucchini, brown sugar, and cinnamon. Mix well—this will be your cinnamon swirl layer. If you like more spice or sweetness, feel free to adjust the amounts. I’ve also added chopped nuts here sometimes for extra texture, and it’s divine.
Step 6: Layer & Swirl
Pour half the batter into your prepared pan. Spread out evenly, then sprinkle half of the zucchini filling over the top. Cover with the remaining batter and dollop the rest of the filling. Use a toothpick or skewer to gently swirl the filling into the batter—don’t overmix, just enough to create marble-like streaks.
Step 7: Bake
Pop it into your oven and bake for about 45-50 minutes. Check for doneness by inserting a toothpick or cake tester in the center—you want it to come out clean. The top should be golden brown and smell amazing—the cinnamon and zucchini combination creates such a cozy, inviting aroma that I swear it brings everyone running!
Step 8: Cool & Glaze
Let the cake cool in the pan for about 15 minutes, then transfer to a wire rack. Drizzle with your simple glaze—just mix powdered sugar, milk, and vanilla until smooth. It’s optional but adds that extra layer of sweetness and shine. I actually like mine slightly drizzled, letting some of the glaze soak in for a moister bite.
Step 9: Slice & Serve
Once cooled, slice generously and serve at room temperature. I love serving mine with a little dollop of whipped cream or a side of fresh berries. It’s perfect for breakfast, brunch, or a casual coffee date. Plus, the leftovers are just as delicious the next day—if you’ve got any left, that is! I swear, this cake gets better as it sits, and the cinnamon swirl develops a slightly caramelized flavor that’s just divine.
What to Serve It With
This zucchini coffee cake is incredibly versatile. For breakfast, pair it with a robust cup of coffee or a latte—my personal favorite is a strong pour-over with a splash of cream. It tastes just right when paired with a juicy, fresh orange juice, especially if you want that bright morning vibe. When I serve this for brunch, I like to add fresh fruit on the side—blueberries or sliced strawberries are perfect—and maybe a non-alcoholic mimosa for an extra special touch.
As a dessert, this cake shines on its own, but I’ve also drizzled a little honey or topped it with whipped cream to take it up a notch. The subtle zucchini flavor pairs nicely with a scoop of vanilla or cinnamon ice cream, turning it into a cozy, indulgent treat. And honestly, this one’s great as a casual snack—cutting slices and packing them into lunchboxes for a sweet surprise.
I’ve made this so many times that I’ve lost count, but what never changes is how much my family loves it. It’s comforting, affordable, and honestly, the smell alone makes it worth the effort. Give it a try—I bet it’ll become one of your go-to baking recipes too!
Top Tips for Perfecting Your Zucchini Coffee Cake
Having baked this a dozen times, I’ve picked up some tricks that always help me get it just right. First, always squeeze out as much moisture from your zucchini as possible—wet zucchini is a fast track to sogginess. I like to use a clean tea towel or cheesecloth to really wring it out; it doesn’t take long and makes all the difference. When mixing the batter, avoid overmixing—gently folding keeps everything tender and fluffy.
For the cinnamon swirl, I sometimes add a pinch of cardamom or a little grated nutmeg for a warmer taste. If you’re feeling adventurous, try swirling in some chocolate chips or chopped nuts for texture. The glaze? I prefer mine a little thicker so it doesn’t run off before you get a bite. If you want it to be more tangy, a splash of lemon juice in the glaze adds brightness. Honestly, I’ve tested and failed so many times, but I’ve learned that patience and gentle folding are your friends here. This recipe is forgiving as long as you keep moisture levels in check and don’t overbake.
Oh! And if you want to make it gluten-free, just swap in a good quality gluten-free flour blend—just be aware that the texture might change slightly, but it’s still delicious. I recommend adding an extra tablespoon of milk if it feels too dry. My last tip: bake until just golden—you don’t want it overly crisp or dry inside. Every oven is different, so start checking around 43 minutes and trust your nose!
Storing and Reheating Tips
This cake stays delicious for a couple of days if stored properly. I usually cover it tightly with foil or place it in an airtight container at room temperature for up to two days—if it lasts that long! I find that the flavors mellow and the moistness stays intact—plus, it smells just as inviting the next morning.
If you want to keep it longer, popping it in the fridge is fine, but I recommend bringing it back to room temperature or giving it a quick warm-up in the microwave (about 20 seconds) so it’s nice and soft again. For freezing, wrap slices individually in plastic wrap or foil and store in a zip-top bag for up to three months. Thaw overnight in the fridge and warm slightly before serving. Just hold off on adding the glaze until you’re ready to serve, to keep that glossy, fresh look.
I’ve found that if I add the glaze after reheating, it soaks in just enough to give that perfect shiny finish without making everything soggy. Trust me—this cake is pretty resilient, and well stored, it’s still a treat even days later.
Frequently Asked Questions
Final Thoughts
Honestly, I think this zucchini coffee cake is one of those secret little recipes that makes regular mornings feel special. The blend of tender crumb, cinnamon swirl, and moist zucchini inside never fails to get rave reviews. Plus, it’s so adaptable—gluten-free, vegan, more or less sweet, nuts or no nuts. Every time I bake it, I feel like I’m sharing a warm hug with my family and friends. It’s one of those recipes that gets better with each try because you learn what works best for your oven, your taste, your timing. I love how it fills my home with that irresistible smell, and how it makes everyone smile when they take their first bite. If you try this, I’d love to hear how it turns out—or better yet, see your own variations! Leave a comment, share your photos, and get ready for a hit of cozy, homemade goodness. Happy baking!
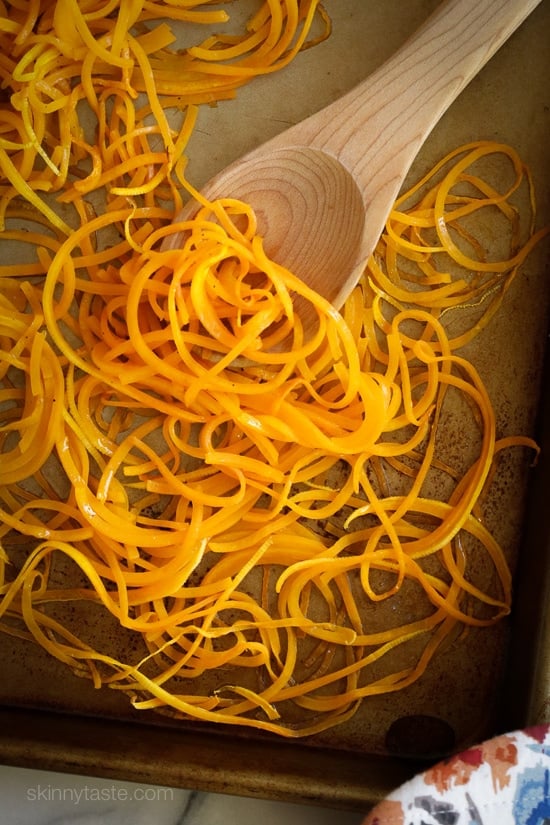
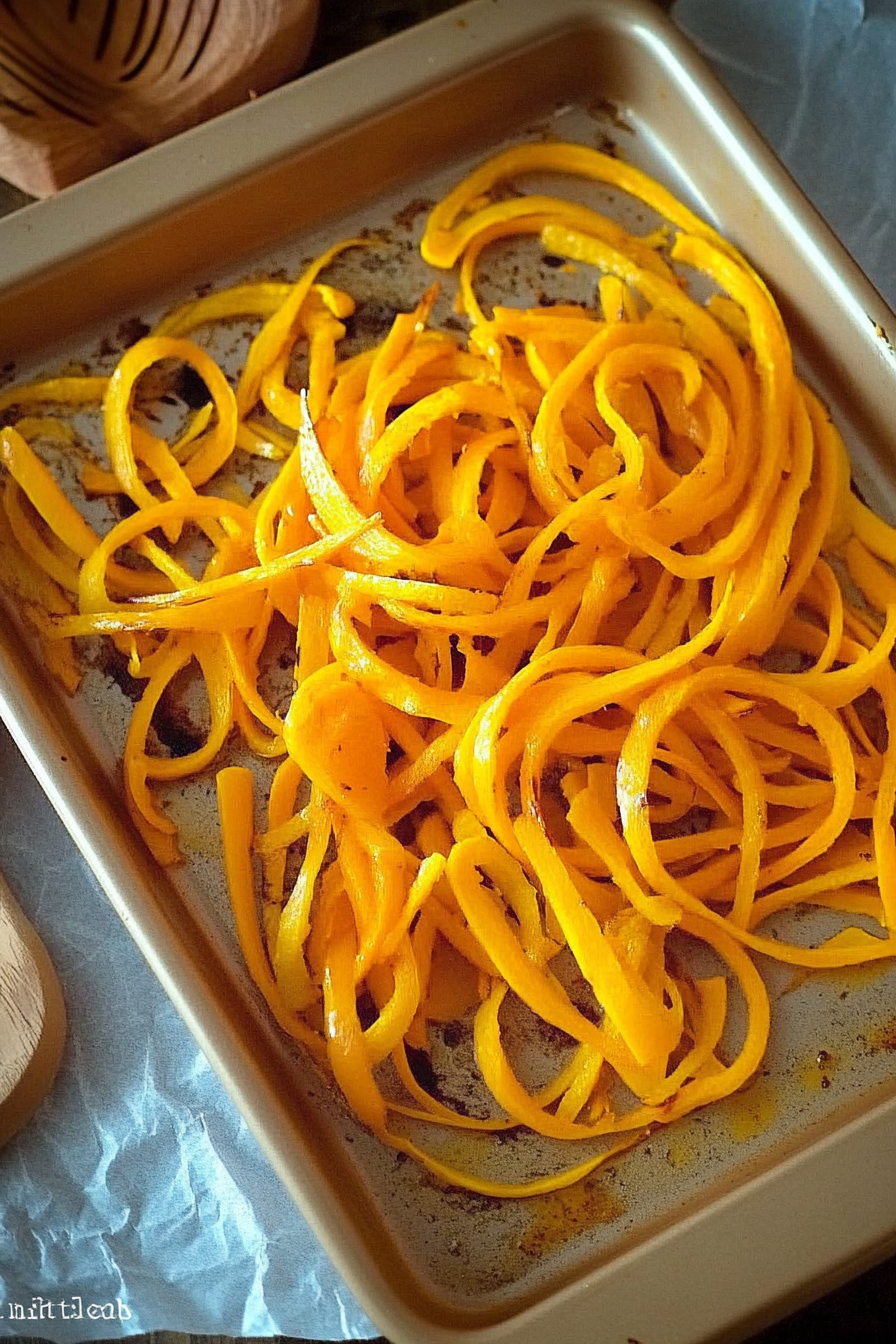
roasted butternut squash
Ingredients
Method
- Preheat the oven to 400°F. Line a baking sheet with parchment paper.
- Peel and cube the butternut squash into 1-inch pieces.
- Place the squash cubes in a bowl, drizzle with olive oil, and toss to coat evenly.
- Sprinkle with salt and pepper, then spread evenly on the prepared baking sheet.
- Roast for 35-40 minutes until tender and caramelized, stirring halfway through.