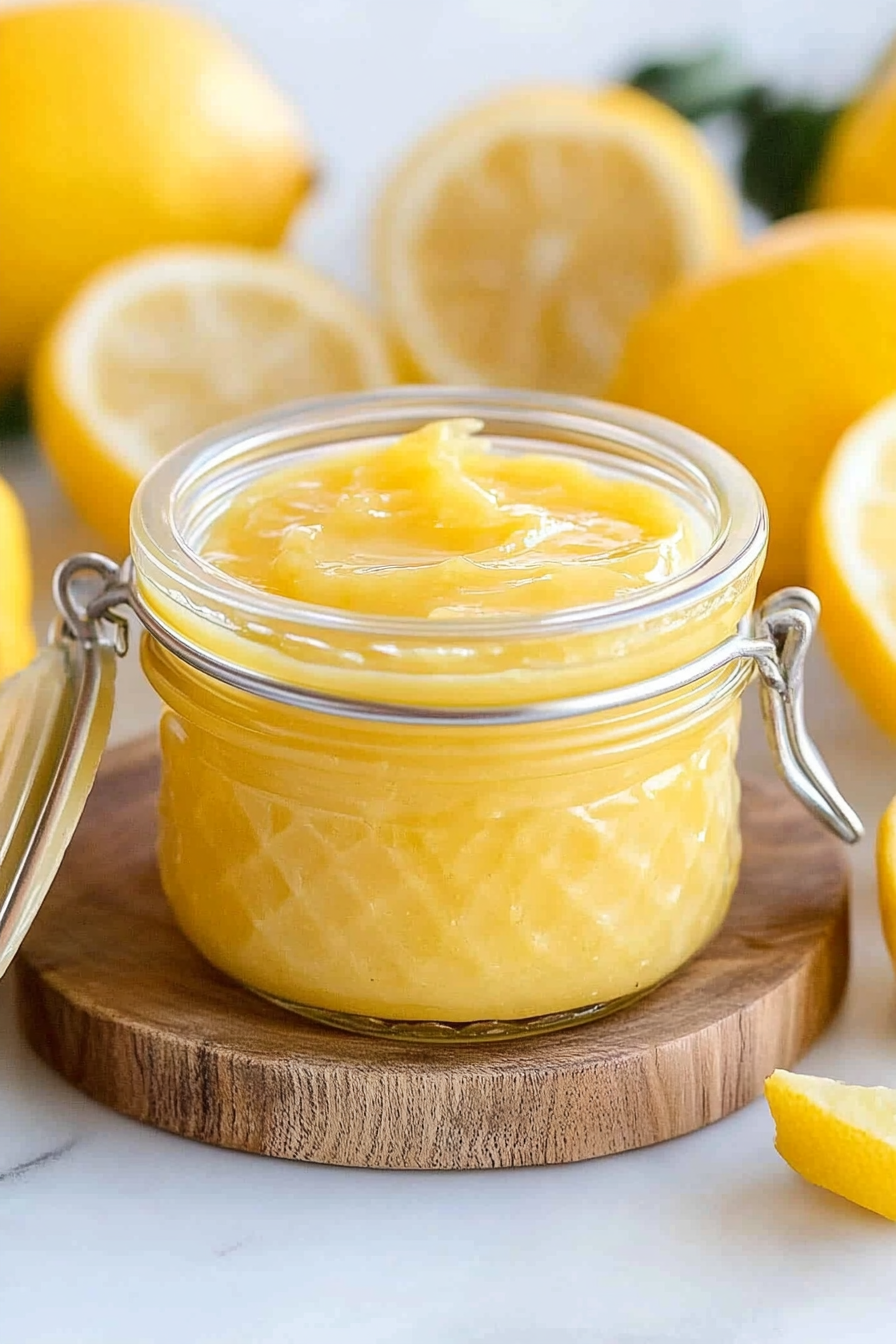
Tangy Homemade Lemon Curd Recipe
There’s something about baking with zucchini that just makes everything feel cozy and wholesome. Maybe it’s because I grew up eating my grandma’s zucchini bread on lazy Sunday mornings, or maybe it’s how the scent of warm spices mixed with fresh zucchini fills the kitchen and instantly makes me feel at home. This zucchini and cream cheese swirl cake? Honestly, it’s become my go-to when I want something sweet but don’t want to fuss too much. It’s soft, moist, with that lovely swirl of luscious cream cheese that surprises everyone. My kids ask for this all the time—especially when I tell them it’s like a giant slice of cheesecake but way easier to serve. Plus, I love how versatile it is—great for breakfast, a snack, or even dessert if you top it with a drizzle of honey or some fresh berries. Trust me, once you try this one, it’s going to be a staple in your baking rotation too.
What is Zucchini & Cream Cheese Swirl Cake?
This dish is essentially a cozy cake that combines grated zucchini with a tender, slightly spiced batter. The magic happens when you swirl in a creamy, sweetened cream cheese mixture right before baking—kind of like a ribbon of indulgence through every bite. Think of it as a hybrid between zucchini bread and a cheesecake, but in cake form. It’s called a “swirl” because of that beautiful marbled pattern you get when gently swirling the cream cheese filling into the batter. It’s a smart way to use up seasonal zucchini while turning it into something decadently delicious. The name itself pretty much says it all: zucchini, cheese, cake—what’s not to love? And believe me, when I first tried this, I was hooked. It’s moist, flavorful, and just fancy enough to serve to guests without any fuss.
Why you’ll love this recipe?
What I love most about this zucchini and cream cheese swirl cake is how it balances simplicity with a touch of elegance. It’s not overly sweet, which makes it versatile—great for breakfast with coffee or as a satisfying dessert after dinner. The flavor profile is just perfect: the subtle earthiness of zucchini, warm hints of cinnamon and nutmeg, and that tangy, sweet cream cheese ribbon running through the middle. The smell alone—oh my gosh—fills the house with a warm, inviting aroma that makes everyone come rushing to the kitchen. Plus, it’s a real penny-pincher: most ingredients are pantry staples, and it’s budget-friendly, especially when zucchini is in season. The best part? It’s easy enough for a weeknight baking project but impressive enough to serve when you’re hosting friends or family. It’s a total lifesaver on busy nights and always gets rave reviews.
How do you make Zucchini & Cream Cheese Swirl Cake?
Quick Overview
This cake comes together quickly—think one bowl for the batter, a few minutes to prepare the cream cheese filling, and then a simple swirl and bake. The key to keeping it moist and tender is not overmixing the batter and not overbaking. I like to start by grating the zucchini finely to keep the cake light and make sure I squeeze out some excess moisture. After mixing all the wholesome ingredients, I dollop the cream cheese mixture on top and swirl it using a toothpick or a skewer, creating beautiful marbled waves. In about 45 minutes, you’ve got a golden, slightly domed cake with those irresistible creamy ribbons. It’s almost impossible to mess up, but trust me on this: don’t skip letting it cool fully before slicing. A warm slice is good, but a cooled, slightly rested cake slices so much prettier and tastes even better.
Ingredients
For the Main Batter:
- 1 1/2 cups all-purpose flour (or gluten-free blend if you prefer)
- 1 teaspoon baking powder
- 1/2 teaspoon baking soda
- 1 teaspoon ground cinnamon
- 1/2 teaspoon ground nutmeg
- 1/4 teaspoon salt
- 1/2 cup granulated sugar
- 1/2 cup packed brown sugar
- 1/3 cup vegetable oil or melted coconut oil
- 2 large eggs
- 1 teaspoon vanilla extract
- 1 cup finely grated zucchini (about 1 medium zucchini)
- 1/4 cup milk (dairy or almond milk works perfectly)
For the Filling:
- 8 oz cream cheese, softened
- 1/4 cup powdered sugar
- 1 teaspoon vanilla extract
- Optional: a squeeze of lemon juice for brightness
For the Glaze (optional):
- 1/2 cup powdered sugar
- 1-2 teaspoons milk or lemon juice
- A sprinkle of extra cinnamon or zest for flavor
Step-by-Step Instructions
Step 1: Preheat & Prep Pan
Preheat your oven to 350°F (175°C). Grease a 9-inch round cake pan or line with parchment paper. I always do this first so I don’t forget—nothing worse than realizing you forgot to prep the pan when your batter is ready! Lightly dust with flour or spray with non-stick spray for easy release later.
Step 2: Mix Dry Ingredients
In a large bowl, whisk together the flour, baking powder, baking soda, cinnamon, nutmeg, and salt. This step ensures everything’s evenly distributed and gives your cake that consistent rise and flavor. It’s a simple step but totally worth doing properly.
Step 3: Mix Wet Ingredients
In another bowl, whisk together the sugars, oil, eggs, vanilla, and milk. You want it smooth and slightly frothy—this helps incorporate air, giving your cake lightness. I usually whisk for about 30 seconds to a minute until everything looks well combined and glossy.
Step 4: Combine
Add the wet ingredients to the dry, gently folding together with a spatula or wooden spoon. Don’t overmix! Just until combined—lumps are okay. Overmixing can make the cake dense, and that’s not what we want here.
Step 5: Prepare Filling
In a small bowl, beat the softened cream cheese, powdered sugar, vanilla, and lemon juice if using, until smooth. It should be soft and spreadable but not runny. I like to taste it at this point—just to make sure it’s sweet and creamy enough.
Step 6: Layer & Swirl
Pour half the batter into your prepared pan. Drop spoonfuls of the cream cheese mixture on top, then spread gently. Pour the rest of the batter over, and using a skewer or a toothpick, swirl the cream cheese into the batter in gentle figure-eight motions. Don’t overdo it—the goal is a marbled look, not a mixed mess. The swirls should be visible but harmonious.
Step 7: Bake
Bake for about 40-45 minutes, or until a toothpick inserted into the center comes out clean. Ovens vary, so start checking around 40 minutes. The top should be golden, and the edges slightly pulling away from the pan. If it browns too quickly, tent loosely with foil.
Step 8: Cool & Glaze
Let the cake cool in the pan for about 15 minutes, then transfer to a wire rack and cool completely before glazing or slicing. If you want a shiny topping, whisk together powdered sugar and milk, pour over the cooled cake, and let it set for a few minutes. I love sprinkling an extra pinch of cinnamon or zest before serving for that added flavor punch.
Step 9: Slice & Serve
Use a serrated knife for best slices, cutting with gentle, sawing motions. This cake is best slightly warmed or at room temperature. Serve plain, with berries, or a dollop of whipped cream. It’s equally stunning on a brunch table or after a cozy dinner. Trust me, it disappears fast!
What to Serve It With
One of my favorite things is pairing this cake with a hot cup of coffee or a glass of cold milk. It’s such a comfort food, perfect for lazy mornings or brunch gatherings. My family loves it with a handful of fresh berries or a sprinkle of toasted coconut on top for added texture. I’ve also served slices topped with a dollop of Greek yogurt or mascarpone for a more indulgent dessert version. During holidays, I like to add a drizzle of caramel or a sprinkle of chopped nuts for extra crunch. This cake is honestly a blank canvas — it shines with simple accompaniments or dressed-up toppings. I’ve made mini muffins from the batter too, which makes a perfect snack for kids or on-the-go mornings. Whatever way you serve it, I promise this zucchini swirl cake will bring a warm smile and maybe even a few happy tears of nostalgia from family gatherings.
Top Tips for Perfecting Your Zucchini & Cream Cheese Swirl Cake
Here’s the scoop from years of baking this particular cake: first, always grate your zucchini finely and squeeze out excess moisture—trust me, this keeps the cake from getting soggy. I’ve tested with grated carrots and even apple chunks, but zucchini always wins for moisture and flavor balance. When mixing the batter, be gentle—overmixing is the enemy of fluffiness. To get those beautiful marbled swirls, use a toothpick or skewer to create elegant ribbon patterns, moving slowly so as not to blend the layers too much. For ingredient swaps, you can swap out half the flour for almond or coconut flour, but the texture will be a bit denser—add an extra egg to compensate. When baking, position the rack in the middle and keep an eye on it—every oven is different, so start checking around 40 minutes. The sweet spot is when the edges are a light golden, and a toothpick comes out with just a few moist crumbs. For the glaze, I recommend mixing powdered sugar with a splash of lemon juice for zing or a drop of vanilla for richness. It adds a lovely glossy finish and an extra flavor layer. Finally, remember: patience is key. Let it cool fully before slicing, and see how the intricate swirl stays intact—so pretty!
Storing and Reheating Tips
This cake keeps surprisingly well, which is great because you’ll find yourself wanting to savor every bite. Store leftovers in an airtight container at room temperature for up to 2 days—cover loosely with foil to prevent it from drying out. For longer storage, pop it into the refrigerator for up to a week. Just make sure to cover it well—plastic wrap or a cake container works fine. If you want to keep it even longer, this cake freezes beautifully for up to 2 months. Wrap it tightly in plastic wrap, then foil, and thaw at room temperature when you’re ready to enjoy. If you’ve glazed the cake, I recommend adding the glaze after reheating—otherwise, it might melt or get soggy. To reheat slices, microwave at 20-30 second intervals until warm, or pop the whole cake in a low oven (around 300°F) for 10-15 minutes. This method keeps it moist and fresh, just like when it first came out of the oven.
Frequently Asked Questions
Final Thoughts
If you’re looking for a way to sneak some veggies into your baking without anyone batting an eye, this zucchini and cream cheese swirl cake is the answer. It’s one of those recipes that feels special enough to serve guests but simple enough to throw together on a busy Tuesday. Every time I bake this, I’m reminded of lazy Sunday mornings—shirtsleeves rolled up, the smell of cinnamon wafting through the house, kids running in with sticky fingers looking for a snack. It’s that comforting. Plus, I’ve tested plenty of variations—adding walnuts, swapping in almond flour, even sneaking in a handful of blueberries—and it always works out beautifully. I hope you give it a try and fall in love with it as much as I have. Happy baking! Don’t forget to leave a comment or share your photos—I’d love to see your version of this cozy cake!
lemon curd
Ingredients
Method
- Gather all ingredients: egg yolks, sugar, lemon zest, lemon juice, and butter. Juice and zest lemons as needed.
- In a double boiler, whisk together egg yolks and sugar over simmering water until combined.
- Add lemon juice and zest to the egg mixture. Continue whisking for 8-9 minutes until the mixture thickens slightly.
- Remove from heat. Whisk in cold butter, one tablespoon at a time until smooth.
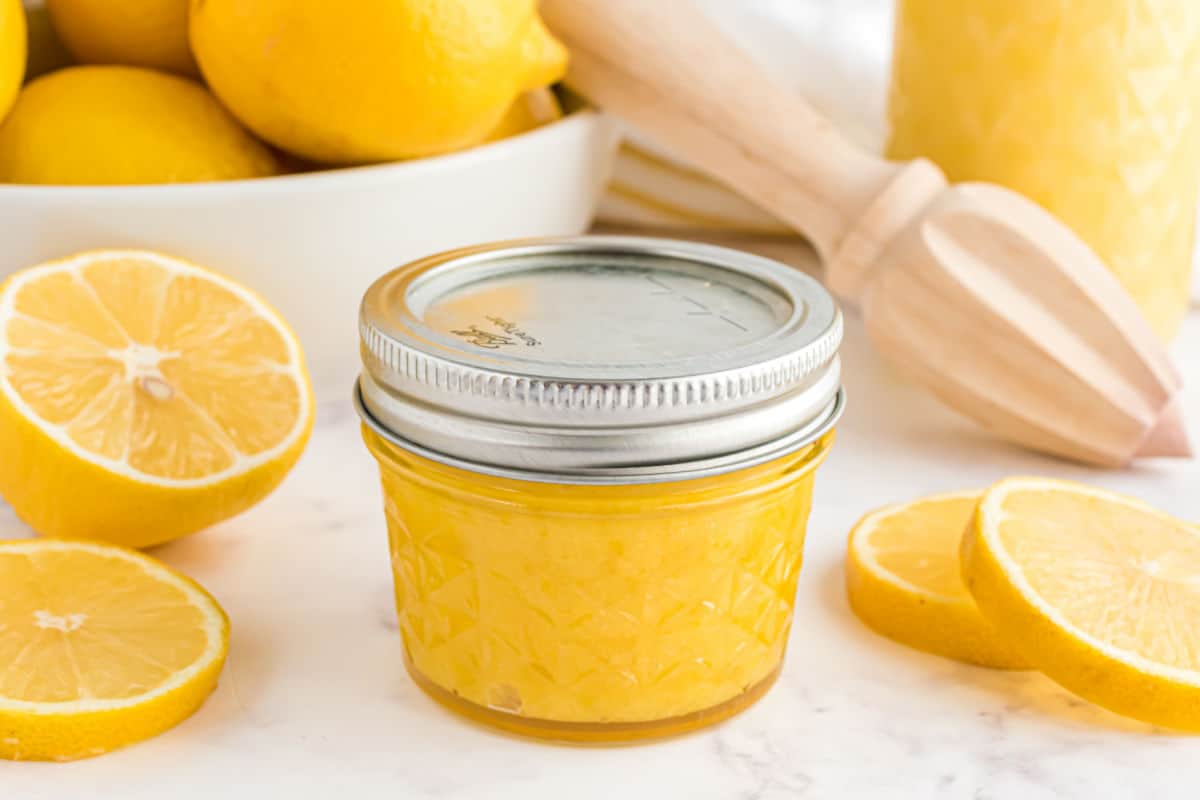
- Pour into a jar or container, cover, and refrigerate for at least 2 hours until cooled and thickened.