Unexpected Chocolate Bars A Simple Treat
There’s something about the smell of freshly baked zucchini cake that instantly reminds me of lazy summer afternoons at my grandma’s house. You know that warm, slightly sweet aroma mingling with a hint of citrus? Yep—that’s the magic of this recipe. I’ve made it countless times, and trust me, it never fails to bring a smile to everyone’s face. It’s kind of like a carrot cake, but with that fresh, earthy twist of zucchini that keeps it surprisingly moist and flavorful. My kids actually ask for this all the time — it’s become a quick favorite when I want to whip up something comforting and homemade. Plus, it’s a sneaky way to sneak in veggies, which I love. Honestly, I think this is one of those recipes that just gets better with time. It’s perfect when you’re craving something sweet at 10 pm but don’t want to bake a giant cake — because hello, less guilt, more yum. And the best part? It’s super easy to throw together, even on busy weeknights. Just trust me on this one—you’ll want to keep this recipe handy forever.
What is Zucchini cake?
Think of zucchini cake as a cozy, slightly indulgent loaf that’s bursting with fresh, veggie goodness. It’s essentially a moist, tender cake made with grated zucchini, which adds a subtle earthiness and keeps the crumb incredibly soft. The name “zucchini cake” doesn’t do justice to how deliciously satisfying this treat is — it’s more like a sweet bread or quick loaf, but with a little extra flair thanks to that creamy swirl of cream cheese nestled right in. The idea behind this cake is simple: blend together basic pantry ingredients, fold in shredded zucchini, add a touch of citrus for brightness, and finish with a drizzle of lemon glaze. It’s a perfect balance of sweet and tangy, with a hint of richness from the cheese swirl. Think of it as a humble family recipe that’s been passed down through generations, only upgraded with fresh zest and a glossy finishing touch. It’s wholesome enough for breakfast, sophisticated enough for brunch, and sweet enough for dessert. Kind of like the Swiss Army knife of baked goods, but way more charming.
Why you’ll love this recipe?
What I love most about this zucchini cake is how comforting it feels, and yet it’s surprisingly versatile. The flavor? Oh, it’s got that lovely balance of sweet, citrus, and just a hint of savory from the zucchini. The aroma that fills my kitchen every time I bake this is enough to make everyone come running. The best part? It’s incredibly simple — no complicated steps or fancy equipment needed. Just grab your box grater, a mixing bowl, and you’re good to go. Plus, it’s budget-friendly too. Most of the ingredients are pantry staples or easily found at the store — flour, sugar, eggs, zucchini, and a few flavor boosters. I’ve also tested this with almond milk instead of regular milk, and it actually made it even creamier — so feel free to play with substitutions if you’re dairy-free or want a little dietary tweak. Another reason I keep making this? It’s a crowd-pleaser. My friends have asked me to bring it to brunch, and my kids ask for it as a special treat. And because it keeps well, I often bake an extra loaf just to have on hand for a quick snack or breakfast. I swear, once you try it, you’ll find it hard to resist — it’s one of those recipes that tastes better every time.
How do I make Zucchini Cake with Cream Cheese Swirl and Lemon Glaze?
Quick Overview
This zucchini cake is a breeze to make and perfect for busy mornings or weekend family treats. You start by grating fresh zucchini and mixing it into a simple batter made with flour, sugar, eggs, and warm spices. Then, you layer in a luscious cream cheese mixture that swirls beautifully through the batter. The cake bakes until golden, and once cooled, it gets topped with a tangy lemon glaze that brightens every bite. The key is to keep everything moist and not overmix — which makes the texture super tender. When you cut into it, you’ll see that gorgeous marbling of cream cheese, promising rich, cheesy goodness inside. Trust me, this is one of those recipes where everything comes together quickly, and the end result is absolutely worth every minute.
Ingredients
For the Main Batter:
– 2 cups grated zucchini (about 2 medium zucchinis, grated with a box grater)
– 1 3/4 cups all-purpose flour
– 1 tsp baking powder
– 1/2 tsp baking soda
– 1/2 tsp salt
– 1 tsp ground cinnamon
– 1/2 tsp ground nutmeg
– 1 cup granulated sugar
– 1/2 cup brown sugar
– 1/2 cup vegetable oil or melted butter
– 3 large eggs
– 1 tsp vanilla extract
– Zest of 1 lemon (trust me, it adds freshness!)
For the Filling:
– 8 oz cream cheese, softened
– 1/4 cup powdered sugar
– 1 tsp vanilla extract
For the Glaze:
– 1 cup powdered sugar
– Juice of 1 lemon (start with half, add more for desired consistency)
– A tiny pinch of salt
Step-by-Step Instructions
Step 1: Preheat & Prep Pan
Preheat your oven to 350°F (175°C). Grease a standard loaf pan or line it with parchment paper. I like to give it a quick spray with non-stick spray and then lightly dust with flour — never a bad idea for easy unmolding. If you’re using a different shape, adjust baking time accordingly; muffins, for instance, take less time. Have your grated zucchini ready to go, and make sure you squeeze out excess moisture with a kitchen towel — this step is key! Too much moisture can make the cake soggy rather than tender, so don’t skip it.
Step 2: Mix Dry Ingredients
In a large bowl, whisk together the flour, baking powder, baking soda, salt, cinnamon, and nutmeg. These dry ingredients give your cake that cozy spice profile and ensure it rises evenly. I always do this first to keep everything well combined. Plus, it makes the next steps smoother.
Step 3: Mix Wet Ingredients
In a separate bowl, whisk the sugars with the oil, eggs, vanilla, and lemon zest until smooth and slightly frothy. I find that beating the eggs lightly first helps everything incorporate better. Then, fold in the grated zucchini until evenly distributed. The zucchini should be moist but not watery; if it’s dripping, give it a quick squeeze in a towel to remove excess moisture.
Step 4: Combine
Pour the wet mixture into the dry ingredients and stir gently — don’t overmix! It’s tempting to give it a vigorous stir, but overmixing can make the cake dense. Just fold until most of the flour disappears, and you see a few streaks here and there. That’s perfect.
Step 5: Prepare Filling
In a small bowl, beat the softened cream cheese with powdered sugar and vanilla until smooth. This will be your delightful swirl that makes each bite rich and tangy. I like to make it ahead and let it chill just a bit so it’s easier to dollop and swirl into the batter.
Step 6: Layer & Swirl
Pour about half of the batter into your prepared pan. Then, dollop spoonfuls of the cream cheese mixture over the batter, followed by the remaining batter on top. Use a toothpick or a skewer to swirl gently back and forth — this creates a pretty marbled effect and makes slicing more fun. Don’t overdo it; you want the swirl to be visible but not completely mixed in.
Step 7: Bake
Pop it in the oven and bake for about 50-60 minutes, or until a toothpick inserted in the center comes out clean. If you notice the top browning too fast, tent it with foil halfway through. Every oven is different, so start checking around the 50-minute mark. You want a tender crumb, and the edges should slightly pull away from the sides.
Step 8: Cool & Glaze
Let the cake cool in the pan for at least 15 minutes, then transfer to a wire rack. While it’s still slightly warm, whisk together your lemon glaze — it should be pourable but not runny. Drizzle generously over the cooled cake — the glaze sets beautifully and adds a bright finish. Trust me, it’s the perfect finishing touch that makes every bite special.
Step 9: Slice & Serve
Once fully cooled, slice with a sharp serrated knife. This cake is moist and tender; patience pays off here. Serve it on a pretty plate with a cup of tea or coffee, and prepare for the compliments — it’s that good. My family always asks for this on lazy Sundays, and I keep the leftovers wrapped tightly in plastic or stored in an airtight container. It’s just as delicious the next day, and the flavors actually deepen overnight.
What to Serve It With
This zucchini cake is pretty versatile, and I love pairing it with different things depending on the occasion. In the morning, a simple spread of butter or a smear of cream cheese makes for a comforting breakfast. I often serve it with a cup of strong black coffee or a hot chai latte — the citrusy lemon glaze balances beautifully with the bitterness of the coffee.
For brunch, add a fresh fruit salad on the side, maybe some sliced strawberries or a handful of blueberries. A dollop of whipped cream or a scoop of vanilla ice cream on top makes it more decadent, especially when served as dessert. My kids adore this with a sprinkle of powdered sugar and a glass of cold milk. It’s also great as a sweet snack anytime — just keep it in an airtight container, and it’s ready to grab.
Top Tips for Perfecting Your Zucchini Cake with Cream Cheese Swirl and Lemon Glaze
Every baker has a little secret, right? Here are a few of mine accumulated over making this zillion times:
Zucchini Prep: Always squeeze out the excess moisture! Otherwise, your cake might turn soggy. I’ve learned that the wetter the zucchini, the more care it needs — I actually grate and then squeeze it in a clean dish towel until it stops dripping. Fresh zucchini is best, but if you’re in a pinch, frozen works if thawed and drained well, just note that the texture may be slightly different.
Mixing Advice: Resist the urge to overmix after combining wet and dry ingredients. Overmixing develops gluten, making the crumb dense rather than tender. Fold gently until just combined, and you’ll get that lovely light texture everyone loves.
Swirl Customization: You can get creative here. Add a dash of cinnamon or a sprinkle of chopped nuts to the cream cheese filling for extra flavor and crunch. Or, swirl in a little fruit jam for a fruity twist.
Ingredient Swaps: Want to make it lighter? Swap Greek yogurt or applesauce for some of the oil. Prefer a dairy-free version? Use coconut or almond milk, and ensure your cream cheese is vegan if needed. Just keep the ratios balanced for the best texture.
Baking Tips: Every oven heats differently. Check for doneness a few minutes early, especially if using a smaller pan or muffin tins. The toothpick test is your best friend — when it comes out clean, you’re golden. Also, placing the cake on a middle rack ensures even baking.
Glaze Variations: Love citrus? Substitute orange or lime juice for lemon. Or, for a richer glaze, add a splash of vanilla extract or a touch of honey. Pour it over the cake while it’s slightly warm so it soaks in just right. And don’t worry if your glaze seems thick — just add a little more lemon juice or water to loosen it up.
Over the years, I’ve tweaked this recipe to suit my taste and our busy schedule; from adding different spices to experimenting with fillings. But the core — that tender crumb, vibrant swirl, and zingy glaze — remains a family favorite. It’s one of those recipes that somehow gets better the more I make it, and I hope it will do the same for you.
Storing and Reheating Tips
This cake keeps surprisingly well. I usually wrap it tightly in plastic wrap or slide it into an airtight container. If kept at room temperature, it’s best enjoyed within 2 days — after that, the moisture tends to escape, and it might dry out a bit. Refrigerated, it stays fresh for up to 4 days, but I recommend letting it sit at room temperature for 10 minutes before slicing to keep that moist texture intact.
Want to freeze it? Absolutely — just wrap it well in plastic wrap and then foil, or pop slices into zip-top bags. It’ll stay good for up to 3 months in the freezer. Thaw overnight in the fridge or at room temperature for quick snacking. I suggest adding the glaze after reheating, to keep it looking glossy and fresh.
Frequently Asked Questions
Final Thoughts
Honestly, this zucchini cake with cream cheese swirl and lemon glaze has a special place in my heart (and my kitchen). It’s that perfect mixture of simple, nostalgic comfort and elegant flavors. Every time I make it, I feel like I’m sharing a little piece of my family’s history, even if I’ve only just whipped it up. Whether you’re looking for a breakfast surprise, a brunch star, or a sweet end to a cozy dinner, this little loaf hits all the marks. Plus, it’s a great way to sneak in some hidden veggies—because what’s better than a dessert that’s secretly good for you? I can’t wait to hear how yours turns out. Don’t forget to leave a comment, share your own twists, or snap a picture — I love seeing how you make it your own. Happy baking!
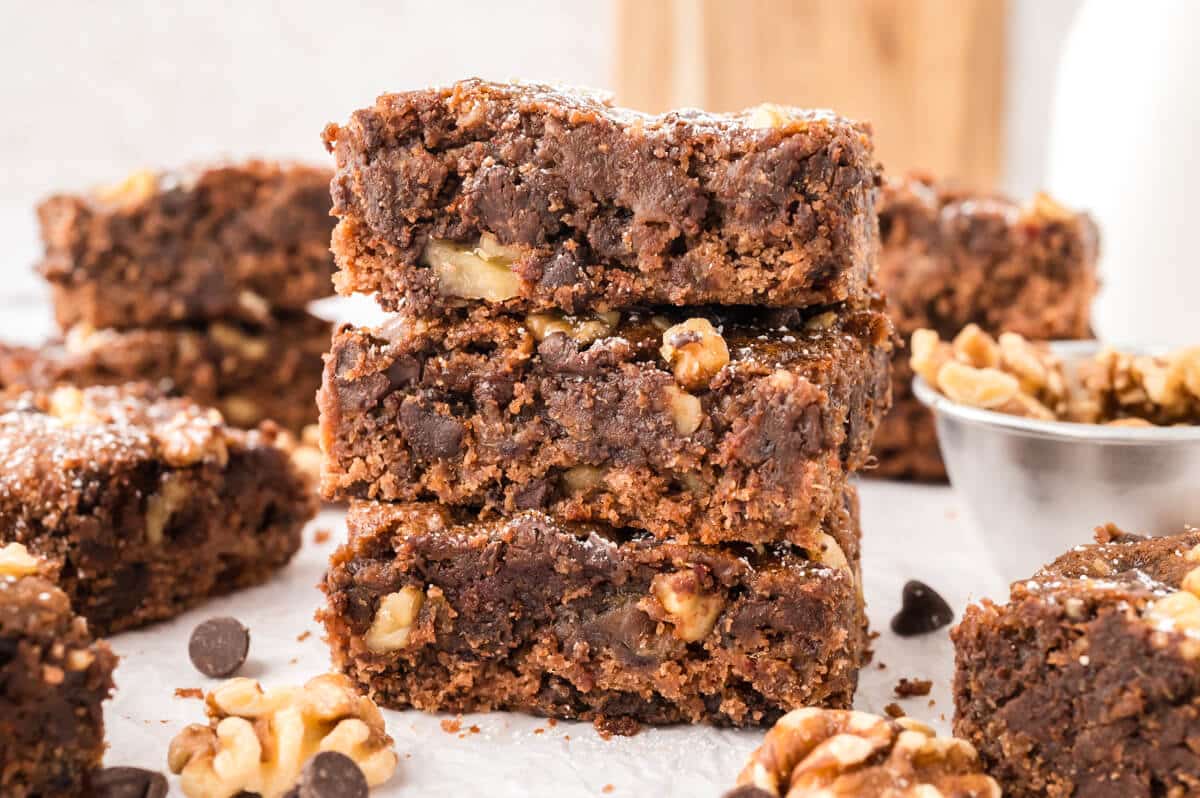
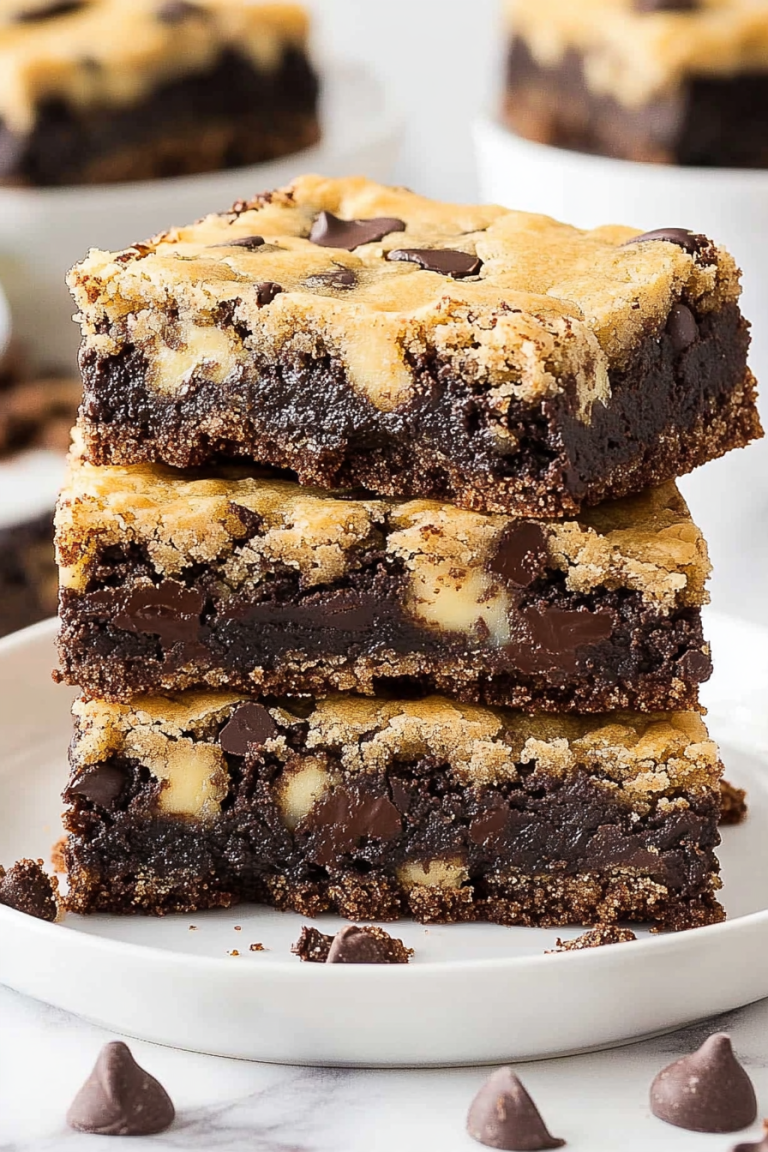
Chocolate Surprise Bars
Ingredients
Method
- Preheat the oven to 350℉.
- Place chopped dates in a bowl and cover with baking soda and boiling water. Let the mixture cool completely in the refrigerator or freezer.
- Using a stand mixer or a hand mixer, whip the softened butter and sugar together until well blended, about 45 seconds. Add in the eggs and mix well to combine.
- Sift the flour, salt and cocoa powder together. Ensure you have 2 cups of the flour mixture after you sift.
- Add the dry ingredients to the wet ingredients slowly and stir.
- Once the date mixture is completely cool, fold in the date mixture, 0.5 cup of the walnuts and chocolate chips.
- By hand, mix well with a large spoon and pour batter into a 9x13-inch baking dish.
- Sprinkle a handful of chocolate chip morsels and walnuts on top of the batter.
- Cook uncovered for 30 minutes.
- Once bars are completely cooled, cut into squares and dust with powdered sugar.