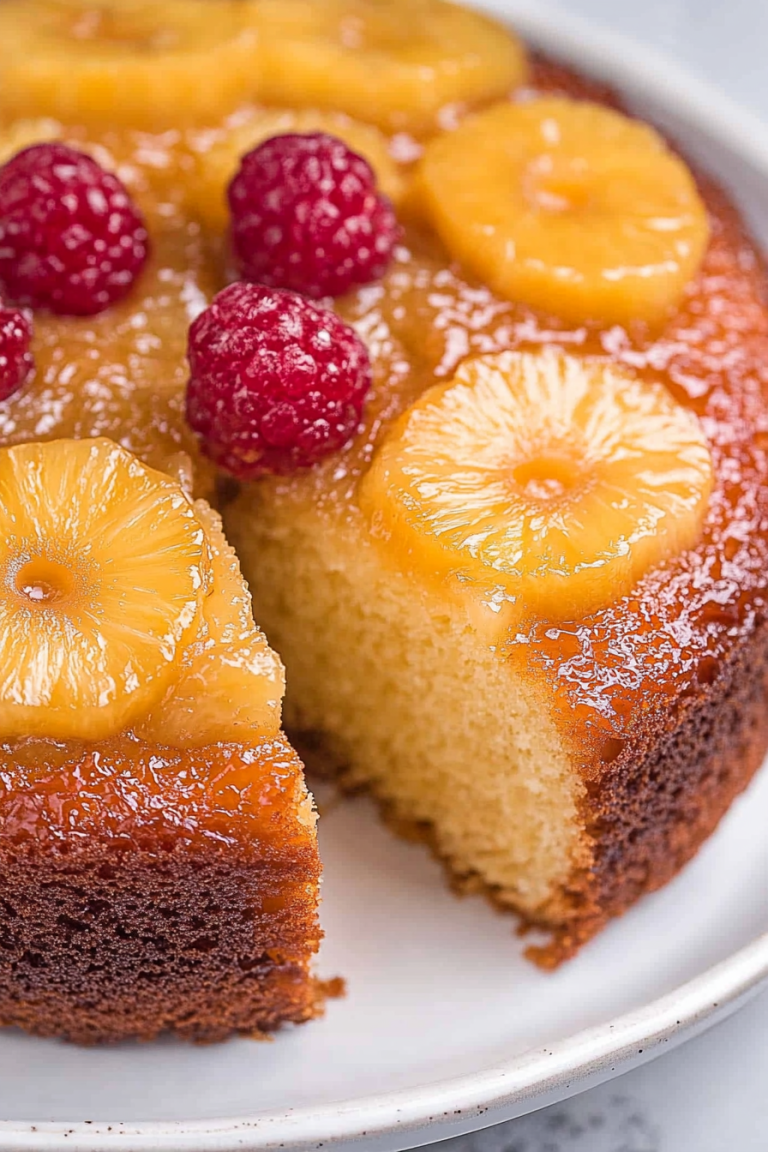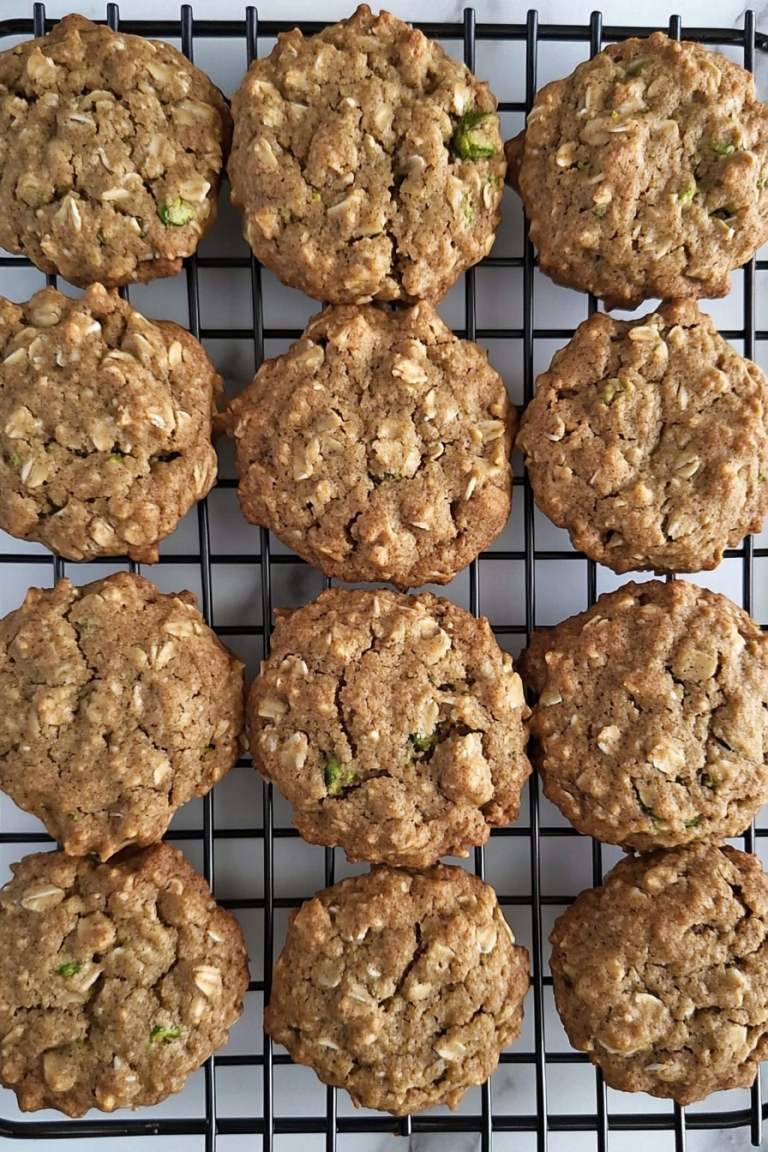
Sweet Treats to Honor Mom
If you’ve ever had that moment when you’re craving something sweet but don’t want to spend hours in the kitchen, then stick around. I promise, this zucchini swirl cake is a total game-changer. It’s one of those recipes I always keep in my back pocket — you know, the one you whip up when visitors drop by, or you’re just in the mood for something indulgent without feeling guilty. I’ve made this countless times, and honestly, it never fails to disappear in minutes at my house. My kids ask for this all the time, especially when zucchini’s in season, and the best part? It’s so easy that even if you’re not a baking pro, you’ll feel like one. Trust me on this—this cake’s incredible flavor and astonishing simplicity will make it a regular in your recipe box too. Plus, I’ve tested it with almond milk, and it actually made it even creamier — I call that a win! So, grab a cup of coffee and let me walk you through my favorite way to enjoy a slice of sweet, moist, and slightly swirled goodness that’s made for sharing.
What is Zucchini Swirl Cake?
Think of it as a cozy mash-up between a classic sheet cake and a fun, marbled treat. It’s essentially a super moist vanilla base with a delightful swirl of cinnamon-spiked zucchini filling running through it. ‘Swirl’ is the perfect word because the way the batter ripples with that tender, slightly spiced zucchini mixture is almost hypnotic. The name’s pretty straightforward — it’s a zucchini cake, yes, but with a twist (literally) — a beautiful marbled swirl that turns simple ingredients into something special. The dish has roots in the humble garden zucchini, which, if you ask me, deserves more attention outside of savory dishes. Here, zucchini becomes the star ingredient, adding moisture and a subtle, fresh flavor that balances the sweet. Think of it as comfort food with a healthy surprise, perfect when you want something sweet but also feel good about what you’re eating. I love how this cake comes together quickly, making it perfect for busy weekdays or lazy weekends—it’s a true crowd-pleaser and a family favorite for good reason.
Why you’ll love this recipe?
What I love most about this zucchini swirl cake is how it combines all my favorite things: incredible flavor, simplicity, and a bit of nostalgia. First, the flavor—moist, tender, sweet yet subtly earthy from the zucchini. The cinnamon swirl gives it that cozy, comforting aroma that fills your kitchen and makes everyone smile. Plus, the cake isn’t overly sweet, so you can enjoy a sizable slice without feeling guilty. Second, the ease of making it. Honestly, I’ve perfected this recipe over the years, and you don’t need fancy equipment or confusing techniques. Just a mixing bowl, a spatula, and a good oven — that’s it. I love that it’s budget-friendly too — the ingredients are pantry staples or easily sourced fresh at the farmer’s market. And the best part? The versatility. Serve it at breakfast with a dollop of yogurt, as a brunch centerpiece, or turn it into a cozy dessert after dinner. It also keeps well, which is a huge plus when you’re trying to plan ahead. Trust me, once you make this, you’ll find yourself craving it on lazy Sunday mornings or as a quick sweet fix after a long day. Honestly, this cake’s become my go-to comfort food, and I know it’ll do the same for you.
How do I make Zucchini Swirl Cake?
Quick Overview
This cake is all about keeping it simple but delivering big flavor. You start by preparing a basic vanilla batter, then swirl in a spiced zucchini mixture for that gorgeous marbled look. It bakes in about 40 to 45 minutes, filling your house with that warm cinnamon scent I swear is addictive. Once out of the oven, a quick glaze or dusting of powdered sugar makes it look pretty perfect for serving, but honestly, it’s great even without. The secret is not overmixing the batter — I always do this when I want a tender crumb. The swirl part is super forgiving too — I love experimenting with different spices or adding nuts or chocolate chips. This cake tastes best when slightly warm, and honestly, it’s just as good the next day (if there’s any left, that is!). All in all, it’s a no-fuss, forgiving recipe that’s great for anyone who loves a homemade treat without the fuss.
Ingredients
For the Main Batter:
– 2 cups all-purpose flour (check for fresh, high-quality flour for the best rise)
– 1 cup granulated sugar
– 1/2 teaspoon baking powder
– 1/2 teaspoon baking soda
– 1/2 teaspoon salt
– 1 teaspoon vanilla extract
– 1/2 cup vegetable oil (or melted coconut oil for a subtle coconut note)
– 3 large eggs
– 1 cup Greek yogurt or regular yogurt (can substitute with almond milk for dairy-free)
For the Filling (the swirl):
– 1 medium zucchini, grated and drained — I always squeeze out the excess water with a clean towel
– 1/2 teaspoon ground cinnamon
– 2 tablespoons brown sugar (or coconut sugar)
– A dash of nutmeg if you love that warm spice
For the Glaze:
– 1 cup powdered sugar
– 2-3 tablespoons milk (dairy or plant-based)
– 1/2 teaspoon vanilla extract
– Optional: a pinch of cinnamon or lemon zest for extra zing
Step-by-Step Instructions
Step 1: Preheat & Prep Pan
Set your oven to 350°F (180°C). Grease a standard 9-inch cake pan or line it with parchment paper — trust me, this makes life a lot easier when it’s time to serve. If you’re making a larger batch or a loaf, adjust baking times accordingly. I always make sure the pan is well greased, especially the corners, so the cake can slide out easily without sticking.
Step 2: Mix Dry Ingredients
In a large bowl, whisk together the flour, baking powder, baking soda, salt, and a pinch of cinnamon if you’re feeling extra cozy today. Sifting these together isn’t necessary but helps keep everything light and airy. I’ve learned this trick after years of fudging with lumps — it’s worth doing for the perfect crumb.
Step 3: Mix Wet Ingredients
In a separate bowl, whisk the eggs, sugar, vanilla, and oil until smooth. I find that using room temperature eggs helps everything mix better and gives a lighter texture. Then, fold in the yogurt until it’s just combined. Do not overmix here; just make sure everything’s evenly incorporated. Overmixing can cause a dense cake, and nobody wants that.
Step 4: Combine
Add the wet mixture to the dry ingredients, gently folding with a spatula until just combined. The batter should be smooth but not overworked — remember, the goal is to keep it tender. If it feels a bit thick, you can add a splash of milk to loosen it up slightly.
Step 5: Prepare Filling
In a small bowl, toss the grated zucchini with cinnamon, sugar, and a tiny pinch of nutmeg. I’ve tested this with just cinnamon, but the nutmeg really adds that warm, holiday note. If you’re feeling playful, chopped nuts or chocolate chips added to the swirl layer are a total hit. Drain out any excess water from the zucchini so the swirl stays thick and doesn’t turn runny.
Step 6: Layer & Swirl
Pour half of the batter into your prepared pan. Spoon the zucchini mixture on top in dollops, then add the remaining batter over it. Using a toothpick or a skewer, gently swirl the zucchini into the batter — not too much, just enough to create beautiful marbled streaks. The visual of the swirls makes this cake extra special, but it’s just as delicious with a simple dollop of the zucchini mixture in the middle.
Step 7: Bake
Pop it into your preheated oven and bake for 40-45 minutes. Check for doneness by inserting a toothpick — it should come out clean but moist. If the top browns too quickly, tent it with foil to prevent burning. Every oven’s a little different, so start checking around the 40-minute mark.
Step 8: Cool & Glaze
Once out of the oven, let the cake cool in the pan for about 15 minutes. Then, transfer to a wire rack and cool completely before glazing. For extra shine, mix the powdered sugar with milk and vanilla, then drizzle over the cooled cake. I like to sprinkle a little cinnamon or lemon zest on top for that final touch of flavor.
Step 9: Slice & Serve
Use a sharp serrated knife for clean cuts — it’s the secret to perfect slices without squishing that beautiful swirl. Serve slices slightly warm or at room temp. Honestly, a dollop of whipped cream or a scoop of vanilla ice cream makes it even better. I love serving this with a hot cup of tea or a cold glass of milk for the kids.
What to Serve It With
This cake is versatile enough to adapt to pretty much any occasion. For breakfast or brunch, I love serving it with a bit of Greek yogurt and fresh berries — it’s a real treat that doesn’t feel heavy. It’s also a winner as an after-dinner dessert, especially with a drizzle of honey or a dusting of powdered sugar. And on casual days, it’s just perfect sliced into squares and served with a mug of coffee or tea — the smell alone is reason enough to bake it. During family gatherings, I always make a double batch because it disappears faster than I expect. If you want to add a little extra flair, top it with toasted nuts, shredded coconut, or even a splash of caramel sauce. Honestly, this cake’s a keeper at my house, and I hope it becomes yours too. It’s gentle on the budget, easy to customize, and just so grown-up cozy—I swear it’s like getting a hug in dessert form.
Top Tips for Perfecting Your Zucchini Swirl Cake
Over the years, I’ve picked up a few tricks that help make this cake even better. First, prep your zucchini well — I always grate and squeeze out as much moisture as I can because wet zucchini can make the swirl runny or soggy. I’ve tested with different zucchinis — the smaller, young ones are ideal because they’re tender and sweet. For mixing, resist the urge to overdo it once you add the flour. Gently folding is key to keeping that light, airy texture. When swirling the zucchini into the batter, I aim for a gentle, figure-eight motion with a skewer or knife — that way, the marbled look is just right. If you want to switch things up, try adding a teaspoon of vanilla or lemon zest to the zucchini filling — it adds a fresh note. You can also swap out some of the flour for almond flour or whole wheat, but keep in mind that might alter the texture slightly. For baking, don’t forget to check around the 40-minute mark; every oven behaves a little differently. If your top browns too quickly, tent it with foil, and if the middle isn’t quite done, lower the temperature slightly and bake a bit longer. The glaze is totally customizable; I like a simple powdered sugar glaze, but a cream cheese frosting or lemon drizzle works beautifully too. The biggest lesson I’ve learned is patience and not overmixing — that’s what keeps this cake so tender and moist. Trust me, once you get the hang of swirling and timing, you’ll have this baked to perfection every time — it’s truly hard to mess up!
Storing and Reheating Tips
This cake is surprisingly sturdy, which makes storing and reheating super easy. If you’re not serving it right away, let it cool completely then wrap it tightly in plastic wrap or store it in an airtight container. At room temperature, it stays fresh for about 2 days — the zucchini keeps it moist, so it’s still tender and delicious even the next day. After that, I pop leftovers into the fridge, where it’s good for up to 5 days. I recommend bringing it to room temp before slicing if you want that melt-in-your-mouth feel. For longer storage, freezing works great. Wrap slices individually in plastic wrap, then place them in a resealable bag or airtight container. When I reheat, I just pop a slice in the microwave for about 20-30 seconds — warm, soft, and just as tasty. If you prefer to serve it cold, that’s also perfectly fine; the flavors meld really well after a day or two. If you’re worried about the glaze slipping or drying out, I suggest waiting to glaze right before serving, especially if you’re storing for a few days. This way, everything stays glossy and fresh. Overall, this cake holds up well and is forgiving in the storage department, which is a huge bonus for busy families or last-minute guests.
Frequently Asked Questions
Final Thoughts
If you’re looking for a cozy, effortless dessert that combines classic comfort with a fresh twist, this zucchini swirl cake is it. It’s one of those recipes that brings a little sunshine to your day — the smell alone will fill your home with warmth and all those nostalgic memories of baking with loved ones. I love how adaptable it is; you can tweak the spices, make it dairy-free, add nuts or chocolate, or keep it simple with just a dusting of powdered sugar. Every time I make this, it reminds me how sometimes, the best things in life are right in our own kitchen, waiting to be cherished and shared. I hope you enjoy making and eating it just as much as I do. Please share your versions or drop a comment below — I’d love to hear how yours turns out. Happy baking!
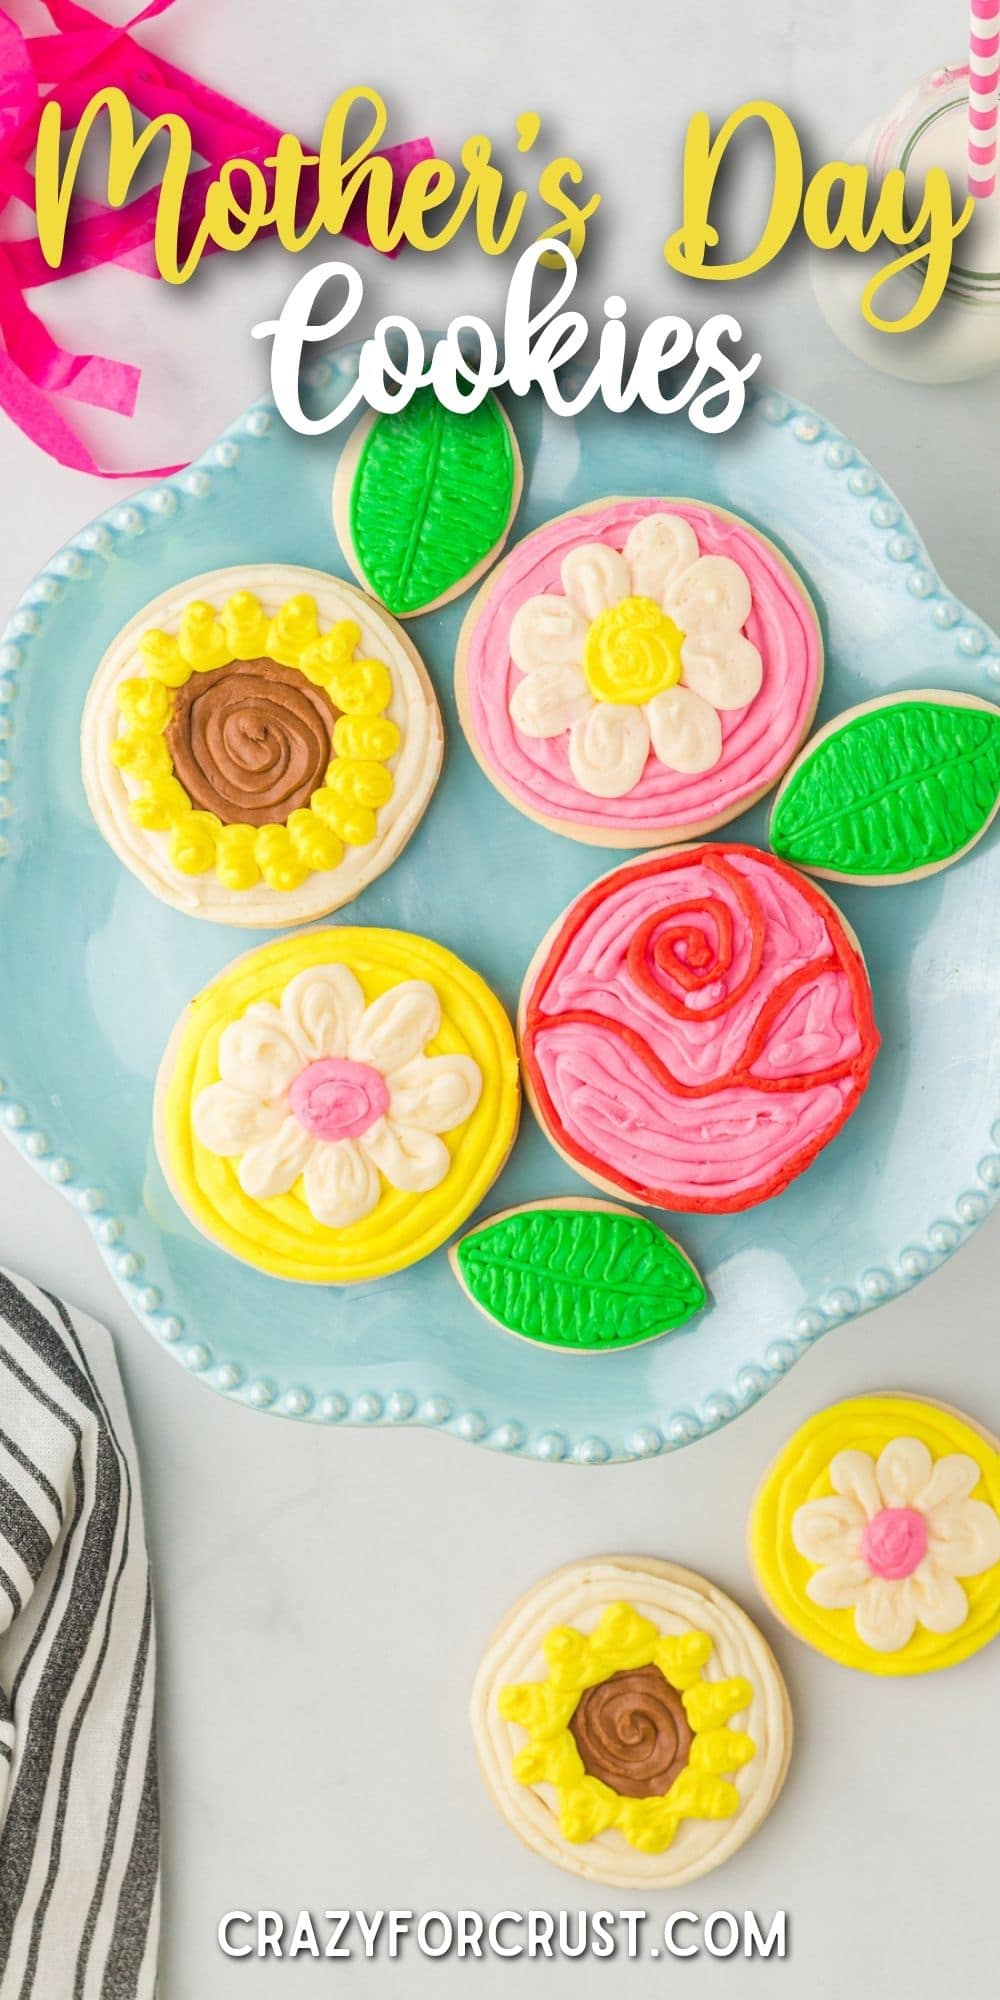
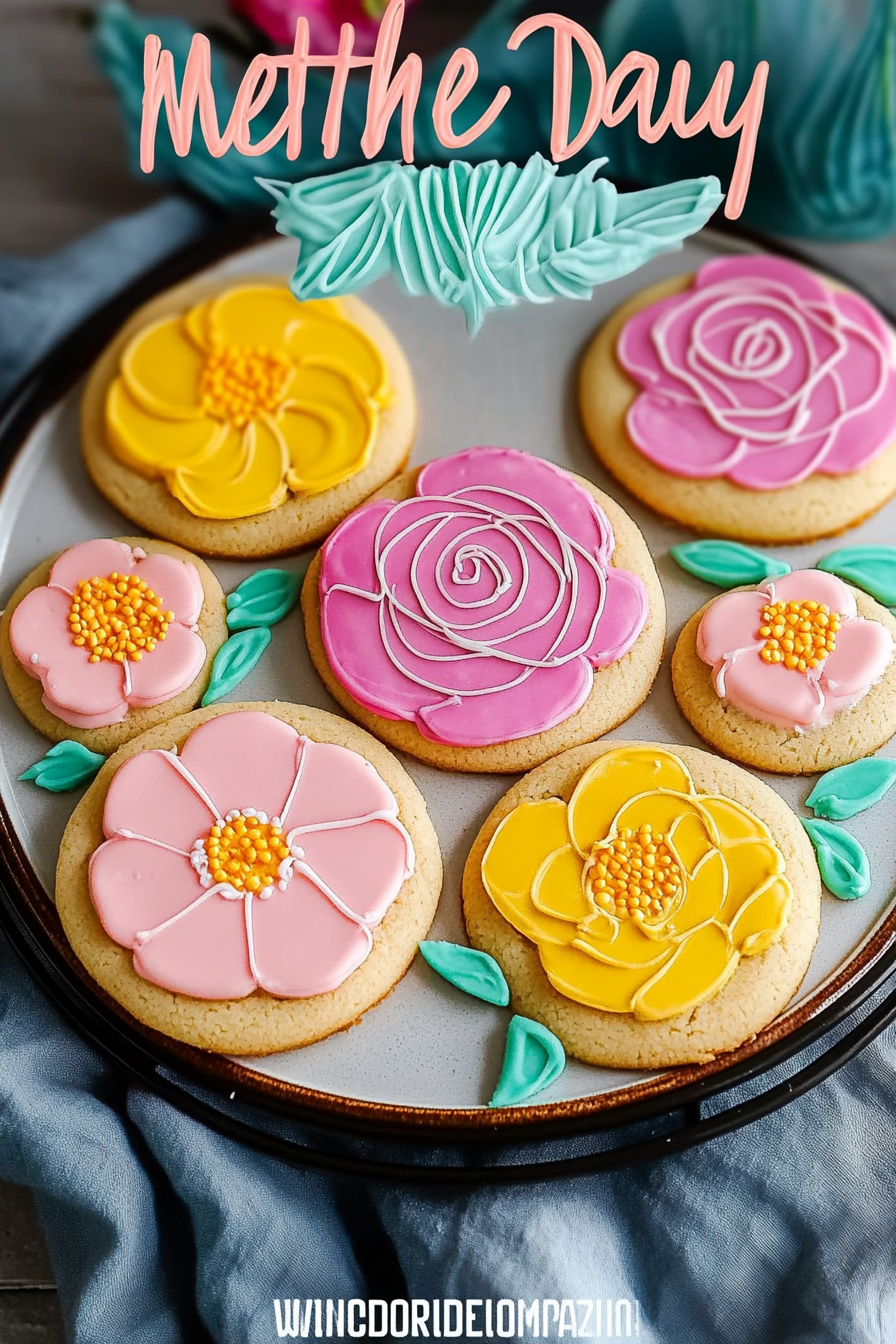
Mother's Day Cookies
Ingredients
Method
- Separate icings into separate smaller bowls to color icings.
- Use food coloring to color icings in desired colors. Stir completely to make sure all color is worked into the icing.
- The best part about this decorating method is you don’t need a special tip. Just add the frostings to your piping bags.
- Cut small openings in the tips of each icing bags. For background colors, the tips can be cut larger. For icings you’ll be printing with or doing finer details with, keep the tip cut small.
- If icings are not squeezing out of the bags smoothly, roll piping bags between hands to warm icing a bit making it easier to squeeze out. Do not microwave icing – even 5 seconds in the microwave can turn the icing into a melted mess.
- Start decorating with background colors on all cookies (like the pink background with the yellow circle in the middle). Simply start by lining the outside of the cookie then continue filling in following the shape of the cookie.
- Work on decorating cookies in layers – first the background color then the flower petals.
- Cookies can be stored at room temperature (in a sealed food safe container) at room temperature for up to 3 days or in fridge for up to a week. Store cookies in a single layer to not squish icing details.