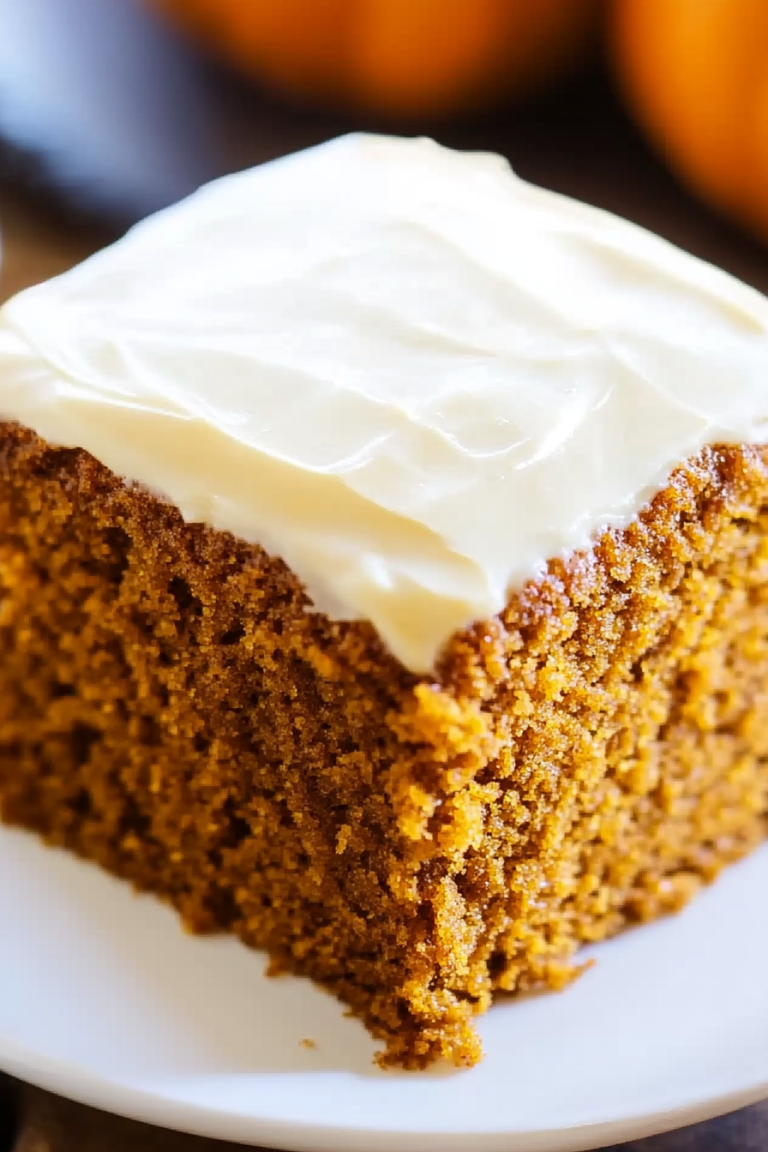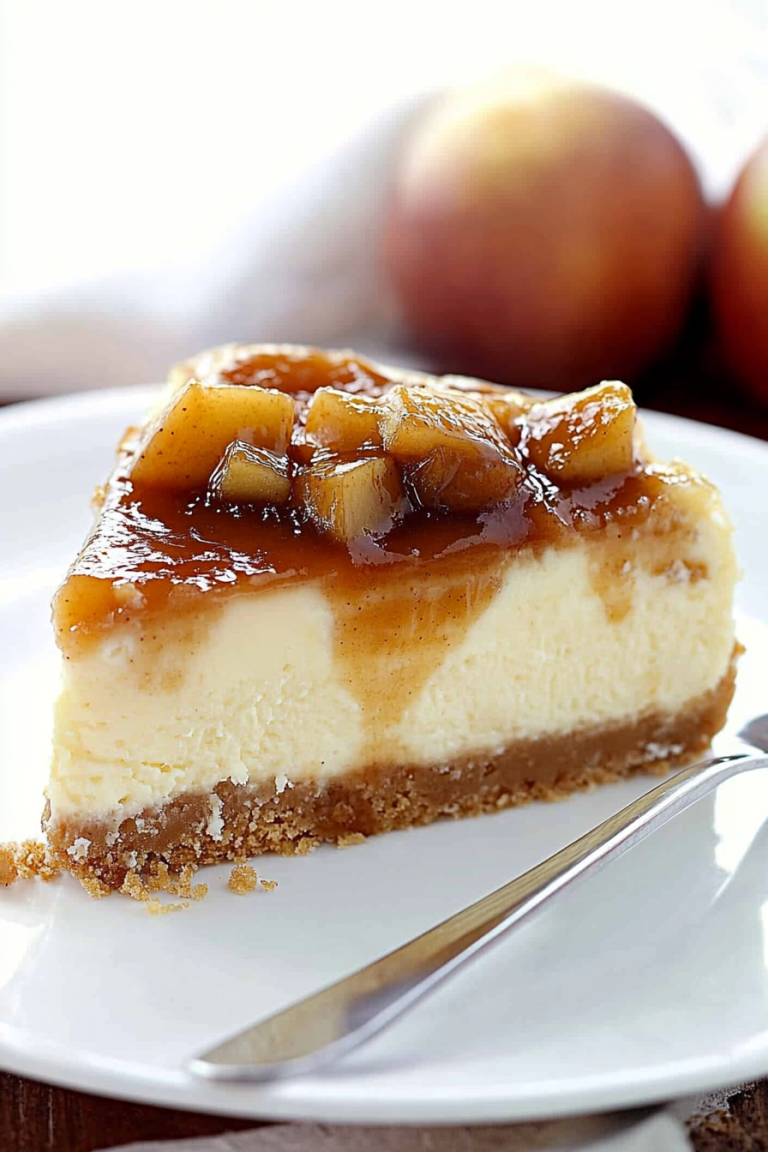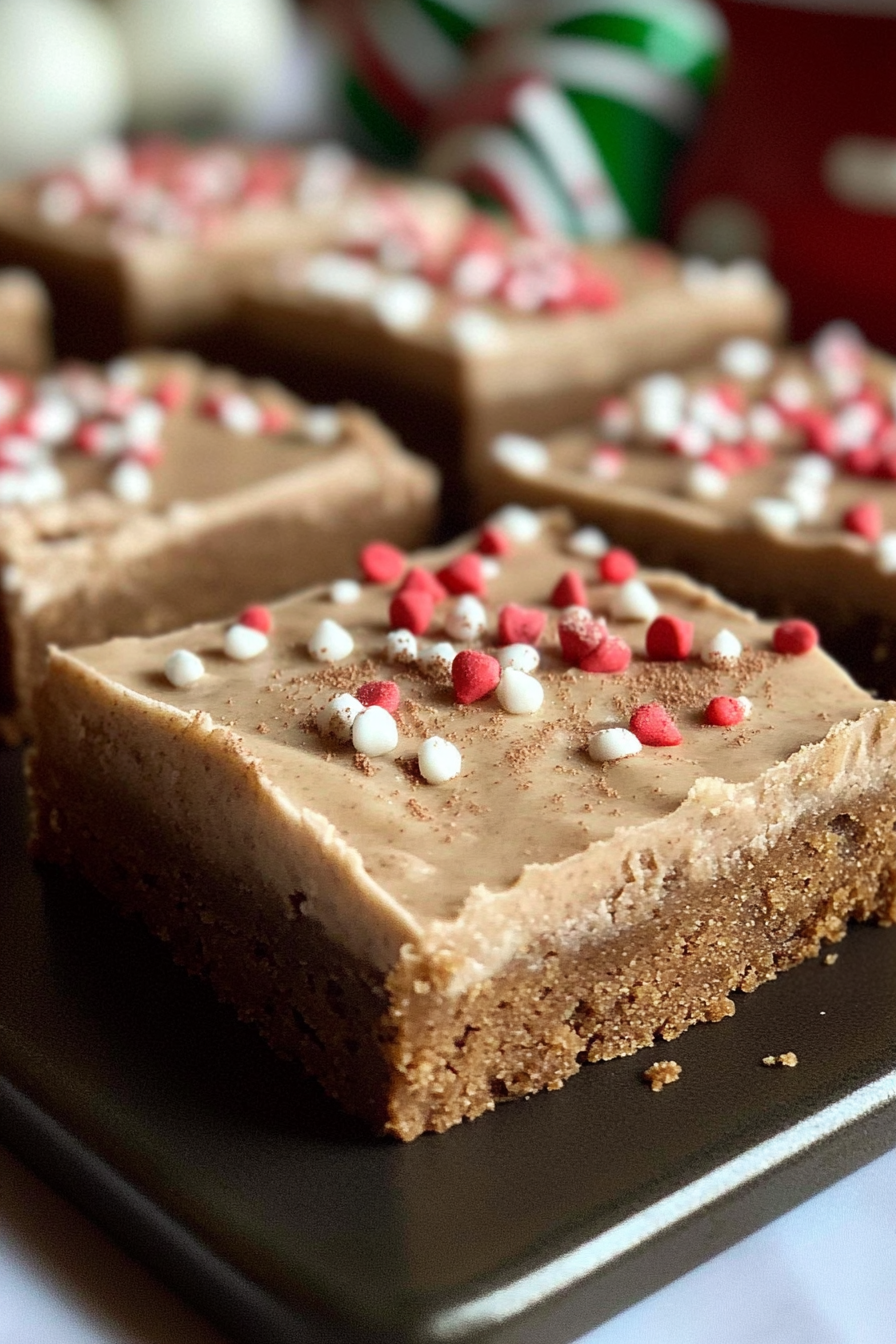
Spiced Cookie Bars with Cinnamon Frosting
There’s nothing quite like the smell of this zucchini chocolate swirl cake wafting through my kitchen. I remember my grandma making a similar version when I was little, sneaking a slice before dinner and claiming it was “for breakfast.” The truth is, I still do that—because let’s face it, this cake is secretly a bit of a health hero, hidden in a rich, fudgy mask. But what really makes it special—beyond the incredible flavor—is how simply it comes together. It’s one of those recipes that feels like a cozy gift, perfect for those days when you want something sweet but don’t want to mess with a complicated bain-marie or fancy ingredients. I’ve tested this with my kids’ favorite dark cocoa, and trust me—everyone’s happy to sing its praises. Plus, it’s incredible on busy nights when dessert’s the last thing you have energy for, yet you still crave that indulgent moment. I always do a double batch—because leftovers disappear in minutes around here. And some of my friends say it’s even better the next day, once the flavors have had a little nap. Honestly, it’s become a staple for me—and I think it’ll become one for you too.
What is Zucchini Chocolate Swirl Cake?
This cake is essentially a moist, tender zucchini loaf with decadent swirls of rich chocolate running through each slice. Think of it as a cozy marriage between a classic chocolate cake and a veggie-packed muffin—healthy-ish, but utterly indulgent. The concept is pretty simple: grate fresh zucchini into your batter, adding moisture and a tender crumb that keeps every piece melt-in-your-mouth soft. Then, a generous swirl of cocoa-infused batter or melted chocolate ribbons through the center, giving it that beautiful marbled look and irresistible chocolate flavor. It’s like sneaking in a veggie in the most delicious way—because, let’s be honest, nobody thinks twice about a slice of chocolate cake! This recipe’s origins are humble, but it’s become a beloved family favorite—kind of like a secret code for happy memories in the making. Think of it as comfort food with a healthy twist, perfect for breakfast, tea time, or a quick after-dinner treat. The best part? It’s seriously easy to whip up, even if you’re not a seasoned baker.
Why you’ll love this recipe?
What I love most about this zucchini chocolate swirl cake is how it manages to be both hearty and delicate at the same time. The zucchini keeps the texture moist without adding any weird flavor—just a subtle freshness that balances the richness of the chocolate. It’s almost like a secret ingredient that makes everyone wonder, “How is this so soft and flavorful?” Plus, the simplest ingredients come together in a way that feels almost magical; you don’t need fancy flours or specialty sugars, just pantry staples. The process is straightforward enough for a beginner, but special enough to impress even the most seasoned bakers in your family. I’ve made this with almond milk to cut down on dairy, and honestly, it made it even creamier and just as moist. It’s a lifesaver when I’m craving something sweet late at night but don’t want to go full-on baking mode. And because you swirl chocolate through it, every bite feels indulgent—my kids ask for this all the time, and I swear it’s the one dessert that’s universally loved in my house. Plus, it’s so versatile—you can jazz it up with nuts, berries, or even a dusting of powdered sugar for an elegant finish. Honestly, no matter how many times I make it, I never get tired of slicing into that fudgy, tender slice. It’s comfort food at its finest, with a little healthy twist that just makes me smile every time.
How do I make Zucchini Chocolate Swirl Cake?
Quick Overview
This cake comes together in just about an hour, thanks to simple mixing and straightforward layering. You start by grating fresh zucchini and squeezing out excess moisture—trust me, this step is key for keeping the cake tender without it getting soggy. Then, you mix your dry ingredients, whisk your wet ones, and fold everything gently together. The fun part? Pouring half the batter into your pan, dolloping in a rich chocolate mixture, then swirling it all together with a butter knife or skewer—just enough to create those beautiful marbled streaks. Bake until a toothpick comes out clean, cool it in the pan for a few minutes, then transfer to a wire rack. Once cooled, drizzle with melted chocolate or your favorite glaze, and voila—deliciously cozy dessert or breakfast! Honestly, there’s no complicated technique here—just love, patience, and a handful of everyday ingredients.
Ingredients
For the Main Batter:
– 2 cups grated zucchini (about 2 medium zucchinis)
– 1 1/2 cups all-purpose flour (or gluten-free blend, if you prefer)
– 1/2 cup unsweetened cocoa powder (good quality for rich flavor)
– 1 cup granulated sugar (or coconut sugar for a healthier touch)
– 1 teaspoon baking soda
– 1 teaspoon baking powder
– 1/2 teaspoon salt
– 1/2 cup vegetable oil or melted butter
– 2 large eggs
– 1 teaspoon vanilla extract
For the Filling:
– 1/2 cup melted dark chocolate (or chocolate chips softened)
– 2 tablespoons milk (or almond milk)
– 1 tablespoon cocoa powder (for more chocolate depth)
– Optional: a handful of chopped nuts or chocolate chips
For the Glaze:
– 1/2 cup melted chocolate or chocolate glaze
– Sprinkles or chopped nuts (optional for extra flair)
Step-by-Step Instructions
Step 1: Preheat & Prep Pan
Set your oven to 350°F (175°C). Grease a 9-inch loaf pan or line it with parchment paper for easy removal. I do this first so I don’t forget—nothing worse than trying to loosen a hot cake from a sticky pan!
Step 2: Mix Dry Ingredients
In a large bowl, whisk together the flour, cocoa powder, baking soda, baking powder, and salt. I do this step first; it helps evenly distribute the leaveners and cocoa, which avoids clumps and uneven baking.
Step 3: Mix Wet Ingredients
In another bowl, beat the eggs, then whisk in the sugar, oil, and vanilla. If you’re using almond milk or another dairy alternative, add it here. I’ve tested with both, and it’s just as moist and flavorful—plus, it’s a little healthier, which my conscience appreciates!
Step 4: Combine
Fold the wet into the dry ingredients gently—overmixing is the enemy of a tender crumb. Just stir until barely combined. Then, fold in the grated zucchini—squeezing out excess moisture helps prevent a soggy loaf, but don’t worry if it looks a little moist; the batter will handle it.
Step 5: Prepare Filling
In a small bowl, melt the dark chocolate with milk until smooth. Mix in cocoa powder. This mixture will be dolloped onto the batter later for swirling. If you want, toss in some chopped nuts or chocolate chips for extra texture.
Step 6: Layer & Swirl
Pour half of the batter into the prepared pan. Drop spoonfuls of your chocolate mixture on top, then pour over the rest of the batter. Use a toothpick or skewer to swirl the two together—no need for perfect patterns, just enough to see lovely marbling when sliced.
Step 7: Bake
Pop it into your oven and bake for about 40-50 minutes. Check doneness with a toothpick inserted in the center; it should come out clean or with a few moist crumbs—not wet batter. Oven variations happen, so start checking around the 40-minute mark.
Step 8: Cool & Glaze
Let the cake cool in the pan for about 10 minutes, then transfer to a wire rack. Once completely cooled, drizzle with melted chocolate or your favorite glaze. This step makes it look extra tempting and adds a lovely sheen—you’ll want to display it proudly!
Step 9: Slice & Serve
Use a sharp serrated knife to cut neat slices. Serve at room temperature or slightly warm. I love adding a little dollop of whipped cream or a sprinkle of powdered sugar—it elevates the cozy vibe. Trust me, this cake looks charming on a rustic plate, and leftovers (if there are any!) keep beautifully covered at room temp for a day or two.
What to Serve It With
This cake is so versatile—you’ll find yourself craving it at all hours. For breakfast, serve with a steaming cup of coffee or a glass of milk. My kids always ask for a slice alongside their morning smoothie—they think it’s like a grown-up treat, but secretly, I know they’re just appreciating the sneaky veggie. On weekends, have it as part of your brunch spread with fresh berries and a dollop of Greek yogurt. It’s fancy enough to serve at a dinner party, paired with a sweet wine or a robust coffee, and always sure to wow. And honestly, it’s the perfect cozy snack on a rainy afternoon or a quick dessert after dinner. We’ve made it for birthdays, lazy Sundays, or last-minute visits with friends, and it never fails to make everyone smile. The kids love it cold from the fridge, and I confess I enjoy it warm, the melted chocolate still gooey inside. It’s become part of our family tradition—a little homemade love in every slice.
Top Tips for Perfecting Your Zucchini Chocolate Swirl Cake
Over the years, I’ve gathered a few tricks that make this cake turn out just right every time. First, when grating the zucchini, I always give it a good squeeze—removing excess moisture really helps keep the loaf from becoming dense or gummy. I’ve tested with both fine and coarse grating, and honestly, I prefer fine because the zucchini gets a more tender consistency. When mixing the batter, don’t overdo it—just combine until everything’s barely incorporated; this keeps the crumb light. For the swirl, I’ve learned that dropping spoonfuls randomly and swirling gently creates the most attractive marbling—don’t overmix, or you’ll lose that lovely pattern. You can swap out the cocoa powder for carob if you’re avoiding caffeine—just reduce the sugar a tad since carob is a bit sweeter. Baking at 350°F is perfect, but if your oven runs hot, lower the temp slightly to prevent over-baking. I also experimented with adding a touch of cinnamon or espresso powder—both give it a deeper flavor. The glaze is optional, but I recommend it—adds that glossy, professional finish, and a little extra chocolate never hurts! One mistake I used to make? Overbaking and ending up with a dry loaf. So, start checking early, and trust your toothpick. Every oven is different, but patience and a keen eye are your best friends here. Oh, and don’t forget to cool the cake completely before slicing — warm slices tend to fall apart. These little lessons have made my baking experience way more fun and foolproof.
Storing and Reheating Tips
This cake keeps quite well, which is great because I often make a batch on a lazy Sunday and enjoy it all week. For storage at room temperature, keep it covered with a clean towel or in an airtight container—best enjoyed within 2 days to keep it fresh and moist. If you want to extend its life, pop it into the fridge—just make sure it’s wrapped well to prevent it from drying out. I prefer slicing only what I plan to eat each day, so it stays soft and delicious. For longer storage, this cake freezes beautifully. Wrap individual slices tightly in plastic wrap, then place in an airtight container or freezer bag. It can last up to 3 months frozen; just thaw in the fridge or at room temp, and it’s as good as fresh. When reheating, I microwave slices in 15-second bursts until warm, or gently warm in the oven at 300°F covered with foil—trust me, it helps maintain that melt-in-your-mouth texture. About the glaze—if you plan to reheat, add it after warming—isn’t that the best part? A little melted chocolate on top just makes everything feel decadent again. In all, proper storage enhances every bite—this cake is worth the extra tiny bit of effort.
Frequently Asked Questions
Final Thoughts
If there’s one recipe I could recommend to everyone, it’s this zucchini chocolate swirl cake. It’s humble, straightforward, and surprisingly sophisticated—proof that good things happen when you balance a little health with a lot of love. Every time I make it, I feel a sense of nostalgia mixed with excitement: a warm baking ritual that connects my family with memories and new moments alike. My kids love how it looks—beautiful swirls like a chocolate galaxy—and I love how easy it is to whip up on a busy afternoon. It’s perfect for sharing with friends, taking to potlucks, or sneaking a slice for yourself when no one’s watching. And the best part? It’s downright delicious—moist, fudgy, with just a hint of zucchini’s freshness—like a secret handshake for anyone who appreciates cozy baked goods. I hope you try this and see how simple joys and a splash of chocolate can turn an ordinary day into something special. Don’t forget to share your photos or variations—happy baking! And I can’t wait to hear how yours turns out!
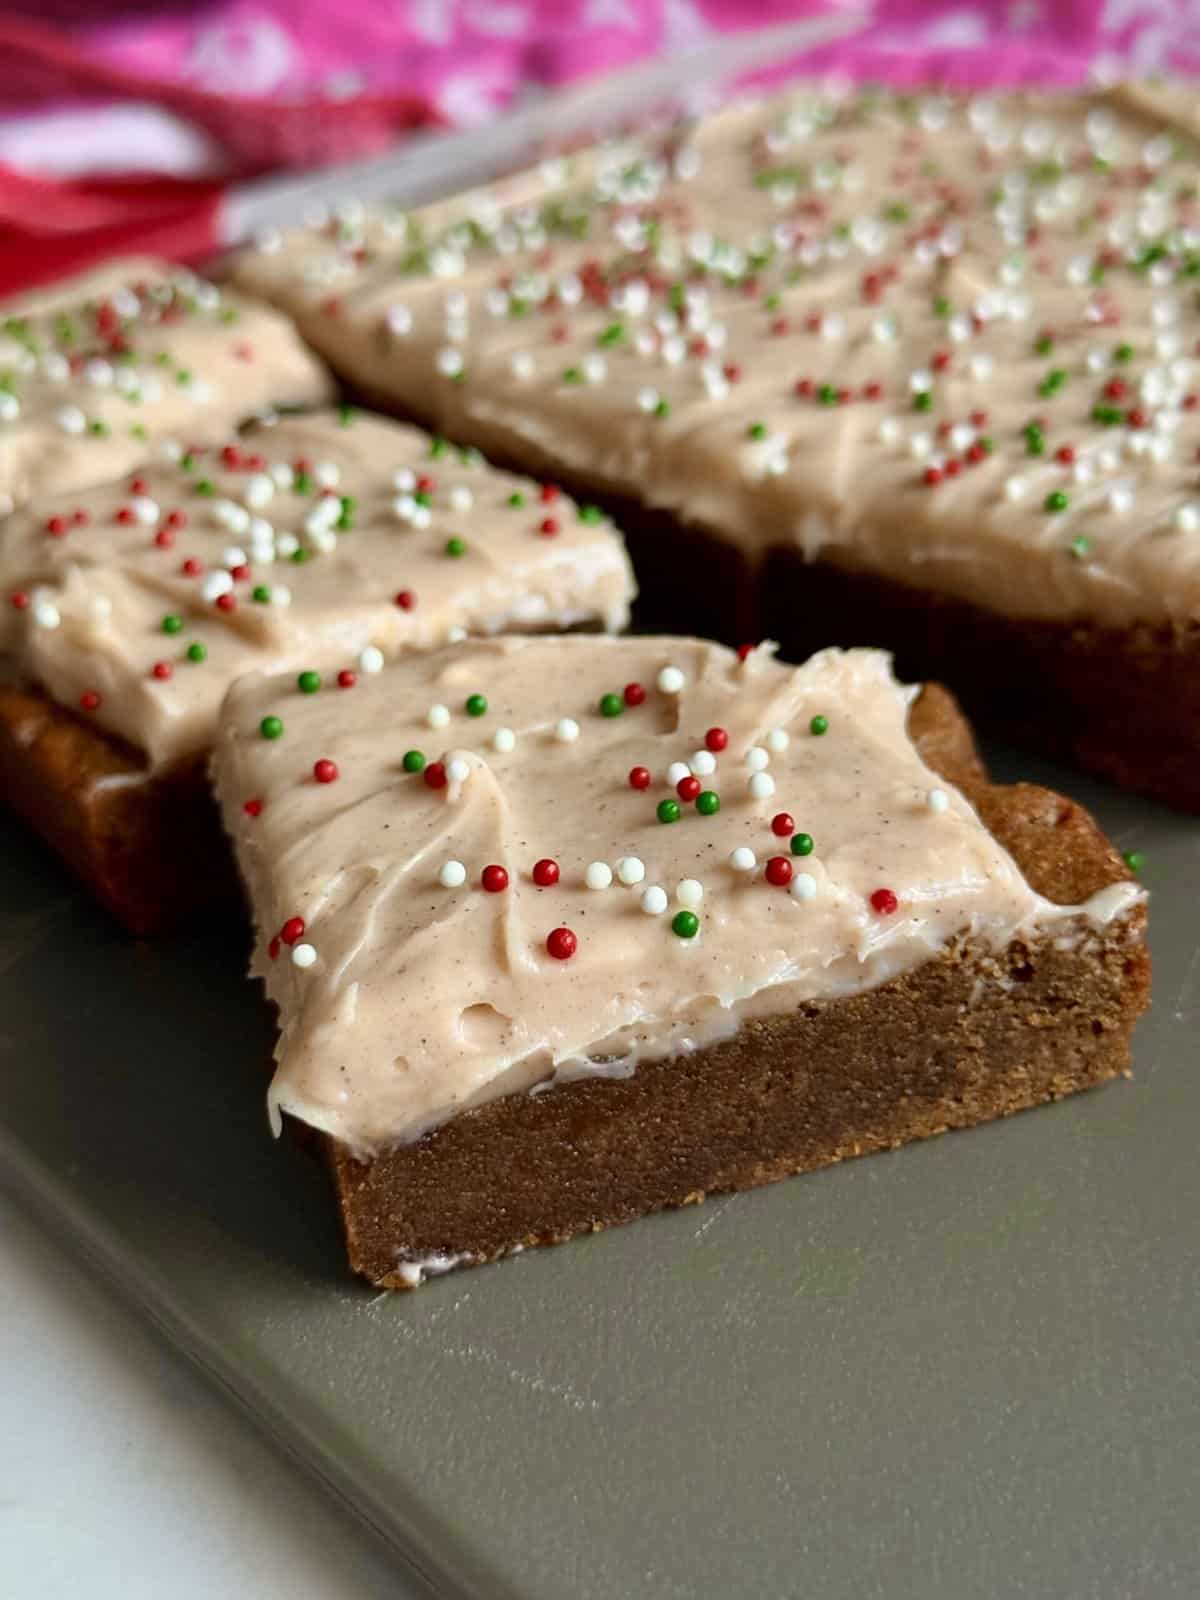
Gingerbread Cookie Bars with Cinnamon Frosting
Ingredients
Method
- Preheat oven to 350°F (175°C). Line an 8x8 inch baking pan with parchment paper.
- In a large bowl, combine the melted butter, light brown sugar, and white sugar. Mix until well combined. Add the molasses, egg, and vanilla extract and mix again until smooth.0.5 cup unsalted butter, melted
- In a separate bowl, whisk together the flour, baking soda, cinnamon, nutmeg, ground ginger, ground cloves, and salt.0.5 cup unsalted butter, melted
- Gradually add the dry ingredients to the wet ingredients, mixing until just combined. Do not overmix.
- Spread the batter evenly into the prepared baking pan.
- Bake for 20-22 minutes, or until a toothpick inserted into the center comes out clean.
- Remove from oven and let the bars cool completely in the pan on a wire rack. It is crucial to let them cool completely before frosting, otherwise the frosting will melt.
- In a medium bowl, beat together the cream cheese, butter, powdered sugar, cinnamon, and vanilla extract until smooth and creamy.0.5 cup unsalted butter, melted
- Once the cookie bars are completely cool, spread the cinnamon frosting evenly over the top. Decorate with red and green sprinkles if desired.0.5 cup unsalted butter, melted