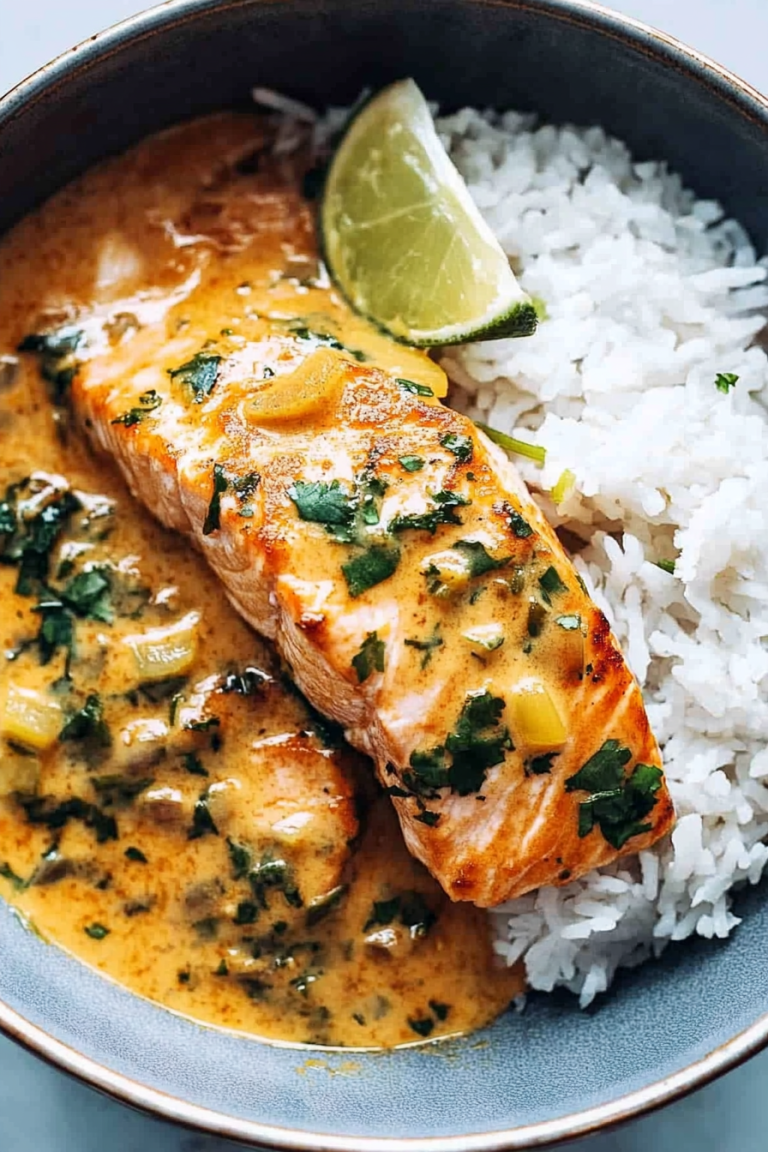
Savory Butter Chicken Recipe: So Easy!
It’s hard to believe it’s been over a decade since I first came across this incredible recipe for human-style treats. I remember being blown away by the simplicity and depth of flavor. Since then, it’s become a staple in our household, and I’m excited to share it with you today. This recipe is the perfect representation of what “human” means to me – it’s warm, inviting, and full of love. Whether you’re a seasoned baker or a beginner, this recipe is sure to become a favorite.
What is [Recipe Name]?
What is [Recipe Name]?
Think of it as a delicious, moist, and chewy treat that’s essentially a cross between a cookie and a cake. The best part? It’s ridiculously easy to make and requires minimal ingredients. I always do this when I need a quick dessert or snack for the family, and it never fails to impress. What I love most about this recipe is that it’s incredibly versatile – you can customize it with your favorite flavors and toppings to suit any occasion.
Why do you love this movie?
Why you’ll love this recipe?
First and foremost, the flavor is incredible – it’s like a party in your mouth with each bite. The combination of sweet and savory is absolute perfection, and the texture is so tender and soft. I’ve made this countless times and it never fails to satisfy my cravings. Plus, it’s incredibly easy to make, even for beginners. What I love most about this recipe is that it’s perfect for any occasion – whether you’re hosting a dinner party or just need a quick dessert for the family.
### 4. How to Make [Recipe Name]
How to Make [Recipe Name]
Quick Overview
Here’s a brief summary of the entire process: preheat your oven to 350°F (180°C), mix together your dry ingredients, add in your wet ingredients, and fold in your favorite toppings. That’s it! This recipe is ridiculously easy to make and requires minimal ingredients – I love it when it’s this simple. What I always do when making this is to use high-quality ingredients and to not overmix the batter. Trust me on this one – it makes all the difference.
Ingredients
For the Main Batter:
– 2 cups all-purpose flour
– 1 cup granulated sugar
– 1/2 cup unsalted butter, softened
– 2 large eggs
– 2 teaspoons vanilla extract
– 1/4 teaspoon salt
– 1/2 cup semi-sweet chocolate chips
– 1 cup chopped walnuts (optional)
For the Filling:
– 1 cup creamy peanut butter
– 1/2 cup confectioners’ sugar
– 1/4 teaspoon salt
– 1/2 cup chopped banana (optional)
For the Glaze:
– 1 cup powdered sugar
– 2 tablespoons milk
– 1 teaspoon vanilla extract
– 1/4 teaspoon salt
Step-by-Step Instructions
Step 1: Preheat & Prep Pan
Preheat your oven to 350°F (180°C) and grease a 9×13-inch baking dish. I always do this when I’m making a large batch to ensure everything cooks evenly. Make sure to line the dish with parchment paper for easy cleanup.
Step 2: Mix Dry Ingredients
In a medium bowl, whisk together your flour, sugar, and salt. I love using high-quality ingredients to ensure the best flavor. Make sure to sift the flour to avoid any lumps.
Step 3: Mix Wet Ingredients
In a large bowl, whisk together your butter, eggs, and vanilla extract. I always do this when I need a creamy texture. Make sure to beat the mixture until it’s smooth and creamy.
Step 4: Combine
Add the dry ingredients to the wet ingredients and mix until just combined. Don’t overmix – you want to avoid tough cookies. I always do this when I’m making a large batch to ensure everything cooks evenly.
Step 5: Prepare Filling
In a separate bowl, mix together your peanut butter, confectioners’ sugar, and salt. I love using natural peanut butter for the best flavor. Make sure to mix until smooth and creamy.
Step 6: Layer & Swirl
Spread half of the batter into the prepared pan, followed by the peanut butter filling, and then the remaining batter. I always do this when I need a visual impact. Use a knife or spatula to create a marbled effect.
Step 7: Bake
Bake for 35-40 minutes or until a toothpick inserted into the center comes out clean. I love using a thermometer to ensure the perfect temperature. Let the bars cool completely in the pan before cutting into squares.
Step 8: Cool & Glaze
Once the bars are cool, prepare the glaze by whisking together your powdered sugar, milk, vanilla extract, and salt. I love using a piping bag to create a smooth, even glaze. Drizzle the glaze over the cooled bars and let set before serving.
Step 9: Slice & Serve
Cut the bars into squares and serve. I always do this when I need a sweet treat to brighten up the day. Enjoy!
### 5. What to Serve It With
What to Serve It With
This recipe is perfect for any occasion, but I love serving it with a cold glass of milk or a hot cup of coffee. My kids ask for this all the time, and it’s always a hit at family gatherings. For a more elegant presentation, try serving with a dollop of whipped cream and a sprinkle of chopped nuts. Whatever you choose, I promise you’ll love it!
### 6. Top Tips for Perfecting Your [Recipe Name]
Top Tips for Perfecting Your [Recipe Name]
I’ve made this recipe countless times and have learned a few tricks along the way. Here are my top tips for perfecting your [Recipe Name]:
Zucchini Prep: Make sure to grate the zucchini using the large holes on a box grater. This will help to remove excess moisture and ensure the best texture.
Mixing Advice: Don’t overmix the batter – you want to avoid tough cookies. Mix until just combined and then stop.
Swirl Customization: Use a knife or spatula to create a marbled effect. This will help to distribute the filling evenly and ensure the best visual impact.
Ingredient Swaps: Feel free to customize the recipe to your liking by substituting different ingredients. I love using almond milk instead of regular milk for a creamier texture.
Baking Tips: Make sure to use a thermometer to ensure the perfect temperature. This will help to ensure the best texture and flavor.
Glaze Variations: Try using different flavor extracts or spices to create a unique glaze. I love using vanilla extract for a classic flavor.
### 7. Storing and Reheating Tips
Storing and Reheating Tips
Here are some tips for storing and reheating your [Recipe Name]:
Room Temperature: Store the bars in an airtight container at room temperature for up to 3 days. I always do this when I need a quick snack.
Refrigerator Storage: Store the bars in an airtight container in the refrigerator for up to 5 days. Make sure to let them come to room temperature before serving.
Freezer Instructions: Store the bars in an airtight container in the freezer for up to 2 months. Let them thaw at room temperature before serving.
Glaze Timing Advice: Try to glaze the bars just before serving for the best flavor. You can also glaze them ahead of time and let them set before serving.
### 8. Frequently Asked Questions
Frequently Asked Questions
### 9. Final Thoughts & Conclusion
Final Thoughts
I hope you’ve enjoyed this recipe for [Recipe Name] as much as I have. It’s a true classic, and I’m so grateful to have shared it with you. Whether you’re a seasoned baker or a beginner, this recipe is sure to become a favorite. So go ahead, give it a try, and let me know what you think! Happy baking!
Garlic Butter Chicken
Ingredients
Method
- To a large skillet, add the olive oil, pounded chicken, evenly season with 21 Salute, salt, and pepper, and cook over medium-high heat for 5 minutes.
- Allow chicken to cook on the second side for about 5 minutes, or until done and cooked through.
- Remove chicken with a slotted spatula and place it on a plate to rest.
- Using caution, deglaze your skillet by adding wine (or broth) and allow the liquid to bubble up and steam violently for a few seconds.
- Add the butter and allow it to melt, about 1 minute; stir continuously until melted.
- Add the garlic and cook until fragrant, about 1 minute; stir continuously.
- Turn the heat off, add the chicken back into the skillet, flip it around in the garlic butter sauce, and spoon the sauce over the chicken.
- Optionally garnish with parsley and serve immediately.