Rich Peanut Butter Chocolate Cookies Recipe
There’s nothing quite like waking up to the smell of freshly baked cake wafting through the house, especially when it’s one that’s packed with sneaky veggie goodness. I remember those early Sunday mornings when my grandma would whip up something similar, and the smell alone could make everyone hop out of bed with a grin. This zucchini swirl coffee cake is a little piece of that warmth, all grown up and adapted for busy mornings and cozy afternoons. It’s incredibly forgiving, super flavorful, and—bonus—it’s loaded with zucchini, which makes me feel a little better about indulging in the sweet, buttery layers. Honestly, I’ve tested this recipe countless times — swapping out ingredients here and there, tweaking the swirl pattern, and discovering that even with less sugar, it’s just as addictive. It’s perfect when you want a slice of comforting dessert with your coffee, or when the kids ask for a quick snack that’s healthier than your usual stash of cookies. Trust me, once you try this, it’ll become a go-to for lazy weekends or weekday mornings when you need a little sunshine on a plate.
What is Zucchini Swirl Coffee Cake?
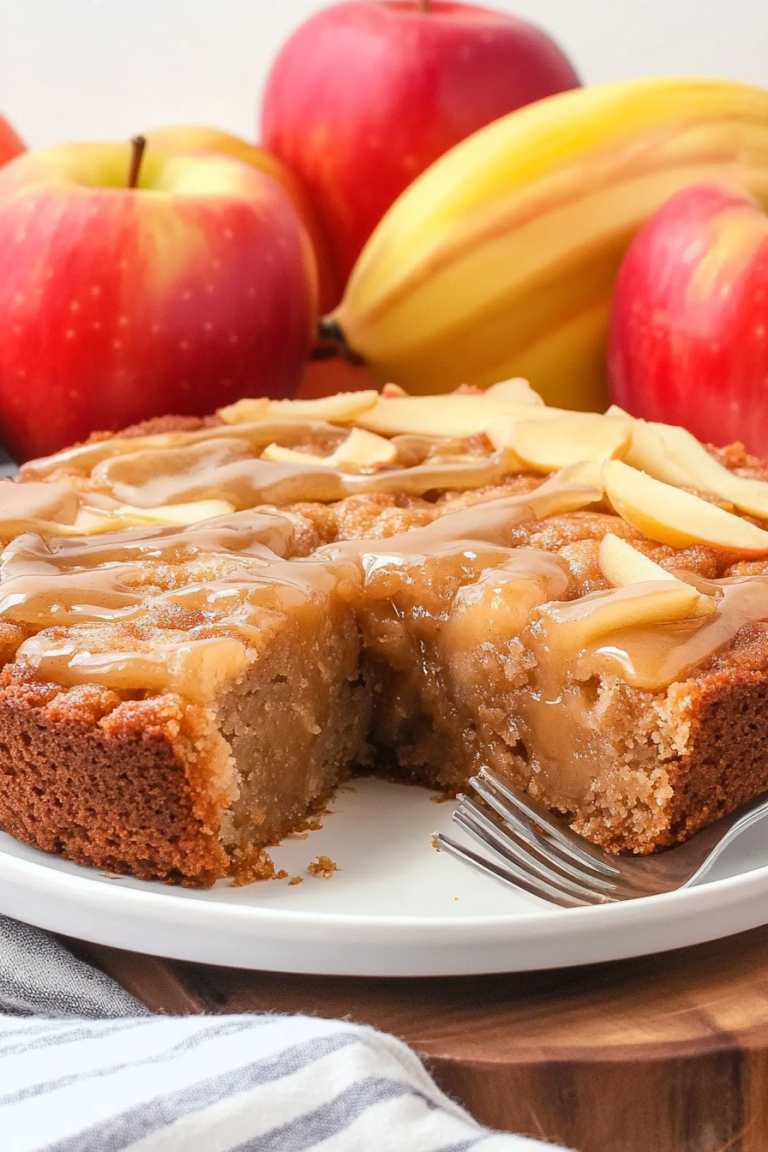
This zucchini swirl coffee cake is essentially a fluffy, moist cake layered with a sweet cinnamon-y swirl, all topped with a shiny, sticky glaze. Think of it as the lovechild of classic cinnamon roll swirl and your favorite bundt cake—except it’s made with zucchini, which keeps it surprisingly light and a little nutritious. The name “swirl” hints at the beautiful marbled pattern you create when you gently drag the batter with the cinnamon-sugar mixture — it’s something I always do when I want that Instagram-worthy look. What’s so lovely about this cake is that the zucchini dissolves into the batter, adding moisture and a subtle earthiness without overpowering the sweetness. It’s a clever way to get a bit of extra veggies into the kids’ mornings or afternoon snack. The base is simple, with pantry staples like flour, sugar, eggs, and butter, but the magic really happens when you layer in that cinnamon swirl and finish it off with a shiny glaze. There’s just something about this combo that feels nostalgic but new, cozy but elegant at the same time.
Why you’ll love this recipe?
Honestly, I always do this when I want something quick and comforting — this zucchini swirl coffee cake is my lifesaver on busy nights or lazy weekends. What I love most about this is how straightforward it is to whip up, even if you’re not an expert baker. You can almost toss everything in one bowl, whisk away, and still get a moist, tender cake. Plus, it’s budget-friendly! The ingredients are common pantry staples, and using zucchini means you can make it even more affordable and healthful. My kids ask for this all the time — they love helping swirl the cinnamon mixture into the batter, giggling and making a mess in the kitchen, which I totally encourage. It’s versatile, too; I’ve experimented with swapping honey for sugar, almond milk for dairy, and even adding a handful of chopped nuts or sneaking a dash of vanilla into the batter. This is one of those recipes that you can customize endlessly, and it always turns out beautifully. It’s comforting without feeling heavy, sweet without being overwhelming, and the aroma alone can get everyone to the table in seconds.
How do I make Zucchini Swirl Coffee Cake?
Quick Overview
This cake is a one-bowl wonder, putting together a tender batter infused with zucchini, layered with a cinnamon sugar swirl, baked until golden, then finished with a simple glaze. The steps are straightforward — mix, layer, swirl, bake — and the results are always worth the little effort. The key is not overmixing the batter so it stays fluffy, and gently swirling the cinnamon to form a pretty marbled effect. It’s perfect for bakers of all levels, and trust me — once you get the hang of swirling, it’s almost soothing. The bake time is about 40-45 minutes, and you’ll know it’s done when the top turns a beautiful golden brown and a toothpick inserted in the center comes out clean. Once cooled, drizzle on that glossy glaze, and you’ve got a show-stopper that’s just as good on a weekday as it is for company. I promise, this will be a recipe you keep coming back to.
Ingredients
For the Main Batter:
– 2 cups all-purpose flour (I like unbleached for better flavor)
– 1 cup granulated sugar
– 1/2 teaspoon baking soda
– 1 teaspoon baking powder
– 1/2 teaspoon salt
– 1 teaspoon ground cinnamon
– 2 large eggs (room temperature is best)
– 1/2 cup unsalted butter, melted (or coconut oil for dairy-free lovers)
– 1 teaspoon vanilla extract
– 1 cup grated zucchini (squeeze out excess moisture — no soggy cakes!)
For the Filling:
– 1/2 cup light brown sugar
– 1 tablespoon ground cinnamon
– 2 tablespoons butter, softened (for mixing with sugar)
– Optional: 1/4 cup chopped nuts or chocolate chips for extra decadence
For the Glaze:
– 1 cup powdered sugar
– 2-3 tablespoons milk (dairy or almond milk, whichever you prefer)
– 1/2 teaspoon vanilla (or lemon zest for a bright twist)
– Optional: a pinch of salt or a splash of rum extract for extra flavor
Step-by-Step Instructions
Step 1: Preheat & Prep Pan
First things first, get your oven preheated to 350°F (175°C). Grease a 9-inch round or square baking pan generously with butter or line it with parchment paper — I always do this so the cake slides out easily. Set it aside and prepare your zucchini by grating it on the finest side of your box grater. Lay the grated zucchini on a clean towel or paper towel and gently squeeze out the excess moisture — trust me, this is the secret to a moist yet not soggy cake.
Step 2: Mix Dry Ingredients
In a big mixing bowl, whisk together the flour, sugar, baking soda, baking powder, salt, and cinnamon. I always do this first — it makes sure everything is evenly distributed and saves me from clumps later. Make sure to break up any lumps in the flour for a really smooth batter.
Step 3: Mix Wet Ingredients
In another bowl, beat the eggs slightly, then add the melted butter, vanilla, and grated zucchini. Whisk until just combined. If your melted butter is super hot, let it cool for a few seconds so you don’t cook the eggs. I’ve done that mistake early on — the batter will turn a little curdled, but don’t worry, it’s still okay.
Step 4: Combine
Pour the wet mixture into the dry ingredients and fold gently with a spatula until mostly combined. Be careful not to overmix — I’ve learned the hard way that overmixing makes the cake dense, not fluffy. A few streaks of flour are okay; it will all come together during baking.
Step 5: Prepare Filling
In a small bowl, stir together the brown sugar, cinnamon, and softened butter until crumbly. If you’re adding nuts or chocolate chips, fold them in now so they distribute evenly. Spread a third of the batter into your prepared pan, then sprinkle or dollop half of the cinnamon sugar mixture over the top.
Step 6: Layer & Swirl
Repeat with another layer of batter and the remaining cinnamon sugar, then add a final layer of batter on top. Use a butter knife or skewer to gently swirl through the batter, creating beautiful marbled ribbons. My favorite trick is to do figure eights or straight lines — it makes the swirl pattern more defined and pretty!
Step 7: Bake
Pop the cake into the oven and bake for 40-45 minutes. Keep an eye on it — the top should turn golden and a toothpick inserted in the center should come out clean. If it’s browning too fast but still wet inside, tent it with foil and keep baking.
Step 8: Cool & Glaze
Once out of the oven, let the cake cool in the pan for about 15 minutes before transferring to a wire rack. Drizzle your prepared glaze over it while still slightly warm—it’ll soak in beautifully. I’ve tested glazing at room temperature and warm, and honestly, when it’s still a touch warm, the glaze sticks better and looks more glossy.
Step 9: Slice & Serve
Use a sharp serrated knife to cut through the soft layers—this cake is delicate, so be gentle. Serve slices slightly warm or at room temp, with a cup of coffee or tea. I love it topped with a dollop of whipped cream or a scoop of vanilla ice cream, especially if I’m feeling extra indulgent. And honestly, it’s just as delicious the next day, still moist and flavorful after a quick reheat.
What to Serve It With
This cake is so versatile that the serving options are endless. For breakfast, serve with whipped coffee or a strong espresso—it’s like a cozy brunch in every bite. If you’re hosting brunch, pair it with fresh fruit and perhaps a dollop of Greek yogurt to balance the sweetness. As a dessert, I love serving it warm with a scoop of vanilla ice cream or a drizzle of caramel sauce — oh, and a sprinkle of toasted almonds for crunch. When I want a simple afternoon snack, I slice a piece, warm it slightly, and savor it with a mug of herbal tea. Honestly, this cake is like a warm hug, no matter when or how you enjoy it. My family always asks for seconds — and I don’t mind sharing at all!
Top Tips for Perfecting Your Zucchini Swirl Coffee Cake
After making this dozens of times, I’ve learned a few tricks that make all the difference. First, always squeeze out as much moisture as possible from the zucchini — extra water can turn your cake into a soggy mess. I used to skip this step, and it was a disaster. Second, don’t overmix your batter once you combine the wet and dry ingredients. Gentle folding keeps the cake tender and fluffy. When swirling the cinnamon mixture, take your time and run your knife in gentle figure eights or straight lines—this creates a stunning marbled effect. For ingredient swaps, I’ve experimented with coconut sugar (which gives it a richer flavor) and honey (which adds a slight floral note) — just adjust the wet ingredients to keep the batter smooth. When it comes to baking, different ovens bake differently — my tip is to check around the 40-minute mark and trust your toothpick. If your glaze feels too thick, add another teaspoon of milk; if it’s too runny, add a bit more powdered sugar. Finally, you can add lemon zest to the glaze for a bright citrus note that pairs beautifully with the cinnamon. Little tweaks like these help perfect this cozy classic, and I promise, with a bit of patience, you’ll get a cake that looks as beautiful as it tastes.
Storing and Reheating Tips
This cake keeps surprisingly well! If you have leftovers, cover it loosely with plastic wrap or store it in an airtight container at room temperature for up to two days. I find that the cinnamon swirl keeps moist and delicious for easy snacking. If you want to keep it longer, pop it in the fridge for up to 4 days — just give it a little reheating in the microwave or oven to revive that freshly-baked softness. I like to add a drizzle of extra glaze before serving leftovers to brighten things up. For freezing, wrap the cake tightly in plastic wrap, then foil — it’ll last up to 3 months. Thaw at room temperature or warm gently in the oven. Just remember, if the cake is frozen with the glaze, it might turn a little sticky once defrosted—but that just adds to its homemade charm. I’ve learned that adding the glaze just before serving preserves its shine and sweetness best, so I usually wait until the last minute. Trust me, this cake tastes just as good days later, especially with a quick reheat and a fresh drizzle of glaze on top.
Frequently Asked Questions
Final Thoughts
This zucchini swirl coffee cake feels like a warm hug—moist, flavorful, and just a little indulgent, but with a sneaky veggie twist that makes me feel good about seconds. It’s one of those recipes I keep in my back pocket for everything from family brunches to last-minute treats. The beauty is in the simplicity, the smell during baking, and the delightful marbled swirl that makes every slice feel special. Plus, it’s endlessly adaptable—swap out ingredients, change up the glaze, or sprinkle some nuts on top. Honestly, once you make this a few times, it’ll be like your secret weapon for spreading joy in the kitchen. So give it a try, and I’d love to hear how yours turns out—don’t forget to tag me or leave a comment below! Happy baking!
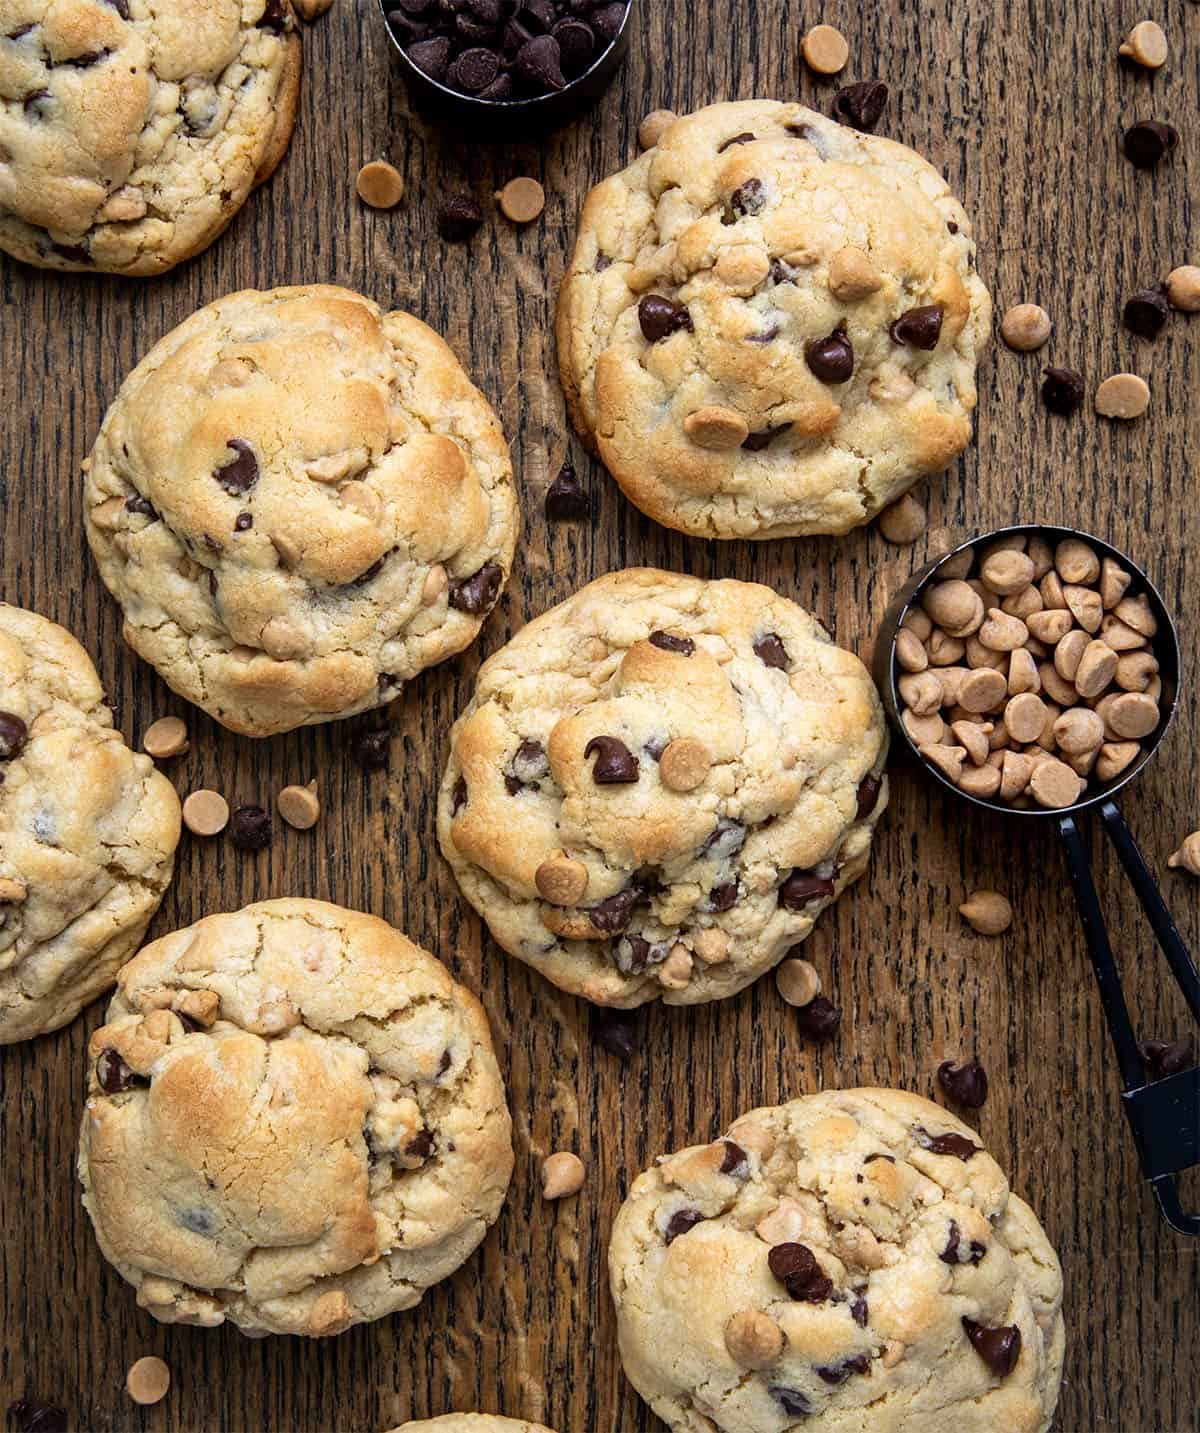
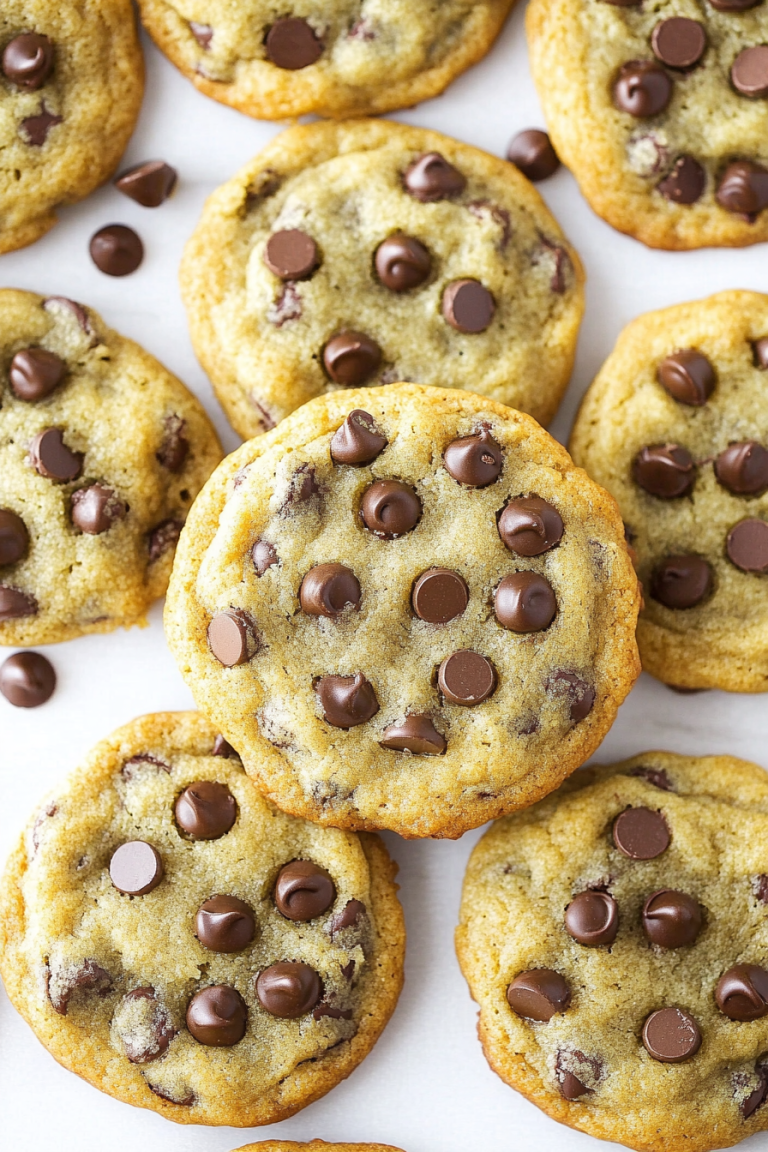
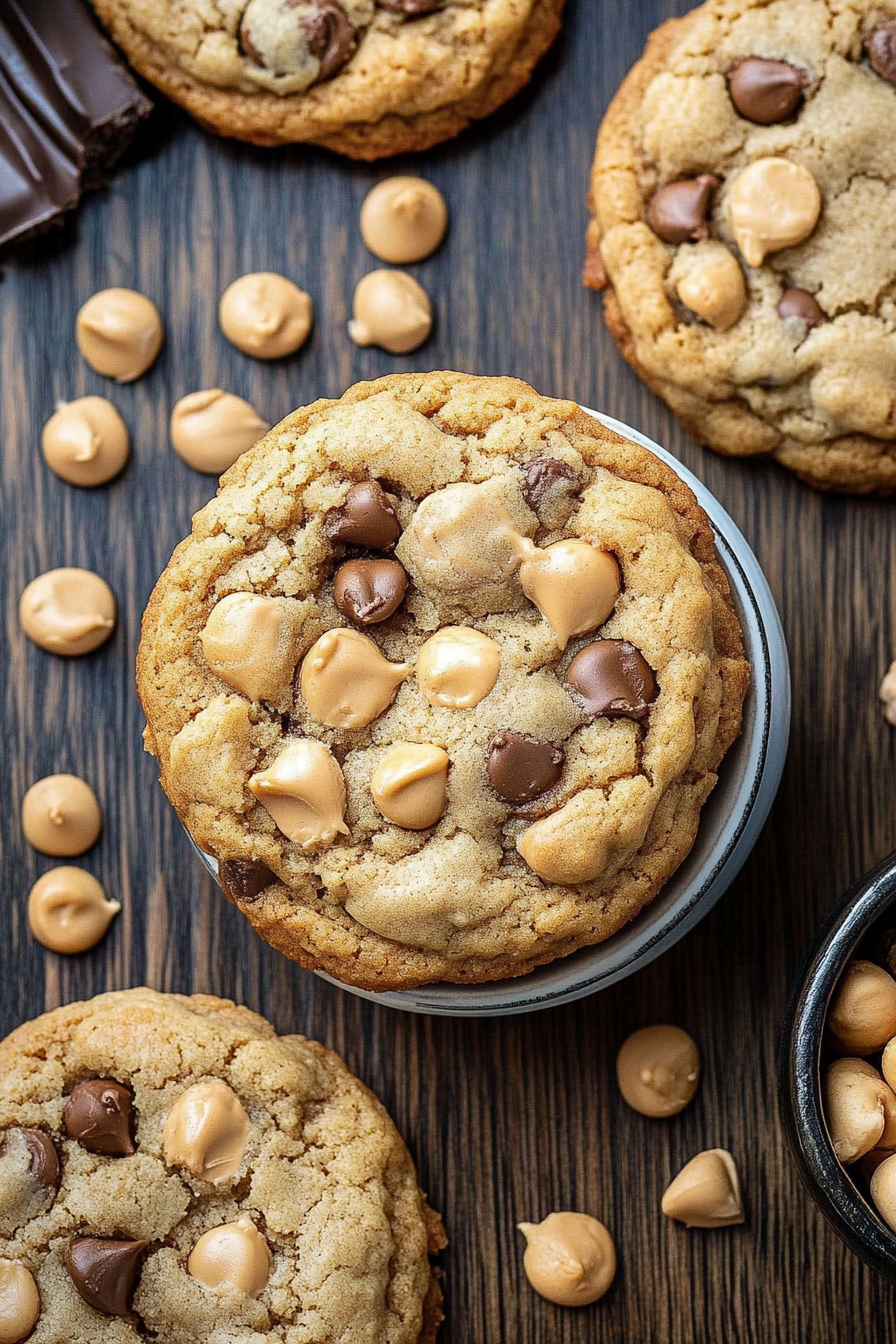
Thick and Chewy Peanut Butter Chocolate Chip Cookies
Ingredients
Method
- Preheat your oven to 400°F (204°C). Line two baking sheets with parchment paper and set aside.
- Using a stand mixer with the paddle attachment, combine cold butter, brown sugar, and granulated sugar. Beat on medium speed until no visible butter chunks remain and the mixture is creamy.
- Add the egg and egg yolk and mix until combined.
- Add the vanilla extract and continue mixing, scraping down the sides of the bowl as needed, until combined.
- In a medium bowl, whisk together flour, cake flour, salt, baking powder, and baking soda.
- With the mixer on low, gradually add the flour mixture to the wet ingredients. Mix until mostly incorporated.
- Add the chocolate chips and peanut butter chips. Mix just until the flour is fully incorporated and the chocolate and peanut butter chips are evenly distributed.
- Shape the dough into 8 large balls (about 6 ounces each).
- Place 4 cookie dough balls on the prepared baking sheet, spacing them out evenly.
- Bake in the preheated oven for about 12-13 minutes, or until the edges are golden brown.
- Let the cookies cool on the baking sheet for 10 minutes before transferring to a wire rack.
- Serve warm.