Golden Apple Eclair Cake Recipe
There’s something about baking bread that instantly makes a house feel warmer, calmer, and a little bit more like home. I remember sneaking a slice of warm banana bread on lazy Sunday mornings as a kid—still do, actually—and how that sweet, cinnamon smell would drift through the whole house, making everyone come running. But lately, I’ve been craving something a little different—something that feels just as comforting but with a sneaky twist: zucchini! This zucchini swirl banana bread is one of those recipes I always go back to when I want a treat that’s moist, flavorful, and a little healthier. Trust me, it’s a total secret weapon for busy mornings or lazy afternoons when I want something sweet but don’t want to get stuck baking a huge cake. Plus, it’s a fantastic way to sneak in some veggies without anyone noticing (not that you need to hide the good stuff, right?). My kids ask for this all the time, and I love that I can feel good about serving them something so delicious and homemade. It’s honestly become a bit of a family tradition that I think you’ll fall in love with, too!
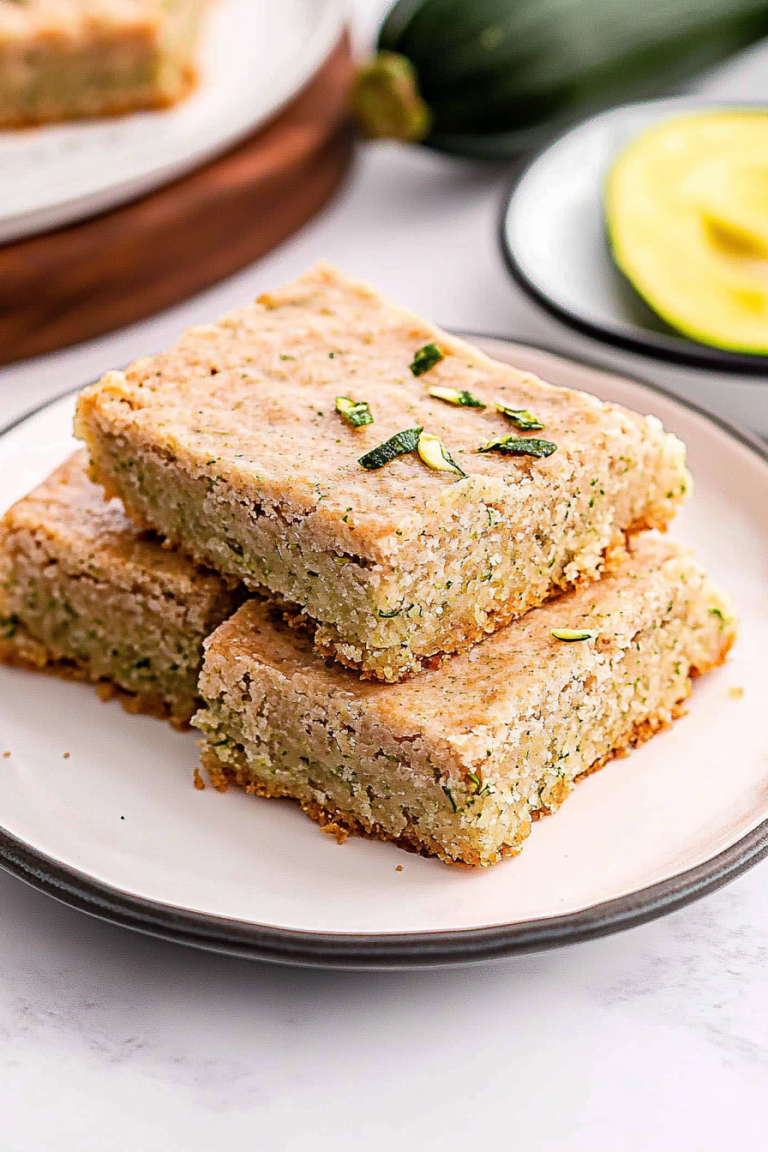
What is Zucchini Swirl Banana Bread?
Think of this as a cozy twist on classic banana bread—familiar, warm, but with a little surprise inside. The zucchini isn’t just there for fun; it adds this incredible moistness and a subtle boost of nutrients. When you bake it, the zucchini melts into the batter, giving the bread a tender crumb with a slight hint of sweetness and a delicate, almost bread-like texture. The “swirl” part comes from a simple cinnamon-spiced mixture that gets layered into the batter, creating beautiful marbled lines that make each slice look almost too pretty to cut. It’s essentially banana bread’s cooler, more elegant cousin—everyone at my house agrees that it looks fancy enough for guests but is so easy you’ll want to make it on a Wednesday. And honestly, once you try it, you’ll see how the zucchini creates this incredible moistness that stays tender for days. Basically, it’s the perfect way to make your baked goods feel a little more special—without any extra fuss.
Why you’ll love this recipe?
What I love most about this zucchini swirl banana bread is how it combines classic comfort with a hidden healthy twist. The flavor is pure banana sweetness, accented beautifully by warming cinnamon notes swirling through every bite. The bread itself is ridiculously moist, thanks to the zucchini—which, honestly, I always double-check after grating to make sure I’ve pressed out most of the excess moisture. It’s incredibly forgiving to make, and I’ve tested this with everything from overripe bananas (the best for flavor!) to different types of zucchinis. This one’s a lifesaver on busy nights when baking a whole cake feels like a huge effort, but you still want something satisfying. It’s budget-friendly, too—main ingredients like bananas, zucchinis, flour, and sugar are staples most of us already have in the pantry. And here’s the fun part: you can get creative with the swirl, adding nuts, chocolate chips, or even swapping the cinnamon for cardamom if you’re feeling fancy. My kids actually ask for seconds—and I love how this feels like a little treat we can all feel good about. Honestly, this bread never fails to brighten my day, and I hope it does for you too.
How do you make Zucchini Swirl Banana Bread?
Quick Overview
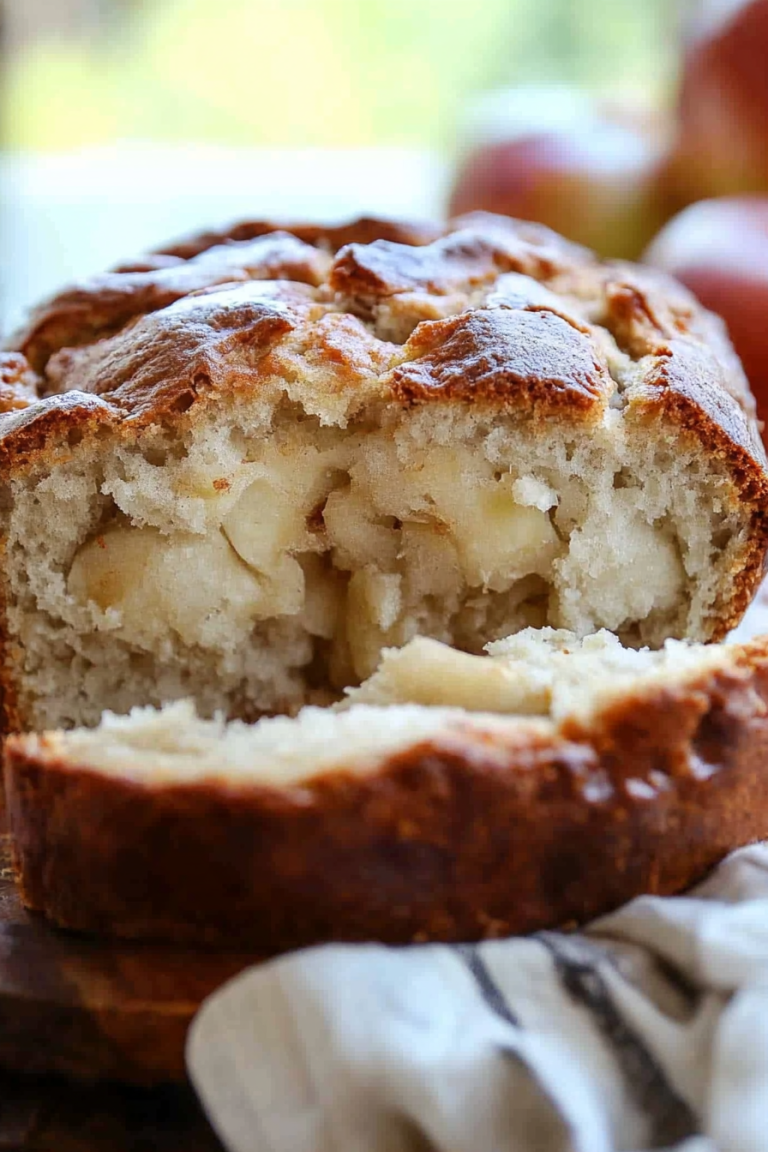
This banana bread is a straightforward one-bowl wonder. We start by grating the zucchini, pressing out any excess moisture, and then mixing up the wet ingredients—ripe bananas, eggs, a touch of vanilla, and some melted butter or oil. Next, you’ll combine the dry ingredients—flour, baking soda, cinnamon—and gently fold everything together. Meanwhile, I prepare a simple cinnamon-sugar mixture that gets layered in, creating a lovely swirl pattern. The trick is to layer the batter and cinnamon mixture in stages, then swirl it with a skewer or knife. Once it’s baked until golden and a toothpick comes out clean, I let it cool just a little before glazing or serving plain. It stays moist for days, so it’s perfect for making ahead or turning into a grab-and-go breakfast. Honestly, the hardest part is waiting for it to cool enough to slice—it smells so good you’ll want to dig right in!
Ingredients
For the Main Batter:
– 3 ripe bananas (the darker, the better for flavor!)
– 2 large eggs, at room temperature
– 1/3 cup melted unsalted butter or neutral oil
– 1 teaspoon vanilla extract
– 1 1/2 cups all-purpose flour (or gluten-free blend, see tips!)
– 1 teaspoon baking soda
– 1/2 teaspoon salt
– 1 teaspoon ground cinnamon
– 1/2 cup granulated sugar (or brown sugar for extra richness)
– 1 cup grated zucchini (roughly 1 medium zucchini, peeled if you prefer)
For the Filling:
– 2 tablespoons brown sugar
– 1 teaspoon cinnamon
– Optional: a pinch of nutmeg or a handful of chopped nuts for texture
For the Glaze:
– 1/2 cup powdered sugar
– 1-2 teaspoons lemon juice or milk
– A splash of vanilla (optional)
Step-by-Step Instructions
Step 1: Preheat & Prep Pan
Get your oven going at 350°F (177°C). Lightly grease your loaf pan with butter or non-stick spray and line it with parchment paper if you like easy removal. I always do this when I bake bread—it saves me from any sticky mess later. Make sure your zucchini is grated and press out as much moisture as you can—trust me, this keeps your bread from getting soggy. Using a clean kitchen towel or cheesecloth works wonders for squeezing out the excess water.
Step 2: Mix Dry Ingredients
In a small bowl, whisk together the flour, baking soda, salt, and cinnamon. This step helps distribute the leavening and spices evenly, so your bread rises just right and has that perfect warm cinnamon flavor. I usually do this first so everything is ready to go when the wet ingredients are mixed.
Step 3: Mix Wet Ingredients
In a large bowl, mash the bananas with a fork until fairly smooth—leave a few lumps if you like it rustic. Add the eggs, melted butter, vanilla, and sugar. Whisk until everything’s combined and the mixture looks a little glossy. I tested this with almond milk once, and honestly, it made the batter even creamier—give it a try if you’re dairy-free!
Step 4: Combine
Slowly add the dry ingredients to the wet, folding gently with a spatula just until no streaks remain. Overmixing is a no-no here—this keeps your bread tender. Fold in the grated zucchini last, making sure it’s evenly distributed without overworking the batter. It’s a bit thick, but that’s how it should be.
Step 5: Prepare Filling
Mix together the cinnamon and brown sugar for the swirl. If you want a little crunch, toss in some chopped nuts here. This mixture is the secret to the beautiful marble pattern and adds that warm, caramelized flavor with every bite.
Step 6: Layer & Swirl
Pour about half of the batter into your prepared loaf pan. Sprinkle half of the cinnamon-sugar mixture over it, then dollop the remaining batter on top. Finish with the rest of the cinnamon mixture. Using a knife or skewer, swirl through the batter in gentle figure-eights—this creates the lovely marbled look you see in the pictures. Don’t overdo it; you want pretty streaks, not a muddy mess!
Step 7: Bake
Pop it in the oven for about 50-60 minutes. Check for doneness by inserting a toothpick into the center—I like mine with just a few moist crumbs but no wet batter. Every oven is different, so start checking around that 50-minute mark. If the top gets too dark, tent it lightly with foil for the last few minutes. The smell that fills your kitchen during baking is pure heaven—warm spices, sweet bananas, and a hint of zucchini.
Step 8: Cool & Glaze
Let the bread cool in the pan for about 15 minutes before transferring it to a wire rack. This helps it set and prevents it from breaking apart. Once cooled just enough to handle, whisk together the powdered sugar with lemon juice or milk until smooth. Drizzle that glossy glaze over the bread, watching it soak into the swirls—it’s practically a work of art.
Step 9: Slice & Serve
Use a serrated knife for clean cuts—you’ll appreciate how tender and moist this bread is. I love serving it warm, maybe with a little butter, or just plain with a cup of coffee. It’s nice both warm and at room temperature, so I usually slice it up and store leftovers for breakfast the next day. Honestly, I can’t keep this around for long—every slice disappears in minutes at my house!
What to Serve It With
This zucchini swirl banana bread pairs beautifully with so many things. For breakfast, I love having a slice with a steaming mug of coffee or a glass of almond milk. It’s excellent alongside fresh fruit or a dollop of Greek yogurt for that extra creaminess. On weekends, I serve it during brunch with a drizzle of honey or a smear of cream cheese—my family finds it so fancy-looking but it’s truly a no-fuss recipe. Sometimes, I cut thick slices and serve with a scoop of vanilla ice cream for a quick dessert—trust me, the warm bread paired with cold ice cream is next-level comfort. And for a cozy snack, it’s perfect toasted with a pat of butter or nut butter spread spread on top. I even pack slices in lunchboxes—everyone’s happy, and it lasts well in a sealed container for several days.
Top Tips for Perfecting Your Zucchini Swirl Banana Bread
After making this recipe countless times, I’ve picked up a few tricks that help me get it just right every time. First, always press out as much moisture as possible from the zucchini—this is key to avoiding sogginess. I’ve tested using a box grater versus a julienne blade, and honestly, the coarse grater gives the best texture for me. When mixing the batter, I always fold gently; overmixing leads to dense bread, and nobody wants that. To get the perfect swirl, I recommend spooning dollops of batter and cinnamon mixture separately, then swirling only a few times—you want visible streaks, not a marbled muddy mess. Feel free to play with the spices—adding a pinch of nutmeg or even ginger can give it a real cozy vibe. When it comes to baking, I position the rack in the middle and rotate the loaf after 30 minutes if yours browns unevenly. I tested this with different oven types, and it helps bake everything evenly. Lastly, don’t skip the glaze! It adds just that extra touch of sweetness and makes each slice look a little more special. My biggest lesson? Patience—let the bread cool enough before slicing to keep it perfect. This little trick keeps the slices clean and intact.
Storing and Reheating Tips
This bread stays incredibly moist—probably because of the zucchini—so I like to keep it wrapped tightly in plastic wrap or stored in an airtight container. If kept at room temperature, it’ll stay fresh for about 2 days, but I always prefer refrigerating it after that. In the fridge, it’s good for up to 5 days, and the flavor actually deepens a little—plus, it’s easy to slice cold if you’re in a rush. To freeze, wrap the loaf tightly in plastic wrap and then foil—this keeps it fresh for up to 3 months. When you’re ready to enjoy it, just let it thaw at room temperature or warm slices in the microwave for about 15 seconds. A quick reheat makes the bread even more tender, especially if it’s been in the fridge. Remember, if you want that beautiful glaze on the slices, add it fresh just before serving—otherwise, it might get a bit sticky when stored. Trust me, this bread is just as good on day two or three, making it a true leftover hero.
Frequently Asked Questions
Final Thoughts
This zucchini swirl banana bread has become one of my absolute favorites because it hits all the right notes—moist, flavorful, beautiful, and secretly nutritious. I love how the zucchini keeps it so tender, and the cinnamon swirl adds just enough warmth and spice to keep you coming back for more. It’s a recipe I’ve made countless times, tweaking here and there, and each batch feels like a little victory. Whether you’re baking for a family brunch, a quick afternoon snack, or just because you need a reason to celebrate from the kitchen, this bread is a winner. I genuinely hope you try it—trust me, your taste buds are in for a treat! And I’d love to hear how yours turns out, or if you make any fun variations. Happy baking—and don’t forget to enjoy it with those messy, loving family moments that make everything sweeter.
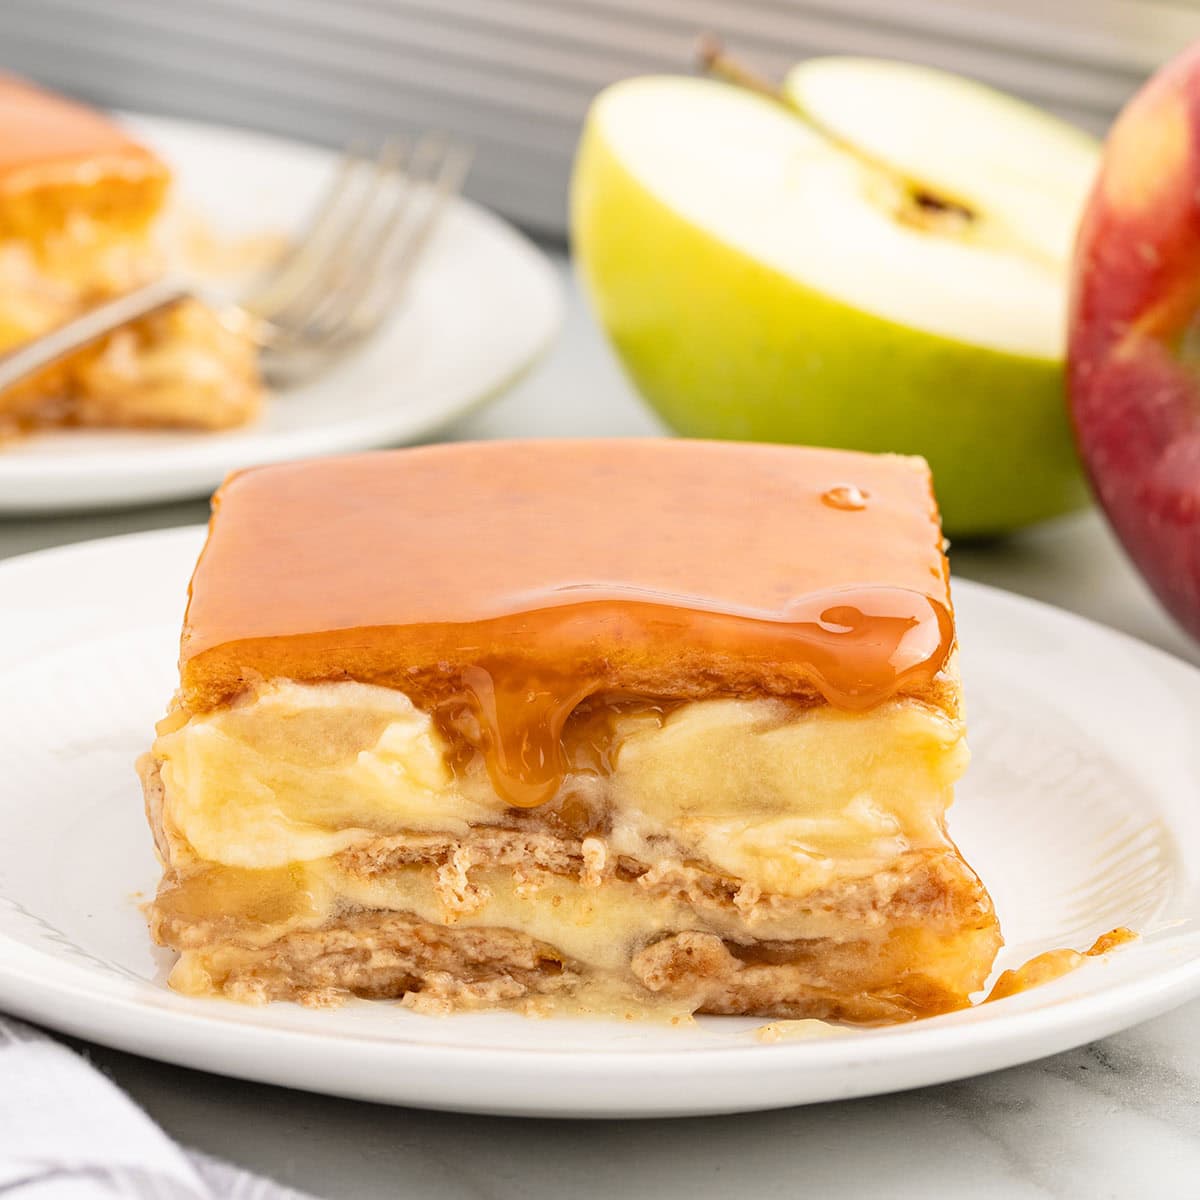
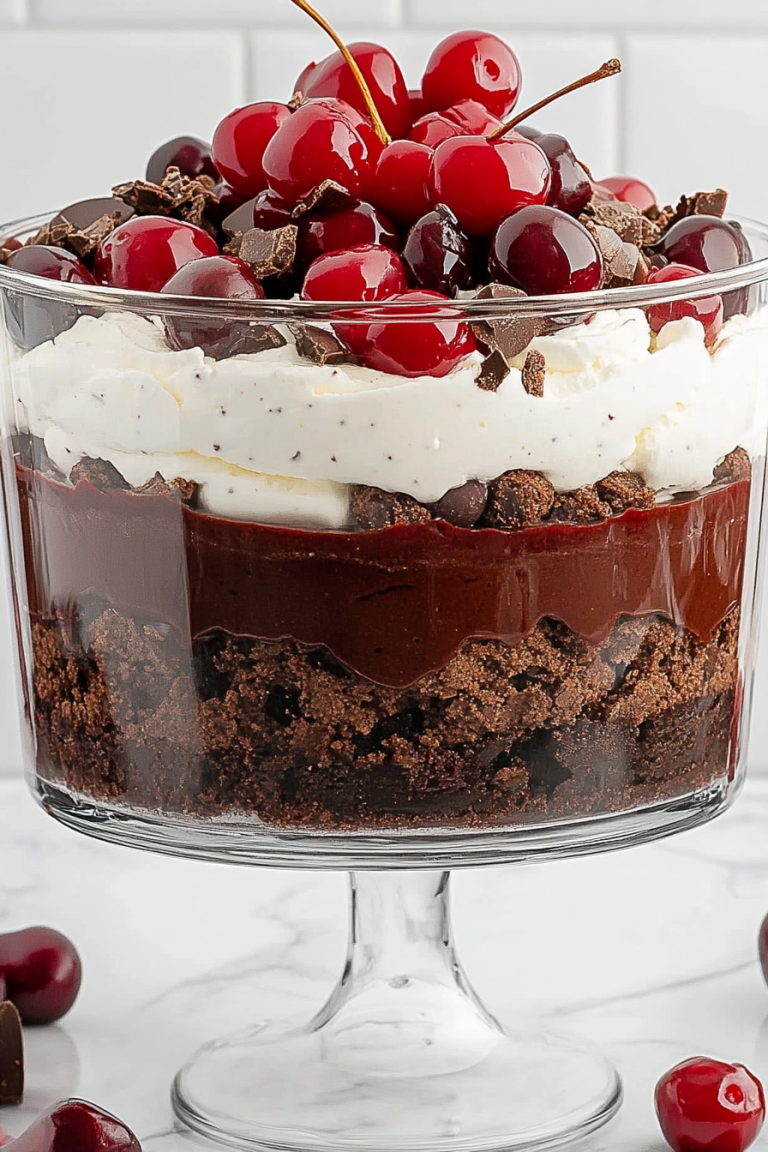
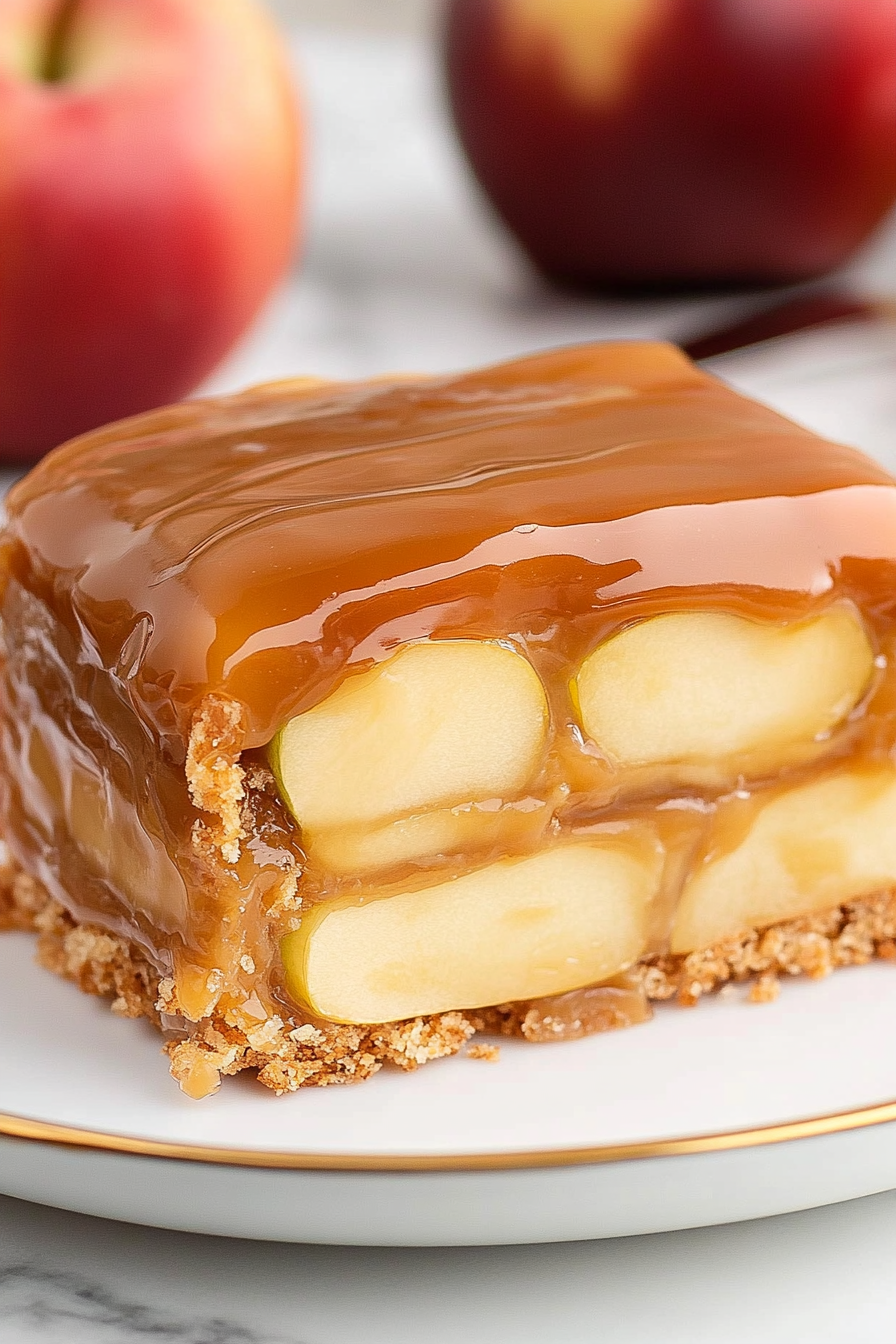
Caramel Apple Eclair Cake
Ingredients
Method
- Cut the apple slices in the canned apple pie filling into smaller pieces.
- In a large mixing bowl, combine the cold milk and the instant pudding mix. Mix on low speed with a handheld mixer for 2-2.5 minutes until thickened.
- Line the bottom of a 9x13 inch baking dish with a single layer of graham crackers, breaking them as needed to fit.
- Spoon half of the prepared apple pie filling evenly over the graham cracker layer.
- Spoon half of the pudding mixture over the apple pie filling. Smooth the pudding with a spoon or offset spatula.
- Repeat the layers: graham crackers, the remaining apple pie filling, and the remaining pudding mixture.
- Top with the final layer of graham crackers.
- Spread the caramel topping evenly over the top layer of graham crackers.
- Cover loosely and chill in the refrigerator for at least 4 hours to set.
- Cut into 3x5 slices before serving. Store leftovers covered in the refrigerator for up to 3 days.