Easy Hazelnut Brownies Two Ingredients Only
There’s something about the smell of warm muffins baking that instantly takes me back to lazy Sunday mornings at my grandma’s house. The quiet hum of the oven, the sweet aroma wafting through the kitchen, and the first bite that feels like a warm hug. Over the years, I’ve tinkered and toyed with countless muffin recipes, but nothing beats the simplicity and nostalgic charm of my frozen banana walnut muffins. They’re a little bit indulgent, a little bit wholesome, and just the right amount of comforting to make your house smell like a cozy blanket. Plus, they’re perfect for whenever you’ve got overripe bananas lying around. Honestly, I always do this when I want a treat that’s easy to make but feels fancy enough to share with friends – it’s like a little bakery in my own kitchen. If you love banana bread but want something handheld and crisp on the edges, this recipe is your new best friend. And believe me, your kids (or heck, even your partner) will ask for these all the time.
What is a frozen banana walnut muffin?
Think of frozen banana walnut muffins as a delightful twist on the classic banana bread, baked into a portable, zesty muffin form. The “frozen” part isn’t just a catchy name—it’s a secret weapon. I freeze my bananas to make them super sweet and easy to mash when I’m ready to bake, plus it adds a richness that fresh bananas sometimes can’t deliver. It’s essentially a muffin with a dense, moist crumb and a crunchy wallop of walnuts on top—kind of like a little nutty banana cake. The name might make you think it’s complicated, but trust me, it’s just a clever way to use up those brown bananas lurking on your counter. The walnuts add a satisfying crunch and a buttery, earthy flavor that balances out the sweet, soft banana interior. This recipe is all about making something that feels indulgent, yet homey—perfect for breakfast, a coffee break, or even a sneaky midnight snack.
Why you’ll love this recipe?
What I love most about these frozen banana walnut muffins is how forgiving and flexible they are. They’re a lifesaver on busy nights when I want something warm and comforting but don’t want to mess around with complicated baking. The frozen bananas, which I always keep in my freezer, turn into the most luscious, intensely flavored mash that adds natural sweetness and moisture without needing much added sugar. Plus, Walnuts? They’re my secret weapon. Not only do they give a lovely crunch, but their slightly bitter notes perfectly offset the sweetness of the bananas. The best part? These muffins use basic pantry ingredients—flour, eggs, oil, and some nuts—and come together in about 30 minutes. My kids ask for these all the time, especially when I top them with a little honey drizzle or a dusting of cinnamon. They’re also super versatile: I’ve tried adding chocolate chips, swapping walnuts for pecans, or even sneaking in a handful of oats for extra fiber—and they turn out great every time.
This recipe has become my go-to for weekend brunches, easy snacks, or when I need a quick dose of comfort. It’s the kind of thing I can whip up with my eyes closed now, but it still feels special enough to serve to guests. Honestly, I think the secret to this muffin magic is the frozen bananas—they turn into this incredibly moist, flavor-packed base that makes every bite taste like a little slice of heaven. And trust me, the smell alone will bring everyone running to the kitchen!
How do you make a frozen banana walnut muffin?
Quick Overview
This recipe is all about keeping things simple yet flavorful. First, I freeze my bananas (I always do this after they turn totally brown—they’re perfect for baking!) and then mash them up once frozen. While they’re thawing, I whisk together the dry ingredients—the flour, baking soda, and cinnamon—so they’re ready to go. In a separate bowl, I mix the wet ingredients: eggs, oil, vanilla, and of course, the mashed frozen bananas. I fold everything together just until combined—overmixing is a no-no here, or you’ll end up with tough muffins. Then, I fold in chopped walnuts (or pecans if I want a different crunch). I pour the batter into muffin tins, sprinkle some extra walnuts on top, and bake. The result? Moist, flavorful muffins with crispy edges that disappear in minutes at my house!
Ingredients
For the Main Batter:
– 3 ripe frozen bananas (the browner, the better — the natural sweetness is amazing)
– 2 eggs
– 1/2 cup vegetable or olive oil (I tested with avocado oil, which is even healthier!)
– 1 teaspoon vanilla extract
– 1 1/2 cups all-purpose flour (or a mix of whole wheat and white for extra fiber)
– 1 teaspoon baking soda
– 1 teaspoon ground cinnamon (trust me, it adds such warmth)
– Pinch of salt
For the Filling:
– 1 cup chopped walnuts (or pecans, or even chopped almonds)
– Optional: 1/4 cup chocolate chips for a sweeter touch
For the Glaze (if you want that glossy finish):
– 1/2 cup powdered sugar
– 1-2 teaspoons milk or lemon juice
– A few sprinkles of cinnamon or nutmeg for extra flavor
Step-by-Step Instructions
Step 1: Preheat & Prep Pan
Set your oven to 375°F (190°C). Line a muffin tin with paper liners or grease it generously—trust me, these muffins love a good non-stick treatment. If you’re feeling fancy, you can also use silicone molds—less fuss and easier cleanup. Let the oven heat up while you get everything ready because, once you start, you want to move quickly.
Step 2: Mix Dry Ingredients
In a bowl, whisk together the flour, baking soda, cinnamon, and salt. This step ensures everything is evenly distributed so your muffins rise perfectly and have that lovely warm spice flavor. I always do this so I don’t end up with clumps of baking soda or uneven cinnamon spikes. It’s a small step but makes all the difference.
Step 3: Mix Wet Ingredients
In a separate large bowl, mash your frozen bananas (they’ll be soft and almost runny—don’t worry). Whisk in the eggs, oil, and vanilla until smooth. I’ve tested with almond milk when I was out of eggs, and honestly, it made the muffins a little creamier—so feel free to experiment with dairy-free options.
Step 4: Combine
Add the dry ingredients to the wet mixture gradually. Fold gently until just combined—you want moist, tender muffins, not dense bricks. Overmixing can develop gluten and make the muffins tough, so just stir until the ingredients look evenly combined.
Step 5: Prepare Filling
Stir in the chopped walnuts. If you’re adding chocolate chips, fold those in now too. I love saving some walnuts for topping—gives a pretty, crunchy finish.
Step 6: Layer & Swirl
Spoon the batter into the muffin tins, filling each about 3/4 full. Sprinkle some walnuts on top or swirl in a little extra mashed banana for visual interest. This step makes your muffins look adorable and adds that bakery-quality touch.
Step 7: Bake
Pop them into the oven and bake for 20-22 minutes. You’ll know they’re done when a toothpick inserted into the center comes out clean. Don’t overbake—those edges will look golden and crispy while the insides stay moist and flaky. My trick is to set a timer, then check with the toothpick around 20 minutes.
Step 8: Cool & Glaze
Let the muffins cool in the pan for 5 minutes, then transfer them to a wire rack. If you want to add the glaze, mix powdered sugar with a splash of milk or lemon juice until it’s just pourable. Drizzle it over the cooled muffins—they look so pretty and taste even better with that little extra sweetness.
Step 9: Slice & Serve
Serve these muffins warm or at room temperature. They’re delicious plain, but I love adding a pat of butter or a dollop of Greek yogurt on the side. My kids prefer theirs with a smear of honey or Nutella—hey, whatever makes it special. These are great for breakfast, snacking, or even packing in lunchboxes.
What to Serve It With
This muffin is so versatile, I could write a book about pairing it! For breakfast, I love pairing it with a hot cup of coffee or spiced chai—something cozy. My kids ask for theirs with a glass of cold milk or a splash of orange juice. When I serve these at brunch, I like to set them on a pretty tray alongside fresh fruit, maybe some yogurt parfaits and a pot of tea. They’re also wonderful as a little dessert after dinner—serve warm with a scoop of vanilla ice cream or a dusting of powdered sugar. I’ve even turned these into a quick afternoon snack by slicing and toasting them—crunchy on the outside, soft inside. Honestly, I’ve made this recipe so many times I’ve pretty much memorized it—it’s become my secret to instant happiness on busy mornings or when craving something sweet but healthy. Trust me, these muffins have a way of making everyone in the house smile.
Top Tips for Perfecting Your Frozen Banana Walnut Muffins
Perfect muffins aren’t just about the ingredients—they’re about technique. Here are my top tips from years of trial and error:
- Zucchini Prep: Ok, I don’t actually put zucchini in these, but I do recommend making sure your frozen bananas are thoroughly thawed and mashed until smooth. I’ve learned that tiny banana chunks can turn the muffins a bit uneven, which affects the texture.
- Mixing Advice: Overmixing can make your muffins tough. I always fold the dry ingredients into the wet with a spatula just until there are no streaks of flour. It keeps the crumb tender and light.
- Swirl Customization: If I want a pretty marbled effect, I drop spoonfuls of batter, then swirl in some extra banana or chocolate, then give the surface a gentle swirl with a toothpick. It’s easy, and the visual payoff is worth it!
- Ingredient Swaps: I’ve tested swapping half the all-purpose flour for almond or oat flour, and while they’re a little denser, they’re still tasty. I also tried coconut oil—amazing aroma and flavor, but needs a bit more liquid for the right batter consistency.
- Baking Tips: Always check around the 20-minute mark—ovens vary, and the true sign of a muffin’s doneness is a clean toothpick. If your muffins browning too fast, tent them loosely with foil and keep baking.
- Glaze Variations: For a citrus twist, I mix powdered sugar with lemon juice instead of milk. It adds a zing that pairs beautifully with the walnuts.
This recipe has survived countless tweaks, and honestly, every batch feels like a small victory. The secret? Freshness of your ingredients and a gentle hand. Once you get the hang of it, you’ll be slicing these muffins in no time and wondering how you ever lived without them.
Storing and Reheating Tips
Here’s the scoop on keeping these muffins fresh and fabulous:
- Room Temperature: Store in an airtight container for up to 2 days. If your house is warm, keep them in the fridge—trust me, they stay moist longer that way.
- Refrigerator Storage: Place muffins in a sealed container or zip-top bag. They’ll last about 5 days, and I always recommend reheating for a few seconds in the microwave until just warm—so cozy.
- Freezer Instructions: Wrap individual muffins tightly in plastic wrap and store in a zip-lock bag for up to 3 months. Thaw at room temp or microwave for 30 seconds for a quick treat. I like to toast slices from frozen—deliciously crispy on the outside and soft inside.
- Glaze Timing Advice: If you prefer a shiny, fresh glaze, add it once the muffins are fully cooled. If you’re freezing them with the glaze, the moisture might make it run, so it’s better to add just before serving.
My biggest tip? Always taste-test your muffins after reheating. Sometimes they need a little extra moisture, and a sprinkle of cinnamon or a drizzle of honey can elevate leftovers into something even more irresistible.
Frequently Asked Questions
Final Thoughts
Honestly, these frozen banana walnut muffins have become a staple in my kitchen because they’re so forgiving and full of warmth. They remind me of childhood mornings but have this modern twist from the frozen bananas, making them extra flavorful and moist. Plus, they’re a fantastic way to use up those overripe bananas sitting in your fruit bowl—no waste, just delicious! I’ve tested this recipe with various tweaks, and it never fails to impress. Whether I serve them warm with butter, or sliced and toasted the next morning, they always get rave reviews. My family loves how quick they are to make and how they feel just a little special—like a treat you’d get from a bakery but way cheaper and easier. If you try one thing, I hope it’s adding a handful of walnuts and a drizzle of honey—trust me, it’s a game-changer. I can’t wait to see how yours turn out! Let me know in the comments below, and share your favorite add-ins or tricks—I love hearing from fellow muffin enthusiasts. Happy baking!
Nutella Brownies (2 Ingredients)
Ingredients
Method
- Preheat oven to 350°F (175°C). Line an 8x8 inch brownie pan with parchment paper and set aside.
- In a large bowl, beat the eggs for 5 to 8 minutes until they have tripled in size and formed soft peaks. This can take up to 10 minutes with a handheld mixer on high.4 large eggs eggs
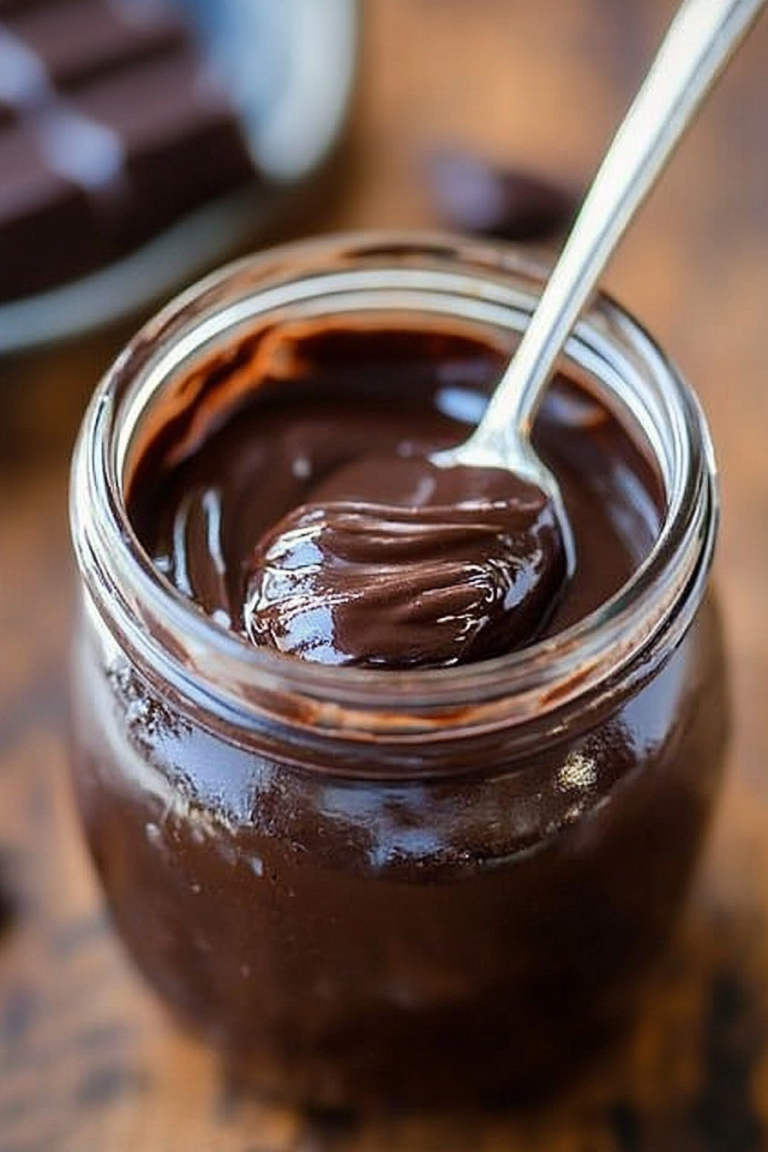
- Warm the Nutella in the microwave for about 60 seconds until it's easily pourable. Stir well.4 large eggs eggs
- Slowly pour a stream of the warm Nutella into the beaten eggs while continuously mixing on low speed until thoroughly combined.4 large eggs eggs
- Pour the batter into the prepared brownie pan and spread evenly.
- Bake for 30 to 35 minutes, or until a toothpick inserted into the center comes out with very few moist crumbs.
- Remove from oven and let the brownies cool completely in the pan before cutting.
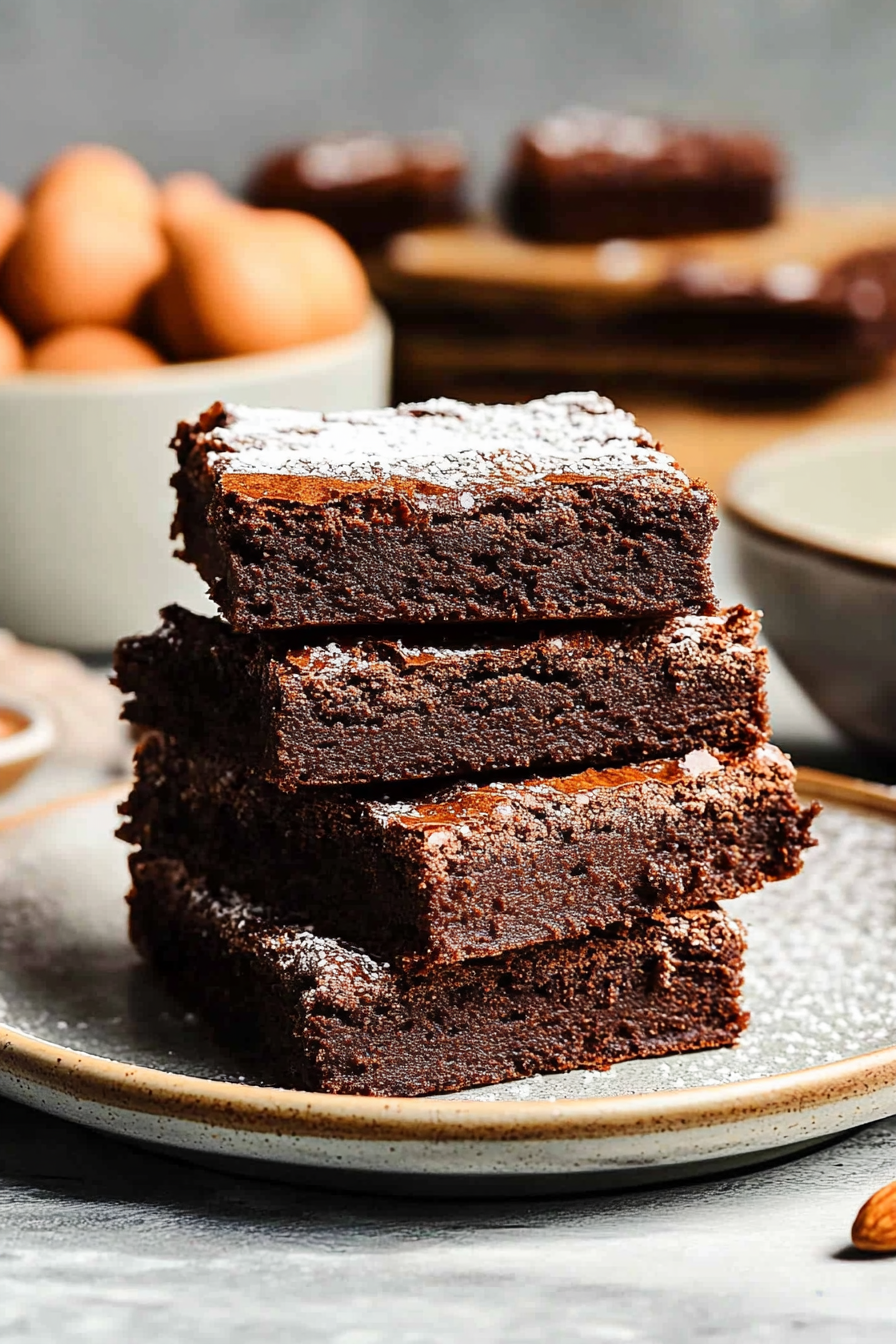
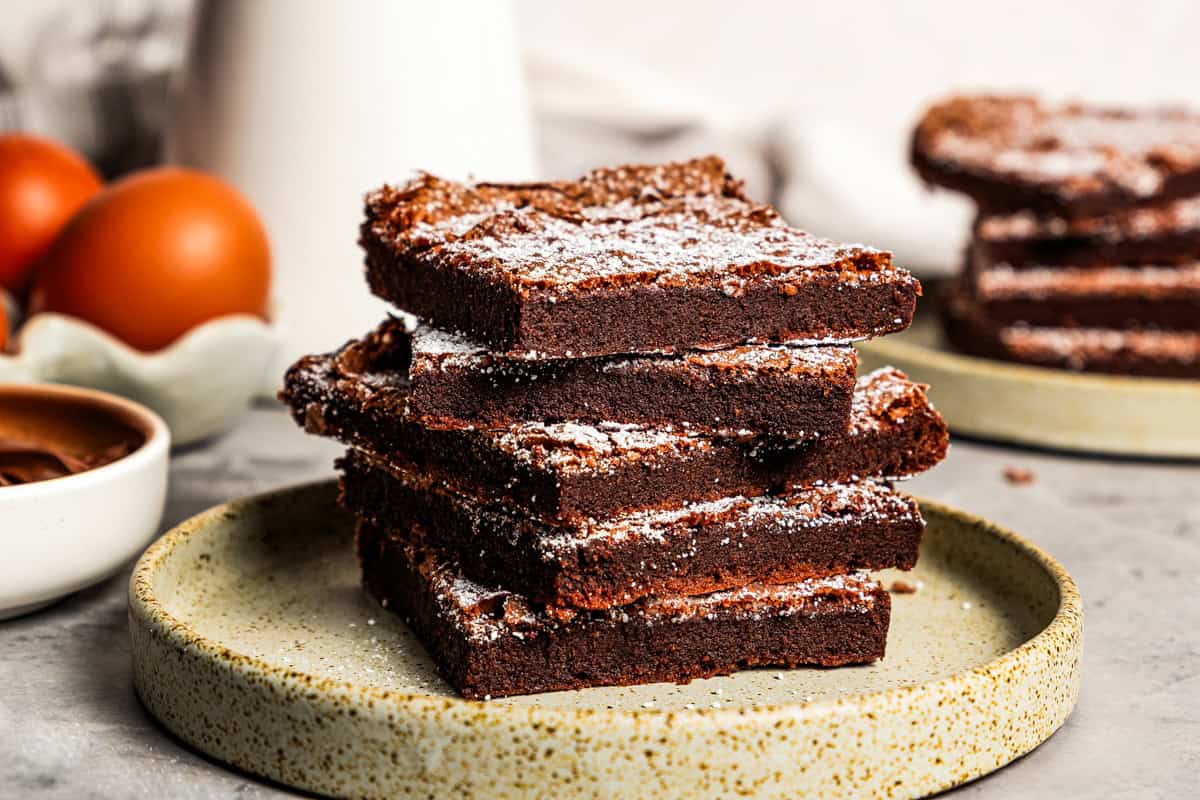
- Once cooled, dust with powdered sugar if desired, cut into 9 squares, and serve.4 large eggs eggs