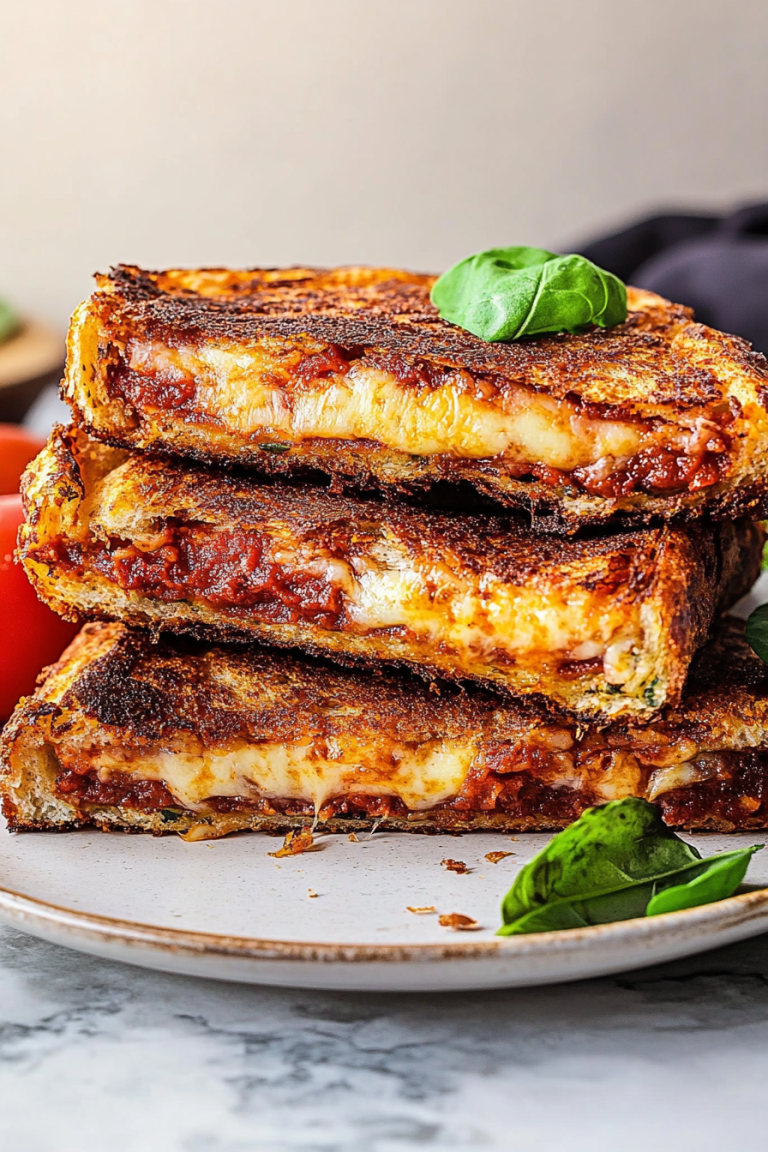
Easy Grilled Cheese with Roasted Tomato Chips
There’s just something about baking zucchini into a cake that feels like a little kitchen secret I love to share. I remember my grandma making loaves of zucchini bread when I was a kid—how that sweet, nutty smell would drift through the house, drawing everyone to the kitchen. Over the years, I’ve tweaked that idea into a whole cake version, and let me tell you, it’s become a family favorite. This moist zucchini cake with a luscious, creamy frosting is one of those recipes I always do when I want something comforting yet impressive. It’s not overly sweet, packed with fresh vegetable goodness, and downright delicious. The best part? Even after a couple of days, it stays moist and tender—perfect for leftovers or about-to-go stale bananas I get in my produce drawer. Plus, it’s honestly surprisingly easy to make—no fancy equipment needed! When I test it out, I always think, “Why didn’t I make this sooner?” No matter the occasion, this cake disappears in minutes at my house, and I’m pretty sure it’ll become a staple in yours too.
What is a Moist Zucchini Cake?
Think of this moist zucchini cake as a cross between your favorite veggie-packed bread and a traditional sweet cake. It’s essentially a tender, sponge-like dessert recipe where grated zucchini acts as both a natural moisture booster and a sneaky vegetable addition. The name might make you think of health food, but don’t worry—this cake is all about that rich, sweet flavor with a hint of cinnamon and vanilla. It’s got that rustic charm of a homemade treat, but with an elegant finish thanks to its smooth frosting. The idea behind it is simple: lots of fresh zucchini, a hint of spices, and a batter that comes together effortlessly. I’ve tested this with different kinds of zucchinis (from garden-fresh to store-bought), and honestly, they all work beautifully. Think of it as a cozy, forgiving cake that’s perfect for feeding a crowd or just satisfying that sweet craving after a long day. It’s one of those recipes I love to keep in my back pocket—impressive yet totally doable, even on a weeknight.
Why you’ll love this recipe?
What I love most about this moist zucchini cake with creamy frosting is how it manages to be both wholesome and indulgent. The incredible flavor comes from the spices and vanilla, which make each bite feel like a warm hug, but it’s still light enough that I don’t feel guilty about seconds—okay, maybe thirds! The zucchini, which is grated and blended into the batter, keeps everything incredibly moist—you’ll notice how it stays tender days after baking. This is a big win in my book because so many cakes tend to dry out by the next afternoon. Plus, it’s budget-friendly; those zucchinis are often super cheap, especially in late summer, and a handful of pantry staples come together in no time. I’ve also experimented with different toppings—sometimes a simple dusting of powdered sugar, other times a drizzle of lemon glaze. And because it’s subtly flavored, it pairs well with a cup of coffee or tea. Honestly, what I love most about this is its versatility—you can adapt it to suit your mood or the ingredients you have lying around. When my kids ask for seconds or friends request the recipe, I know I’ve hit the sweet spot!
How do I make Zucchini cake?
Quick Overview
This cake comes together quickly—grate your zucchini, mix your dry ingredients, then blend in the wet. Pour the batter into a prepared pan, swirl in some cinnamon or nuts if you like, and bake until golden and a toothpick comes out clean. While it’s cooling, whip up a simple, buttery frosting or cream cheese spread (my go-to). The magic is in how effortlessly moist and flavorful it turns out, especially if you don’t overmix the batter. The whole process takes less than an hour—from start to finish—which is perfect for a cozy weekend baking session or a last-minute treat when friends stop by.
Ingredients
For the Main Batter:
– 2 cups grated zucchini (about 2 medium zucchinis; I always squeeze out excess moisture after grating)
– 1 ½ cups all-purpose flour (or a gluten-free blend if you prefer)
– 1 cup white sugar (or honey/maple syrup for a natural twist)
– ½ cup vegetable oil (can substitute with melted coconut oil)
– 3 large eggs
– 1 teaspoon vanilla extract
– 1 teaspoon ground cinnamon
– 1 teaspoon baking powder
– ½ teaspoon baking soda
– ¼ teaspoon salt
For the Filling (optional but recommended):
– Cream cheese frosting or vanilla buttercream
– You can sprinkle chopped nuts or shredded coconut inside for texture or adjust spices for flavor variations.
For the Glaze:
– 1 cup powdered sugar
– 1-2 tablespoons lemon juice or milk
– A dash of vanilla (if you like a more decadent glaze)
Step-by-Step Instructions
Step 1: Preheat & Prep Pan
Set your oven to 350°F (175°C). Grease a 9-inch round cake pan or line it with parchment paper—trust me, this makes cleanup way easier. If you’re using a different pan size, your baking time might vary slightly, so keep an eye on it.
Step 2: Mix Dry Ingredients
In a bowl, whisk together the flour, cinnamon, baking powder, baking soda, and salt. Doing this first ensures everything is evenly distributed—no weird pockets of baking soda or salt in your cake! I always do this step first so I don’t forget, especially when I’m multitasking in the kitchen.
Step 3: Mix Wet Ingredients
In a large mixing bowl, beat the eggs lightly, then add the sugar, oil, and vanilla. Whisk until the mixture looks smooth and slightly creamy. I’ve tested this with a splash of almond milk, and honestly, it made the batter even creamier—try it if you’re looking to make it dairy-free!
Step 4: Combine
Gradually add the dry ingredients into the wet mixture, folding gently. Don’t overmix—that’s how you get a dense or tough cake. Just stir until everything’s barely combined, and then fold in the grated zucchini. Make sure to squeeze out excess moisture from the zucchini to prevent a soggy crumb.
Step 5: Prepare Filling
If you’re using a cream cheese frosting, whip it until smooth. You want a spreadable consistency that’s not too runny but still easy to dollop or spread. Feel free to add a touch of lemon zest or vanilla to it for extra flavor.
Step 6: Layer & Swirl
Pour half of the batter into the prepared pan. Drop spoonfuls of your frosting on top, then cover with the remaining batter. Use a skewer or a butter knife to swirl gently—this creates beautiful marbling and a burst of flavor in every slice. It’s a fun step that makes this cake look as good as it tastes!
Step 7: Bake
Pop it into the oven and bake for about 35-40 minutes. Check with a toothpick—if it comes out clean, you’re good. If not, give it five more minutes. Every oven is different, and I’ve learned to trust my nose—when the top turns golden and smells like heaven, it’s usually done.
Step 8: Cool & Glaze
Let the cake cool in the pan for 10-15 minutes, then transfer to a wire rack. Once completely cool, drizzle with the lemon glaze or spread on your favorite frosting. I like to do this while it’s just slightly warm so the glaze soaks in a little. Makes it extra moist!
Step 9: Slice & Serve
Slice with a serrated knife—go slow to keep those pretty layers intact. Serve at room temperature, maybe with a hot cup of coffee or a cold glass of milk. This cake tastes even better a day after baking, when all those flavors have melded. Trust me, leftovers don’t last in my house!
What to Serve It With
For breakfast, pair a slice with a steaming mug of coffee—maybe add a dollop of yogurt or a sprinkle of extra nuts on top. It’s a lovely way to start the day, especially if you’re looking for something a little sweeter than toast or cereal. When I serve it at brunch, I like to garnish with fresh berries or a dusting of powdered sugar—simple, elegant, and crowds-pleasing.
As a dessert, this is my go-to for when friends pop by unexpectedly. It pairs beautifully with a scoop of vanilla ice cream or a drizzle of honey. The flavors naturally complement each other, and the subtle spice makes it a hit no matter the season. During cozy nights, I’ve been known to warm a slice slightly, then spread on extra frosting or whipped cream—it’s comfort food at its finest.
And let’s not forget, it’s perfect for share-it-with-the-family moments. My kids ask for this all the time, especially when we have extra zucchinis from the garden. It’s become our lazy Sunday bake with no fuss, packed with flavor, and always leaves everyone happy.
Top Tips for Perfecting Your Moist Zucchini Cake
Over the years, I’ve learned a few tricks to make this cake even better:
Zucchini Prep: Always squeeze out as much moisture as possible after grating, or your cake might turn out a little soggy. I find that using a clean kitchen towel and pressing gently works wonders, especially if you want that perfect moist crumb without excess water.
Mixing Advice: When combining wet and dry ingredients, go slow. Overmixing is the enemy—stir until just combined and fold in zucchini delicately. Trust me, a tender crumb is worth it!
Swirl Customization: Use a skewer or a chopstick to make beautiful swirls—going in different directions for a marbled effect. Try adding chopped nuts or even chocolate chips between layers for extra texture and flavor.
Ingredient Swaps: Honey or maple syrup works beautifully to replace sugar—just reduce the liquid slightly. You can also switch out spices: cardamom, nutmeg, or ginger add lovely warm notes.
Baking Tips: Oven temperatures can vary, so keep an eye on baking times. If the edges start darkening too fast, tent with foil. And always do the toothpick test—nothing beats knowing your cake is perfectly baked inside.
Glaze Variations: Lemon, orange, or even berry coulis can make delightful toppings. If you prefer a thicker glaze, add more powdered sugar. For a more subtle finish, just a dusting of powdered sugar is enough.
Cooking this cake has been a journey of little lessons—every batch teaches me something new, like how a touch more cinnamon really enhances the flavor or how letting it cool fully prevents cracking. Don’t be afraid to experiment and make it your own. The key is in the love you put into it—and I promise, your kitchen will smell heavenly.
Storing and Reheating Tips
This moist zucchini cake keeps beautifully. If you have leftovers, store it in an airtight container at room temperature for up to two days—cover it with a clean cloth or a cake dome to keep it fresh. To extend its life, refrigerate for up to four days; just bring it to room temperature or warm slightly before serving for maximum moistness.
If you want to freeze it, wrap slices tightly in plastic wrap and then foil. It’ll keep well for about 3 months. Thaw at room temperature or warm gently in the oven—just avoid microwave reheating if you want to keep that tender crumb intact.
As for the glaze, I usually wait until serving—adding it just before slicing keeps that shiny, fresh look. If you’ve already glazed and want to reheat, do so carefully in the oven at a low temperature. This keeps everything moist and delicious without melting the frosting or glaze away.
Frequently Asked Questions
Final Thoughts
This moist zucchini cake with creamy frosting is truly a testament to how cozy baking can bring comfort and joy. It’s a recipe that’s been on my table countless times—always warmly welcomed and never disappointing. I love how it balances wholesome ingredients with indulgence, making every bite feel special. Whether you’re looking for a quick dessert, a sweet treat to brighten a lazy afternoon, or a way to sneak some veggies into the kids’ diet, this cake checks all the boxes. Plus, it’s perfect for experimenting—add nuts, change the spices, switch up the frosting—to make it uniquely yours. I hope you love baking it as much as I do! Feel free to leave a comment below with your twists or questions, and I’d love to hear how yours turns out. Happy baking, and don’t forget to share—good food is meant to be enjoyed together!

grilled cheese
Ingredients
Method
- Spread butter evenly on one side of each bread slice.
- Place one slice, buttered side down, on a skillet over medium heat.
- Add cheese on top of the bread in the skillet.
- Cover with the second bread slice, buttered side up, and cook until golden brown on both sides.
- Serve hot and enjoy your delicious grilled cheese.