Easy Dark Chocolate Parfaits Delight
If you’ve ever bitten into a warm slice of coffee cake and felt a wave of nostalgia wash over you, then you’ll understand why I keep coming back to this recipe. Growing up, my mom always had a tray of this tucked away in the oven on lazy Saturday mornings, filling the house with the cozy smell of cinnamon and freshly baked goodness. It’s that perfect balance of moist, sweet, and just a hint of spice that makes it so addictive. Honestly, I’ve made this countless times, and every single time, it disappears in minutes at my house—my kids ask for seconds, and my friends always ask for the recipe. What I love most about this is how simple it is to put together, yet it feels like a luxurious treat. Best part? It’s practically foolproof. Even on my busiest days, I can whip this up in no time. And if you’re like me—always looking for something comforting but not overly fancy—this one’s a lifesaver on those evenings when you crave something sweet but don’t want to turn on the oven for a whole cake. Trust me, once you try this, it’ll be a staple in your recipe box too.
What Is Mom’s Zucchini Coffee Cake?
This cozy little cake might sound unusual because of the zucchini, but that’s what makes it special. Think of it as a classic coffee cake recipe with a sneaky twist—moist, tender zucchini baked right into the batter, giving it an incredible texture without overpowering flavor. The name’s a bit of a misnomer because it’s honestly more than just a breakfast item; it’s a dessert, a snack, and sometimes I even have it for dessert after dinner. It’s essentially a quick, homey cake that’s layered with a cinnamon sugar swirl and topped with a rich cream cheese frosting or glaze. The beauty of this recipe is how adaptable it is—grated zucchini keeps it super moist, and you can easily swap out ingredients to suit your taste or what you have lying around. While it’s called “coffee cake,” I think of it as a perfect accompaniment to both my morning coffee and my evening cup of tea. It’s wholesome, a little indulgent, and undeniably comforting—that’s what really makes it feel “human” to me.
Why you’ll love this recipe?
There are so many reasons this Zucchini Coffee Cake has won a special place in my kitchen, but I’ll start with the taste. The flavor is just comfort in a bite. The cinnamon swirl adds that warm, spicy aroma I crave on cold mornings or rainy afternoons—my kids actually ask for this all the time, and honestly, I don’t mind at all. What I love most about this is how easy it is to whip up—no fancy equipment or long prep times. It’s honestly a one-bowl wonder. Plus, the ingredients are budget-friendly; you probably already have most of them in your pantry or fridge. And versatility? Oh, it’s amazing. You can serve it warm, cold, with a dollop of whipped cream, or even with a drizzle of caramel. I’ve made this with different nuts, added blueberries, or even swapped the cream cheese glaze for a simple lemon icing—every version turns out delicious. It’s a cozy, soulful baking experience that feels like hugging your family or a good friend. Whether it’s a lazy Sunday brunch, a quick snack for the kids, or a sweet ending to a dinner party, this cake never fails to impress.
How to Make Mom’s Zucchini Coffee Cake
Quick Overview
This coffee cake comes together in just a few simple steps, but the secret to its irresistible moistness is grated zucchini blended into the batter. First, you prepare the zucchini by squeezing out excess moisture—trust me, this step keeps the cake from being too dense. While the oven warms up, mix your dry ingredients—flour, sugar, baking powder, and cinnamon. In another bowl, whisk your wet ingredients—eggs, melted butter, vanilla, and grated zucchini. Gently fold everything together, avoiding overmixing, which can make the cake tough. Then, swirl in a cinnamon-sugar mixture, pour the batter into your prepared pan, and add dollops of cream cheese filling if you like. A quick bake at 350°F (180°C) for about 35-40 minutes, and you’ll have that gorgeous, golden cake ready to cool just enough for slicing. Finish it with a glaze or a sprinkle of powdered sugar, and you’re all set for a cozy treat that’s as easy as it is delicious.
Ingredients
For the Main Batter:
– 2 cups all-purpose flour (I always use unbleached for extra flavor)
– 1 cup sugar (white or raw, your choice)
– 1 teaspoon baking powder
– ½ teaspoon baking soda
– 1 teaspoon ground cinnamon
– Pinch of salt
– 2 large eggs
– ½ cup melted unsalted butter (or coconut oil for dairy-free)
– 1 teaspoon vanilla extract
– 1 cup grated zucchini (squeeze out excess moisture—trust me on this one!)
For the Filling:
– 4 oz cream cheese (softened)
– ¼ cup granulated sugar
– 1 teaspoon vanilla
– 1 teaspoon ground cinnamon
For the Glaze:
– ½ cup powdered sugar
– 1-2 tablespoons milk or lemon juice
– Optional: vanilla extract or lemon zest for extra flavor
Step-by-Step Instructions
Step 1: Preheat & Prep Pan
Set your oven to 350°F (180°C). Line a 9-inch square pan or round cake pan with parchment paper, or grease it well. This helps with easy removal and keeps your cake looking pretty and intact. I always do this early so I don’t forget—nothing worse than trying to grease a hot pan.
Step 2: Mix Dry Ingredients
In a big mixing bowl, whisk together the flour, sugar, baking powder, baking soda, cinnamon, and salt. Combining the dry ingredients thoroughly ensures an even rise and flavor throughout. I like to sift the flour first because it makes the batter lighter, but a good whisk works just as well.
Step 3: Mix Wet Ingredients
In a separate bowl, beat the eggs, then add melted butter and vanilla. Stir in the grated zucchini—make sure you squeeze out as much moisture as possible with a clean kitchen towel or paper towels to prevent the batter from getting too wet. The zucchini itself is pretty mild, but it lends a tender, moist crumb that’s just divine.
Step 4: Combine
Pour the wet mixture into the dry ingredients and gently fold everything together until just combined. Be careful not to overmix—this is key for a tender cake. If you see a few lumps, that’s okay! Overmixing can lead to a dense, rubbery texture, and nobody wants that.
Step 5: Prepare Filling
Mix softened cream cheese with sugar, vanilla, and cinnamon to make a smooth, slightly tangy filling. If you want a more decadent feel, throw in a handful of chopped nuts or a sprinkle of shredded coconut. Set aside while the batter rests.
Step 6: Layer & Swirl
Pour half of the batter into your prepared pan. Dollop the cream cheese mixture evenly on top. Then, pour in the rest of the batter and use a butter knife or skewer to swirl the filling into the batter—don’t overdo it, just enough to create a marbled effect. I love watching the swirl pattern develop—it’s almost like artwork!
Step 7: Bake
Bake in the oven for 35-40 minutes, or until the top looks golden and a toothpick inserted in the center comes out clean. Ovens vary, so start checking around 33 minutes. The smell of cinnamon and butter filling your house is a good sign you’re getting close.
Step 8: Cool & Glaze
Let the cake cool in the pan for about 15 minutes, then transfer to a wire rack. If you’re using glaze, mix powdered sugar with milk or lemon juice until smooth, and drizzle over slightly warm cake. If you prefer, dust with powdered sugar or serve as is. The glaze adds a lovely shine and sweetness that balances the richness of the cream cheese.
Step 9: Slice & Serve
Slice with a serrated knife for clean cuts. Serve warm or room temperature, maybe with a cup of coffee or tea. I love a big greasy spoon mug with this cake—makes the experience extra cozy. And honestly, leftovers taste even better the next day—soft, moist, and infused with cinnamon aroma.
What to Serve It With
This cake is versatile enough that I often serve it in different ways depending on the mood. For a lazy breakfast or brunch, I like it with a dollop of Greek yogurt or a smear of ricotta cheese on the side. It pairs beautifully with a steaming cup of coffee or a glass of cold milk. When I have friends over, I’ll warm a slice and add a drizzle of caramel or a sprinkle of crushed walnuts—really elevates the flavor. My kids love it as a snack after school, especially when they’re craving something sweet but wholesome. And if I’m feeling fancy, I’ll crumble it over a scoop of vanilla ice cream for an easy dessert. Honestly, I keep seeing new ways to enjoy this cake—it’s that kind of recipe that grows on you and soon becomes part of your family tradition.
Top Tips for Perfecting Your Zucchini Coffee Cake
Over the years of making this, I’ve picked up a few tricks that really make the difference. First, don’t skip squeezing out the zucchini moisture—that’s the secret to tender, moist crumb without it turning into a soggy mess. I’ve tested this with different zucchinis—fresh from the garden or store-bought—and the results are consistent. When mixing, I always fold, never whisk, to keep the batter light. This keeps your cake fluffy and moist; overmixing is the enemy here.
If you want a more colorful swirl, try adding food coloring to the cream cheese or cinnamon layer—trust me, it makes it look fancy even if you’re just baking at home. The glaze is totally customizable—try adding a splash of vanilla extract or even a teaspoon of lemon zest for a fresh zing. One thing I learned the hard way was not to overbake; if the top starts turning too dark early, cover it loosely with foil to prevent burning. Also, I tested this with almond extract in the glaze once, and it was a game-changer—give it a try!
Overall, don’t be afraid to tweak the ingredients to match your taste or what you’ve got. I find that the most imperfect-looking cakes often turn out the tastiest because they’re made with love—so relax, enjoy the process, and don’t stress over every inch.
Storing and Reheating Tips
Because I often find myself sneaking a slice for breakfast or late-night snack, I’ve become an expert in storage. If you’re not eating it all right away, let the cake cool completely before storing. Keep it in an airtight container at room temp for up to 2 days—just cover it loosely so it stays fresh but doesn’t get soggy. For longer storage, pop it in the fridge in an airtight container—this keeps it delicious for about 4-5 days, though I doubt it’ll last that long. To reheat, microwave a slice for about 20-30 seconds or warm it in a low oven until just heated through. I don’t recommend freezing the glazed version because the glaze can get weird, but plain cake freezes perfectly wrapped in foil for up to 3 months. When ready to serve, defrost at room temp and add a fresh glaze or dusting if needed. This cake keeps well, but honestly, I think it’s best enjoyed fresh or within a day or two for maximum moistness and flavor.
Frequently Asked Questions
Final Thoughts
This Zucchini Coffee Cake isn’t just a recipe—it’s a little bit of my childhood, wrapped in a warm, delicious package. It’s the kind of thing that makes your house smell like home and turns an ordinary morning into a special occasion. I love how adaptable it is—whether I add nuts, change the glaze, or serve it as muffins (my kids’ favorite), it always hits the mark. Honestly, the secret to its charm is how simple, yet satisfying it is. It’s not overly sweet, incredibly moist, and packed with cozy cinnamon-spiced goodness. If you’re looking for a recipe that feels like a hug in cake form, this is it. I hope you try it, tweak it, and make it your own. Don’t forget to come back and tell me how yours turned out—I always love hearing stories from the kitchen. Happy baking, friends! And remember, the best part about recipes like this? Sharing it with the people you love.
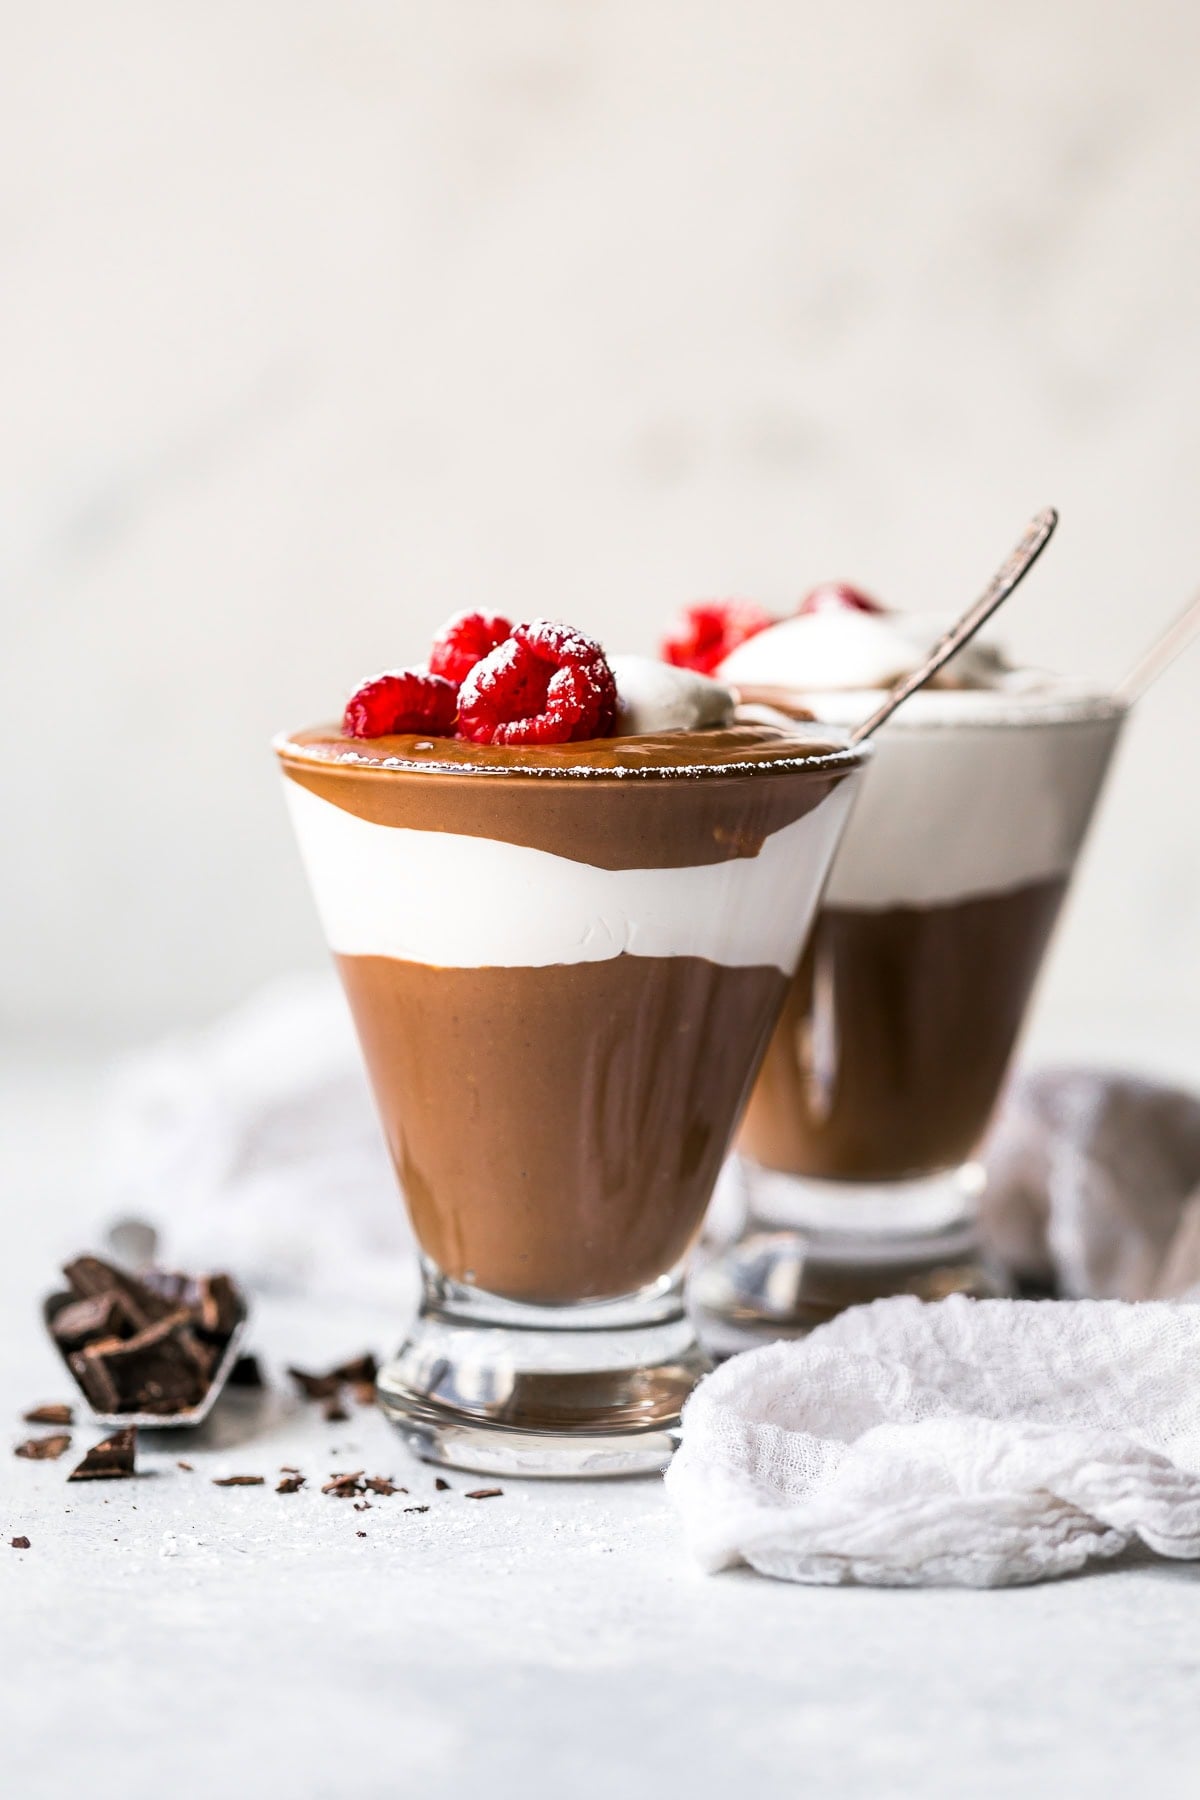
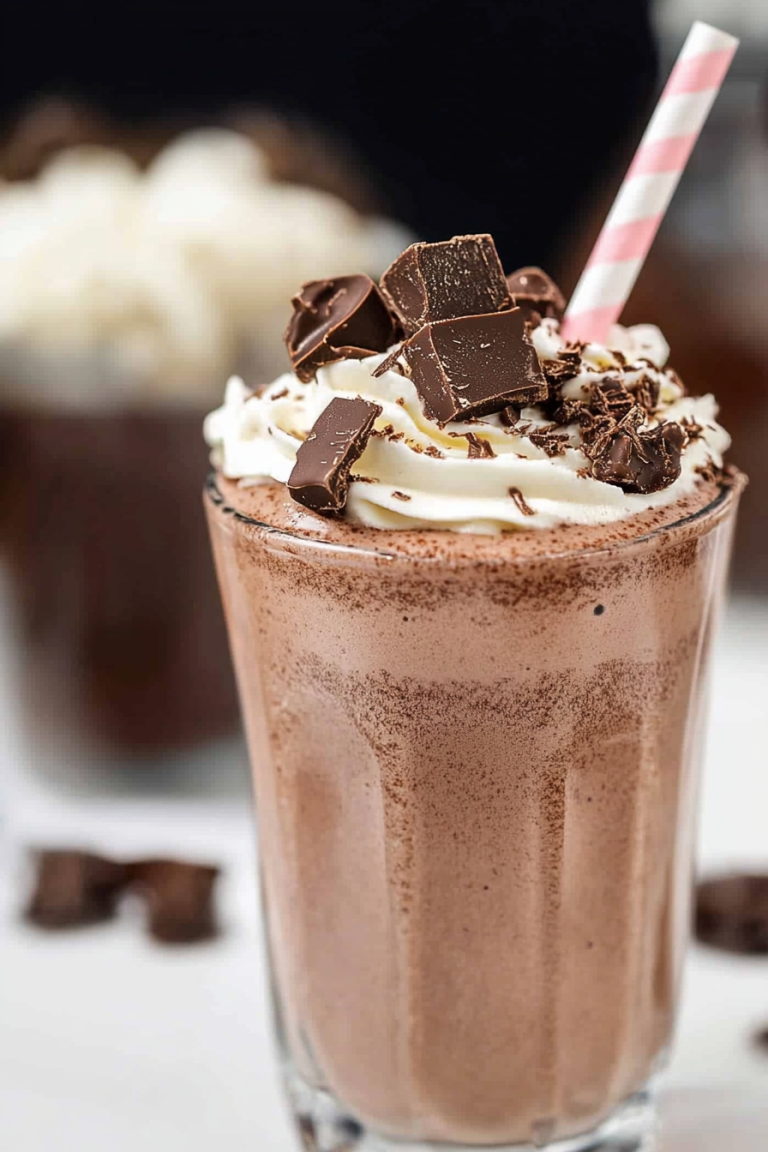
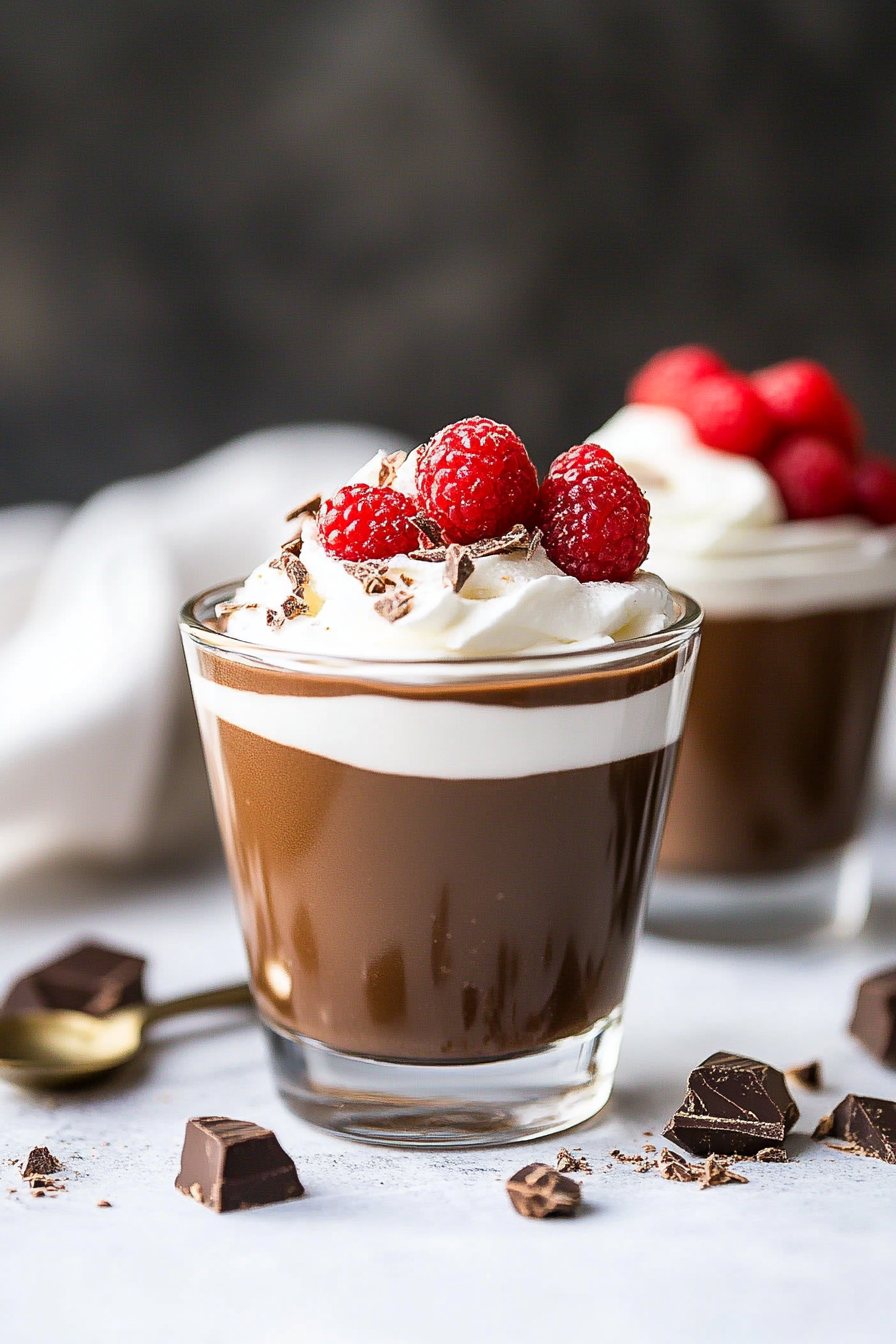
Chocolate Parfaits
Ingredients
Method
- In a medium non-stick saucepan, combine milk, sugar, and cornstarch; whisk well and simmer on medium-low heat, whisking constantly until mixture has slightly thickened, about 10 to 15 minutes.
- In a large bowl whisk egg yolks. Slowly add about 1 cup of the hot milk mixture through a mesh sieve to the yolks, whisking in about a tablespoon at a time to temper the egg so the egg doesn't cook.
- Once the eggs are tempered, whisk in the remaining milk through the sieve then return to the sauce pan.
- Melt the chocolate squares in the microwave 20 seconds at a time, up to a minute, stirring in between until the chocolate is melted. Pour melted chocolate into the sauce pan, whisk well.
- Add vanilla; simmer on low for 15 minutes, whisking constantly.
- Transfer the chocolate pudding into a large bowl, cover with wax paper, touching the pudding so that it doesn't allow a film to settle on top.
- Refrigerate for at least 2 hours or overnight, it will further thicken in the refrigerator.
- To make parfaits, when chilled, place 3 tablespoons of the pudding into each glass, then add 2 tablespoons of whipped topping in each, then 2 tablespoons more pudding and top with a dollop of Truwhip.