Delicious Caramelitas Recipe – Easy Baking Bliss
Oh, where do I even begin with this chocolate zucchini bread? It’s not just a recipe for me; it’s like a warm hug on a chilly day, a childhood memory baked into perfection. I remember my grandma used to make the most incredible zucchini bread, but she always added cinnamon and nuts. While that was delicious, my absolute favorite version, the one that makes my kids practically do a happy dance, is this chocolatey, fudgy, moist-as-can-be chocolate zucchini bread. It’s the kind of thing that makes you forget you’re even eating zucchini (don’t tell my picky eaters!). Honestly, if you’ve ever doubted if zucchini can be the star of a dessert, this recipe will change your mind. It’s so ridiculously good, I often find myself sneaking a slice right out of the oven. It’s proof that sometimes, the most unexpected ingredients lead to the most magical results. Forget those dry, crumbly loaves – this one is pure, unadulterated chocolatey heaven, and it’s surprisingly simple to whip up, even on a weeknight!
What is chocolate Zucchini bread?
So, what exactly *is* this chocolate zucchini bread I’m raving about? Think of it as the most decadent, moist chocolate cake you’ve ever had, but disguised as a healthy-ish loaf thanks to the sneaky addition of grated zucchini. It’s essentially a quick bread, meaning it doesn’t need any yeast or complicated rising processes. You just mix up the batter and bake it. The “zucchini” part is the real magic trick. When it’s grated finely and baked into the batter, it basically melts away, leaving behind nothing but incredible moisture and a tender crumb. It’s not like you’re biting into chunks of squash, nope! It’s just this wonderful, melt-in-your-mouth texture that you wouldn’t get from any other cake or bread. It’s that secret ingredient that makes this chocolate loaf so incredibly moist and keeps it from ever tasting dry. It’s the ultimate crowd-pleaser, perfect for breakfast, snacks, or even dessert!
Why you’ll love this recipe?
Honestly, there are so many reasons why this chocolate zucchini bread has become a staple in my kitchen, and I just know you’re going to fall in love with it too. First off, the FLAVOR is out of this world. We’re talking deep, rich chocolate goodness with just the right amount of sweetness. It’s not overly sweet, which I really appreciate, but it definitely satisfies any serious chocolate craving. And the TEXTURE? Oh my goodness. It’s unbelievably moist and tender, all thanks to that secret ingredient – zucchini! It’s like biting into a slice of pure velvet. Plus, it’s so SIMPLE to make. Seriously, the hardest part is grating the zucchini, and even that’s not bad. You can mix this up in one bowl (mostly!) and have it in the oven in under 15 minutes. It’s a lifesaver on busy afternoons when the kids suddenly declare they need a treat. It’s also incredibly COST-EFFECTIVE. Zucchini is usually super affordable, and the other ingredients are pantry staples. You get a whole delicious loaf for pennies on the dollar compared to buying a fancy bakery treat. And the VERSATILITY! While it’s amazing on its own, you can easily add in chocolate chips, nuts, or even a swirl of cream cheese for an extra layer of deliciousness. It’s perfect for breakfast with a cup of coffee, a satisfying afternoon snack, or even a light dessert with a dollop of whipped cream. What I love most about this particular recipe, compared to others I’ve tried, is that it never fails to be moist. Some chocolate cakes can get dry so easily, but this one just stays perfectly tender for days!
How do I make Zucchini bread?
Quick Overview
This recipe is all about effortless deliciousness. You’ll start by whisking together your dry ingredients, then mixing in your wet ingredients. The key is to gently fold in the grated zucchini and chocolate chips. Pour the luscious batter into a prepared loaf pan and bake until a toothpick comes out clean. That’s it! No fancy techniques, no complicated steps. It’s designed for busy home cooks who want a truly delightful treat without the fuss. The result? A perfectly moist, intensely chocolatey loaf that will have everyone asking for the recipe.
Ingredients
For the Main Batter:
2 cups all-purpose flour (I always use unbleached for a better texture)
3/4 cup unsweetened cocoa powder (use a good quality one, it makes a difference!)
1 1/2 teaspoons baking soda
1 teaspoon baking powder
1/2 teaspoon salt
1 3/4 cups granulated sugar (you can reduce this slightly if you prefer, but I find this gives the perfect balance)
2 large eggs, at room temperature (room temp eggs incorporate better!)
1 cup milk (I’ve tested this with almond milk and it actually made it even creamier!)
1/2 cup vegetable oil (or melted butter for a richer flavor)
2 teaspoons vanilla extract
2 cups finely grated zucchini (about 2 medium zucchini, make sure to squeeze out excess moisture!)
For the Filling (Optional but HIGHLY Recommended!):
1 cup semi-sweet chocolate chips (or a mix of dark and milk chocolate chips!)
For the Glaze:
1 cup powdered sugar
2-3 tablespoons milk (or coffee for a mocha kick!)
1/2 teaspoon vanilla extract
Step-by-Step Instructions
Step 1: Preheat & Prep Pan
First things first, let’s get our oven fired up to 350 degrees Fahrenheit (175 degrees Celsius). This ensures it’s nice and hot and ready to bake your masterpiece. Now, grab your trusty loaf pan – a standard 9×5 inch pan is perfect. You want to make sure this beauty doesn’t stick, so grease it really well with butter or cooking spray. Then, I like to dust it with a little bit of cocoa powder instead of flour. It gives the outside a lovely dark color and prevents any white residue. You can also line it with parchment paper if you’re worried about sticking or want super easy cleanup. Just make sure the parchment hangs over the sides a bit so you can lift the loaf out easily later.
Step 2: Mix Dry Ingredients
In a large mixing bowl, sift together your flour, unsweetened cocoa powder, baking soda, and baking powder. This step might seem small, but sifting is key to getting a light and airy texture. It breaks up any clumps and ensures everything is evenly distributed. Now, add your salt and granulated sugar to the bowl. Give everything a good whisk with a fork or a whisk until it’s all nicely combined. You’re looking for a uniform color with no pockets of cocoa or flour. This dry mixture is the foundation for our amazing loaf!
Step 3: Mix Wet Ingredients
In a separate, medium-sized bowl, crack in your two large eggs. Give them a quick whisk until they’re just combined. Now, pour in your milk (or your chosen milk alternative!), vegetable oil (or melted butter), and vanilla extract. Whisk these wet ingredients together until they’re smooth and well incorporated. You want everything to be nicely emulsified, creating a lovely, glossy mixture. Make sure your eggs are at room temperature; they’ll blend much more smoothly into the other wet ingredients, leading to a more uniform batter.
Step 4: Combine
Now for the magic moment – bringing the wet and dry ingredients together! Pour the wet mixture into the bowl with the dry ingredients. Using a spatula or a wooden spoon, gently fold everything together. The key here is *gentle* and *don’t overmix*. Mix just until you no longer see streaks of dry flour. A few small lumps are perfectly fine and actually preferable, as overmixing can develop the gluten too much, resulting in a tough loaf. Once it’s *just* combined, add your finely grated zucchini (make sure you’ve squeezed out as much liquid as possible – trust me on this!) and the optional chocolate chips. Fold them in gently until they’re evenly distributed throughout the batter. The batter will be thick and fudgy, and that’s exactly what you want!
Step 5: Prepare Filling
For this recipe, the “filling” is essentially just extra chocolate chips that get swirled into the batter for pockets of melty goodness. If you’re adding them, just have your chocolate chips ready. You’ll gently fold them into the batter in the previous step. There’s no separate preparation needed unless you want to get fancy with a chocolate ganache swirl, but honestly, for this everyday treat, extra chips are perfect! They distribute throughout the batter and create those delightful little chocolate surprises in every bite.
Step 6: Layer & Swirl
Once your batter is ready with the zucchini and chocolate chips folded in, spoon it into your prepared loaf pan. Spread it out evenly with your spatula. If you want to get a little fancy with a “swirl” effect, you can reserve about half a cup of the chocolate chips and sprinkle them on top, then gently push them down into the batter with your spatula. Or, if you’re feeling adventurous, you can take a knife or a skewer and gently swirl it through the top layer of the batter to create some pretty patterns. This isn’t strictly necessary, but it does make for a beautiful presentation!
Step 7: Bake
Now it’s time to bake this beauty! Carefully place the loaf pan in the preheated oven. Bake for about 50-60 minutes. Now, ovens can be a bit finicky, so the exact time might vary. The best way to tell if it’s done is to insert a toothpick or a thin knife into the center of the loaf. If it comes out clean, or with just a few moist crumbs attached (but no wet batter!), it’s ready. If it’s still gooey, give it another 5-10 minutes and check again. Don’t be afraid to let it bake a little longer if needed; it’s better to be fully baked than undercooked.
Step 8: Cool & Glaze
Once your chocolate zucchini bread is perfectly baked, take it out of the oven and let it cool in the loaf pan for about 10-15 minutes. This is crucial! It allows the loaf to set up properly. After that initial cooling, carefully invert the pan onto a wire rack to release the loaf. Let it cool completely on the wire rack. I know it’s tempting to dive in right away, but trust me, letting it cool is important for both texture and slicing. While it’s cooling, whip up the glaze. In a small bowl, whisk together the powdered sugar, 2 tablespoons of milk, and vanilla extract. Add more milk, just a teaspoon at a time, until you reach your desired consistency – you want it pourable but not too runny. Drizzle this sweet glaze all over the cooled loaf. It adds an extra touch of sweetness and makes it look so pretty!
Step 9: Slice & Serve
Once the glaze has set a little, it’s time for the best part: slicing and enjoying! Use a serrated knife for the cleanest cuts, especially if you’ve got a lot of chocolate chips. Slice it into thick, generous pieces. This bread is absolutely delicious served at room temperature. The glaze gives it that extra pop, but it’s fantastic on its own too. It’s the perfect treat for any time of day!
What to Serve It With
This chocolate zucchini bread is so versatile, it’s practically a chameleon in the kitchen! For a simple and satisfying **Breakfast**, I love it toasted lightly and served with a smear of butter. It’s also divine with a cup of freshly brewed coffee; the chocolate notes in the bread pair beautifully with a dark roast. When I’m feeling a bit more ambitious for **Brunch**, I’ll serve it alongside some fresh fruit salad, maybe some scrambled eggs or crispy bacon. It adds a touch of indulgence without being too heavy. For a decadent **Dessert**, a warm slice with a scoop of vanilla bean ice cream or a dollop of lightly sweetened whipped cream is pure bliss. Sometimes, if we’re having a casual weeknight dinner, I’ll even serve a small piece as a sweet ending. And for those **Cozy Snacks** moments, when you just need something comforting and delicious, a thick slice of this bread with a tall glass of cold milk is unbeatable. My family loves it best as an afternoon snack after school – it’s the perfect pick-me-up!
Top Tips for Perfecting Your Chocolate Zucchini Bread
I’ve made this chocolate zucchini bread countless times, and through trial and error, I’ve picked up a few tricks that I think make a big difference. First, when it comes to **Zucchini Prep**, don’t skip squeezing out the moisture! Use a cheesecloth or a fine-mesh sieve and press out as much water as you possibly can. Excess water is the enemy of a good quick bread and can make it gummy. Grate your zucchini finely; larger shreds can sometimes leave little pockets of moisture. For **Mixing Advice**, remember that less is more. Overmixing is really the number one culprit for a tough quick bread. Just mix until everything is *barely* combined, and you’ll get that wonderfully tender crumb. If you’re going for a **Swirl Customization** with chocolate chips, try mixing a few into the batter and then reserving a few more to press into the top before baking for a more visually appealing finish. For **Ingredient Swaps**, if you don’t have vegetable oil, melted unsalted butter works beautifully and adds a lovely richness. For the milk, any dairy or non-dairy milk will work, but I found almond milk gave it an extra creamy texture. For **Baking Tips**, always do the toothpick test. Ovens vary, so it’s the most reliable way to ensure your loaf is perfectly baked through. If the top starts browning too quickly before the inside is cooked, you can always loosely tent it with foil for the last 10-15 minutes of baking. And for **Glaze Variations**, don’t feel limited to just milk! A splash of coffee or even orange juice can add a subtle, delicious twist to the glaze. You can also adjust the thickness by adding more or less liquid.
Storing and Reheating Tips
This chocolate zucchini bread is quite forgiving when it comes to storage, which is another reason I love it so much! For **Room Temperature** storage, once it’s completely cooled, you can wrap the loaf tightly in plastic wrap or store it in an airtight container. It should stay wonderfully moist for about 3-4 days at room temperature. If your kitchen is particularly warm, though, you might want to pop it in the fridge sooner. For **Refrigerator Storage**, I usually keep it in an airtight container as well. It will stay good for up to a week in the fridge. The texture might firm up a bit in the fridge, but don’t worry, a quick reheat solves that! If you want to freeze **Freezer Instructions**, this bread freezes remarkably well. Wrap the cooled loaf tightly in a double layer of plastic wrap, then in a layer of aluminum foil, or place it in a freezer-safe bag. It can stay frozen for up to 3 months. To thaw, simply unwrap it and let it come to room temperature on the counter, or reheat it gently. For **Glaze Timing Advice**, I always recommend applying the glaze *after* the loaf has completely cooled. If you glaze a warm loaf, the glaze will melt and become a runny mess. If you’re planning to freeze the loaf *with* the glaze, it’s often best to freeze it plain and then add the glaze after thawing and reheating. However, if you apply the glaze and then freeze, it can sometimes get a bit sticky upon thawing, but it’s still perfectly edible!
Frequently Asked Questions
Final Thoughts
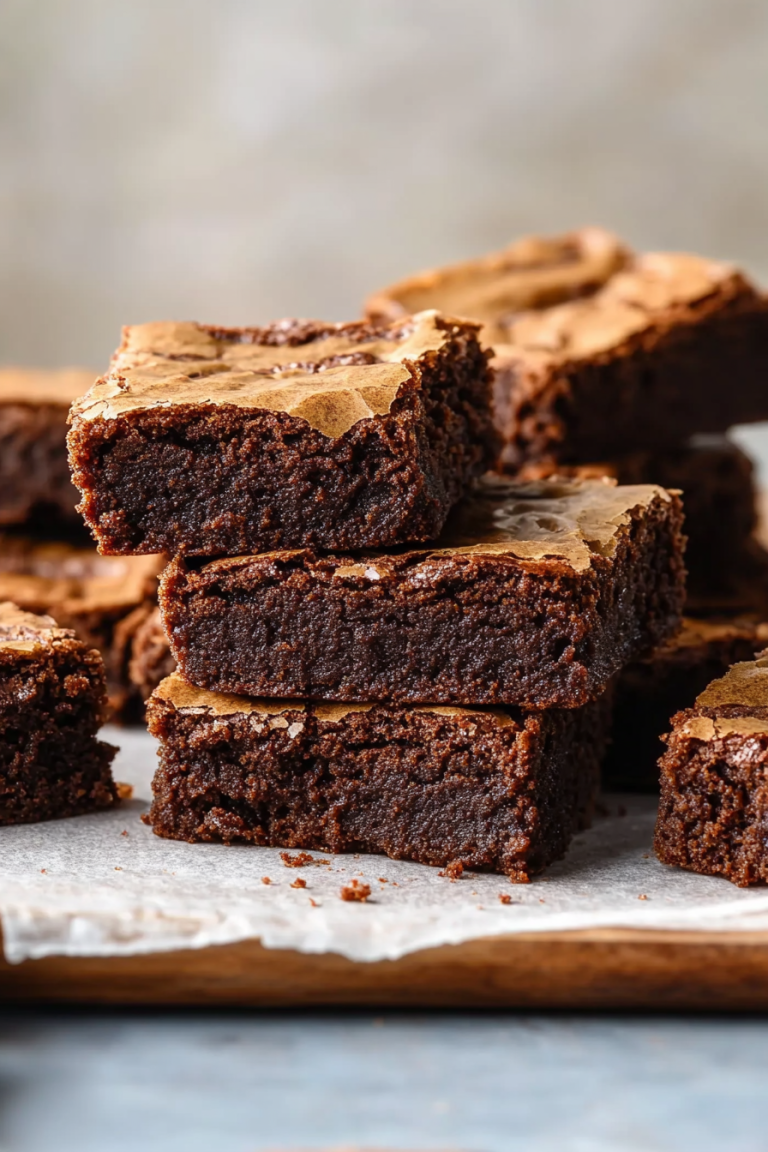
Seriously, if you’re looking for a recipe that brings comfort, joy, and incredible flavor all rolled into one, this chocolate zucchini bread is it. It’s the kind of recipe that you’ll make again and again, and each time it’ll feel like a little victory. It proves that simple ingredients can create something truly extraordinary, and that a touch of chocolate can make almost anything better. It’s a testament to the magic that happens in our own kitchens, creating delicious memories for ourselves and our loved ones. If you enjoy this recipe, you might also love my Fudgy Brownies or my Classic Banana Bread – they’re all about that comforting, homemade goodness. I really hope you give this chocolate zucchini bread a try. I can’t wait to hear how yours turns out and what you think of this little slice of heaven! Don’t forget to leave a comment or share your own family twists on this recipe!
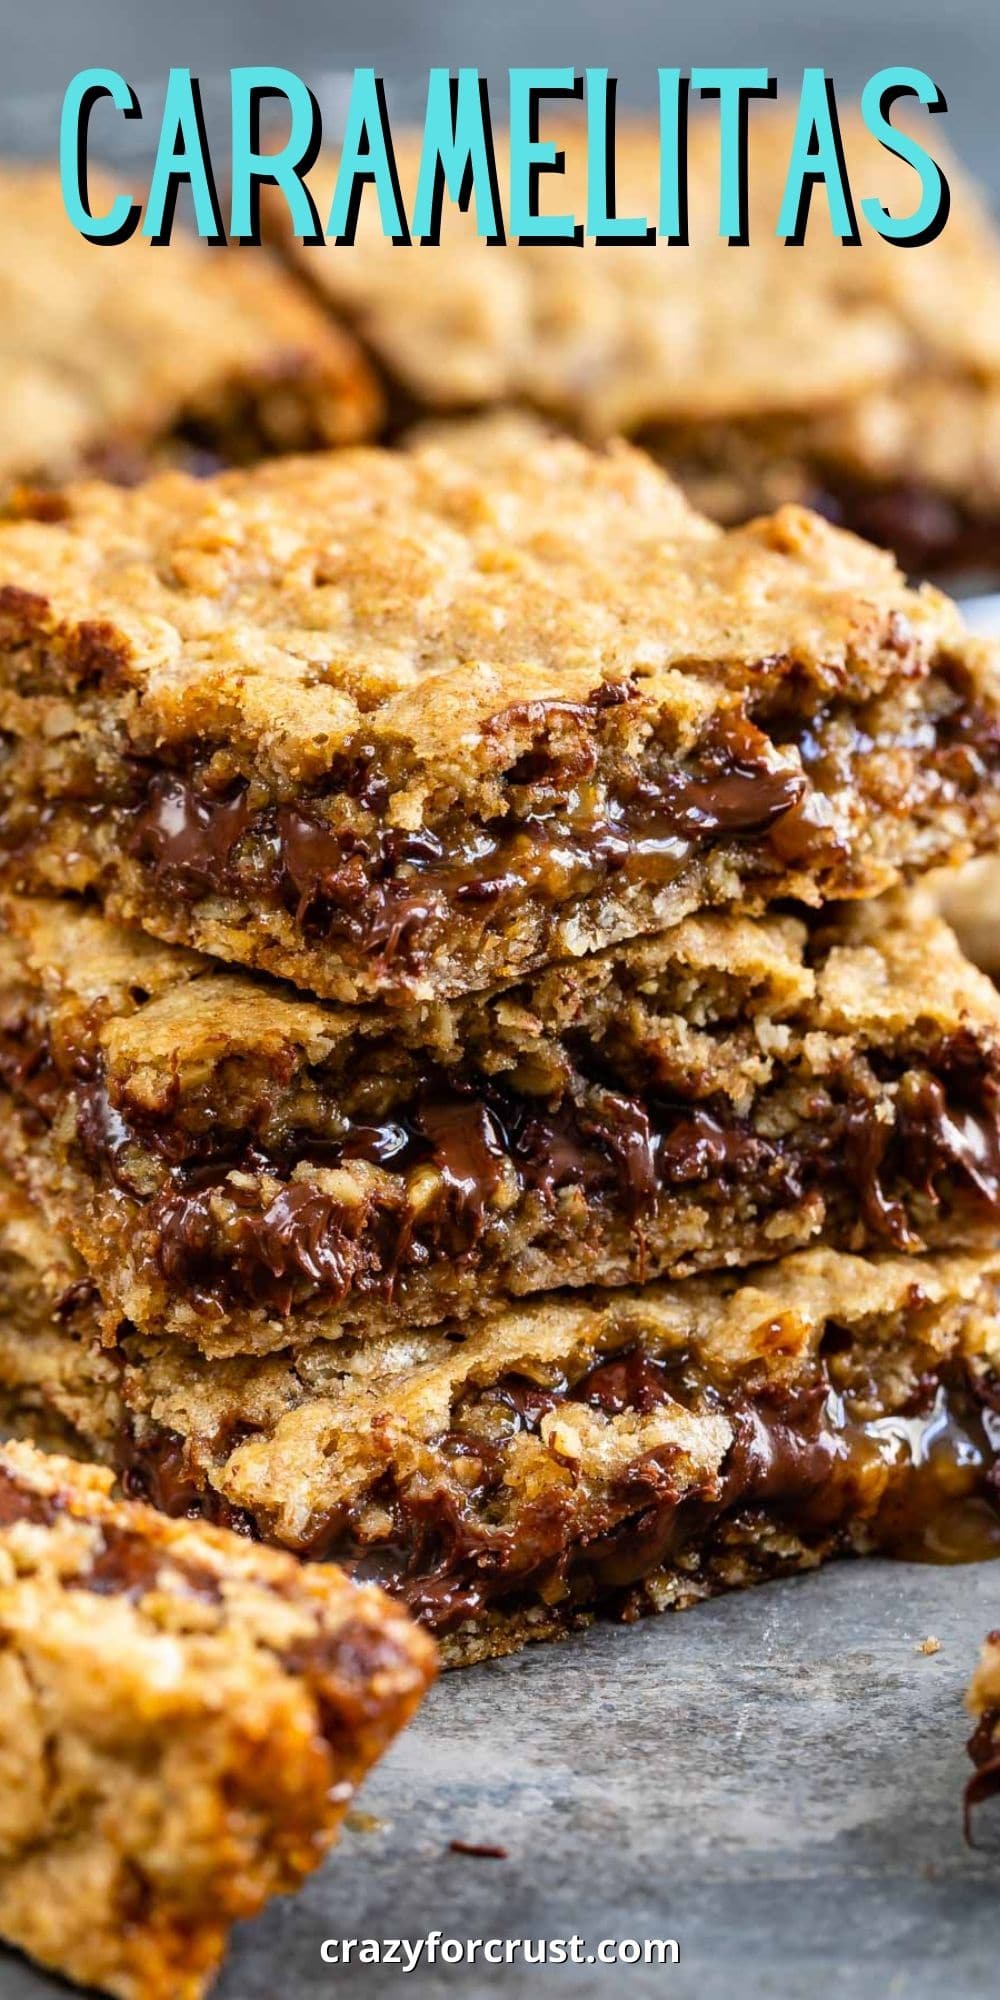
caramelitas
Ingredients
Method
- Preheat oven to 350°F. Line a 9x13-inch pan with foil and spray with nonstick cooking spray.
- Cream butter and sugars in the bowl of a stand mixer fitted with the paddle attachment. Cream until smooth, about 1-2 minutes. Mix in eggs and vanilla, beat until smooth. Gradually mix in baking soda, salt, cinnamon and flour until smooth, being careful not to over mix. Mix in oats. Press two-thirds of the batter in the prepared pan in a thin layer. Bake for 10 minutes.
- While bottom layer is baking, place caramels and cream in a small saucepan. Heat, stirring often, until melted and smooth. Whisk in flour until smooth. After the 10-minute bake, pour caramel mixture over hot cookie dough in pan, leaving a small border around all the edges. Sprinkle chocolate chips over the top.
- Break off pieces of the remaining dough and flatten between your hands. Lay on the top of the caramel. Continue until the entire pan is covered, pressing the edges to seal them together.
- Bake for an additional 24-28 minutes, or until the bars are light golden around the edges and on top. Cool completely before slicing.