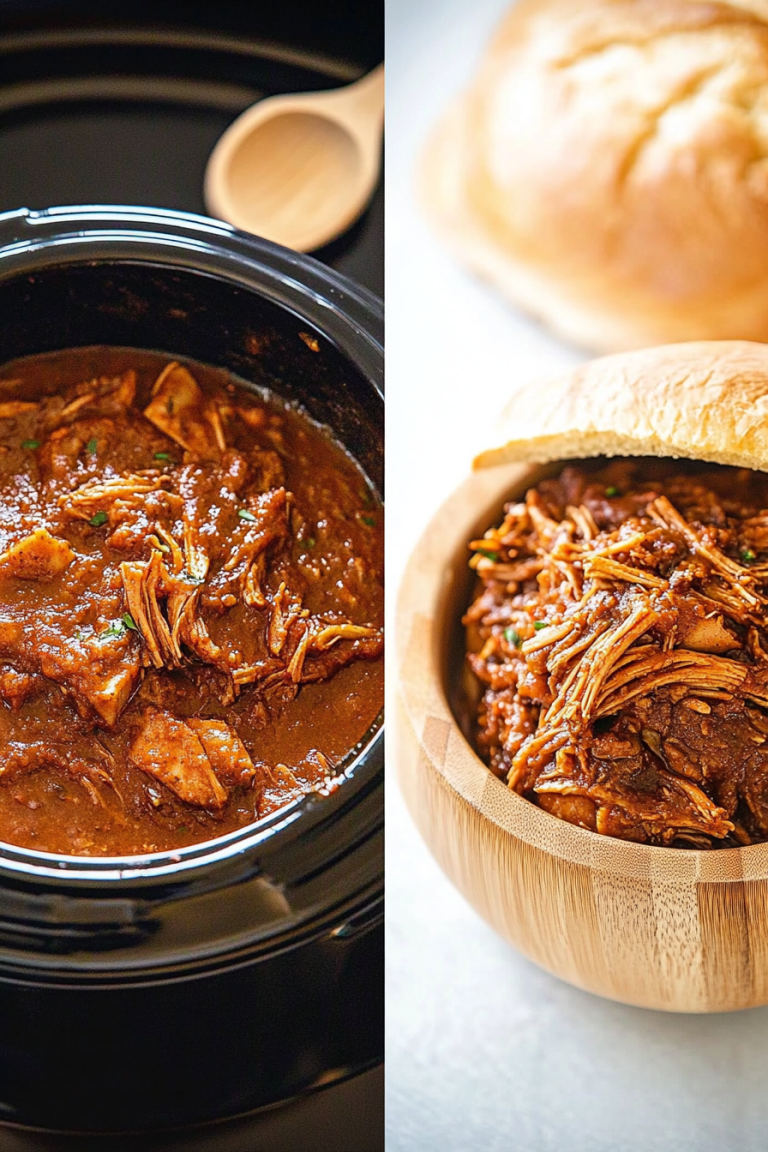
Zesty Chicken Dinner Recipe: How to Make It
Oh, where do I even begin with this zucchini bread? It’s more than just a recipe to me; it’s practically a hug in loaf form. I remember my Grandma Eleanor making this for us on lazy Sunday afternoons, the house filling with the most incredible, warm, spiced aroma that just made everything feel right in the world. It’s the kind of thing that tastes even better the next day, but let’s be honest, it rarely lasts that long in my house! If you’ve ever tried a really good banana bread, imagine that level of comfort, but with a subtle sweetness and an unbelievably moist texture thanks to a secret ingredient – zucchini! Seriously, don’t let that scare you. You won’t taste it, but you’ll feel its magic. This is the recipe that always gets rave reviews, from picky toddlers to my coffee-loving husband.
What is my famous Zucchini bread?
So, what exactly *is* this magical zucchini bread? Think of it as the ultimate, no-fuss, incredibly moist quick bread. It’s essentially a cake-like batter infused with grated zucchini, warm spices like cinnamon and nutmeg, and usually a good handful of chocolate chips or chopped nuts (or both!). The zucchini is the real MVP here. It sounds a bit unconventional, I know, but trust me, it’s a game-changer. It adds this incredible moisture without making the bread heavy or greasy. It’s like nature’s secret weapon for perfect baked goods. The name “My Famous Zucchini Bread” isn’t just for show; it’s because every time I bring this to a potluck or a family gathering, people are always asking for the recipe. It’s become my signature bake, and I’m thrilled to finally share it with you!
Why you’ll love this recipe?
There are so many reasons why this zucchini bread has earned its spot as my go-to, but if I had to pick, it starts with the texture. It’s unbelievably tender and moist – almost melt-in-your-mouth good. And the flavor? Oh, the flavor! It’s got that comforting blend of cinnamon and nutmeg that just screams cozy, with the sweetness of the sugar and whatever add-ins you choose. What I love most is how surprisingly simple it is. You don’t need any fancy equipment, just a couple of bowls and a whisk. I’ve made this countless times when I’ve only had about 30 minutes to whip something up before guests arrive, and it’s always a lifesaver. Plus, it’s incredibly budget-friendly, using common pantry staples. You probably have most of the ingredients already! It’s also super versatile. Love chocolate? Add chips! Craving a crunch? Nuts are your friend. Want a hint of citrus? A little orange zest works wonders. Honestly, it’s perfect for any time of day – a sweet breakfast treat, a satisfying afternoon snack, or even a casual dessert.
How do I make Zucchini bread?
Quick Overview
This recipe is all about simple steps that yield maximum flavor and moisture. We’ll start by whisking together our wet ingredients, then combine them with the dry, fold in our zucchini and any tasty additions, and bake until golden and fragrant. The beauty of this recipe lies in its forgiving nature; it’s hard to mess up, making it perfect for beginners and seasoned bakers alike. The zucchini ensures it stays wonderfully moist, so you don’t have to worry about it drying out. It’s genuinely one of the easiest quick breads you’ll ever make, and the results are always spectacular.
Ingredients
For the Main Batter:
You’ll want about 2 cups of all-purpose flour. Make sure it’s measured correctly – spoon it into your measuring cup and level it off, don’t scoop directly from the bag, or you might end up with a drier loaf. I always sift my flour for an extra tender crumb, but it’s not strictly necessary if you’re in a hurry. 1 teaspoon of baking soda and ½ teaspoon of baking powder give us that perfect lift without being too cakey. A pinch of salt (about ½ teaspoon) enhances all the flavors, and then comes the magic: 1 ½ teaspoons of ground cinnamon and ½ teaspoon of ground nutmeg. Feel free to adjust these spices to your liking; I sometimes add a tiny pinch of ground cloves if I’m feeling extra festive! For sweetness, we’re using 1 cup of granulated sugar and ½ cup of packed light brown sugar. The brown sugar adds a lovely caramel note and extra moisture. Now for the stars of the show: 3 large eggs, lightly beaten, and ½ cup of vegetable oil or melted unsalted butter. I’ve tried both, and while butter adds a richer flavor, oil keeps it incredibly moist for longer. Don’t forget 1 teaspoon of pure vanilla extract for that classic warmth. And, of course, the secret ingredient: 1 ½ cups of grated zucchini. Squeeze out just a *little* bit of the excess moisture, but not too much! You want that hydration.
For the Filling (Optional but Highly Recommended!):
This is where you can really have fun. My absolute favorite is 1 cup of semi-sweet chocolate chips. For a richer flavor, I sometimes use dark chocolate chunks. If you prefer nuts, about ½ cup of chopped walnuts or pecans are fantastic. Some people even like to add ½ cup of shredded carrots for extra moisture and a bit of color. If you’re feeling adventurous, you can also add a tablespoon or two of finely chopped candied ginger for a spicy kick!
For the Glaze (Optional):
If you want to take it over the top, a simple glaze is divine. You’ll need about 1 cup of powdered sugar. For the liquid, start with 2 tablespoons of milk (any kind works – dairy, almond, oat!) and add more, a teaspoon at a time, until you reach your desired drizzling consistency. A ½ teaspoon of vanilla extract or a squeeze of fresh lemon juice adds a lovely brightness.
Step-by-Step Instructions
Step 1: Preheat & Prep Pan
First things first, get that oven preheating to 350 degrees Fahrenheit (175 degrees Celsius). This is crucial for an even bake. While the oven is doing its thing, grab a standard 9×5 inch loaf pan. I like to grease it really well with butter or non-stick spray, and then dust it with a little flour. This ensures your beautiful loaf slides out without any sticking. If you’re feeling fancy or want extra insurance, you can also line the pan with parchment paper, leaving a little overhang on the sides to help you lift it out later. This step might seem small, but trust me, wrestling a stuck loaf out of the pan is nobody’s idea of a good time!
Step 2: Mix Dry Ingredients
In a large bowl, whisk together your flour, baking soda, baking powder, salt, cinnamon, and nutmeg. Give it a good whisking for about 30 seconds. This not only combines everything evenly but also aerates the flour, which helps create a lighter texture. It’s also a good chance to make sure there are no little lumps of baking soda or powder hanging around. I always do this step first because it ensures all the leavening agents and spices are perfectly distributed throughout the dry ingredients.
Step 3: Mix Wet Ingredients
In a separate, medium-sized bowl, whisk together your eggs, sugar (both granulated and brown), oil (or melted butter), and vanilla extract until everything is well combined and smooth. You want this mixture to be glossy and cohesive. Make sure the brown sugar is fully incorporated, as it can sometimes clump. If you’re using oil, it will look a little thinner than if you’re using butter, but both work wonderfully. Just ensure no streaks of egg remain.
Step 4: Combine
Now for the magic moment: combining wet and dry. Pour the wet ingredients into the bowl with the dry ingredients. Using a spatula or a wooden spoon, gently fold them together until *just* combined. It’s super important not to overmix here! You’ll still see a few streaks of flour, and that’s perfectly okay. Overmixing develops the gluten in the flour too much, which can lead to a tough, dense loaf. We want tender and light! If you’re adding chocolate chips or nuts, fold them in now. Gently mix them in until they’re evenly distributed. Don’t beat the batter; just gently fold.
Step 5: Prepare Filling
If you’re using chocolate chips, nuts, or any other additions, this is the time to stir them gently into the batter. This ensures they’re distributed throughout the loaf, giving you a delicious bite every time. Some people like to reserve a few chocolate chips to sprinkle on top before baking, which looks pretty and gives you an extra chocolatey hit right on the surface. I usually just fold them all in because I love surprises in every slice!
Step 6: Layer & Swirl
Now, gently fold in your grated zucchini. Make sure to squeeze out most of the excess liquid from the zucchini before adding it – this is a key step to prevent a soggy loaf! You can do this by placing the grated zucchini in a clean kitchen towel or cheesecloth and squeezing. Once the zucchini is folded in, pour about half of the batter into your prepared loaf pan and spread it evenly. If you’re adding a cinnamon-sugar swirl or a chocolate chip layer in the middle, now is the time to do it. Dollop the remaining batter on top and gently spread it to cover. If you’re aiming for a swirl effect with the zucchini or other additions, use a knife or skewer to gently swirl them through the batter. Don’t over-swirl, or you’ll lose definition. I usually just swirl mine a couple of times to create some pretty patterns.
Step 7: Bake
Pop that pan into your preheated oven. You’ll want to bake it for about 50-65 minutes. The exact time can vary depending on your oven, so start checking around the 50-minute mark. You’ll know it’s done when a wooden skewer or toothpick inserted into the center comes out clean, or with just a few moist crumbs attached (if you’ve added chocolate chips, a little melty chocolate is fine, but no wet batter). The top should be a beautiful golden brown. If the top starts browning too quickly before the inside is cooked, you can loosely tent it with aluminum foil for the remainder of the baking time.
Step 8: Cool & Glaze
Once it’s baked to perfection, take the loaf pan out of the oven and let it cool in the pan on a wire rack for about 10-15 minutes. This is important because it allows the loaf to set up a bit, making it easier to remove. After that initial cooling, carefully invert the pan to remove the loaf, then place it directly on the wire rack to cool completely. If you’re adding glaze, wait until the loaf is *completely* cool. If you glaze a warm loaf, the glaze will melt and drip off, making a sticky mess. Whisk together your powdered sugar, milk, and vanilla until you get a smooth, pourable consistency. Drizzle it over the top, letting it drip down the sides. Let the glaze set for about 15-20 minutes before slicing.
Step 9: Slice & Serve
Once it’s fully cooled (or the glaze has set!), it’s time to slice and enjoy! Use a serrated knife for the cleanest cuts. I love serving this with a good cup of coffee or a glass of milk. It’s fantastic on its own, but a little smear of butter or cream cheese is also heavenly. This bread is so moist and flavorful, it truly needs nothing else.
What to Serve It With
This zucchini bread is so versatile, it’s practically a chameleon! For a perfect **Breakfast**, I love it toasted lightly and served with a dollop of plain Greek yogurt and a sprinkle of granola for some crunch. A simple black coffee or a refreshing glass of orange juice is its ideal beverage companion. For a more elegant **Brunch** spread, I’ll slice it a bit thicker and arrange it on a nice platter, perhaps with some fresh berries or a light fruit salad on the side. Mimosas or sparkling cider pair beautifully here. If you’re looking for a simple yet satisfying **Dessert**, this loaf is a winner. A scoop of vanilla bean ice cream or a drizzle of warm caramel sauce takes it to another level. It’s also surprisingly good with a mild cheese, like a soft goat cheese. And for those moments when you just need a little something **Cozy** to get you through the afternoon slump, a warm slice, maybe with a little butter melting into it, is pure bliss. It’s the kind of snack that makes a rainy afternoon feel a little brighter. My family also loves having it as a sweet treat after dinner – it’s never too heavy, just perfectly comforting.
Top Tips for Perfecting Your Zucchini Bread
Okay, so you’ve got the recipe, but here are a few of my hard-won tips that will ensure your zucchini bread is a showstopper every single time. These are the things I’ve learned after making this dozens, maybe hundreds, of times!
Zucchini Prep: This is SO important. Grate your zucchini using the medium holes of a box grater. Don’t use the large ones, or you’ll have big watery chunks. After grating, put the zucchini in a clean kitchen towel or a few layers of paper towels and squeeze out as much liquid as you possibly can. Seriously, wring it out like you mean it! This one tip alone prevents a soggy, dense loaf and ensures that perfect moist crumb. If you skip this, your bread might come out gummy.
Mixing Advice: I cannot stress this enough: do NOT overmix the batter once you combine the wet and dry ingredients. Mix until you *just* see the flour disappear. A few small lumps are fine! Overmixing develops gluten, which leads to a tough, rubbery texture. Gently fold everything together. Think of it as coaxing the ingredients to mingle, not wrestling them into submission.
Swirl Customization: If you’re adding chocolate chips, nuts, or even a cinnamon-sugar filling, don’t go crazy with the swirling. A few gentle passes with a knife or skewer are all you need to create a beautiful marbling effect. Too much swirling can cause your additions to sink to the bottom or become muddy-looking. Aim for distinct pockets of flavor and texture.
Ingredient Swaps: I’ve experimented a lot! For a dairy-free version, I’ve had great success using melted coconut oil or a neutral vegetable oil like canola, and any plant-based milk (almond, oat, soy) in the glaze. If you’re out of eggs, you can try using flax eggs (1 tablespoon ground flaxseed mixed with 3 tablespoons water per egg, let sit for 5 minutes), but the texture might be slightly denser. For a healthier twist, I’ve replaced about half of the all-purpose flour with whole wheat flour, and it turned out great, though a bit heartier. For the spices, feel free to add a pinch of ground cloves or cardamom for a different flavor profile. You can also swap out half the chocolate chips for white chocolate chips or butterscotch chips for a change.
Baking Tips: Always use the middle rack in your oven for the most even heat distribution. If your oven tends to run hot, you might need to reduce the temperature slightly or use the foil tenting method mentioned earlier. A good indicator of doneness is when the top springs back slightly when gently pressed. Don’t be afraid to do the toothpick test! If it comes out with wet batter, it needs more time. If it has moist crumbs, it’s perfect.
Glaze Variations: For a tangier glaze, add a tablespoon of lemon juice instead of some of the milk. If you prefer a thinner glaze, just add a touch more milk. For a richer glaze, you can use a cream cheese frosting thinned with a little milk. Some people even like a simple dusting of powdered sugar instead of a glaze – it’s less sweet and looks elegant. You can also add a drop of food coloring if you’re making this for a special occasion!
Storing and Reheating Tips
Keeping your delicious zucchini bread fresh and tasty is easy with these simple storage methods. Because it’s so moist, it tends to stay good for quite a while!
Room Temperature: Once completely cooled, you can store the loaf, tightly wrapped in plastic wrap or in an airtight container, on your counter for up to 3 days. I usually just use the plastic wrap, then maybe pop it in a bread box if I have one. It stays wonderfully moist this way. After about day 2, I sometimes find it’s even better toasted lightly!
Refrigerator Storage: If you live in a warmer climate or prefer to keep it in the fridge, wrap it tightly in plastic wrap and then place it in an airtight container. It will last for about 5-7 days in the refrigerator. Keep in mind that refrigeration can sometimes dry out baked goods slightly, but the high moisture content from the zucchini helps combat this.
Freezer Instructions: This zucchini bread freezes beautifully, which is a lifesaver for busy weeks! Let the loaf cool completely, then wrap it very tightly in plastic wrap, followed by a layer of aluminum foil or a freezer-safe bag. It can be stored in the freezer for up to 3 months. To thaw, remove the foil and plastic wrap and let it thaw at room temperature for a few hours. You can also reheat slices in a toaster oven or a low oven for a few minutes to bring back its fresh-baked warmth.
Glaze Timing Advice: If you’re planning to store the loaf for more than a day, I highly recommend glazing it just before serving. Glaze on a loaf that’s going to be wrapped up tightly can sometimes get a bit sticky or even moldy faster than an unglazed loaf, especially in warmer conditions. If you’re freezing it, definitely wait until it’s thawed and you’re ready to serve it to add the glaze.
Frequently Asked Questions
Final Thoughts
Honestly, this zucchini bread recipe is one of my absolute favorites, and I truly hope it becomes one of yours too. It’s that perfect combination of incredibly moist, subtly spiced, and utterly comforting. It’s a recipe that brings people together, whether it’s for a weekend brunch, a weeknight treat, or just because. The ease of making it, the budget-friendly ingredients, and the universally loved flavor profile make it a winner in my book. It’s a testament to how simple, wholesome ingredients can create something truly magical. If you’re a fan of quick breads, you might also love my {link to another quick bread recipe, e.g., “Classic Banana Bread”} or my {link to another fruit-based recipe, e.g., “Easy Apple Crumble”}. I can’t wait to hear about your baking adventures! Let me know in the comments below how your zucchini bread turned out, what add-ins you used, and any other tips you discovered. Happy baking, friends!

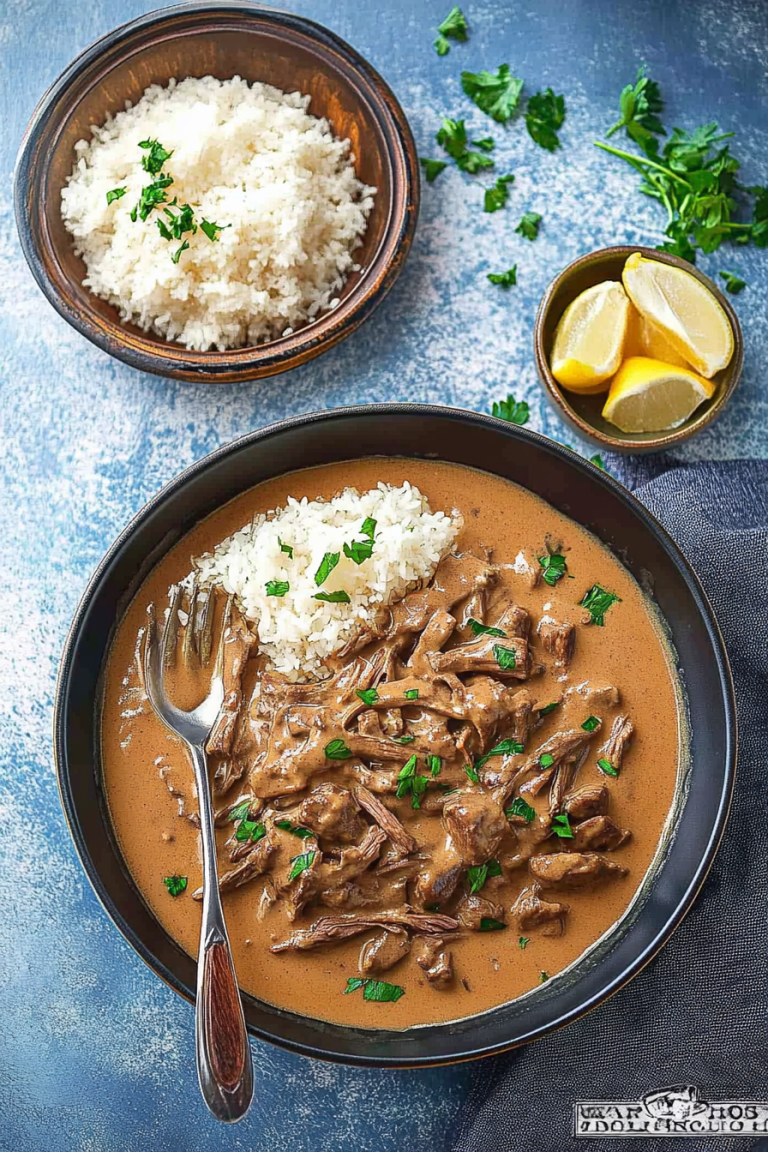
Lemon Butter Chicken
Ingredients
Method
- Preheat oven to 400 degrees F.
- Season the chicken with salt, pepper and paprika. Set aside.
- Melt 2 Tablespoons of butter in a large oven-proof skillet over medium high heat.
- Add the chicken and sear both sides until golden brown, about 2-3 minutes per side. Remove and set chicken aside on separate plate.
- While the chicken is resting, return back to the same skillet and melt remaining tablespoon of butter in the skillet. Add garlic and cook stirring frequently about 1 minute.
- Stir in chicken broth, splash of dry white wine, lemon juice and thyme.
- Bring to a boil and reduce heat and let the sauce reduce and thicken.
- Continue to cook the sauce about 5-7 minutes so the sauce becomes thicker. You don't want the sauce to become too runny!
- Add the heavy cream, Parmesan cheese, turn temperature down and cook for a minute or two.
- Add in the spinach and simmer until the spinach has wilted and the sauce has slightly thickened.
- Once your sauce is to the desired thickness, return the chicken to the skillet.
- Place in the oven and cook for about 15-20 minutes until internal temperature of the chicken reaches 165 degrees.
- Remove the dish and let sit for about 5 minutes before serving.