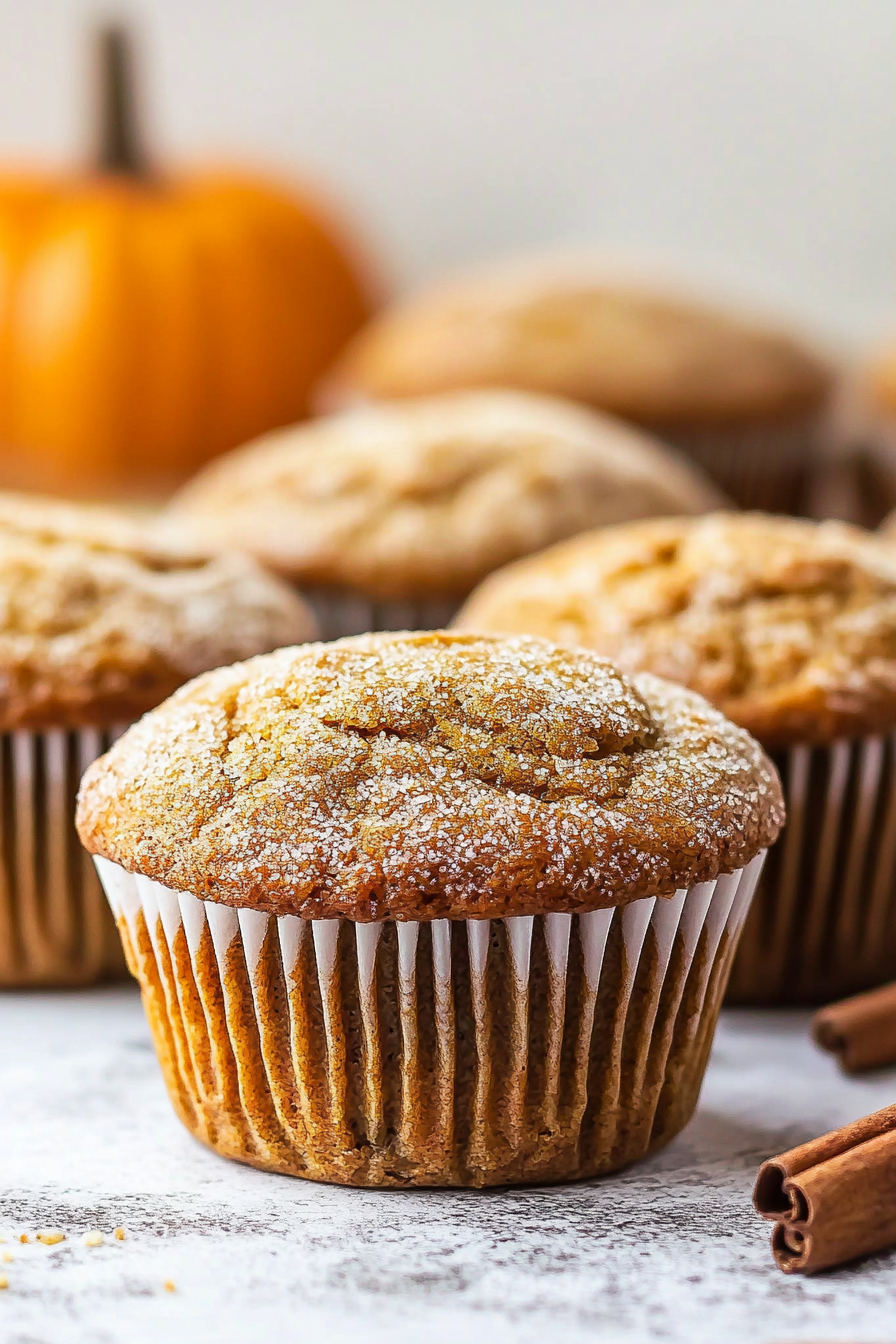
Spiced Pumpkin Muffins How to Bake Them
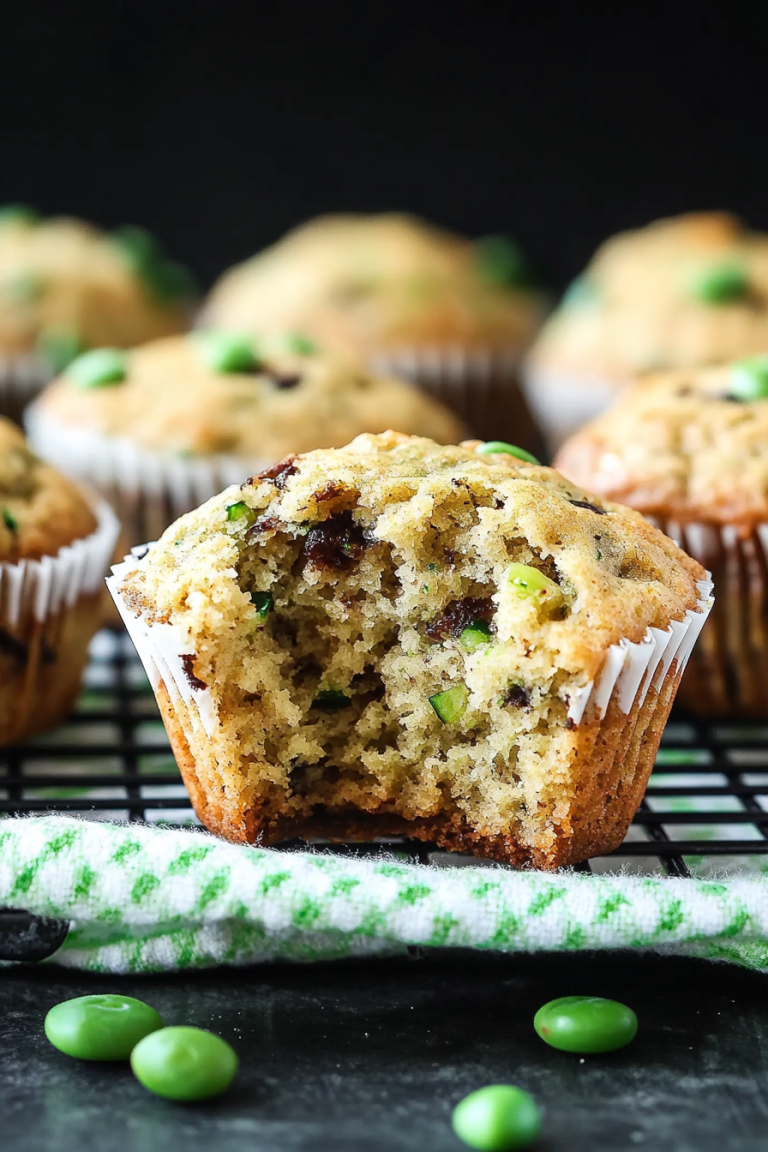
Okay, confession time: I used to think zucchini bread was just… well, bread. Something you made because you had a mountain of zucchini from the garden and needed to use it up. You know, a bit bland, a bit too healthy tasting? Yeah, I was wrong. SO wrong. This zucchini bread recipe? It changed everything for me. It’s moist, it’s bursting with flavor, and it’s got this incredible cinnamon-sugar swirl that makes it taste like a fancy bakery treat. I’m talking about a recipe that’s so good, my kids actually *request* it, which, let’s be honest, is basically a miracle around here. It’s the kind of thing that fills your kitchen with the most amazing aroma, and then disappears in about five minutes flat. This isn’t just about sneaking veggies into dessert; this is about creating pure, unadulterated deliciousness that just happens to have zucchini in it. If you’ve ever thought zucchini bread was boring, get ready to have your mind (and taste buds) completely blown. It’s seriously my go-to when I need a little comfort and joy, or when I’ve got neighbors stopping by unexpectedly.
What is Zucchini bread?
So, what exactly makes this zucchini bread recipe so special? Think of it as the ultimate upgrade to your grandma’s classic. It’s a wonderfully moist, tender quick bread packed with shredded zucchini, warm spices like cinnamon and nutmeg, and that irresistible cinnamon-sugar swirl running all through it. The zucchini itself doesn’t really add a flavor you’d pick out, but it’s the secret weapon for achieving that incredible moisture and soft crumb. It’s not dense, it’s not dry, and it’s definitely not like eating a health bar disguised as dessert. It’s more like a spiced cake that you can enjoy for breakfast, a snack, or even a light dessert. The name itself, “The Best Zucchini Bread Recipe,” isn’t just hyperbole; it’s a promise. It’s the recipe I always come back to because it’s consistently fantastic, and it’s the one that finally made me a true zucchini bread believer. It’s essentially a warm hug in loaf form, with a little bit of sweetness and a whole lot of comfort.
Why you’ll love this recipe?
There are so many reasons why this zucchini bread has become a staple in my kitchen, and I’m betting it will quickly become one in yours too! First off, the flavor is just out of this world. That cinnamon-sugar swirl? It’s a game-changer. It creates these pockets of sweet, caramelized goodness throughout the bread, making every single bite a delightful surprise. It’s perfectly spiced, not too much, not too little, just right to complement the subtle sweetness and moisture from the zucchini. And let’s talk about simplicity – this recipe is surprisingly easy to make, even on a weeknight! It’s a one-bowl wonder for the batter (mostly!), which means less cleanup, and who doesn’t love that? It uses pantry staples that you probably already have on hand, making it super cost-efficient too. No fancy ingredients needed! Plus, it’s incredibly versatile. You can add chocolate chips (my kids’ favorite addition!), nuts, or even a little bit of lemon zest for a brighter flavor. What I love most about this recipe is that it’s so forgiving. Even if you’re a beginner baker, you’re going to nail this. It’s the perfect antidote to a rainy afternoon or a busy morning, and it’s always a hit when I bring it to potlucks or family gatherings. Honestly, compared to other zucchini bread recipes I’ve tried, this one just has that extra something – that perfect balance of moistness, sweetness, and spice that makes it truly unforgettable. It’s far more exciting than a basic banana bread, and way more satisfying than a plain old muffin!
How do you make Zucchini bread?
Quick Overview
The magic of this zucchini bread lies in its straightforward assembly. You’ll simply whisk together your wet and dry ingredients separately, then gently combine them. The real star, though, is the simple cinnamon-sugar filling you’ll swirl in before baking. It’s a process that takes very little time, and the results are absolutely worth it. You’ll end up with a loaf that’s incredibly moist and flavorful, with that signature swirl that just screams delicious. It’s really that easy!
Ingredients
For the Main Batter:
2 cups all-purpose flour
1 teaspoon baking soda
1/2 teaspoon salt
1 teaspoon ground cinnamon
1/4 teaspoon ground nutmeg
1 cup granulated sugar (or 3/4 cup if you prefer it less sweet)
2 large eggs, at room temperature
1/2 cup vegetable oil (or melted coconut oil for a subtle nutty flavor)
1/4 cup unsweetened applesauce (this is my secret for extra moisture!)
1 teaspoon vanilla extract
1 1/2 cups finely shredded zucchini (about 2 medium zucchinis, squeezed dry – super important!)
Pro Tip: Use a box grater on the fine side for the best texture. Squeezing out the excess moisture is key to preventing a soggy bread! Just grab handfuls and wring it out over the sink. It sounds weird, but trust me on this one.
For the Filling:
1/2 cup packed light brown sugar
1 tablespoon ground cinnamon
2 tablespoons unsalted butter, melted
Optional: 1/2 cup chopped walnuts or pecans if you like a little crunch.
For the Glaze (Optional, but SO good!):
1 cup powdered sugar
2-3 tablespoons milk (dairy or non-dairy works great!)
1/2 teaspoon vanilla extract
Consistency Tip: You want it pourable but not too thin. Add milk a tablespoon at a time until it’s just right. If you go too thin, just add a little more powdered sugar.
Step-by-Step Instructions
Step 1: Preheat & Prep Pan
First things first, let’s get that oven fired up to 350°F (175°C). You’ll need a standard 9×5 inch loaf pan. Grease it really well with butter or baking spray, and then I like to flour it lightly. This extra step ensures your beautiful loaf slides right out without any sticking drama. Honestly, I’ve had loaves get stuck before, and it’s heartbreaking. So, don’t skip this!
Step 2: Mix Dry Ingredients
In a large bowl, whisk together the all-purpose flour, baking soda, salt, cinnamon, and nutmeg. Give it a good whisk until everything is evenly combined. This helps distribute the leavening agents and spices so you don’t end up with a weird dense spot or a pocket of just cinnamon. It’s all about evenness!
Step 3: Mix Wet Ingredients
In a separate medium bowl, whisk together the granulated sugar, eggs, vegetable oil, unsweetened applesauce, and vanilla extract. Whisk until it’s smooth and well combined. The applesauce is my little trick for keeping this bread ridiculously moist without making it greasy. I tested this with almond milk once when I ran out of oil and it actually made it even creamier, but oil is my usual go-to.
Step 4: Combine
Now, pour the wet ingredients into the bowl with the dry ingredients. Using a spatula or a wooden spoon, gently fold them together until *just* combined. You want to see a few streaks of flour; don’t overmix! Overmixing develops the gluten too much, which can lead to a tough, dense bread. We want tender and light, remember?
Step 5: Prepare Filling
In a small bowl, mix the packed brown sugar and cinnamon for the filling. If you’re adding nuts, stir them in here too. This is where all the sweet, cinnamony goodness comes from!
Step 6: Layer & Swirl
Now for the fun part! Pour about half of the batter into your prepared loaf pan and spread it evenly. Sprinkle about half of the cinnamon-sugar filling over the batter. Then, pour the remaining batter on top and spread it out. Sprinkle the rest of the cinnamon-sugar mixture over the top. Now, grab a knife or a skewer and gently swirl it through the batter to create those beautiful ribbons. Don’t over-swirl, just a few passes will do the trick. You want distinct swirls, not a muddy mess!
Step 7: Bake
Pop that pan into your preheated oven. Bake for 50-65 minutes. How do you know it’s done? The easiest way is to insert a toothpick or a thin knife into the center of the loaf. If it comes out clean or with just a few moist crumbs attached, it’s ready. If it comes out with wet batter, give it a few more minutes and check again. Ovens can be so finicky, so trust your toothpick!
Step 8: Cool & Glaze
Once it’s baked, let the loaf cool in the pan for about 10-15 minutes. This is crucial! It allows the bread to set up a bit and makes it easier to remove without breaking. After that initial cool-down, carefully invert the pan onto a wire rack and let the loaf cool completely. Once it’s cooled, you can whisk together the glaze ingredients and drizzle it over the top. I like to wait until it’s fully cool so the glaze doesn’t melt off.
Step 9: Slice & Serve
Once the glaze is set (or if you skipped the glaze), slice into thick, beautiful pieces. The smell alone is enough to make your mouth water! This is perfect warm, at room temperature, or even slightly chilled. It’s a complete treat on its own.
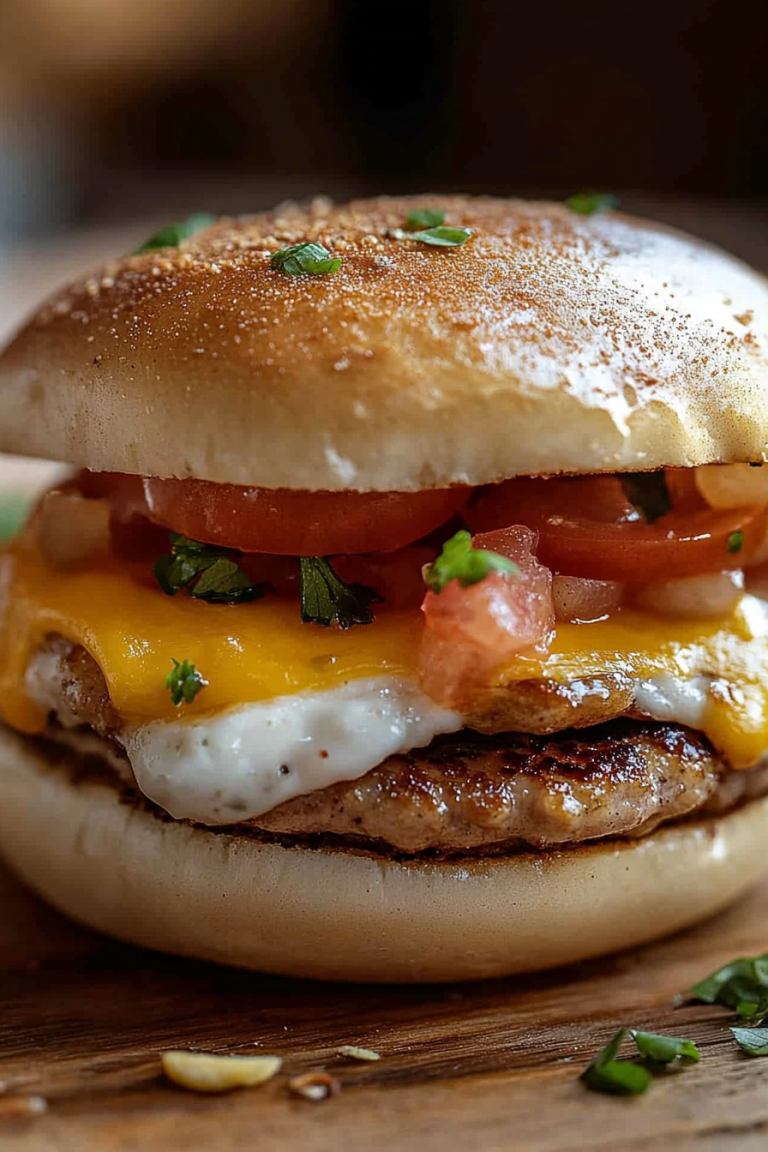
What to Serve It With
This zucchini bread is so versatile, it’s honestly good for pretty much any time of day! For a truly cozy breakfast, I love serving a thick slice warm, maybe with a little smear of butter. It pairs perfectly with a steaming mug of coffee or a glass of cold milk. For a more elegant brunch spread, I’ll cut it into slightly thinner slices and arrange them nicely on a platter. It’s a wonderful addition alongside some fresh fruit salad, yogurt parfaits, or even a savory quiche. As a dessert, it’s surprisingly satisfying. I sometimes serve it with a dollop of whipped cream or a scoop of vanilla bean ice cream for an extra decadent treat. And for those moments when you just need a comforting snack, it’s perfect on its own with a cup of tea. My kids love it as an after-school snack, and I feel good knowing they’re getting some veggies in! It’s also fantastic with a little cream cheese if you’re feeling adventurous.
Top Tips for Perfecting Your Zucchini Bread
I’ve made this countless times, and over the years, I’ve picked up a few tricks that make this zucchini bread consistently amazing. First, about the zucchini prep: make sure you’re grating it finely and, most importantly, squeezing out as much moisture as possible. I learned this the hard way early on – a super wet zucchini leads to a gummy, heavy bread. So, really give it a good squeeze with your hands or wrap it in a clean kitchen towel and wring it out. For mixing, remember that gentle is key for the batter. You’re not making a tough cookie here! Just fold those wet and dry ingredients until they’re *almost* combined. Those little streaks of flour will disappear during baking. When it comes to the swirl, don’t go crazy trying to make perfect patterns. A few gentle passes with a knife or skewer are all you need to create those beautiful ribbons of cinnamon-sugar goodness. If you want to customize the filling, feel free to add chopped nuts like walnuts or pecans for a delightful crunch. I’ve also experimented with adding a tablespoon of cocoa powder to the filling for a chocolate-cinnamon swirl – talk about decadent! Ingredient swaps are usually straightforward. If you don’t have vegetable oil, a neutral-flavored oil like canola or even melted coconut oil works well. For the applesauce, you can substitute with an equal amount of Greek yogurt for added protein and a slight tang, though it might be a touch less moist. Baking is all about your oven. Start checking for doneness around the 50-minute mark. Every oven is different, and if your loaf is browning too quickly on top, you can loosely tent it with aluminum foil for the last 15-20 minutes of baking. And for the glaze, if you want a thinner glaze, just add a splash more milk. If you prefer a thicker, almost frosting-like glaze, reduce the milk or add a bit more powdered sugar.
Storing and Reheating Tips
One of the best things about this zucchini bread is how well it keeps. Stored at room temperature, it stays wonderfully moist for about 2-3 days. Just make sure to wrap it tightly in plastic wrap or place it in an airtight container. If you’ve got a whole loaf and know you won’t get through it that quickly, or if your kitchen is particularly warm, the refrigerator is your best friend. Wrap it well and it will last for up to a week. When you’re ready to eat a slice from the fridge, you can enjoy it cold, or give it a quick warm-up in the microwave for about 15-20 seconds to bring back that freshly baked softness. For longer storage, this bread freezes like a dream! Wrap individual slices or the whole cooled loaf tightly in plastic wrap, then in foil, and it will keep in the freezer for up to 3 months. Thaw slices overnight at room temperature, or give them a gentle reheat. If you plan to freeze the loaf without glaze, that’s best. You can then make the glaze fresh when you’re ready to serve it. If you do glaze the loaf before freezing, the glaze might get a bit sticky upon thawing, but it’s still delicious!
Frequently Asked Questions
Final Thoughts
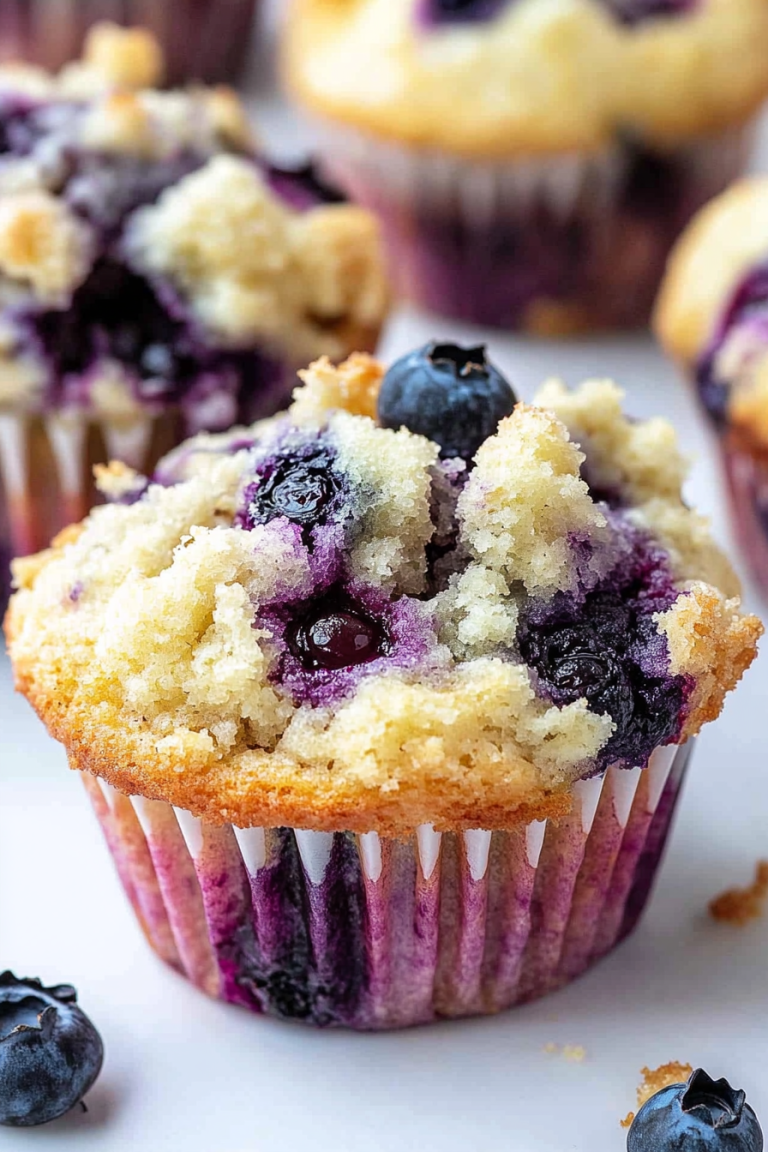
I really hope you give this zucchini bread recipe a try. It’s more than just a recipe to me; it’s a little slice of home, a guaranteed crowd-pleaser, and proof that sometimes the most unexpected ingredients can create the most incredible flavors. It’s that perfect balance of moist, spiced goodness with that delightful cinnamon-sugar swirl that just makes everything feel right. It’s the kind of recipe that makes you feel like a baking rockstar, even if you’re just starting out. If you love this recipe, you might also enjoy my Easy Banana Bread or my incredibly moist Blueberry Muffins. They’re made with the same love and simplicity! I can’t wait to hear what you think, so please leave a comment below and let me know how your zucchini bread turns out. Did your family love it? Did you add any special twists? Sharing your experience really makes my day! Happy baking, my friends!

Pumpkin Muffins
Ingredients
Method
- Preheat oven to 350°F (176°C) and prepare a muffin pan with liners.
- In a medium-sized bowl, combine the flour, baking powder, baking soda, spices, and salt. Set aside.
- In a large mixing bowl, combine the melted butter and sugars. Whisk to combine.
- Add the milk and whisk together to combine.
- Add the pumpkin puree, eggs, and vanilla extract and whisk together until well combined.
- Add the dry ingredients to the wet ingredients and whisk together just until combined. Do not overmix.
- Fill the muffin liners about 3/4 full.
- Bake in preheated oven for 18-24 minutes. The time can vary depending on your oven and how full your muffins are.
- Remove muffins from the oven and allow to cool.
- To coat the muffins with cinnamon and sugar, combine the sugar and ground cinnamon in a small bowl.
- Brush the tops of the muffins with the melted butter, then turn the muffin upside down and dip into the cinnamon sugar to coat.
- Store muffins in an airtight container at room temperature. Muffins are best eaten within 2-3 days.