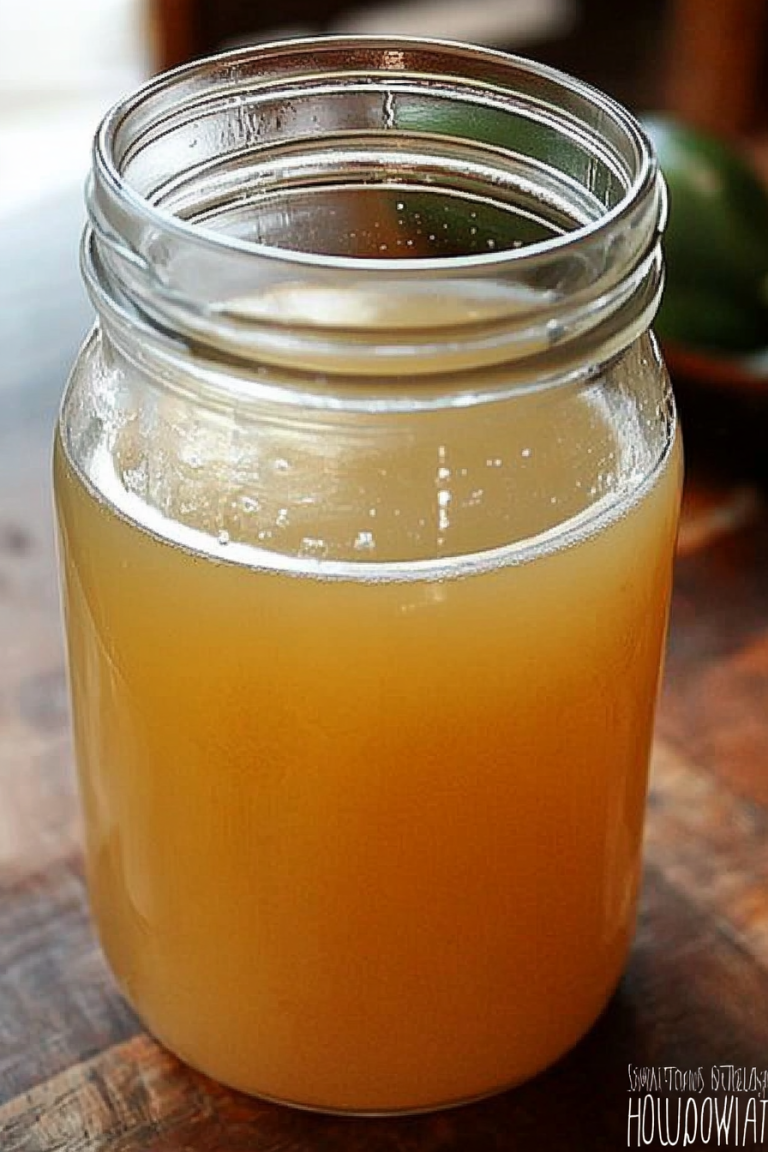
Soothe a Sore Throat Naturally
There’s something about a slice of homemade banana bread that feels like a warm hug—especially when it’s packed with sneaky vegetables like zucchini. I remember the first time I baked this, my kids couldn’t believe their eyes when I told them it was secretly healthy. The smell alone—sweet, cinnamon-y, with a hint of vanilla—fills the house and makes everyone gather in the kitchen. I always do this when I want to make something cozy and nourishing but also want the kids to eat their veggies without fuss. Honestly, this zucchini banana bread is one of those recipes that’s become a family favorite—easy, adaptable, and downright delicious. It’s perfect when you’re craving something sweet late at night but don’t want to bake a full-on cake. Plus, the fact that it’s moist, tender, and packed with flavor means it disappears in minutes at my house. I’ve made this countless times, experimenting with different nuts, adding chocolate chips, and even testing it with almond milk—trust me, that made it even creamier! Grab a cup of coffee, and let me tell you all about my favorite, most dependable zucchini banana bread recipe. It’s like a little slice of home every time I bake it.
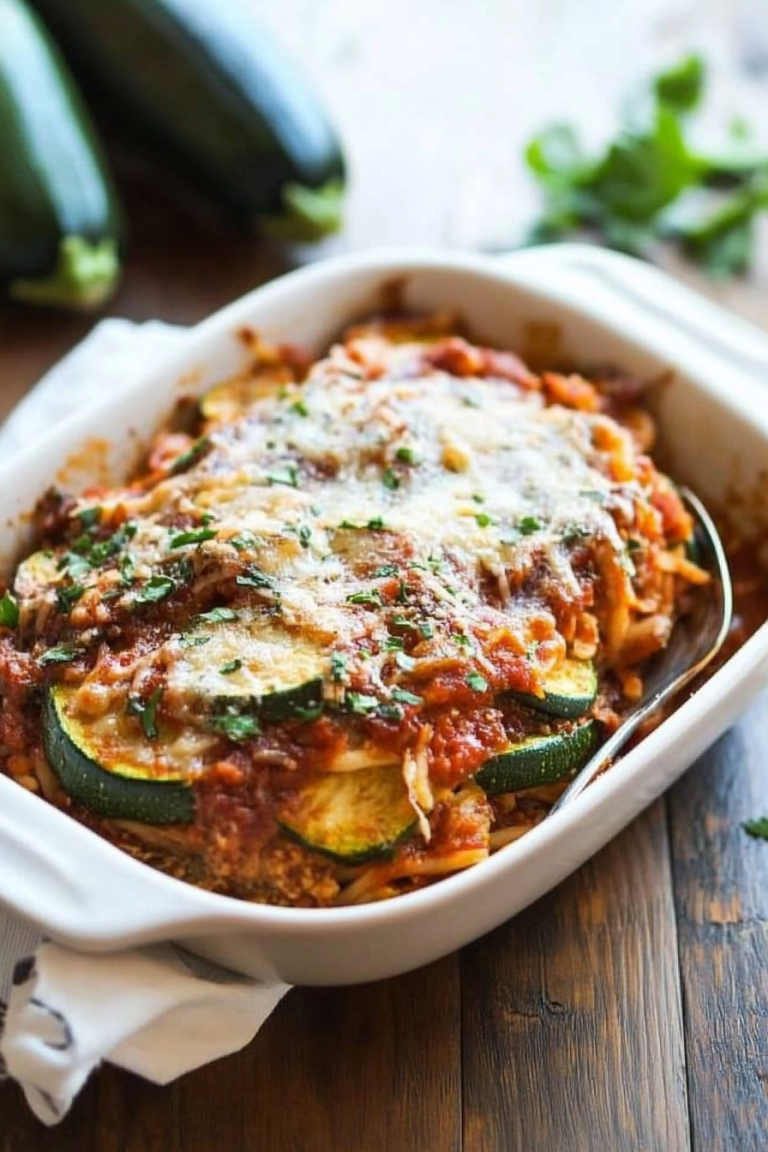
What is Zucchini Banana Bread?
Think of zucchini banana bread as a cozy twist on your classic banana bread—only it’s got a secret ingredient that boosts moisture and nutrition: zucchini. The idea is simple—ripe bananas lend their natural sweetness and moisture, while zucchini adds a subtle, fresh flavor that balances out the richness. It’s essentially a moist, fluffy loaf that tastes like a hug in every bite. The name comes straightforward from the main ingredients—banana and zucchini—both of which are often sitting on my counter, forgotten after a weekend of snacking or baking. It’s kind of like that favorite sweater you wear over and over, totally unpretentious but always satisfying. This dish started as a way to use up ripe bananas and surplus zucchini from my garden. Over time, I tweaked the recipe—adding cinnamon, a splash of vanilla, and reducing sugar here and there—to make it perfect for lazy Sunday mornings or quick grab-and-go snacks. It’s friendly enough for beginners but also has enough depth for those who love experimenting in the kitchen. Think of it as the bread version of a comforting chat with a good friend—familiar, warm, and endlessly adaptable.
Why you’ll love this recipe?
Honestly, what I love most about this zucchini banana bread is how it combines simplicity with such rich, comforting flavors. The taste? Just deserted banana-y sweetness with a hint of zucchini’s freshness—kind of like a breakfast muffin kissed by soft, cinnamon-spiced clouds. It’s sweet enough to satisfy a dessert craving but wholesome enough to call breakfast, which makes it a lifesaver on busy mornings or when I want something special without much fuss. The moisture level is perfect—I’ve tested this with almond milk, and it actually made it even creamier, without changing the structure at all. Plus, it’s a budget-friendly recipe—using ingredients I always have on hand: overripe bananas, zucchini from last week’s garden harvest, a handful of baking staples. And did I mention how versatile it is? You can mix in chocolate chips, walnuts, shredded coconut, or even a swirl of Nutella if you’re feeling fancy. What I love most about this is its forgiving nature—overripe bananas, extra zucchini, or a dash more cinnamon, and it still turns out just right. It’s the kind of recipe that gives you that warm, cozy feeling—the one you come back to when you need a moment of comfort or a quick family treat. Plus, it’s a sneaky way to get your kids eating their veggies—they’ll never know they’re sneakily munching on zucchini while snacking on what tastes like dessert. Trust me, once you make this, it’ll be flying out of the breadbox faster than you can slice it!
How do you make Zucchini Banana Bread?
Quick Overview
This zucchini banana bread is a one-bowl wonder, practically foolproof. It starts with mashing the bananas to release all their sweet, fragrant goodness, then stirring in grated zucchini and some wet ingredients. The dry stuff—flour, baking soda, cinnamon—is whisked separately before folding everything together gently. The batter is poured into a loaf pan, swirled with your favorite extras like nuts or chocolate, then baked until golden and a toothpick comes out clean. It’s perfectly moist, fragrant, and just a little bit rustic. The best part? You don’t need any fancy equipment—just a mixing spoon and a loaf pan. This method means fewer dishes and more lounging with your coffee while it bakes. I love to see that first crack form in the oven—like a little promise of deliciousness. And because it’s so straightforward, it’s become my go-to recipe for mornings when I want something homemade but don’t want to spend hours in the kitchen. The smell alone makes everyone in the house come running! Plus, it keeps really well—making it a perfect make-ahead breakfast or snack.
Ingredients
For the Main Batter:
- 3 ripe bananas, mashed — the sweeter, the better! Ripe bananas turn this bread into pure comfort.
- 1 cup grated zucchini — I always squeeze out a little excess moisture so it doesn’t get soggy.
- 2 large eggs — for binding everything together.
- 1/4 cup melted butter or coconut oil — I prefer butter for richness, but coconut oil makes it dairy-free and just as delicious.
- 1/2 cup brown sugar — or honey, if you’re feeling natural.
- 1 teaspoon vanilla extract — my little secret to depth.
- 1 1/2 cups all-purpose flour — I sometimes substitute half with almond flour for extra flavor.
- 1 teaspoon baking soda
- 1 teaspoon ground cinnamon
- Pinch of salt
For the Filling (Optional):
- Chopped walnuts or pecans — I love a little crunch in every bite.
- Chocolate chips — because who can say no?
For the Glaze/Top (Optional):
- Powdered sugar mixed with a splash of lemon juice or milk — just a light drizzle for that finishing touch.
Step-by-Step Instructions
Step 1: Preheat & Prep Pan
Preheat your oven to 350°F (175°C). Grease a standard loaf pan with butter or line it with parchment paper—I do this so the bread slides right out without any drama. It makes for cleaner slices and less frustration. While the oven warms up, grate your zucchini and mash the bananas—make sure the bananas are super soft and fragrant; they’re the secret to all that natural sweetness.
Step 2: Mix Dry Ingredients
In a small bowl, whisk together the flour, baking soda, cinnamon, and salt. This step keeps everything well distributed, so your bread rises evenly. I’ve made the mistake of forgetting this step and ending up with uneven pockets of baking soda—trust me, it’s worth the little extra effort.
Step 3: Mix Wet Ingredients
In a large bowl, mash the bananas thoroughly until smooth. Then whisk in the eggs, melted butter (or coconut oil), brown sugar, and vanilla. I always feel like the smell of vanilla in this step is what makes the house smell like baking heaven—so worth it. If the butter is too hot, let it cool slightly first so you don’t cook the eggs.
Step 4: Combine
Gently fold the dry ingredients into the wet, just until combined—no overmixing! Overmixing can make the bread dense, and I’ve learned that the hard way. A little lumps are okay; it keeps it rustic and moist. Then fold in the grated zucchini and optional extras like nuts or chocolate chips.
Step 5: Prepare Filling
If you’re adding nuts or choc chips, sprinkle them into the batter before the final pour into the pan, or swirl some on top afterward for a prettier presentation. I like to press a few extra chocolate chips on the surface—they melt beautifully and look tempting.
Step 6: Layer & Swirl
Pour the batter into your prepared loaf pan. For a marbled effect, add a few spoonfuls of chocolate or nut butter, then swirl gently with a toothpick or skewer. It’s as simple as creating little meanders on the surface—I love watching the marbling develop and knowing it’ll be so pretty when sliced.
Step 7: Bake
Pop it in the oven and bake for about 55-65 minutes. Start checking around 55 minutes—insert a toothpick in the center, and if it comes out clean, it’s done. If it’s still sticky or wet, give it a few more minutes. Every oven is different, so I always keep an eye on the clock the first time I try a new recipe.
Step 8: Cool & Glaze
Let the bread cool in the pan for about 10 minutes, then transfer it to a wire rack. I like to let it cool completely before glazing; that way the glaze stays put and isn’t absorbed too much. If you’re skipping the glaze, just slice and serve—it’s delicious warm or at room temperature. The aroma alone makes the wait hard—trust me, it’s worth the patience.
Step 9: Slice & Serve
Use a serrated bread knife for clean slices. I usually wait until it’s just barely cool enough to handle—then slice confidently and enjoy. My family loves it with a smear of butter, or even just plain with a cup of coffee. It’s beautiful on a brunch table, wrapped up for picnics, or packed in lunchboxes. I’ll admit, a warm slice with melting butter is my guilty pleasure, especially when the weather turns chilly. Honestly, the best part is sharing it—there’s something about homemade bread that always brings people together.
What to Serve It With
This bread feels right at home in so many settings. For breakfast, I serve it with a big mug of coffee or a tall glass of milk—something warm to start the day right. It’s equally lovely at brunch—paired with fresh fruit and a dollop of yogurt or sour cream. When my friends come over, I slice it thick and serve with a side of homemade jam or honey—that sweet, sticky addition just elevates the whole experience. As a dessert, I often toss a handful of berries on top or drizzle with a little extra glaze—simple but effective. And let’s not forget, it’s perfect for a cozy snack with tea in the afternoon, especially when I want something comforting but not overly indulgent. My kids actually ask for seconds—they say it tastes like “cake,” which is usually my cue to hide the last slice for myself. Trust me, this bread makes any occasion feel special, even just a lazy weekend morning at home. Plus, it’s a sneaky way to get everyone eating zucchini—no one minds when it’s this tasty!
Top Tips for Perfecting Your Zucchini Banana Bread
Over the years, I’ve learned a few tricks that take this bread from good to downright irresistible. First, don’t skimp on the bananas—they’re the key to that perfect, tender crumb. Make sure they’re really ripe—almost black—and mash them well. Riper bananas give more flavor and moisture, and the bread won’t be overly dense. Next, squeeze out any excess moisture from the zucchini—I use a clean kitchen towel or cheesecloth and press it like a sponge. This prevents sogginess and keeps your loaf stable. When mixing, fold gently—overmixing can turn your bread into a brick, and nobody wants that. If you want to make it more decadent, add chocolate chips or chopped nuts—my personal favorite. To customize further, you can swap out half the all-purpose flour with oat or almond flour for different textures or cater to dietary needs. When baking, I always check for doneness by inserting a toothpick into the center; if it comes out with moist crumbs, give it a few more minutes. Keep an eye on the edges—once they’re golden and pulling away slightly from the pan, you’re close. As for the glaze, I keep it simple with powdered sugar and a splash of lemon juice or milk, but you can get creative with honey or cream cheese frosting for a richer finish. Honestly, this recipe is forgiving—feel free to experiment. The first time I added a pinch more cinnamon, I was hooked. It’s all about personal touches and making it your own.
Storing and Reheating Tips
This bread keeps surprisingly well—if you’re not devouring it right out of the oven, of course. Once cooled completely, store it in an airtight container or wrap it tightly with plastic wrap. At room temperature, it stays fresh for 2–3 days. I like to cut it into thick slices and keep individual pieces handy—perfect for breakfast or snack time. If you want it to last longer, pop slices in a zip-top bag and refrigerate for up to a week. Just reheat in the microwave for a few seconds or toast briefly—wow, that just nudges it back to that freshly-baked feeling. For longer storage, freeze slices individually wrapped in parchment paper, then stash them in a freezer-safe container. They hold up well for a month or two and defrost quickly when needed. If you’ve glazed the top, I recommend adding the glaze after reheating to keep it glossy and fresh-looking. As with anything, freshness is king, but this bread ages gracefully—think of it as a little loaf that gets better with time, in your own cozy kitchen. Just be sure to smell it and look for any signs of spoilage—if it’s a little dry, a quick toast or smear of butter will revive it beautifully.
Frequently Asked Questions
Final Thoughts
Honestly, this zucchini banana bread has become a staple in my kitchen because it’s so forgiving and tastes like a little slice of home every time. I love how the sweetness of bananas and the freshness of zucchini come together in such a moist, tender loaf. Plus, it’s a sneaky way to get your family eating veggies without any fuss—my kids ask for this all the time, sometimes even requesting it for breakfast! Over the years, I’ve tweaked the ingredients here and there, but the heart of the recipe remains simple and comforting. It’s not fancy or complicated, just good honest baking that reminds me of weekends spent baking with loved ones. I genuinely hope you try this and let me know how it turns out—maybe add your own twist or secret ingredient. Either way, I know you’ll end up loving it as much as I do. Happy baking! And don’t forget to share your photos or variations—I’d love to hear your feedback or see your gorgeous slices. Here’s to many cozy, delicious mornings ahead!

cough remedy
Ingredients
Method
- Place all the ingredients in a small jar and shake to combine.
- Leave at room temperature for a few days or place in the refrigerator for longer storage.
- Shake well each time, before using. The spices will not dissolve into the liquid. It will not be a thick syrup, it should remain watery.
- Take as needed and have a happy and healthy new year!