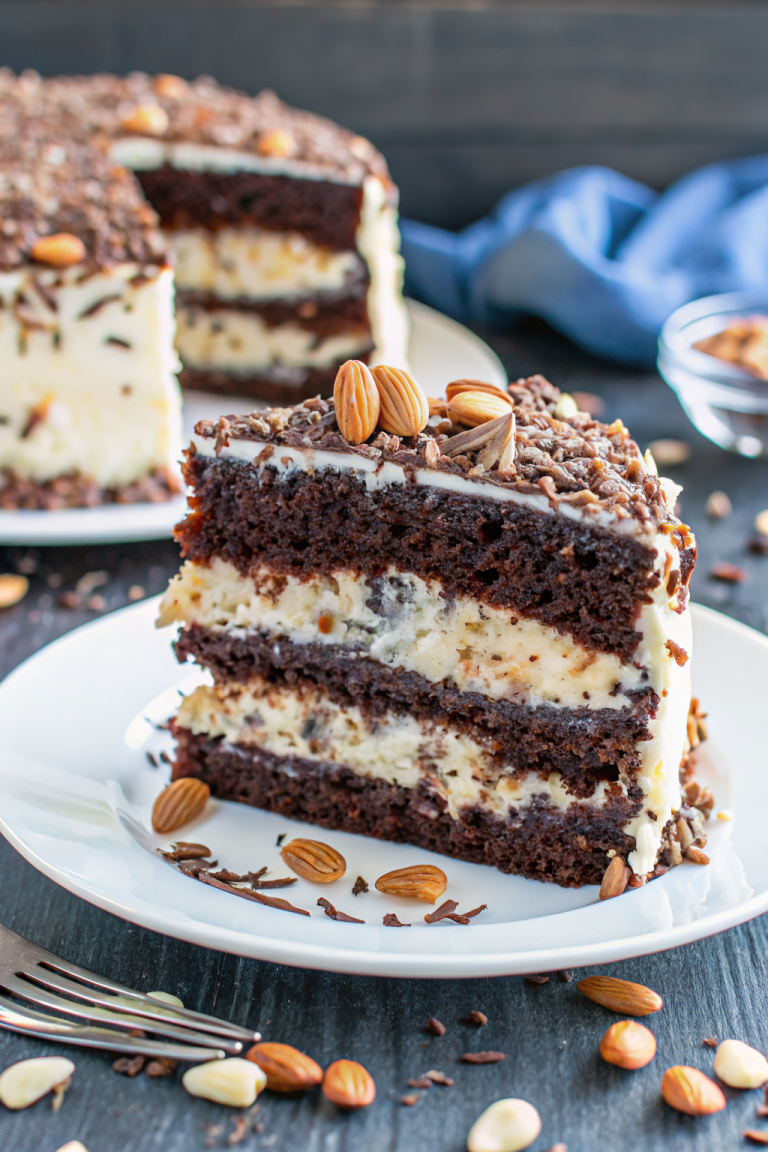
Rich Chocolate Cheesecake with Cake Base
I remember my grandma’s smell wafting through the kitchen—warm cinnamon, buttery batter, and that hint of freshly grated zucchini. It’s one of those recipes I grew up loving, and honestly, it’s still one of my favorites to make when I want a sweet treat that’s a little bit indulgent but still feels a bit healthy. This zucchini swirl coffee cake is the kind of thing that disappears in minutes at my house. My kids ask for it all the time, and honestly, I don’t blame them. It’s moist, flavorful, and that swirl of cinnamon-spiced filling makes every bite feel special. Plus, it’s surprisingly easy to whip together, making it a lifesaver on busy nights. I’ve tested it with almond milk, and it actually made the crumb even creamier — so if you’re dairy-free, don’t hesitate to try that. Trust me, the smell alone will bring everyone to the kitchen, and you’ll feel like a baking pro even if it’s only your third time. This one’s going straight into your go-to recipe collection, I promise.
What is Zucchini Swirl Coffee Cake?
Think of this as a cozy, sweet breakfast or snack cake with a little secret inside—shredded zucchini! It’s essentially a tender cake layered with a cinnamon-sugar filling that’s swirled throughout, kind of like a prettier, breakfast version of a cinnamon roll, but without all the work. The name might make you pause—“zucchini in cake?”—but believe me, you won’t even notice it’s in there. It’s a classic coffee cake, but with a healthy twist that sneaks in some greens without sacrificing flavor. I love the story behind it, too; I first made this for a brunch years ago, and every time I do, I get that warm, nostalgic feeling. The zucchini keeps the cake incredibly moist, and the swirl gives it that gorgeous marbled look, making it perfect for entertaining or just a lazy weekend breakfast. Plus, it’s friendly on the wallet—most of these ingredients are staples I usually have on hand. And because you grate the zucchini, it’s a great way to use up those last bits of summer squash.
Why you’ll love this recipe?
What I love most about this zucchini swirl coffee cake is how versatile and forgiving it is. The flavor combo of cinnamon, brown sugar, and that tender crumb—oh, it’s just heavenly. And the zucchini? It adds moisture and a gentle sweetness that keeps the cake from feeling heavy or overly sugary. It’s surprisingly simple to make; I always do this when I need a quick breakfast or last-minute dessert. No fancy ingredients, just everyday pantry staples. And it’s budget-friendly, especially when you have zucchini sitting in the fridge—you could even double the recipe and freeze half for later. My kids ask for this all the time, especially on lazy Sunday mornings or when friends come over. I’ve also experimented with swapping out the zucchini for carrots or chopped apples, and honestly, each variation turns out equally delicious. It’s a canvas that welcomes personal touches. Plus, the swirl pattern? Such a pretty little surprise inside that makes everyone think you’re a baking wizard.
How do I make Zucchini Swirl Coffee Cake?
Quick Overview
This cake is a breeze to put together—almost like a three-step process: whip up the batter, make the cinnamon-sugar filling, and then swirl everything together before baking. What makes it special is how fuss-free it is; no complicated techniques, just simple mixing and layering. It’s a perfect weekend project or even a weekday treat because you can have it in the oven in under 15 minutes. Once baked, you’re left with a moist, tender cake with pockets of cinnamon goodness—seriously, everything about it screams comfort. The swirl adds a beautiful marbled look and an extra hit of flavor, making every slice look like it’s straight out of a bakery. And if you’re short on time, I’ve even made this in muffin tins—hello, portable bites! My secret is to grate the zucchini well and squeeze out any excess moisture—they’re small tricks that keep this cake from getting soggy.
Ingredients
For the Main Batter:
- 1 1/2 cups all-purpose flour (or almond flour for a nuttier flavor)
- 1/2 teaspoon baking powder
- 1/2 teaspoon baking soda
- 1/4 teaspoon salt
- 1 teaspoon ground cinnamon
- 1/2 cup brown sugar (use coconut sugar for a healthier twist)
- 1/2 cup granulated sugar
- 1/3 cup vegetable oil (or melted coconut oil)
- 2 large eggs
- 3/4 cup buttermilk (or almond milk + a splash of lemon)
- 1 teaspoon vanilla extract
For the Filling:
- 1/2 cup packed brown sugar
- 1 tablespoon ground cinnamon
- 2 tablespoons softened butter
For the Glaze (optional but pretty):
- 1/2 cup powdered sugar
- 1-2 teaspoons milk or lemon juice
- Vanilla or lemon zest for flavor (optional)
Step-by-Step Instructions
Step 1: Preheat & Prep Pan
Set your oven to 350°F (175°C) and grease a 9-inch round cake pan or a 9×9 inch square baking dish. I always line mine with parchment paper—makes cleanup way easier, and it helps the cake come out beautifully. Remember, a hot oven is key to a nice rise—so don’t skip preheating.
Step 2: Mix Dry Ingredients
In a large bowl, whisk together the flour, baking powder, baking soda, salt, and cinnamon. This step ensures your dry ingredients are evenly distributed, which is especially important for the batter to rise uniformly. I learned this trick after a few batches with uneven spots. Set this aside while you prepare the wet ingredients.
Step 3: Mix Wet Ingredients
In another bowl, combine the eggs, sugars, oil, buttermilk, and vanilla. Whisk until smooth—kind of like a pale, silky mixture. If you’re using almond milk, just add a splash of lemon or vinegar to mimic buttermilk—works perfectly and keeps everything dairy-free. I always make sure not to overmix here; a few little lumps are fine.
Step 4: Combine
Pour the wet ingredients into the dry and gently fold together until just combined. Do not overmix—this keeps the cake tender and fluffy. If you overmix, it can become dense and tough. Patience is key! You’ll see the batter coming together with a lovely, creamy consistency.
Step 5: Prepare Filling
In a small bowl, mix the brown sugar and cinnamon. Add the softened butter and mash it together until crumbly. This filling smells incredible as you mix—trust me, your kitchen will smell like a cinnamon roll factory, and everyone will be asking what’s baking.
Step 6: Layer & Swirl
Pour half of the batter into your prepared pan, spreading it evenly. Sprinkle half the cinnamon-sugar filling over that layer, then repeat with the remaining batter and filling. Use a butter knife or skewer to gently swirl through the layers—creating those beautiful marbled patterns. Don’t overdo it; just a few gentle swirls do the trick. That’s what gives the cake its irresistible look and flavor bursts.
Step 7: Bake
Pop it into the oven and bake for about 30-35 minutes. Check for doneness by inserting a toothpick into the center—it should come out clean or with a few moist crumbs. Every oven is slightly different, so start checking around the 30-minute mark. If the top gets too brown before it’s baked through, loosely tent it with foil.
Step 8: Cool & Glaze
Let the cake cool in the pan for about 10 minutes, then transfer to a wire rack. If you want a glaze, mix powdered sugar with a splash of milk or lemon juice until smooth. Drizzle over the cooled cake—this adds a lovely sweetness and makes it prettier, too. I love how the glaze drips down the sides, giving it that bakery look.
Step 9: Slice & Serve
Once totally cool, slice into squares or wedges and serve. Warm is nice if you want it cozy, but it’s equally delicious at room temperature. Pair with a hot cup of coffee or tea, and you’re set for breakfast, brunch, or a sweet afternoon snack.
What to Serve It With
This cake plays well with just about anything. For breakfast, pair it with your favorite coffee—think creamy lattes or a simple black brew. I love topping it with a dollop of Greek yogurt or a little whipped cream for extra indulgence. On brunch days, serve slices alongside fresh fruit—berries or sliced bananas work beautifully. If you’re making this as a dessert, consider a scoop of vanilla ice cream or a drizzle of caramel sauce on the side—seriously, it’s a showstopper. Or just keep it simple with a hot cup of tea and your favorite people—you can’t go wrong.
Family traditions? My kids ask for this on lazy Sunday mornings when they want something sweet but not too heavy. It’s become a go-to for weekend mornings — and honestly, I sometimes stash a slice in the freezer for those late-night sweet cravings. The best part? No fancy equipment needed, just a mixing bowl, a spoon, and a little patience. I love how this cake crowds out the ’normal’ chocolate or fruit options because it’s just so comforting. Everyone leaves the table with a big smile—and maybe a second slice.
Top Tips for Perfecting Your Zucchini Swirl Coffee Cake
After making this a dozen times, I’ve picked up a few tricks that really elevate the final result:
- Zucchini Prep: Always grate the zucchini finely and squeeze out excess moisture. Otherwise, your cake might turn out soggy, which nobody wants. I used a clean dish towel or paper towels to press out the liquid—it’s a small step but makes a big difference.
- Mixing Advice: When combining wet and dry ingredients, fold gently. Overmixing can cause a dense texture; the key is to stop just when everything looks combined. That fluffy, tender crumb comes from gentle mixing.
- Swirl Patterns: Don’t overdo it when swirling—just a few strokes will do. Too much swirling can blend the layers too much, ruining the marbled look and dispersing the filling too evenly.
- Ingredient Swaps: Want it gluten-free? Swap in a 1:1 baking flour blend. Craving more spice? Add a pinch of nutmeg or allspice to the cinnamon filling. I’ve also tried chopped walnuts or pecans in the swirl—adds a lovely crunch.
- Baking Tips: Keep an eye on the top—if it browns quickly, cover lightly with foil. Ovens differ, so start checking around 30 minutes. Toothpick testing is foolproof—if it comes out with moist crumbs, it’s done.
- Glaze Variations: For a citrus twist, add a teaspoon of lemon juice or zest to your glaze. Or, sprinkle a little coarse sugar on top before baking to give it a crunchy topping. Experimenting is part of the fun!
One thing I’ve learned is that patience and gentle handling really make the difference. This cake isn’t finicky, but treating it with care pays off big time. Don’t rush the cooling step; it helps prevent it from crumbling when you slice. And honestly, I’ve failed a few times in the early days, but each mishap taught me something new. Now, it’s smooth sailing—and every time, it’s like a warm hug right out of the oven.
Storing and Reheating Tips
If you happen to have leftovers (which is rare at my house), store the cake in an airtight container at room temperature for up to two days. On warm days or if your kitchen is humid, it’s better to keep it in the fridge—just let it come to room temp before serving. To keep it fresh longer, wrap tightly with plastic wrap or foil, and it’ll stay good for up to a week in the fridge. Want to freeze it? Wrap individual slices tightly in plastic wrap and store in a freezer bag for up to 3 months. Thaw in the fridge overnight or warm slightly in the microwave—perfect for those “guilty pleasure” moments. A quick reheating in the oven (around 300°F for 10 minutes) can revive the moistness; I’ve done it countless times, and trust me, it’s just as good as fresh.
As for the glaze—if you’re planning to re-glaze, wait until the cake has fully cooled. Otherwise, the glaze might melt or slide off. If you want to refresh the sweet shiny finish, a quick drizzle over room temp cake does wonders, and it doesn’t require re-baking.
Frequently Asked Questions
Final Thoughts
This zucchini swirl coffee cake is one of those recipes I keep coming back to. It’s humble yet impressive, comforting but bright with that cinnamon swirl. I love how adaptable it is—whether you’re feeding a crowd or just craving a little something sweet in the afternoon. The secret *really* is the zucchini; it keeps everything moist and tender without adding any fuss. Every time I make it, I feel like I’m sharing a piece of my childhood, wrapped in a warm slice of cake. And I hope you find as much joy in baking it as I do. If you give it a try, I’d love to hear how it turned out—leave a comment or tag me in your Instagram stories! Happy baking, friends—go ahead and indulge—you deserve it!
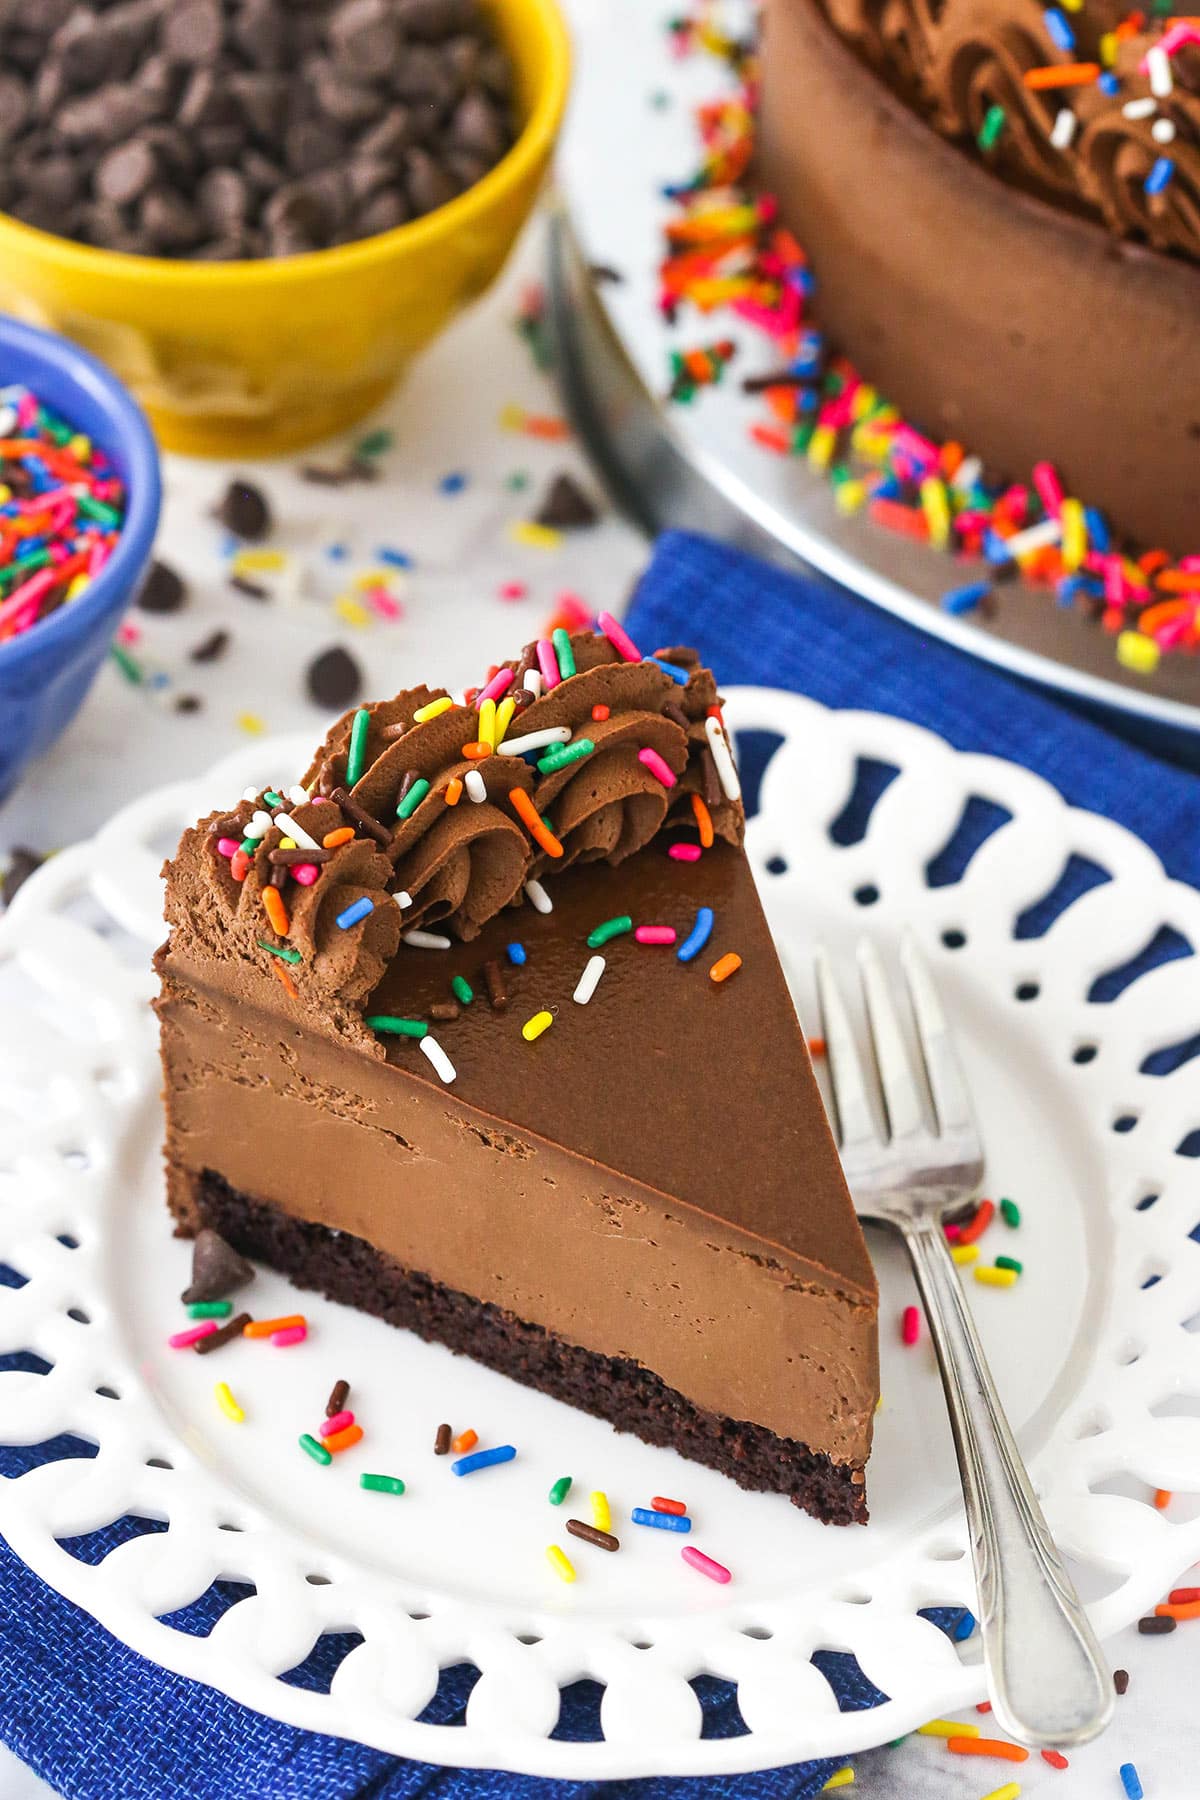
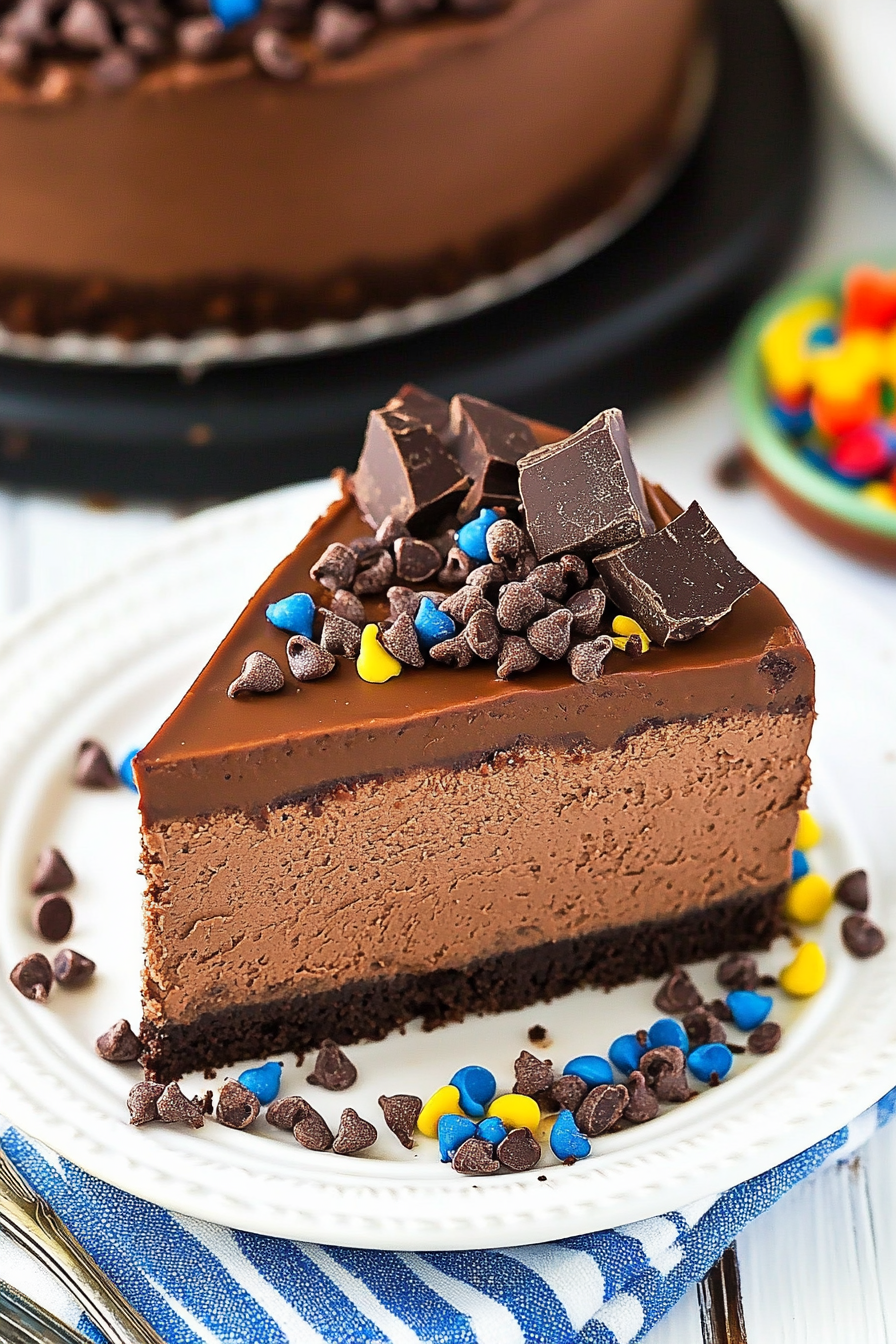
Decadent Chocolate Cheesecake with Cake Bottom
Ingredients
Method
- Preheat oven to 350°F (176°C). Prepare a 9 inch springform pan with a circle of parchment paper in the bottom and grease the sides. If your springform pan leaks, then you’ll want to use a 9 inch cake pan for the cake layer.
- In a medium sized bowl, combine the flour, sugar, cocoa, baking soda, baking powder and salt. Whisk until well combined.
- In another medium sized bowl, combine the milk, vegetable oil, vanilla extract and egg white. Whisk until well combined.
- Add the dry ingredients to the wet ingredients and whisk together until well combined.
- Add the water and whisk until well combined. The batter will be thin.
- Pour the batter into the prepared pan and bake for 12-15 minutes, or until a toothpick inserted in the middle comes out clean.
- Remove cake from the pan and set on a cooling rack to cool.
- Reduce the oven temperature to 300°F (148°C). If you used a springform pan, clean the pan, put it back together and respray the sides with non-stick spray. You want to be sure it’s well done so that they cheesecake doesn’t stick to the sides after baking. Line the bottom with parchment paper. If you used a cake pan for the cake layer, set up your springform pan with non-stick baking spray on the sides and parchment paper on the bottom. Cover the outsides of the pan with aluminum foil so that water from the water bath cannot get in. Set prepared pan aside.
- In a large bowl, beat the cream cheese, sugar and cocoa powder on low speed until well combined and smooth. Be sure to use low speed to reduce the amount of air added to the batter, which can cause cracks. Scrape down the sides of the bowl.
- Add the sour cream and vanilla extract and mix on low speed until well combined.
- Add the melted chocolate in three parts, stirring until combined after each. Adding it in parts helps ensure that it incorporates evenly and helps prevent clumping.
- Add the eggs one at a time, mixing slowly to combine after each addition. Scrape down the sides of the bowl as needed to make sure everything is well combined.
- Add the cooled cake layer to the bottom of springform pan and add the chocolate cream cheese filling to the pan, on top of the cake layer.
- Place the springform pan inside another larger pan. Fill the outside pan with enough warm water to go about halfway up the sides of the springform pan. The water should not go above the top edge of the aluminum foil on the springform pan.
- Bake for 1 hour, 15 minutes. The center should be set, but still jiggly.
- Turn off the oven and leave the door closed for 30 minutes. The cheesecake will continue to cook, but slowly begin to cool as well.
- Crack the door of the oven for 30 minutes to allow the cheesecake to continue to cool slowly. This process helps prevent cracking.
- Remove the cheesecake from the oven and water bath wrapping and refrigerate until firm, 5-6 hours or overnight.
- Once completely cool and firm, remove the cheesecake from the springform pan and place on a serving plate.
- To make the whipped cream, add the cream, cocoa powder, powdered sugar and vanilla extract in a large mixing bowl and whip on medium speed until stiff peaks form. It will happen quickly.
- Pipe the whipped cream onto the outer edge of the cheesecake, then finish it off with sprinkles if desired. Refrigerate until ready to serve.