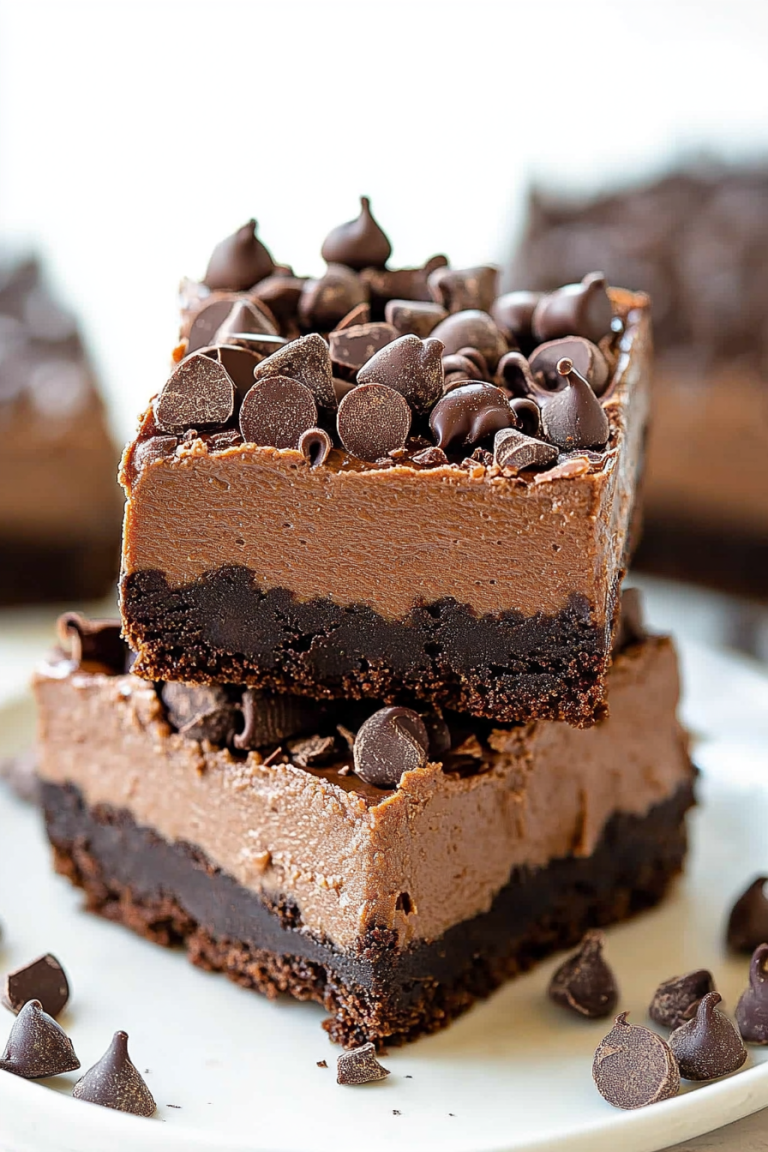
Rich Chocolate Cheesecake with Cake Base
If you ask me what’s the smell that instantly takes me back to childhood, I’d say it’s the warm, sweet aroma of freshly baked zucchini cake wafting through the kitchen. It’s funny how certain smells can teleport you, isn’t it? This recipe—my favorite zucchini swirl cake—is one of those nostalgic treasures. I’ve made it dozens of times, and honestly, it’s one of those recipes that feels like a warm hug in dessert form. It’s not overly complicated, but it’s packed with flavor, and the swirl of that luscious filling inside? Pure magic. My kids ask for this all the time, especially when they’re craving something sweet but I want to keep it a little on the healthful side. It’s a great way to sneak some veggies into dessert! Plus, it’s surprisingly easy to make — even on my busiest days. Trust me, this one’s a lifesaver on weeknights when I want something comforting but don’t have hours to fuss. And, I’ve tested it with almond milk too, which made it even creamier — you’re going to love it!
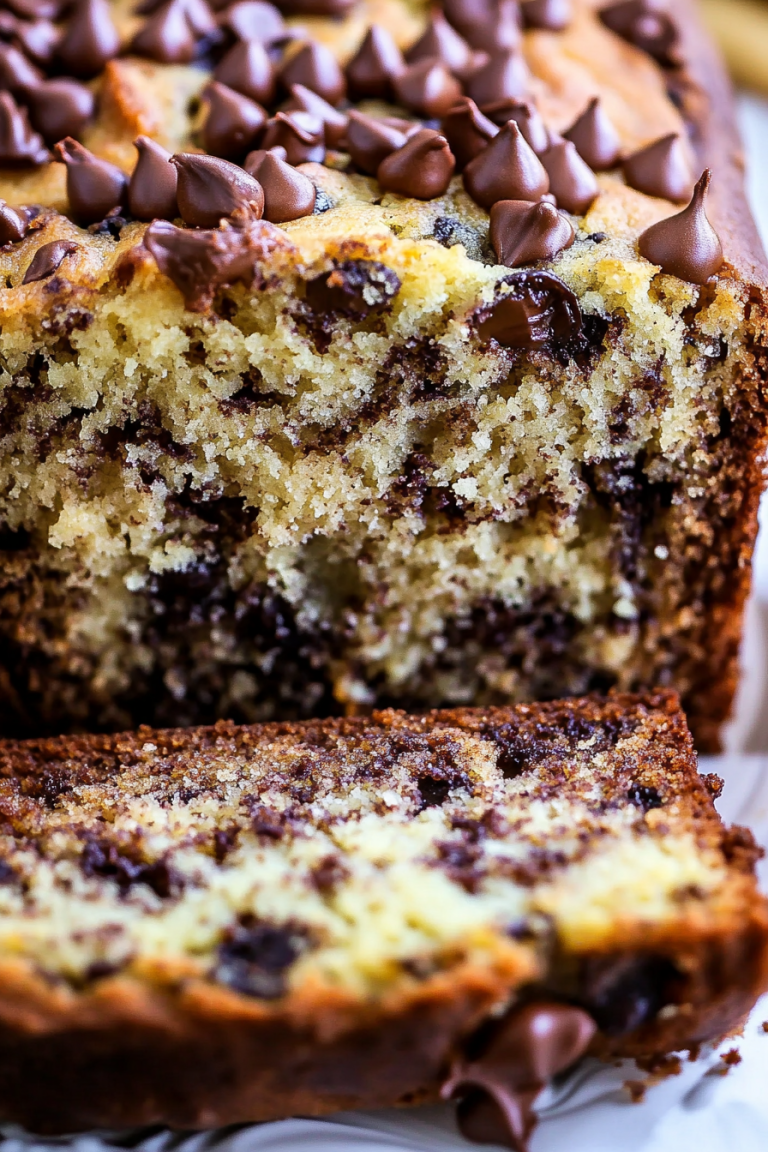
What is Zucchini Swirl Cake?
This zucchini swirl cake is basically a tender, moist cake with a delightful ribbon of sweet, spiced filling running through the middle. Think of it as a hybrid between your classic carrot cake and a fancy layered dessert, but all in one pan. The name “zucchini swirl” really just describes how the shredded zucchini gets folded into the batter, then layered with a simple cinnamon-sugar filling that swirls beautifully as it bakes. It’s essentially a cozy, homemade cake that’s perfect for breakfast, a snack, or even a casual dessert. What I love most about this is how versatile it is — you can customize the filling, tweak the spices, or even add nuts if you’re feeling fancy. It’s also a sneaky way to get your kids eating veggies without fuss. The zucchini doesn’t add any flavor that’s noticeable—just moisture and a lovely tender crumb. Plus, it’s a hit with friends and family because it looks just as impressive as it tastes, but really, it’s homemade comfort at its best.
Why you’ll love this recipe?
Honestly, I could go on and on about why I love this zucchini swirl cake. First, the flavor—oh, the flavor! The hint of cinnamon and the natural sweetness of zucchini make every bite heavenly. It’s like a cozy little flavor hug, and the swirl of that cinnamon-sugar filling adds a lovely gooey touch that’s so satisfying. What I really appreciate is how simple it is to whip together; I can have this in the oven in about 10 minutes of prep. It’s a real time-saver, especially on busy mornings or when you’re craving something homemade but don’t want to spend hours in the kitchen. Plus, ingredients are budget-friendly — just basic pantry staples and zucchini from my garden, which I always have on hand during the summer. Another thing — this cake is super versatile. You can serve it warm or at room temp, top it with a drizzle of honey or a dollop of whipped cream if you like, or simply dust it with powdered sugar. It’s elegant enough for guests but cozy enough for weeknight family treats. My kids actually ask for seconds—and trust me, that’s saying a lot in my house! There’s something about that swirl of sweet filling, combined with the tender crumb, that keeps everyone coming back for more. Plus, if you’re like me and love finding small ways to sneak in vegetables, this is your new best friend.
How do I make Zucchini Swirl Cake?
Quick Overview
This zucchini swirl cake comes together with a few basic steps: grate zucchini, mix a simple batter, prepare a cinnamon sugar filling, layer and swirl it all together, then bake. The trick is keeping the batter moist and not overmixing. The filling gets spread over the batter, then a swirl knife or skewer creates beautiful marmalade-like streaks inside. Baking takes about 40-45 minutes, and once cooled, it’s simply divine. The best part? You don’t need fancy equipment—just a whisk, a bowl, and your instinct. It’s the kind of recipe that’s forgiving and still oh-so-tasty. It’s perfect for when you want something homemade, not overly fussy, and packed with comforting flavors. I always do this when I want to impress with minimal effort or when I have zucchini in the fridge that’s begging to be used. The whole house smells like cinnamon and warm batter—trust me, there’s no better way to spend a cozy afternoon.
Ingredients
For the Main Batter:
- 2 cups grated zucchini (about 2 medium zucchinis, grated and excess moisture squeezed out)
- 1 ½ cups all-purpose flour (I like unbleached for flavor)
- 1 cup granulated sugar (or coconut sugar for a little extra warmth)
- 1 teaspoon baking powder
- ½ teaspoon baking soda
- ½ teaspoon salt
- 2 teaspoons cinnamon (or more if you really love that warm spice)
- ½ cup vegetable oil or melted butter (trust me, the oil keeps it moist)
- 3 large eggs
- 1 teaspoon vanilla extract
For the Filling:
- ½ cup brown sugar
- 1 tablespoon ground cinnamon
- 2 tablespoons softened butter (or coconut oil)
For the Glaze (optional):
- ½ cup powdered sugar
- 1-2 tablespoons milk or cream
- 1 teaspoon vanilla (or almond extract for twist)
Step-by-Step Instructions
Step 1: Preheat & Prep Pan
Set your oven to 350°F (175°C). Grease your 9-inch round cake pan or line it with parchment paper. I sometimes like to lightly dust it with flour or almond meal—whatever you prefer. This step prevents sticking and helps with easy removal. While the oven heats up, grate your zucchinis and squeeze out as much moisture as you can using a clean kitchen towel or cheesecloth. The less moisture, the better your cake texture will be. Trust me on this one — excess water can make the batter oddly dense.
Step 2: Mix Dry Ingredients
In a large bowl, whisk together flour, sugar, baking powder, baking soda, salt, and cinnamon. I always do this first to evenly distribute the leaveners and spices. It’s important to make sure the dry ingredients are well combined — this helps to prevent clumps and ensures a fluffy, even crumb.
Step 3: Mix Wet Ingredients
In a separate bowl, beat eggs, then add oil and vanilla. I like to see everything combined smoothly before folding in the zucchini. If your eggs are cold, no worries — just beat until well incorporated. For an extra touch, I sometimes substitute almond or oat milk here, which makes the cake even creamier, but that’s totally optional.
Step 4: Combine
Pour the wet mixture into the dry ingredients, then gently fold everything together with a spatula. Be careful not to overmix — a few lumps are fine. Overmixing can make the cake dense, and nobody wants that. Just fold until you see no streaks of flour — that’s perfect.
Step 5: Prepare Filling
While the batter rests, mix together the brown sugar, cinnamon, and softened butter. It should be crumbly but hold together when pinched. You can add chopped nuts here if you want some extra crunch — walnuts or pecans work beautifully. The filling is what makes the swirl magical, so don’t skip it!
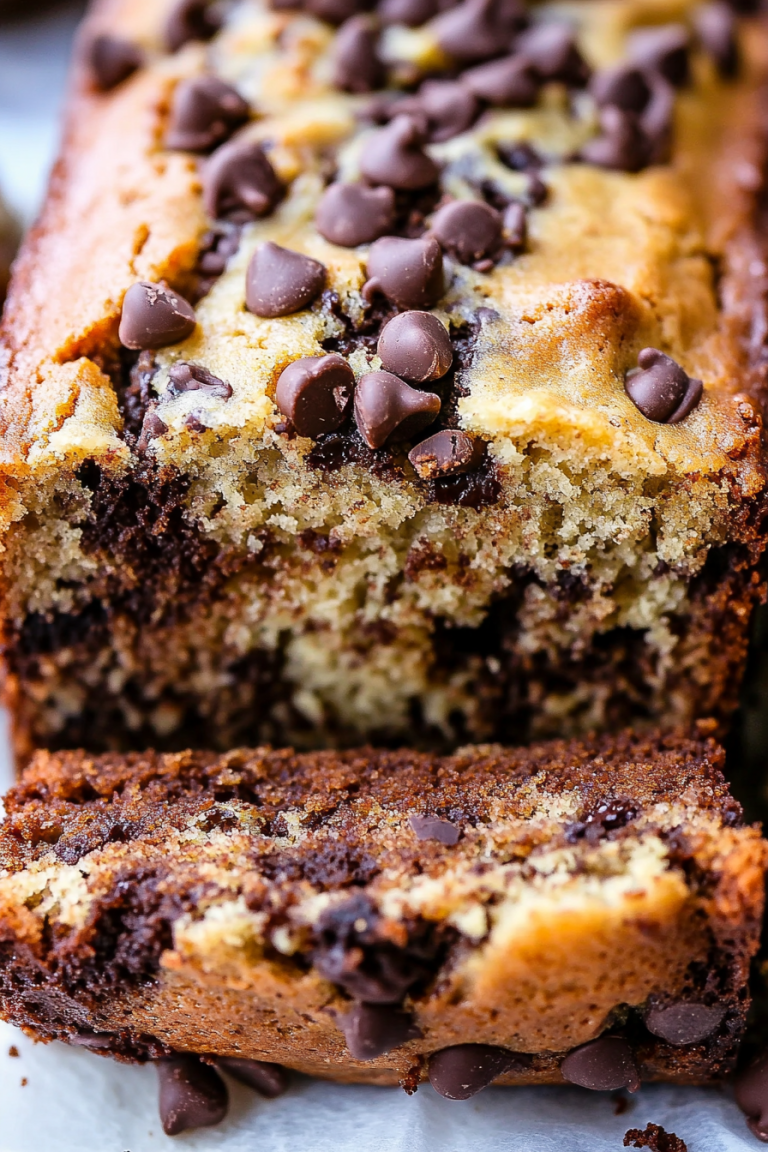
Step 6: Layer & Swirl
Pour about half the batter into your prepared pan and spread evenly. Dot the cinnamon sugar filling over the batter. Then, pour the rest of the batter on top. Using a skewer or a knife, swirl gently through the batter to create beautiful marbled streaks. This step is where the cake really comes alive — take your time and make sure you see those lovely swirls forming.
Step 7: Bake
Bake for 40-45 minutes, testing doneness with a toothpick inserted in the center. It should come out clean or with just a few moist crumbs. If the top gets too dark before the center is baked, tent it with foil for the last 10 minutes. Every oven is a little different, so keep an eye on it!
Step 8: Cool & Glaze
Let the cake cool in the pan for about 15 minutes, then transfer to a wire rack. Once cooled to just warm or room temperature, drizzle with a simple glaze made from powdered sugar, vanilla, and milk. This glaze adds just a hint of sweetness and makes the whole cake look more polished, perfect for serving at family gatherings or brunches.
Step 9: Slice & Serve
Use a sharp serrated knife to cut clean slices. I like to serve this slightly warm with a cup of coffee or a cold glass of milk. It’s also incredible at room temperature — it actually tastes even better the next day, after the flavors have melded together. That swirl of cinnamon filling is sticky and melts in your mouth, while the zucchini keeps the crumb super moist. Pretty and delicious — what’s not to love?
What to Serve It With
This cake is so versatile that the options are endless. For breakfast, pair it with a hot cup of coffee or a glass of fresh orange juice. The cinnamon and zucchini combo feels just right with a steaming mug of chai or a latte. It’s cozy enough to serve at brunch alongside scrambled eggs and fresh fruit. When I serve it as a dessert, I love adding a dollop of whipped cream or a drizzle of caramel for extra indulgence. If you’re just craving a quick snack, it’s excellent on its own with a glass of milk or even a cup of herbal tea. I’ve also done little individual slices around the holidays, wrapped them in parchment, and tucked them into gift baskets — a homemade treat that everyone loves. Honestly, I find myself reaching for a slice almost every time I bake it — it’s that good!
Top Tips for Perfecting Your Zucchini Swirl Cake
After making this countless times, I’ve learned a few tricks that help it turn out perfect every time. First, don’t skip the squeezing step on your zucchini — excess moisture is the enemy of a fluffy crumb. Use a clean towel or cheesecloth to really wring out as much water as possible. If you want an even richer cake, try adding a splash of almond or coconut milk instead of regular milk, just to experiment. When mixing the batter, fold gently and stop as soon as everything is combined — overmixing can cause it to be dense and heavy. For the swirl, I like to layer the batter and filling in dollops, then swirl gently with a skewer or butter knife; don’t overdo it, or you’ll lose the beautiful marbling effect. Want to customize? Toss in chopped nuts or dried fruit in the filling for extra texture. A tip I swear by: bake on the middle rack, and keep an eye on it after 35 minutes. Every oven heats differently, and that crispy top is just as tempting as the moist inside. Lastly, the glaze is optional, but I think it elevates the look and flavor — just remember to add it once the cake has cooled a bit, or it might melt right off.
Storing and Reheating Tips
This cake keeps surprisingly well. At room temperature, it stays fresh for about 2 days if covered with a clean towel or cake dome. For longer storage, I recommend refrigerating it in an airtight container — it’ll last up to 4 days that way. The secret? Wrap it tightly or place it in a sealed container to prevent it from drying out. If you want to keep it for even longer, cut slices and freeze them individually. Wrap each piece in plastic wrap and store in a zip-top bag for up to 3 months. When you’re ready to eat, thaw at room temperature or warm in the microwave for a few seconds for that just-baked texture. The glaze can be added again after reheating if needed — cold cake with warm glaze is just dreamy. Keep in mind, the texture might soften a bit after refrigeration, but trust me, it’s still delicious. The flavors deepen over time, making this a perfect make-ahead recipe for busy mornings or holiday gatherings.
Frequently Asked Questions
Final Thoughts
If you’re looking for a comforting yet impressive treat, this zucchini swirl cake is your new go-to. It’s a perfect way to use up summer zucchinis or sneak some veggies into your baking routine. Every time I bake it, I’m reminded of lazy Sunday mornings and the joyful chaos of family gathering around a slice. The combination of the moist crumb, the cinnamon-sugar swirl, and the overall warmth makes it one of those recipes that’s worth making from scratch — it reminds me of my grandma’s baking, honest and full of love. I hope you try it and love it as much as I do. And hey, I’d love to hear how yours turns out—tag me with photos or drop a comment below. Happy baking!
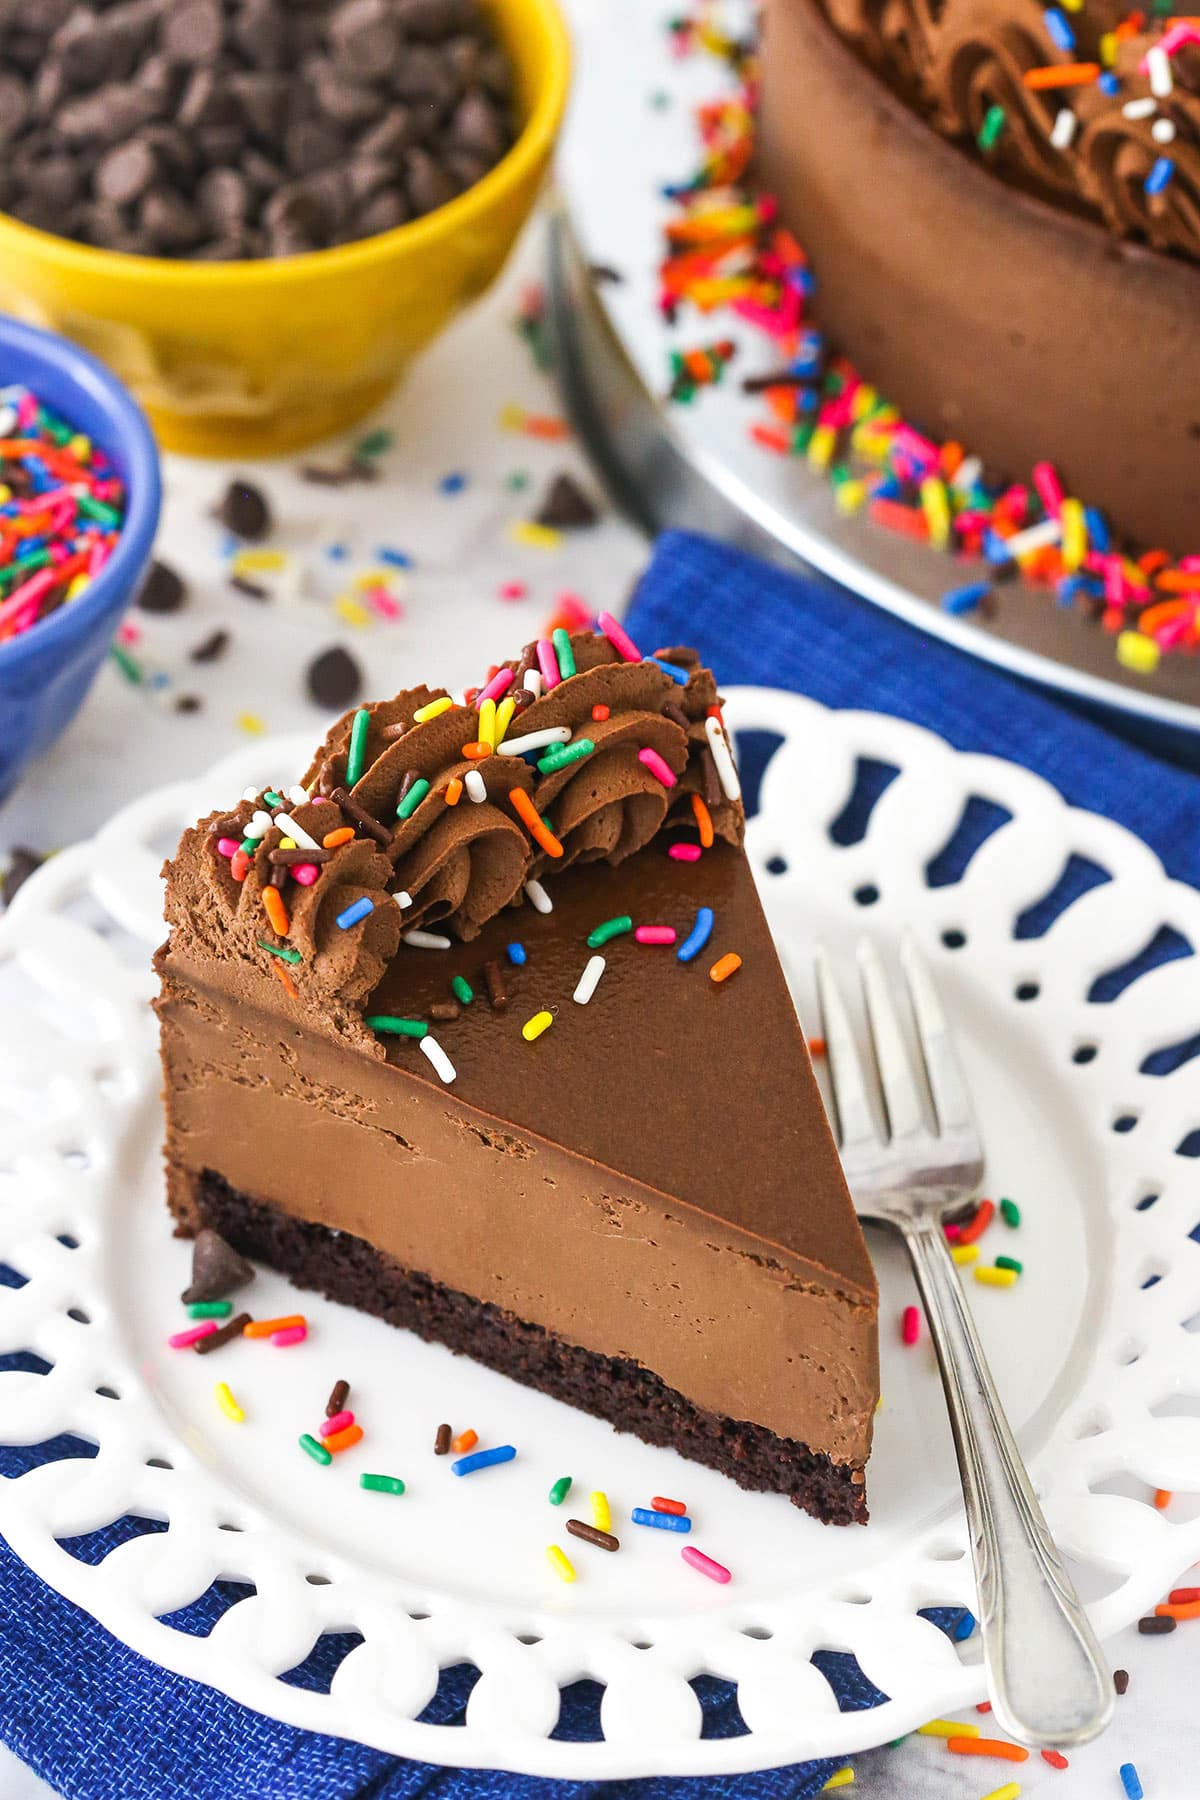
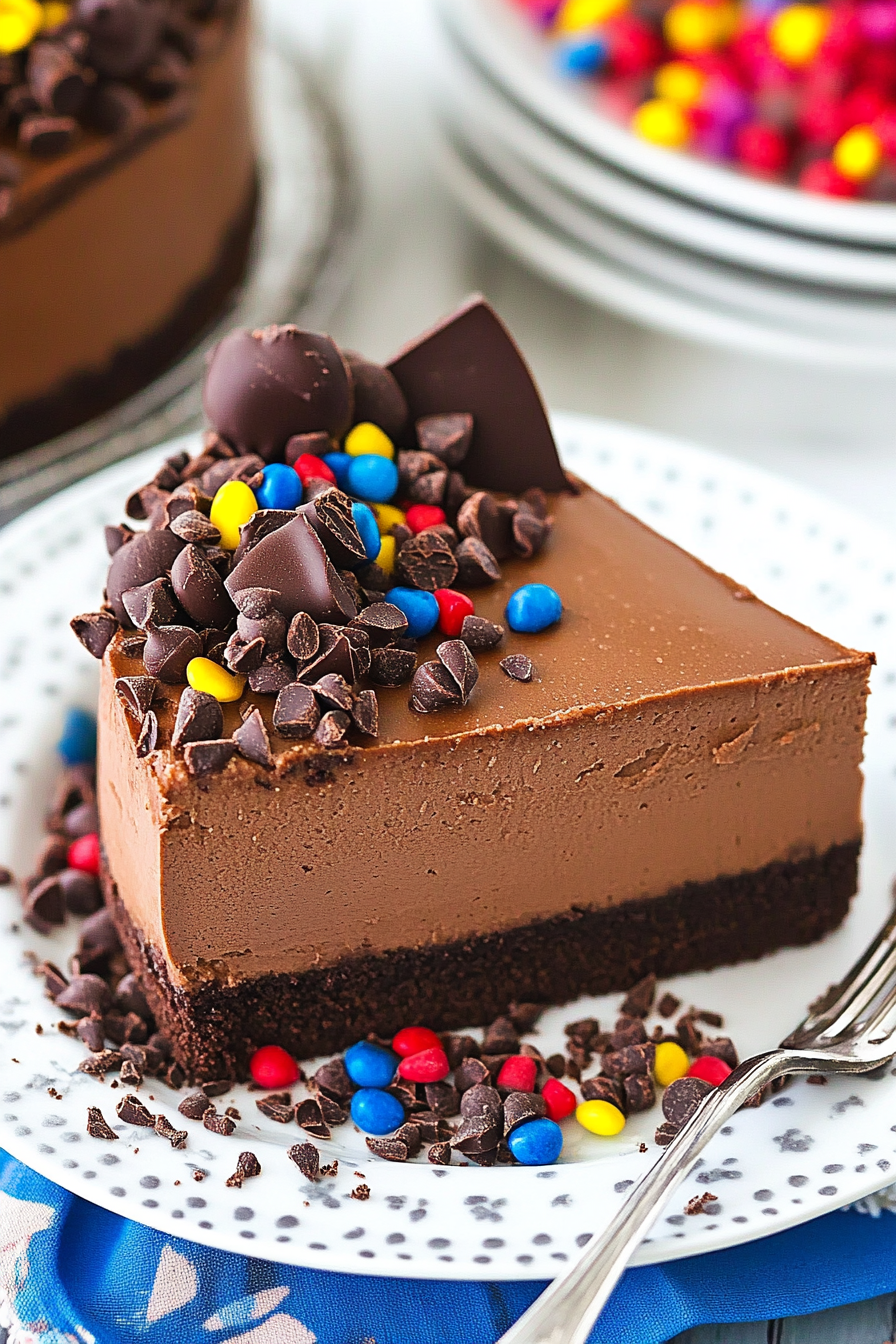
Decadent Chocolate Cheesecake with Cake Bottom
Ingredients
Method
- Preheat oven to 350°F (176°C). Prepare a 9 inch springform pan with a circle of parchment paper in the bottom and grease the sides. If your springform pan leaks, then you'll want to use a 9 inch cake pan for the cake layer.
- In a medium sized bowl, combine the flour, sugar, cocoa, baking soda, baking powder and salt. Whisk until well combined.
- In another medium sized bowl, combine the milk, vegetable oil, vanilla extract and egg white. Whisk until well combined.
- Add the dry ingredients to the wet ingredients and whisk together until well combined.
- Add the water and whisk until well combined. The batter will be thin.
- Pour the batter into the prepared pan and bake for 12-15 minutes, or until a toothpick inserted in the middle comes out clean.
- Remove cake from the pan and set on a cooling rack to cool.
- Reduce the oven temperature to 300°F (148°C). If you used a springform pan, clean the pan, put it back together and respray the sides with non-stick spray. You want to be sure it’s well done so that the cheesecake doesn’t stick to the sides after baking. Line the bottom with parchment paper. If you used a cake pan for the cake layer, set up your springform pan with non-stick baking spray on the sides and parchment paper on the bottom. Cover the outsides of the pan with aluminum foil so that water from the water bath cannot get in. Set prepared pan aside.
- In a large bowl, beat the cream cheese, sugar and cocoa powder on low speed until well combined and smooth. Be sure to use low speed to reduce the amount of air added to the batter, which can cause cracks. Scrape down the sides of the bowl.
- Add the sour cream and vanilla extract and mix on low speed until well combined.
- Add the melted chocolate in three parts, stirring until combined after each. Adding it in parts helps ensure that it incorporates evenly and helps prevent clumping.
- Add the eggs one at a time, mixing slowly to combine after each addition. Scrape down the sides of the bowl as needed to make sure everything is well combined.
- Add the cooled cake layer to the bottom of springform pan and add the chocolate cream cheese filling to the pan, on top of the cake layer.
- Place the springform pan inside another larger pan. Fill the outside pan with enough warm water to go about halfway up the sides of the springform pan. The water should not go above the top edge of the aluminum foil on the springform pan.
- Bake for 1 hour, 15 minutes. The center should be set, but still jiggly.
- Turn off the oven and leave the door closed for 30 minutes. The cheesecake will continue to cook, but slowly begin to cool as well.
- Crack the door of the oven for 30 minutes to allow the cheesecake to continue to cool slowly. This process helps prevent cracking.
- Remove the cheesecake from the oven and water bath wrapping and refrigerate until firm, 5-6 hours or overnight.
- Once completely cool and firm, remove the cheesecake from the springform pan and place on a serving plate.
- To make the whipped cream, add the cream, cocoa powder, powdered sugar and vanilla extract in a large mixing bowl and whip on medium speed until stiff peaks form. It will happen quickly.
- Pipe the whipped cream onto the outer edge of the cheesecake, then finish it off with sprinkles if desired. Refrigerate until ready to serve.