Flavorful Grilled Potatoes How Easy They Are
There’s nothing quite like the smell of freshly baked bread filling the house on a chilly morning. It instantly makes everything feel warm and comforting, like a hug from someone you love. I remember waking up to my grandma’s kitchen, her humming softly as she slid a loaf out of the oven, the sweet aroma of cinnamon swirling through the air. That feeling—those cozy, nostalgic mornings—are what inspired me to perfect this zucchini cinnamon swirl bread. It’s honestly become a family favorite, especially because it’s ridiculously easy and just a little bit indulgent. Plus, I love that my kids ask for this all the time; they practically fight over the last slice!
This isn’t just your average quick bread—it’s got a fun cinnamon swirl, tender zucchini that makes it moist without extra fat, and a touch of sweet glaze that makes it irresistible. And the best part? It’s one of those recipes you can throw together on a busy weekday morning and still have breakfast served in under an hour. Trust me, once you try this, it’ll be your new weekend staple or a lovely gift for friends. It’s cozy, it’s nostalgic, but most importantly, it’s really, really good.
What is Zucchini cinnamon swirl bread?
Think of this zucchini cinnamon swirl bread as a beautifully moist, yeasted quick bread with a surprising twist. It’s essentially a loaf that combines the healthiness of zucchini—yes, the garden vegetable—with the warm, comforting spices of cinnamon and sugar. The name might sound fancy, but it’s as simple as mixing a batter, layering some cinnamon sugar, swirling it around, and baking until golden. The zucchini adds moisture and a subtle vegetable flavor, but it’s mostly about creating this soft, tender crumb that melts in your mouth. My friends often ask, “Is there really zucchini in here?” and I always smile and say, “Yep, but you won’t even taste it, I promise!” If you love cinnamon rolls but don’t want all the fuss or the extra guilt, this loaf hits all the right notes with way less effort. Think of it as a grown-up, slightly healthier version of a cinnamon roll that you can slice and enjoy for breakfast, brunch, or an afternoon snack.
Why you’ll love this recipe?
What I love most about this zucchini cinnamon swirl bread is how incredibly versatile it is. It’s one of those recipes that I’ve made countless times, and it’s always a hit. The flavor? Oh, it’s just perfect—warm cinnamon with just a hint of sweetness mingling with that tender zucchini and soft dough. Honestly, the smell alone brings everyone rushing into the kitchen, asking, “When’s it ready?” The aroma is almost better than tasting it, I swear. And speaking of easy, this isn’t some complicated bread that needs a fancy mixer or hours of proofing. It’s dumb-proof, which is exactly what I need during busy mornings.
Additionally, this bread is budget-friendly—most of the ingredients are pantry staples: flour, sugar, cinnamon, and zucchini from the veggie drawer that might otherwise go bad. Plus, it’s super adaptable. Want to add walnuts or chocolate chips? Go for it! Prefer a less sweet version? Just cut back on the sugar. What I love most about this is how it combines a bit of nostalgia with practicality—you can whip it up whenever you need a comforting breakfast or a sweet treat that’s also kind of healthy! I’ve tested this with almond milk, and let me tell you—creamy and rich. It’s a lifesaver on busy nights when I want something warm and homey without spending a ton of time in the kitchen. Whether it’s for breakfast at your family table or sharing with neighbor friends, this loaf is bound to become a go-to.
How do you make Zucchini Swirl Bread?
Quick Overview
This bread starts with a simple batter made from flour, sugar, eggs, and shredded zucchini. The star of the show is the cinnamon sugar swirl, which gets layered into the batter to create beautiful marbled pockets of warm spice. It’s baked until golden and topped with a quick glaze for extra sweetness. The process is straightforward but results in a stunning, delicious loaf that looks as inviting as it smells. The trick is to not overmix, so your bread stays tender and airy. I always do this when I need something comforting but quick—I love how it fills the house with cozy smells and disappears in minutes at my house!
Ingredients
For the Main Batter:
– 2 cups all-purpose flour (I like to use unbleached for a richer flavor)
– 1/2 cup granulated sugar
– 1 tablespoon baking powder
– 1/2 teaspoon salt
– 1 teaspoon cinnamon (more if you love it spicy!)
– 1/2 cup vegetable oil or melted butter
– 3 large eggs
– 1 cup grated zucchini (squeeze out excess moisture so it doesn’t make your batter too wet)
– 1 teaspoon vanilla extract
For the Filling:
– 1/4 cup brown sugar
– 1 tablespoon cinnamon
– 2 tablespoons melted butter or coconut oil (for richness)
– Optional: chopped nuts or chocolate chips for extra flair
For the Glaze:
– 1/2 cup powdered sugar
– 1-2 teaspoons milk or cream
– A dash of vanilla or lemon zest (for a bright touch)
Step-by-Step Instructions
Step 1: Preheat & Prep Pan
Set your oven to 350°F (175°C). Grease a standard loaf pan—I just use butter and a sprinkle of flour or line it with parchment paper. Having everything ready makes the process smoother. It’s the kind of thing I always forget to do and then scramble while the oven heats—trust me, do this first!
Step 2: Mix Dry Ingredients
In a large bowl, whisk together the flour, sugar, baking powder, salt, and cinnamon. This step is crucial because it ensures everything’s evenly distributed. I do this by hand with a whisk; it’s faster and prevents overmixing later. Your batter shouldn’t be lumpy, but don’t worry if a few streaks of flour stay—just don’t overdo it.
Step 3: Mix Wet Ingredients
In a separate bowl, beat the eggs, then add the oil (or melted butter), vanilla, and grated zucchini. I’ve tested this with various types of zucchini—both straight from the garden and store-bought—just make sure to squeeze out extra moisture so your bread isn’t soggy. Mix until well combined—you want that zucchini evenly distributed without overmixing.
Step 4: Combine
Pour the wet mixture into the dry ingredients and fold gently with a spatula. Here’s the trick: don’t overmix. Stir just until the flour streaks disappear. Overmixing can make the bread dense instead of tender. If you see a few lumps—good! That’s what keeps it fluffy. This is also when I add optional chocolate chips or nuts because I like seeing little surprises in every slice.
Step 5: Prepare Filling
Mix the brown sugar, cinnamon, and melted butter. It should look crumbly but hold together when pressed. If you’re adding nuts or chocolate chips, fold them into this mixture. This filling layer gives the bread its signature swirl—think of it as the cinnamon’s cozy hug inside each slice.
Step 6: Layer & Swirl
Pour half of the batter into your prepared pan. Spread the cinnamon filling evenly over the surface. Then top with the remaining batter. Using a skewer or a butter knife, gently swirl through the batter to create pretty marbled patterns. Don’t overdo it—just enough to see the cinnamon streaks pop through once baked. It’s honestly my favorite part—each loaf looks like a work of art!
Step 7: Bake
Pop it into your preheated oven and bake for about 50-60 minutes. Check for doneness by inserting a toothpick into the center—it should come out clean. If it’s browning too fast, tent with foil. Every oven is different—I’ve found that my oven sometimes needs a bit more time, so don’t be alarmed if it’s not exact. Rest assured, this loaf is worth the wait!
Step 8: Cool & Glaze
Let the bread cool in the pan for about 15 minutes, then transfer to a wire rack. Drizzle with your prepared glaze while it’s still warm; this melts into the cracks and makes each slice extra special. If you prefer a less sweet finish, skip the glaze—you’ll love the cinnamon’s warmth without it.
Step 9: Slice & Serve
Once cooled completely, slice with a serrated knife—wet the blade slightly for cleaner cuts. Serve warm or at room temperature. It’s fantastic with a cup of coffee or tea. My family loves to toast slices, butter them generously, and watch the cinnamon swirl specks glisten on each piece.
What to Serve It With
This zucchini cinnamon swirl bread is so versatile, I often serve it in multiple ways. For breakfast, it’s pure heaven toasted with a bit of butter or cream cheese. I usually pair it with my morning coffee—nothing fancy, just a good strong brew to match the cozy vibes. On weekend brunches, I love adding a dollop of Greek yogurt and fresh berries on the side, turning it into a more elaborate affair. As a sweet ending after dinner, it’s perfect with a scoop of vanilla ice cream or a drizzle of caramel sauce. Sometimes, my kids ask for this as an after-school snack, sliced warm and sprinkled with a little extra cinnamon — honest, I’ve caught them sneaking seconds. It’s also wonderful when you want something comforting without baking a big cake or dozens of cookies. Trust me, once you make this, you’ll find all sorts of excuses to whip up another loaf. It’s that good and that comforting.
Top Tips for Perfecting Your Zucchini Cinnamon Swirl Bread
Through all my tries and errors, I’ve picked up a few tricks that make this bread turn out picture-perfect every time. First, always squeeze out excess moisture from your zucchini—trust me, it’s a game changer. Too much water can make your bread dense or gooey. I learned this after my first attempt, which ended with a soggy mess—lesson learned!
When mixing your batter, less is more. Overmixing ruins the delicate crumb we’re after. Fold gently and stop as soon as the flour disappears. Also, don’t skip the swirl—it adds so much visual interest and flavor. For a richer kick, I sometimes brush the top with melted butter before baking, which gives an irresistible golden finish.
If you want to switch things up, try crushed walnuts, chopped dark chocolate, or even a splash of orange zest in the batter. Just keep the ratios in check so the bread isn’t overwhelmed. Baking tips? Rotate the loaf halfway through for even coloring, and remember, every oven is different. Use a toothpick to test—no one wants a raw middle or a burnt crust! The glaze is optional but adds a lovely, glossy finish—and trust me, it’s the cherry on top. I’ve tested it with almond extract, lemon zest, and even a drizzle of honey—each version feels like a little special treat.
Over the years, I’ve had my share of mishaps—like overfilling the pan or forgetting to sift the flour. Now I know to fill the pan no more than two-thirds, because it rises quite a bit. Also, I sometimes add an extra pinch of cinnamon to the filling or sprinkle a little coarse sugar on top for crunch. Small tweaks make a big difference in personalizing your loaf, so don’t be afraid to experiment and make it your own.
Storing and Reheating Tips
This bread stays lovely for a couple of days at room temperature, especially if you keep it wrapped in a clean towel or in an airtight container. I like to keep it on a wire rack so air circulates and it doesn’t get soggy. If I know it won’t be finished quickly, I stash slices in the fridge—just make sure to wrap them tightly. To reheat, I pop slices in the toaster or microwave for a few seconds until warm and soft. For longer storage, the freezer’s your friend: wrap the loaf tightly in plastic wrap and foil, then freeze for up to three months. When you’re ready, thaw on the counter or reheat from frozen for a warm, fresh-baked feel. If you’ve glazed it, reheat with the glaze on top for that gooey, sticky touch. Once, I forgot to add the glaze and regretted it—so, I always say do it while the bread is still warm. That glaze seeps into the nooks, making every bite even more delightful.
Frequently Asked Questions
Final Thoughts
This zucchini cinnamon swirl bread has truly become a comfort in my home—something I turn to whenever I need a little bit of warmth, sweetness, or just a reminder of slow weekend mornings. It’s simple enough for weekday mornings but special enough to share with friends or family. The combination of tender zucchini, fragrant cinnamon, and that gorgeous swirl makes every slice feel like a treat. Over the years, I’ve tinkered with the recipe, adding nuts, swapping ingredients, and adjusting sweetness, and it’s never let me down. It’s one of those recipes that gets better with time and practice, and I hope you find as much joy making it as I do. Happy baking, and I can’t wait to hear how yours turns out! Don’t forget to leave a comment or share your own spin—I love hearing from you. Bake joyfully!
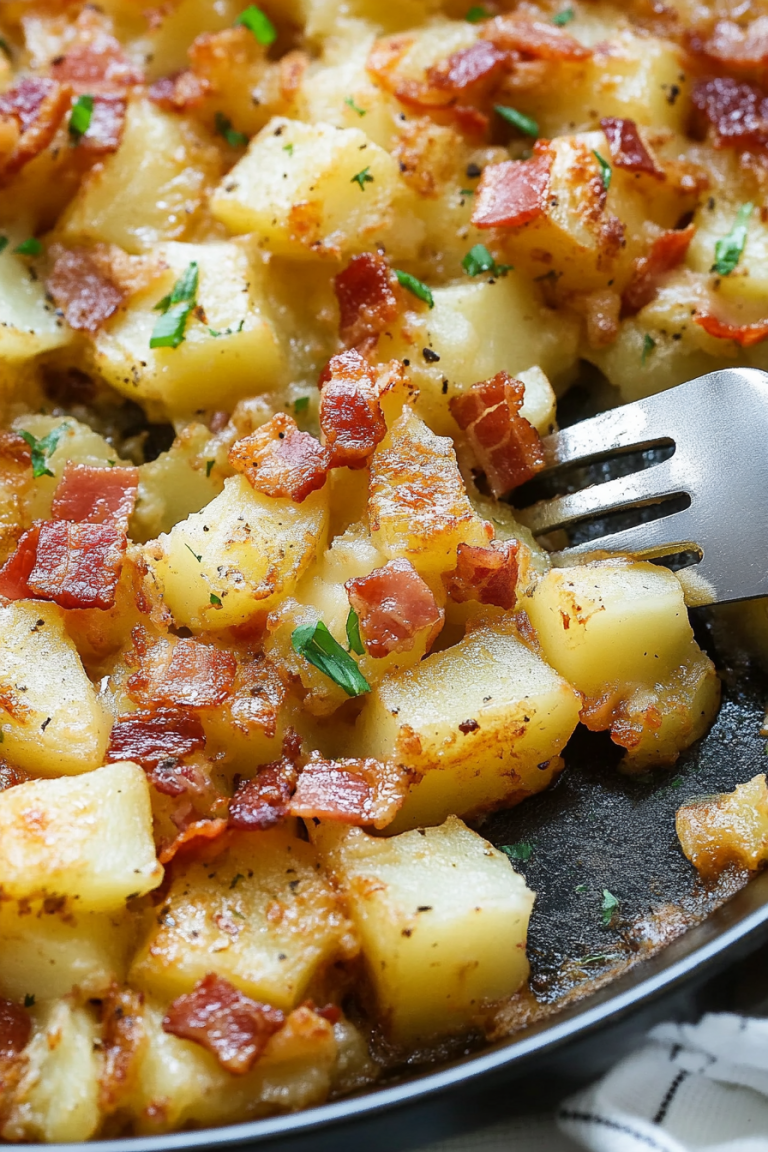
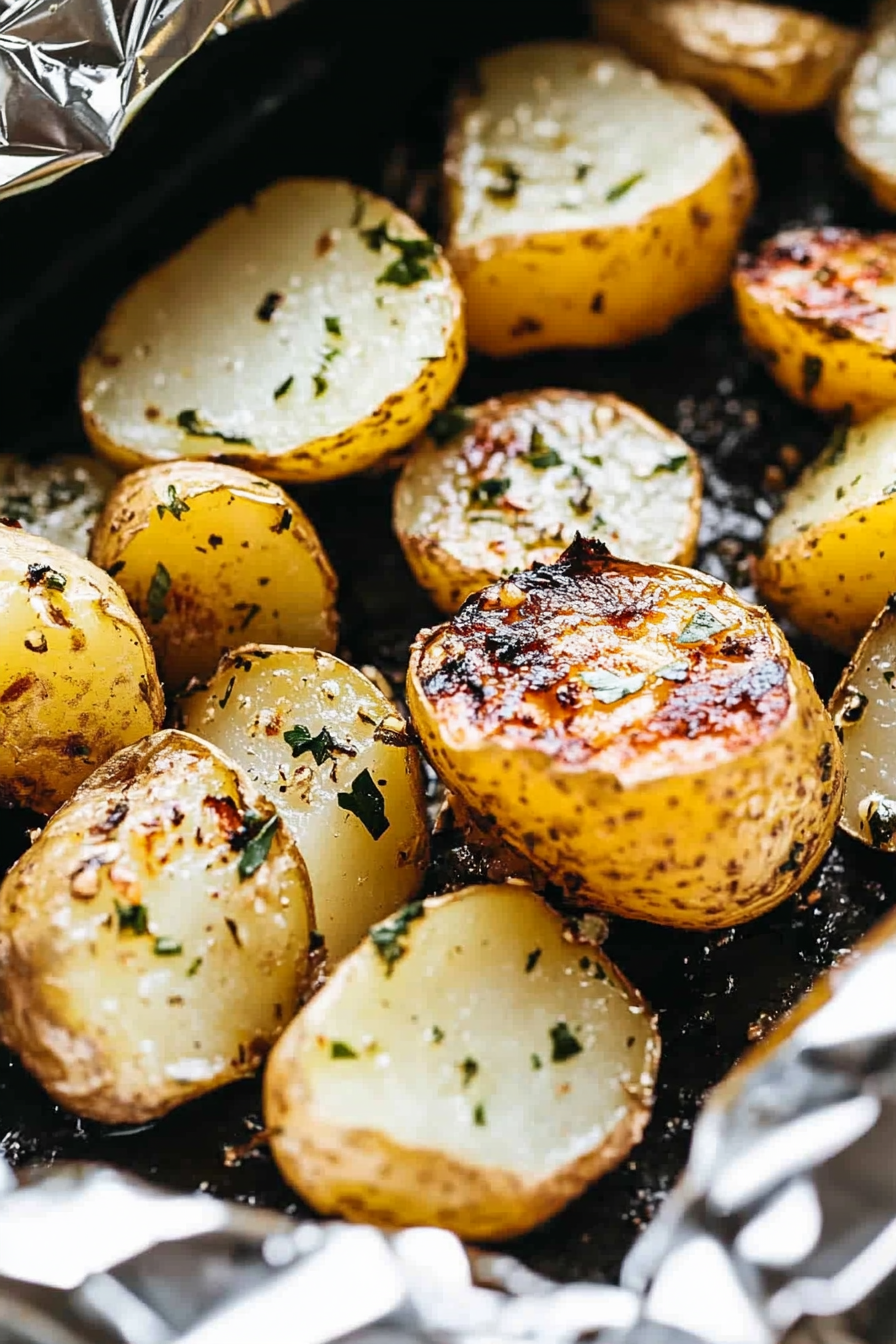
grilled potatoes
Ingredients
Method
- Preheat the grill to medium-high.
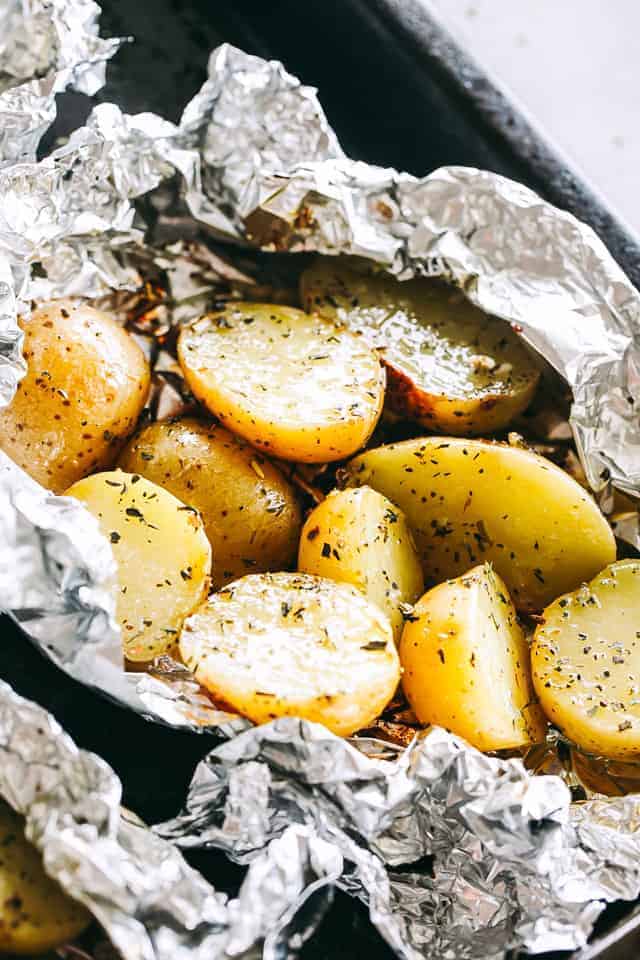
- Cut 4 large pieces of foil and set aside.
- In a large bowl, combine the halved potatoes with olive oil, garlic powder, thyme, rosemary, salt, and pepper.
- Divide the potatoes between the foils.
- Fold the sides of the foil over the potatoes, covering them completely; seal the packets closed.
- Place the foil packets on the grill and cook until tender, about 20 to 30 minutes, turning once. Pierce with a fork to check for doneness.
- Remove from grill and carefully open up each packet.
- Sprinkle with parsley and serve.