Spooky Sweets How to Make Halloween Treats
If you’re anything like me, mornings can be a bit chaotic. Kids rushing out the door, coffee brewing in the background, and somehow, I still want to sneak in a treat that feels indulgent but is secretly good for us. These zucchini chocolate chip muffins have become my go-to. Honestly, I’ve made them more times than I can count, and they never fail to bring a smile—whether it’s my kids asking for seconds or me stealing a quiet moment on the porch with coffee and a warm muffin in hand. The smell alone, melting chocolate mingled with that earthy scent of zucchini, makes the whole house feel cozy. Plus, what’s better than sneaking in some extra veggies into a sweet snack? It’s kind of like dessert and dinner rolled into one, and I promise, no one will guess there’s zucchini hiding inside—except maybe the fact that these muffins are insanely good.
What is Zucchini Chocolate Chip Muffins?
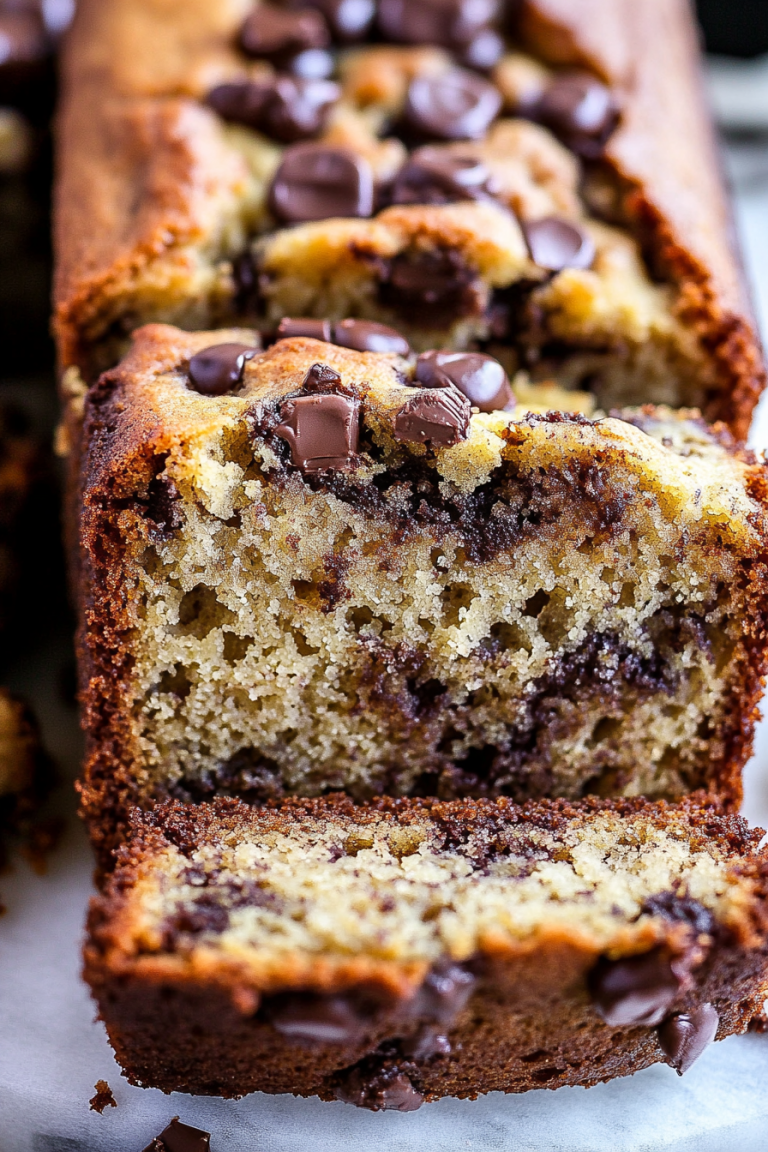
Think of zucchini chocolate chip muffins as a quick, friendly hug from your kitchen—soft, moist, bursting with chocolate goodness and a sneaky little veggie boost. It’s essentially a bake-tastic way to get kids and adults alike to enjoy zucchini without the fuss. The name might sound fancy, but these muffins are super simple to whip up—no fancy equipment needed, just a handful of pantry staples and a few minutes of mixing. They’re kind of like zucchini bread’s playful cousin—sweet, tender, and perfect for breakfast, snack time, or even a late-night craving. The idea started years ago when I wanted to clear out my fridge and had a bunch of zucchini left over—this recipe is the delicious result of that experiment. It’s versatile, forgiving, and honestly, one of those recipes I test every season, whether it’s summer zucchini or winter leftovers. Think of it as comfort food in muffin form—precisely what I need on busy mornings and lazy weekends alike.
Why you’ll love this recipe?
What I love most about these zucchini chocolate chip muffins is how they manage to be moist, flavorful, and downright addictive—all with minimal effort. They’re a lifesaver on busy nights or when I need a little sweet pick-me-up that’s not *too* guilty. The flavor is a cozy mix of warm chocolate, tender muffin crumb, and those subtle earthy notes from the zucchini. Plus, they’re flexible—you can add walnuts, coconut, or even swap out the chocolate chips for dried fruit or white chocolate, which makes every batch a little different and fun. Budget-wise, they don’t require fancy ingredients—just basic pantry staples and one or two zucchinis, which I always have lying around when summer harvest hits. What I also love is how adaptable they are: I’ve tested this with almond milk, and it made the muffins even a bit creamier—trust me on this one. My kids ask for these all the time, and they disappear within minutes! Honestly, they’re the kind of thing that, once you make, you’ll want to keep baking over and over. It’s the perfect balance of wholesome and indulgent, and I swear, they taste even better the next day—if they last that long.
How do you make Zucchini Chocolate Chip Muffins?
Quick Overview
This recipe comes together kinda like a breeze—mix your dry ingredients, whisk your wet ones, combine gently, fold in chocolate chips, and bake. The secret is in not overmixing; it keeps the muffins fluffy and tender. I usually prep my zucchini first by grating it finely and squeezing out excess moisture—this keeps the muffins from becoming too dense. Baking at 375°F (190°C) for about 20-25 minutes yields perfectly moist muffins with just the right rise. It’s honestly a one-bowl job with minimal fuss, which makes it my go-to for weekends or random weekday treats. And guess what? If you’re short on time, you can even toss the batter into muffin tins without much cleanup. Plus, these freeze like a dream—pop them in a zip bag, and you’ve got breakfast for days. And yes, I’ve had muffin crumbles straight from the freezer—delicious and still moist. So, once you get the hang of this quick method, it’s just a matter of mixing, baking, and enjoying!
Ingredients
For the Main Batter:
– 2 cups all-purpose flour (I like unbleached, but regular works fine)
– 1 teaspoon baking soda
– ½ teaspoon baking powder
– ¼ teaspoon salt
– 1 teaspoon ground cinnamon (optional but adds warmth)
– ¾ cup granulated sugar (or feel free to reduce a bit!)
– ½ cup vegetable oil or melted coconut oil
– 2 large eggs
– 1 teaspoon vanilla extract
– 1 cup grated zucchini (squeeze out excess moisture)
For the Filling:
– ½ to ¾ cup chocolate chips (semi-sweet or dark, your choice)
– Optional: chopped nuts or dried fruit for variation
For the Glaze:
– ½ cup powdered sugar mixed with a teaspoon of milk or lemon juice (adjust for desired thickness)
– Optional: a sprinkle of sea salt or vanilla for flavor enhancement
Step-by-Step Instructions
Step 1: Preheat & Prep Pan
I always start by preheating my oven to 375°F (190°C). While that warms, line a muffin tin with paper liners or spray it with non-stick spray. If you’re using paper liners, I like to give them a quick spritz—they stick better and make cleanup easier. Grate your zucchini now, then roll it in a clean dish towel or paper towel and squeeze out all that excess moisture. Moisture is the muffin’s enemy—it can make the muffin dense, so hanging out with a sponge or cheesecloth is definitely worth it here.
Step 2: Mix Dry Ingredients
In a large bowl, whisk together the flour, baking soda, baking powder, salt, and cinnamon. I do this step first to make sure everything is evenly distributed—trust me, it makes a difference. The dry ingredients form the base, giving the muffins that tender crumb we’re after.
Step 3: Mix Wet Ingredients
In another bowl, whisk together the oil, sugar, eggs, and vanilla until smooth and slightly frothy. I usually do this right in my measuring cup for fewer dishes. The eggs should be well incorporated—this is what keeps the muffins soft and moist. If I want a little extra flavor, I sometimes add a splash more vanilla here, but it’s totally optional.
Step 4: Combine
Now, pour the wet mixture into the dry and fold gently with a spatula until just combined. Do not overmix—that’s how gluten develops and you end up with tough muffins. You should see a few lumps; that’s perfect. Overmixing is my number one rookie mistake, and I’ve learned to just fold until the batter looks a bit streaky but combined.
Step 5: Prepare Filling
Fold in the chocolate chips and any optional nuts or dried fruits now. I usually sprinkle a few extra on top before baking—they look pretty and melt nicely into the muffin tops. This step is all about customizing to your taste.
Step 6: Layer & Swirl
Fill your muffin cups about three-quarters full with batter. For a fun twist, you can swirl in a spoonful of jam or peanut butter in the middle before baking. The swirl technique adds a burst of flavor and makes each muffin look a little more special—my kids love watching me do it!
Step 7: Bake
Pop them into the oven and bake for about 20-25 minutes. I start checking at around 20 minutes by inserting a toothpick—if it comes out clean, they’re ready. If they’re golden brown on top and smell amazing, you’re golden. My oven tends to run hot sometimes, so I keep an eye on that last five minutes to prevent over-baking.
Step 8: Cool & Glaze
Let the muffins cool in the tin for about 10 minutes so they set up. Then transfer them to a wire rack. Once they’re just warm, drizzle your glaze or dust with powdered sugar if you prefer it a little less sweet. I like the glaze because it adds a little extra shine and flavor, but honestly, these are perfect even without it.
Step 9: Slice & Serve
Serve them warm or at room temperature—personally, I think they taste even better the next day, especially once the chocolate has set and the flavors have mingled. They make a pretty presentation on a plate with a cup of fresh coffee or a glass of milk. My husband sneaks these for breakfast, and my kids practically fight over the last muffin. That, my friend, is the true sign of a winner.
What to Serve It With
If you’re pondering what to serve alongside these muffins, think about the occasion. For a quick breakfast, a hot cup of coffee or a tall glass of milk paired with the muffins creates that cozy morning vibe. I love to add a dollop of yogurt or a handful of fresh berries for texture and brightness. On weekends, I sometimes turn it into a mini brunch with scrambled eggs, crispy bacon, and fresh orange juice—these muffins are the hero of any spread. As a dessert, they’re just dreamy with a scoop of vanilla ice cream or a drizzle of caramel sauce. And if you’re like me, sometimes I grab one with tea in the late afternoon for a relaxing moment of zen. Over the years, I’ve tried different combos—adding coconut flakes or even swapping in white chocolate chips—and I swear, each variation is a hit. Once I realized how versatile these are, I started baking a batch every week. They bring a cheerful, nostalgic vibe to my everyday, and I hope they do the same for you.
Top Tips for Perfecting Your Zucchini Chocolate Chip Muffins
This recipe is pretty forgiving, but I’ve picked up a few tricks over the years to make sure every batch is a winner. First, always squeeze out as much moisture from the zucchini as possible—otherwise, your muffins might be denser than you’d like. Use a clean kitchen towel or cheesecloth—trust me, it’s worth the extra minute. When mixing the wet and dry ingredients, fold gently—no stir-frying here! Overmixing can turn your muffins into bricks, and nobody wants that. I also highly recommend adding the chocolate chips last—gently folding them in helps prevent them from sinking to the bottom. For flavor variations, I’ve tested brown sugar instead of white, which adds a caramel touch—and coconut oil instead of neutral oil is amazing if you want a richer flavor. If you prefer a vegan version, swap eggs for flaxseed meal mixed with water and use dairy-free chocolate chips—works perfectly! Baking times can vary depending on your oven—my tip is to start checking at 20 minutes and look for that golden-brown color. For the glaze, making it thicker makes it easier to drizzle and more indulgent. And honestly, don’t be afraid to experiment—these muffins are forgiving and proud of it!
Storing and Reheating Tips
Once baked and cooled, these muffins stay fresh for a day or two at room temperature if covered tightly—think a beeswax wrap or an airtight container. I find that the next morning, they’re still moist and flavorful, perfect for a quick breakfast. If you want to keep them longer, toss them in the fridge—just make sure they’re well wrapped to prevent drying out. I usually reheat in the microwave for about 15 seconds—just enough to warm them without melting the chocolate too much. For longer storage, freezing works like a charm—wrap each muffin individually in plastic wrap, then pop them in a zip-top bag. They last about a month in the freezer, and I just grab a couple on busy mornings, defrost at room temperature or quick reheat in the microwave. The glaze is best added fresh, so if you’re planning to store the muffins without glaze, add it right before serving for that glossy, decadent look. When reheating, avoid overdoing it or you risk drying out the muffins—just enough warmth, and they’re soft and cozy again. Trust me, these leftovers still taste amazing.
Frequently Asked Questions
Final Thoughts
If I had to pick a favorite homemade treat, these zucchini chocolate chip muffins would be at the very top of my list. They’re cozy, forgiving, and just plain fun to make—plus, they sneak in some veggies without anyone noticing! Every time I bake a batch, I feel like I’m creating a little moment of happiness to share with my family. They’re perfect for breakfast on hectic mornings or a sweet afternoon break. I hope you give these a try and that they become part of your baking repertoire too. Trust me, once you do, you’ll be hooked! Remember, the best part of baking is making it your own—so feel free to experiment, swap ingredients, and enjoy every bite. Happy baking, and I can’t wait to hear how your muffins turn out!
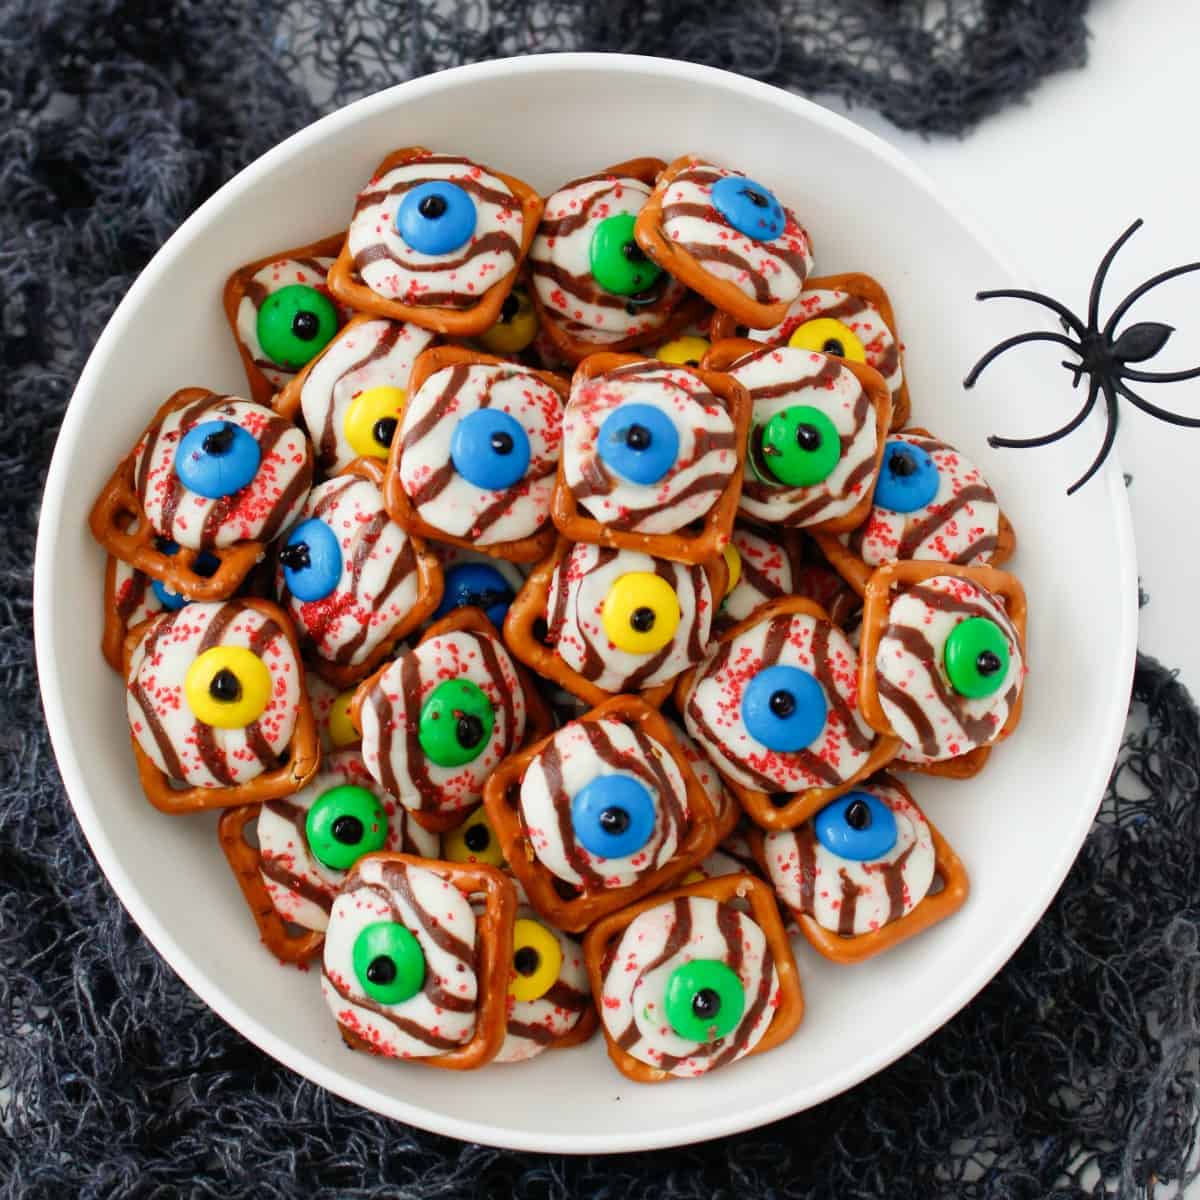
Halloween Treats
Ingredients
Method
- Melt the candy melts according to package instructions until smooth.
- Dip each pretzel stick into the melted candy, ensuring it is fully coated, then place on parchment paper to set.
- Once the coating is set, attach a googly eye to each pretzel with a small dab of melted candy.
- Allow the eyes to set completely before serving. Optionally, use edible markers to add spooky details.