Zesty Raspberry Lemon Cake Recipe
You know those days when life feels busy and your energy is low, but all you really want is something warm, sweet, and homey? That’s when I pop open my recipe box and reach for my tried-and-true Zucchini Swirl Loaf. It’s like a cozy hug in bread form. I’ve made this countless times, and somehow, it’s always special — maybe because it reminds me of Sunday mornings at my grandmother’s house or those quick, spontaneous baking sessions I sneak in after the kids are asleep. The smell alone brings everyone to the kitchen — buttery, slightly cinnamon-scented, with hints of vanilla. My kids ask for this all the time, and honestly, it’s one of those recipes that I don’t mind making because it’s straightforward, budget-friendly, and a total crowd-pleaser. Plus, the secret ingredient—zucchini—keeps it moist and sneaky; my teenager never guesses it’s there, which is a little win in my book. Trust me on this one: whether it’s breakfast, a quick snack, or a comforting dessert, this zucchini swirl loaf always disappears in minutes at my house. Let me guide you through making your own—you’ll see, this one’s a lifesaver on busy nights!
What is Zucchini Swirl Loaf?
Think of this zucchini swirl loaf as a cross between a moist banana bread and a gorgeous cinnamon roll—just with a veggie twist. It’s essentially a quick bread that’s packed with shredded zucchini, which keeps it incredibly tender, and swirled with a cinnamon-sugar mixture that gives it a lovely marbled look and warm flavor. The name “swirl” comes from how the cinnamon filling is layered and gently marbled into the batter before baking, creating a pretty, irresistible pattern. It’s a loaf that’s sweet enough for dessert but wholesome enough for breakfast or an afternoon snack. The idea actually came from childhood mornings when my mom would bake zucchini bread, but I wanted to give it a little more flair—hence, the swirl! It’s so versatile, too—you can tweak the spices, add nuts, or even swap out sugar for honey. Either way, it’s a simple, satisfying treat that feels like a hug from the oven, and I promise—it’s way better than those crumbly, dry zucchini muffins you find at the grocery store.
Why you’ll love this recipe?
Honestly, what I love most about this zucchini swirl loaf is how it manages to be fancy and cozy all at once. The flavor? Out of this world. The warm cinnamon, vanilla, and touch of nutmeg—plus that gentle sweetness—make each bite addictive. And because it’s made with simple pantry ingredients, it’s a total money-saver, perfect for weeknights when you don’t want to run to the store or spend hours baking. Plus, it’s incredibly easy—no fancy techniques here, just mixing, layering, and baking — I always do this when I’ve got a handful of zucchini about to go soft in the fridge, and it’s my little secret to sneaking in some veggies without any fuss. The best part? It’s super versatile. Love chocolate? Add chips! Want it more healthy? Swap in coconut sugar. Feeling fancy? Top it with cream cheese frosting or a drizzle of caramel. This is one of those recipes that rewards creativity, and honestly, it’s become a staple in my kitchen just because it’s reliable, beautiful, and downright delicious. I’ve tested this with almond milk, and I swear, it made it even creamier—so feel free to experiment! My kids actually ask for seconds, and I happily oblige.
How do you make Zucchini Swirl Loaf?
Quick Overview
This loaf comes together quickly—just mix your batter, prepare a cinnamon-sugar filling, swirl it into the batter, and bake. The trick is in the layering: don’t overmix once you add the zucchini, or you’ll get a dense loaf. I love how flexible this is, too—you can add walnuts, chips, or even lemon zest to give it your own twist. It’s perfect for beginners and seasoned bakers alike. Bake until a toothpick comes out clean, cool it slightly, and then enjoy a slice warm from the oven or at room temp. It’s a simple, no-fuss recipe that always turns out moist and flavorful, with a irresistible swirl pattern. Make it ahead and it’s just as good the next day, which makes it a lifesaver for busy mornings or last-minute gatherings.
Ingredients
For the Main Batter:
– 2 cups all-purpose flour (I use unbleached for more flavor)
– 1 cup granulated sugar (or coconut sugar for a slight nutty flavor)
– 1 teaspoon baking powder
– ½ teaspoon baking soda
– ½ teaspoon salt
– 1 teaspoon ground cinnamon
– 2 large eggs
– ½ cup vegetable oil (or melted coconut oil)
– 1 teaspoon vanilla extract
– 1 cup shredded zucchini (squeezed dry—trust me, moisture is the enemy here)
For the Filling:
– ¼ cup packed brown sugar
– 1 tablespoon ground cinnamon
– 2 tablespoons melted butter
– Optional: chopped nuts, chocolate chips, or a splash of orange zest
For the Glaze (optional):
– ½ cup powdered sugar
– 1-2 teaspoons milk or cream
– ½ teaspoon vanilla (or lemon juice for brightness)
Step-by-Step Instructions
Step 1: Preheat & Prep Pan
Set your oven to 350°F (175°C). Grease a standard loaf pan with butter or non-stick spray, then line it with parchment paper if desired—this helps with easy removal later. I always do this because I hate breaking a loaf trying to get it out of the pan. Also, make sure your zucchini is pre-grated and squeezed dry—this is key to avoiding a soggy loaf. I do this by wrapping it in a clean kitchen towel and giving it a good squeeze over the sink. The less moisture, the better the bread turns out.
Step 2: Mix Dry Ingredients
In a large bowl, whisk together the flour, sugar, baking powder, baking soda, salt, and cinnamon. Mixing dry ingredients first ensures everything distributes evenly. It’s one of those little steps that makes a big difference; otherwise, you could end up with pockets of baking soda or uneven sweetness. I always take a moment to do this because it helps the batter come out perfect every time.
Step 3: Mix Wet Ingredients
In a separate bowl, beat the eggs lightly, then add the oil and vanilla. Whisk until smooth, then stir in the shredded zucchini. I like to do this step now so everything blends nicely before combining with the dry ingredients. The zucchini will look like a big green mess, but don’t worry—once mixed, it’ll turn into moist goodness. I’ve tested with almond milk, and it made the batter even creamier, so feel free to switch it up.
Step 4: Combine
Pour the wet mixture into the dry ingredients and gently fold until just combined. No overmixing! Overdoing it can make the bread dense instead of fluffy. The batter will be a little thick but still pourable. If you see streaks of flour, fold a few more times, but don’t go crazy. If you notice the batter’s too thick, a splash of milk can loosen it up a bit.
Step 5: Prepare Filling
Mix the brown sugar, cinnamon, and melted butter in a small bowl. If you’re adding nuts or chocolate chips, stir them in now. This mixture should be crumbly but moist enough to spread. I love adding a handful of chopped pecans for crunch, but honestly, it’s delicious even plain. My kids love when I sprinkle a few extra chips on top before baking—gotta keep the little ones happy, right?
Step 6: Layer & Swirl
Pour half the batter into your prepared loaf pan. Then spread the cinnamon-sugar filling evenly over, followed by the remaining batter. Using a butter knife or skewer, gently swirl the layers to create a marbled effect—be careful not to overmix or you’ll lose the pretty pattern. I like to do slow figure-eights or gentle zigzags. This swirling makes it look so pretty when sliced, and the flavor is more evenly distributed.
Step 7: Bake
Pop it into the oven and bake for about 50-60 minutes. Start checking at around 50 minutes by inserting a toothpick in the center; if it comes out clean, it’s ready. Keep in mind that oven temps vary—a fan oven may be slightly faster. If the top browns too quickly, tent it with foil for the last 10 minutes. Patience is key, but believe me, the smell alone will make you want to sneak a piece early.
Step 8: Cool & Glaze
Once out of the oven, let the loaf cool in the pan for at least 15 minutes. This prevents it from falling apart and makes slicing easier. If you’re adding a glaze, mix powdered sugar with a splash of milk and vanilla until smooth. Drizzle it over the loaf while still warm to let it soak in slightly. You can also sprinkle chopped nuts or zest for extra flair. Trust me, the glaze makes it feel a little fancier, but it’s totally optional.
Step 9: Slice & Serve
Using a serrated knife, cut into thick slices and serve at room temperature or warmed for a few seconds in the microwave. I love how it’s soft, moist, and almost melt-in-your-mouth good. Sometimes I warm a slice then spread a little butter or cream cheese on top—heaven! It’s perfect with a cup of coffee or tea, or just by itself when you need a quick pick-me-up.
What to Serve It With
This zucchini swirl loaf is incredibly versatile. For breakfast, serve it with a dollop of Greek yogurt and fresh berries—my kids love this combo. When I make brunch, I like to pair it with a sparkling mimosa or a hot cup of coffee with a good splash of milk. As a sweet dessert, it’s fantastic on its own or with a scoop of vanilla ice cream on the side—it’s like a fancy bread pudding. This loaf also makes a lovely gift; slice it up, wrap it in parchment and a ribbon, and you’ve got a thoughtful, homemade present. When I need a cozy snack, I toast a slice and spread it with peanut butter or nut butter—so satisfying. Honestly, it’s the one recipe I keep returning to because it hits all the marks—delicious, easy, and customizable.
Top Tips for Perfecting Your Zucchini Swirl Loaf
After making this so many times, I’ve learned a few tricks that make all the difference. First, drain your zucchini well—it’s tempting to skip this, but excess moisture is the enemy of fluffy bread. I’ve tested shredding zucchini with a box grater and also using a food processor—it works either way, just squeeze out as much moisture as possible.
When mixing the batter, fold gently—overmixing is the silent loaf-killer. The goal is just combined ingredients with no streaks of flour. For the swirl, I recommend slowing down—take your time to pour the batter in layers and swirl softly. Pattern-wise, I like doing a figure-eight motion, but gentle zigzags work great too, especially if you want a more chaotic, rustic look.
If you want to customize the flavor, try adding lemon zest for brightness or chopped nuts for crunch. I’ve even tested with a splash of orange extract instead of vanilla—delicious! The key is balancing sweetness and spice—taste your cinnamon mixture before layering, you might want to add more sugar if you like it extra sweet or more cinnamon for bold flavor.
For baking, I always position my rack in the middle of the oven and keep an eye on the loaf after about 50 minutes. If it browns too fast, a quick foil tent prevents burning. When testing for doneness, I prefer a toothpick inserted in the center to come out clean—if it’s moist but not wet, you’re all set. You can even slightly underbake for a gooey center if you like it soft.
Finally, I recommend experimenting with the glaze—adding a splash of citrus juice or mixing in a touch of cocoa powder can totally change the flavor profile. This loaf is your playground; have fun with it!
Storing and Reheating Tips
This loaf stays fresh for a couple of days if stored properly. I usually wrap it tightly with plastic wrap or store it in an airtight container at room temperature for up to 2 days. If you want it to last longer, pop it in the refrigerator—just make sure it’s well wrapped, or it might dry out. I’ve found that refrigerating actually helps the flavor settle in—plus, it’s easier to slice when cold.
For longer storage, freezing is the way to go. Wrap slices individually in plastic wrap, then place in a zip-top bag or airtight container. They’ll keep for up to 3 months. When you want to enjoy it, just defrost for about 15-20 minutes at room temperature or microwave for 20 seconds—perfect for a quick breakfast. If you’re adding glaze, I recommend drizzling it after reheating, or the sugar might get a little sticky in the fridge.
Reheating a slice in the microwave for 10-15 seconds restores some of its freshness—it’s almost like it just came out of the oven. The smell alone will make you smile. My family thinks this loaf tastes better the next day, once the flavors have had time to meld, so I usually bake it the night before a busy morning or weekend brunch.
Frequently Asked Questions
Final Thoughts
Honestly, this zucchini swirl loaf has become one of my favorite baking secrets. It’s delicious, adaptable, and always turns out beautifully—no matter how many times I make it. Every slice reminds me that simple ingredients, when combined with a little love and patience, can create something truly special. Whether you’re baking for family, friends, or just yourself on a lazy afternoon, I hope you enjoy making and eating this as much as I do. The best part? You can get creative—add chocolate chips, citrus, or nuts—and make it your own. Give it a try, and I’d love to hear how yours turns out. Happy baking, friends!
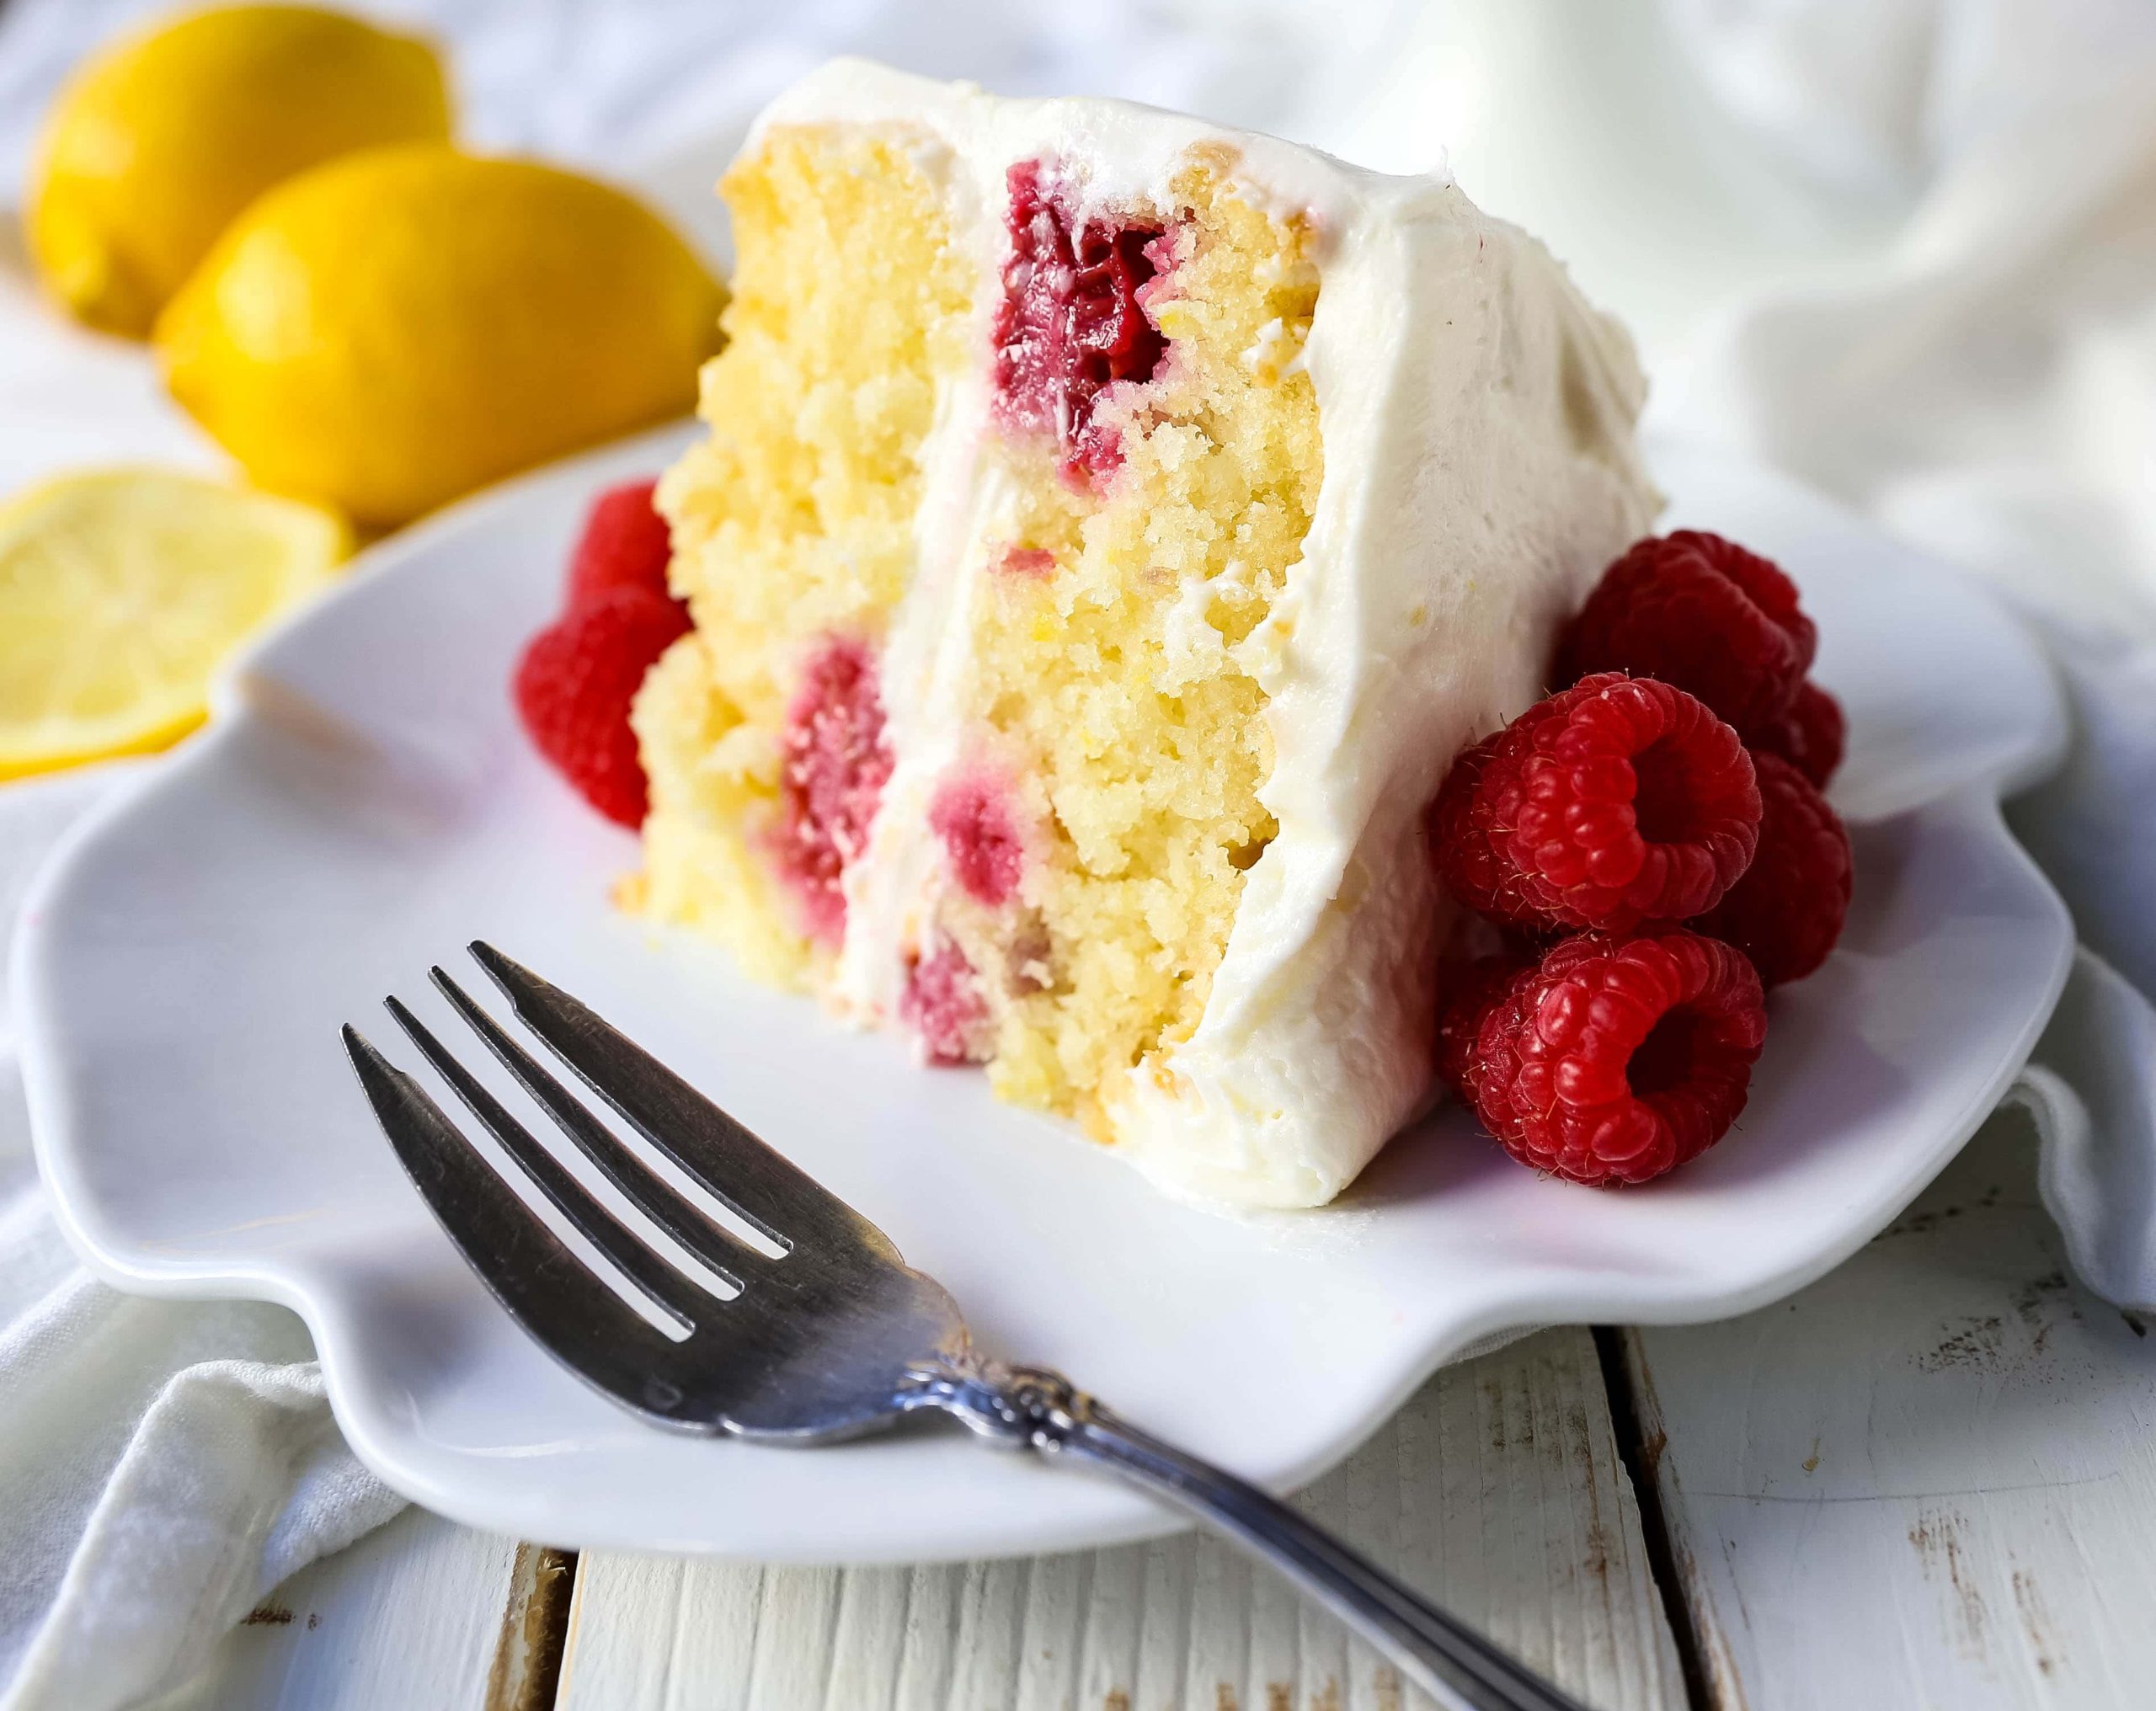
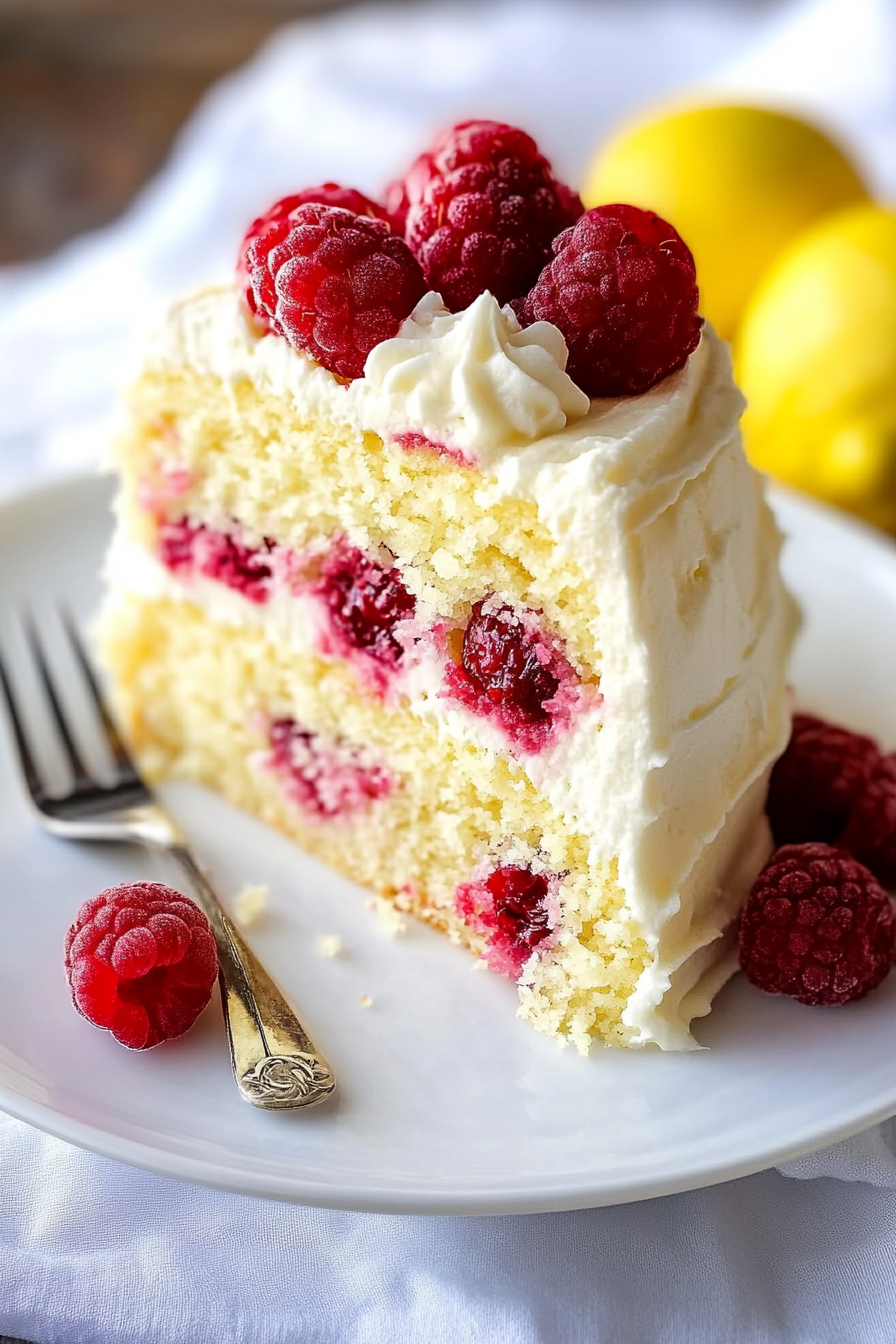
lemon raspberry cake
Ingredients
Method
- Preheat oven to 325 degrees. In a large mixing bowl, add oil, eggs, buttermilk, lemon juice, and lemon zest. Cream for 2 minutes.
- In large bowl, add sugar, flour, baking powder, baking soda, and salt. Stir into egg mixture and fold.
- In a small bowl, carefully toss raspberries with 2 tablespoons of flour to coat them. Fold into the batter.
- Spray three 8-inch or three 9-inch cake pans with nonstick cooking spray. Place batter into baking pans. Bake for 20-26 minutes (8-inch pans) or 19-23 minutes (9-inch pans), until toothpick comes out clean. Cool.
- To make Lemon Cream Cheese Frosting: Cream together butter and cream cheese for 4-5 minutes until light and fluffy, scraping sides of bowl often. Add powdered sugar, lemon juice, and lemon zest and mix until smooth. Chill.
- Remove cakes from pan. Spread frosting on top of one cooled cake layer. Place the other cake layer on top and spread frosting all over. Garnish with fresh raspberries and lemon slices. Optional: Chill for 20-30 minutes to set.