Spice Up Your Tacos Simply
There’s something about this zucchini swirl cake that instantly takes me back to Sunday afternoons at my grandmother’s house. The smell of warm vanilla, the gentle swirl of creamy filling, and that tender crumb that melts in your mouth — it’s pure nostalgia. I’ve made this countless times, and honestly, it never fails to wow both family and friends. Plus, it’s one of those recipes that’s surprisingly easy to whip up on a busy weeknight or when you want to impress without fuss. My kids ask for this all the time, and I swear, it disappears in minutes at my house. If you’re anything like me — always on the lookout for cozy, satisfying treats that don’t require hours in the kitchen — you’re in for a real treat. And trust me, once you try making this at home, it’ll become your go-to whenever you need a sweet hug in cake form. Ready to get baking? Let’s do it! This one’s a lifesaver on busy nights or whenever you want to sneak some veggies into dessert. Love that!
What is Zucchini Swirl Cake?
Think of zucchini swirl cake as a delightful twist on the classic coffee cake, but with a sneaky, wholesome upgrade. It’s essentially a moist, tender cake that’s subtly flavored with cinnamon and vanilla, layered or marbled with a rich, sweet filling. The ‘swirl’ part comes from gently blending a cinnamon-sugar mixture into the batter, creating beautiful marbled patterns when you slice into it. Its unexpected ingredient, zucchini, keeps the cake moist and adds a nice, mild vegetable boost. People often ask, “Is it healthy?” Well, it’s definitely better for you than a purely buttery cake, but I’d say it’s just right — indulgent enough to satisfy a sweet tooth, yet packed with enough veggie goodness to feel a little smart about it. Looking for an easy dessert that feels fancy but is truly homey? This is it. It’s like giving grandma’s coffee cake a fresh, modern makeover — and I promise, it’s just as comforting!
Why you’ll love this recipe?
What I love most about this zucchini swirl cake is how versatile and forgiving it is. The flavor profile is just perfect: the warm cinnamon and vanilla mingle beautifully with the delicate sweetness of the filling, and the zucchini keeps everything super moist—even a day later. Plus, it’s made with ingredients I almost always keep in my pantry, which makes it a real lifesaver when you’re craving something sweet but don’t want to go grocery shopping. The batter comes together in minutes — no fancy tools required — and the swirl technique adds a professional touch that makes it look fancy but requires zero decorating skills. I’ve made this for brunch, after dinner, and even as a quick weekend breakfast when my kids are begging for “something special.” The best part? You can customize it so easily. Swap out the filling for nuts or berries, change the glaze’s flavor, or even add a handful of chocolate chips. It’s endlessly adaptable, and that’s why it’s become a family favorite. And honestly, the smell alone — cinnamon and vanilla wafting through the house — is enough to make everyone come running. This one’s a cozy hug in dessert form, and it never, ever disappoints.
How do I make Zucchini Swirl Cake?
Quick Overview
This cake is all about balance: a soft, fluffy base with pockets of cinnamon-sugar goodness swirling through, topped off with a simple glaze. The batter comes together quickly—just mix your dry ingredients, beat your wet ingredients, then fold them gently together. The trick is layering the filling and swirl so that when it bakes, you get those gorgeous marbled ribbons. It’s a no-fail process, and the result is a stunning, tender cake that looks as good as it tastes. I love that you can prepare everything in one bowl and then just pour, swirl, and bake. It’s perfect for a casual family dessert or a lovely brunch centerpiece. The smell alone will make everyone eager to dig in, and the secret ingredient—zucchini—keeps it deliciously moist without changing the flavor much. Trust me on this one: this cake is about to become your new favorite when you want something cozy and impressive, with almost no effort.
Ingredients
For the Main Batter:
– 2 cups all-purpose flour (I like unbleached for better flavor)
– 1 cup granulated sugar
– 1 teaspoon baking powder
– ½ teaspoon baking soda
– ½ teaspoon salt
– 2 teaspoons ground cinnamon
– ½ teaspoon vanilla extract
– 1 cup vegetable oil or melted butter
– 3 large eggs
– 1 cup grated zucchini (squeeze out excess moisture so it’s not watery!)
For the Filling:
– ½ cup brown sugar
– 1 teaspoon ground cinnamon
– 2 tablespoons softened butter
– ½ cup chopped nuts (optional, but I love walnuts or pecans for texture)
For the Glaze:
– ½ cup powdered sugar
– 1-2 teaspoons milk (or lemon juice for a zing)
– A dash of vanilla or almond extract for extra flavor
– Splash of lemon juice or a drizzle of honey can also be fun for variation
Step-by-Step Instructions
Step 1: Preheat & Prep Pan
First things first, set your oven to 350°F (175°C). Grease your chosen baking pan—9-inch square or a round 8-inch works perfectly—and line it with parchment paper if you want super easy clean-up. I often just butter and flour my pan, but parchment is a life changer. Also, grate your zucchini now and squeeze out all the excess moisture—this makes such a difference in keeping the cake light and tender. Remember, moist zucchini is the secret to that melt-in-your-mouth texture.
Step 2: Mix Dry Ingredients
In a big mixing bowl, whisk together the flour, sugar, baking powder, baking soda, salt, and cinnamon. I do this with a fork first to evenly distribute everything—trust me, it makes a difference when you don’t get clumps later. Set aside, and make sure there are no lumps so your batter stays nice and smooth.
Step 3: Mix Wet Ingredients
In a separate bowl, whisk together the eggs, oil (or melted butter), and vanilla until well combined. I like to do this by hand to control the mixing, but a handheld mixer works too. Then, fold in the grated zucchini—don’t stir too vigorously here; you want everything to stay light. The batter will look a little thick, which is perfect.
Step 4: Combine
Add the wet ingredients into the dry and fold gently until just combined. Overmixing can lead to a dense cake, and no one wants that! It’s okay if a few streaks of flour remain — we’re about that rustic, swirled look later on.
Step 5: Prepare Filling
Mix together the brown sugar, cinnamon, and softened butter to create the cinnamon-sugar filling. I love adding chopped nuts here for extra crunch, but they’re totally optional. This filling is what gives the cake that irresistible, gooey burst of flavor with every bite.
Step 6: Layer & Swirl
Pour half the batter into your pan and spread it evenly. Dot dollops of the filling randomly over the batter. Then, pour the rest of the batter on top carefully. Using a knife or skewer, swirl gently through the batter to create those beautiful marbled ribbons. The key here is a gentle, swirling motion—too much and the layers won’t stay distinct!
Step 7: Bake
Pop the cake into your preheated oven and bake for about 35-40 minutes. Check with a toothpick—that’s the best test! Insert it in the center; if it comes out clean, you’re golden. Every oven bakes a little differently, so start checking at 35 minutes. The top should be golden brown, and the edges slightly pull away from the pan.
Step 8: Cool & Glaze
After baking, let the cake cool in the pan for about 15 minutes. Then, transfer it to a wire rack and cool completely before glazing. Once cooled, whisk together powdered sugar with milk, vanilla, and a little lemon juice if you want extra zing. Drizzle generously over the top, and watch that glaze set into a glossy, tempting finish.
Step 9: Slice & Serve
Use a sharp serrated knife to cut through the cake for neat slices. Serve at room temperature, maybe with a cup of coffee or tea. This cake is wonderful slightly warm too — just reheat for a few seconds in the microwave if you’re craving that cozy, fresh-out-of-the-oven feel. The swirl of cinnamon and the moist crumb make every bite comfort in disguise. It’s perfect with a dollop of whipped cream or a scoop of vanilla ice cream if you’re feeling indulgent!
What to Serve It With
This zucchini swirl cake plays well in so many settings. For breakfast, I love serving it alongside a steaming mug of coffee, maybe topped with a little extra cinnamon or a spoonful of Greek yogurt. It’s the kind of baked good that feels special enough to make a brunch table feel warm and inviting. During brunch, I’ll pair it with fresh fruit and a sparkling mimosa — the sweetness of the cake balances beautifully with a little citrus. As an after-dinner dessert, a scoop of vanilla ice cream melts beautifully on the side, adding contrasting cold and creamy goodness. In a casual setting, it’s simply fabulous on a plate with a hot cup of tea — the aroma alone will make everyone slow down and enjoy the moment. Over the years, I’ve discovered that this cake tastes even better the next day, as the flavors meld and deepen. So, make it ahead, and enjoy that cozy, homemade aroma filling your home all day long. Trust me, it’s a favorite around here, and I bet it will be in your home soon enough.
Top Tips for Perfecting Your Zucchini Swirl Cake
Over the years, I’ve learned some tricks that make this cake come out just right every time. First, get rid of as much moisture from the zucchini as possible — a clean kitchen towel or paper towels do the job. Wet zucchini equals soggy cake, and nobody has time for that. When mixing, don’t overdo it; you want to keep the batter airy and light, so fold gently. Swirling techniques matter, too—try to be consistent in your pattern so that each slice showcases the pretty marbled effect. If you want to jazz it up, swap the cinnamon for a dash of nutmeg or cardamom, or fold in mini chocolate chips for a flavor upgrade. I’ve tested this with almond milk when I was out of regular milk, and honestly, it made the cake even creamier and nuttier — so don’t be afraid to experiment! Baking is all about adjustments, so keep an eye on your cake near the end of baking — oven temperatures vary, and you’ll want it just lightly golden and fragrant. When glazing, I sometimes warm the glaze slightly so it’s easier to drizzle, and I always wait until the cake is completely cooled — that way, the glaze stays pretty and glossy. Trust your nose, your eyes, and your intuition, and I promise, you’ll be rewarded with a gorgeous, delicious cake every time.
Storing and Reheating Tips
This cake keeps beautifully for several days. Cover it tightly with plastic wrap or keep it in an airtight container at room temperature for up to 2 days — I think it’s best the day it’s made but leftovers are still lovely the next morning. For longer storage, pop it in the refrigerator for up to 4 days; I recommend bringing it to room temperature before slicing for that perfect moistness. Want to save it for later? Wrap slices individually in plastic wrap and freeze for up to a month. Thaw at room temperature or warm slices gently in the microwave — just a few seconds do the trick. If you’re stacking it or refrigerating it, add a layer of parchment between slices to prevent sticking. When reheating, a quick 10-second zap restores its soft, warm goodness. I typically wait to add the glaze until I reheat because it keeps the shine and texture fresh. Honestly, this cake is resilient yet tender — it stays delicious no matter how you store it, and it always brings a smile.
Frequently Asked Questions
Final Thoughts
This zucchini swirl cake has become a beloved staple in my kitchen, not just because it tastes incredible but because it’s so forgiving and adaptable. It’s a slice of comfort—warm, moist, with just a hint of spice—and it’s perfect any time you want to feel a little cozy. I love making it when I have a few zucchinis leftover from the garden, or when I want to surprise my family with something a bit different. Trust me, once you get comfortable with the swirl technique, it’s so satisfying to see those beautiful ribbons emerge as the batter bakes. Plus, it’s one of those recipes that sparks both nostalgia and creativity. I hope you enjoy making and sharing this as much as I do. Don’t forget to tag me in your photos and let me know how it turns out — I love hearing from fellow bakers. Happy baking, and may your kitchen be filled with sweet smells and warm smiles!
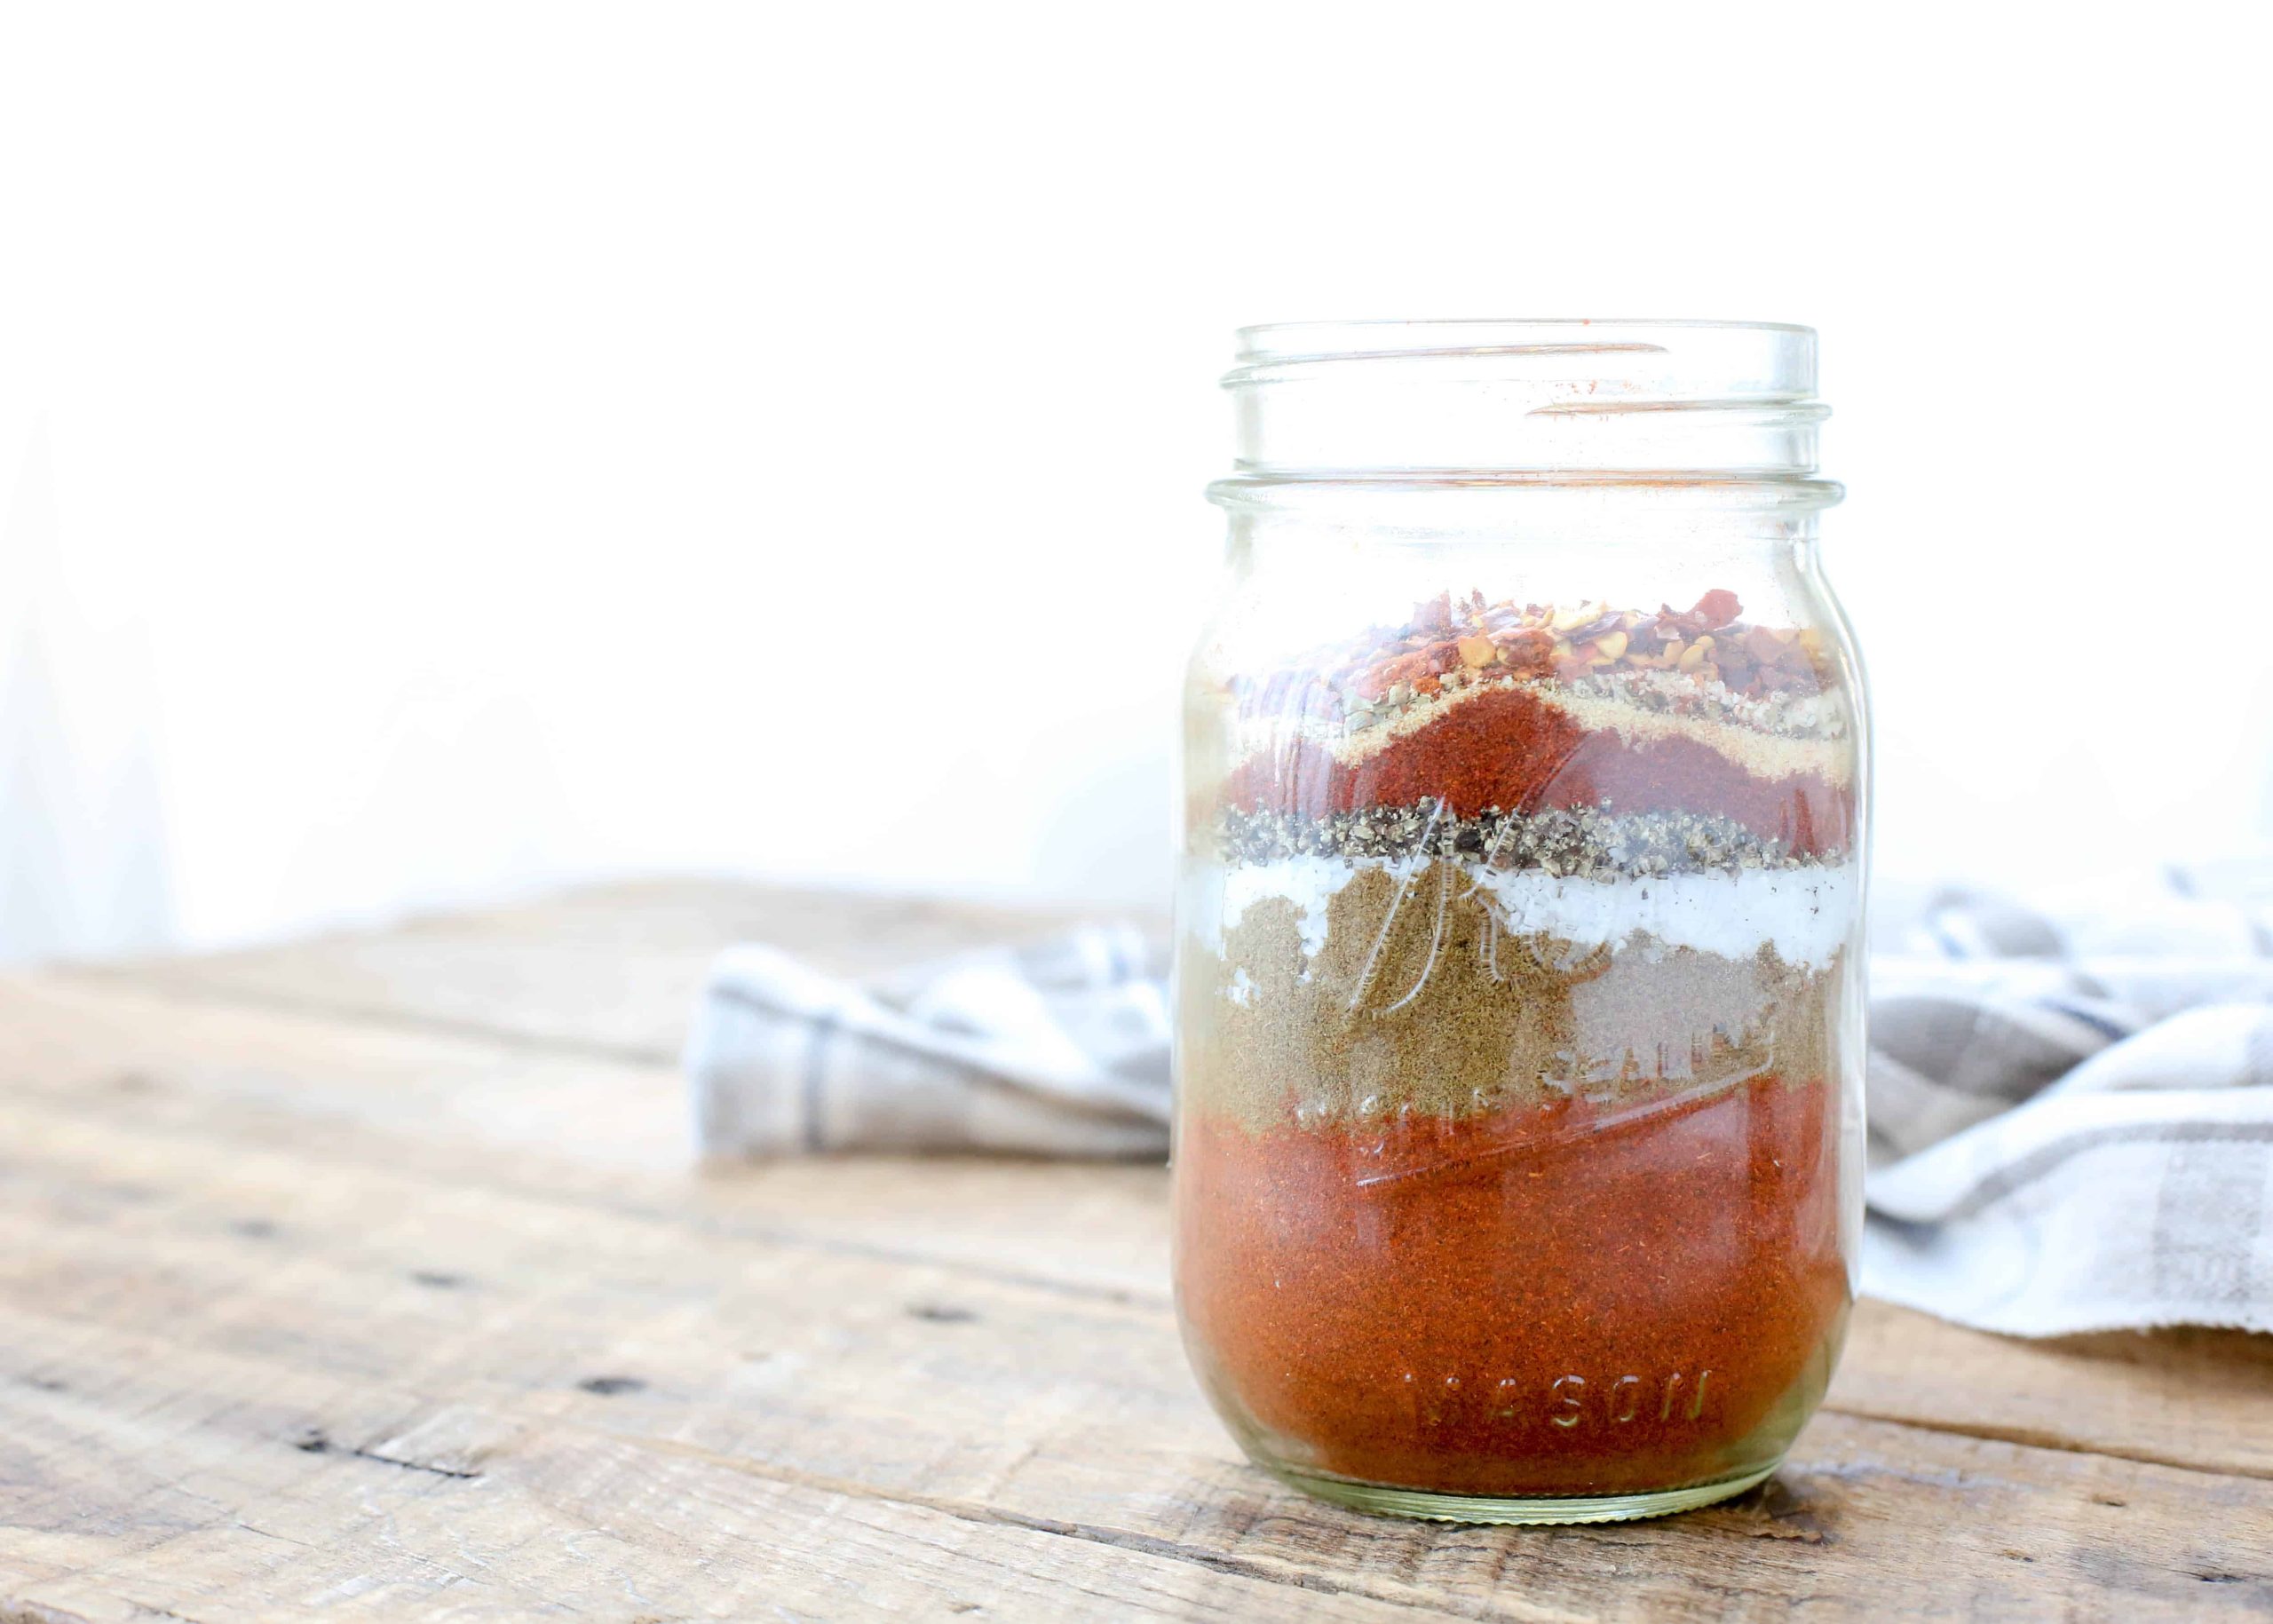
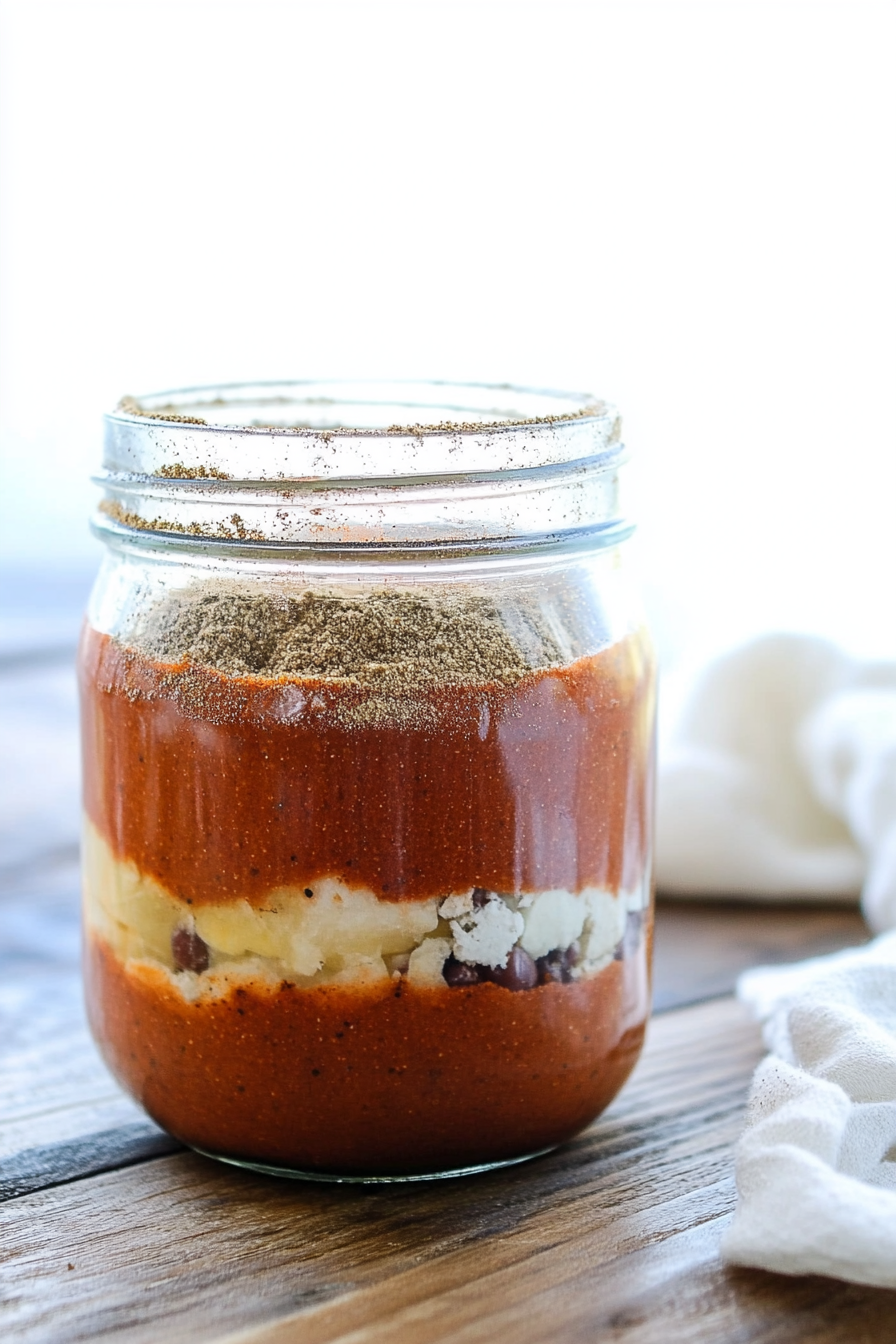
taco seasoning
Ingredients
Method
- In a small bowl, stir together all of the spices. Store the seasoning mix in an airtight container. I keep mine in a glass jar in my spice cabinet.