Autumn Chicken Bacon Pasta Bake Recipe
There’s something about the smell of this zucchini coffee cake that instantly takes me back—like tucking into my grandma’s kitchen on a lazy Sunday. It’s got that irresistible hint of cinnamon, the moist crumb that practically melts in your mouth, and a generous swirl of rich cream cheese that makes every bite feel special. Honestly, I’ve lost count of how many times I’ve made this over the years—it’s become a family favorite and a total lifesaver on busy mornings when I want something homemade but don’t have hours to spend in the kitchen. My kids ask for this all the time, and I admit, I sneak a slice for myself whenever I can. No one ever guesses there’s zucchini hidden inside—yet here it is, sneaking in all that moisture and nutrition without compromising flavor. Trust me on this one, if you love a cozy, sweet treat that’s easy to whip up, you’ll fall in love with this zucchini coffee cake the way I did.
What is Zucchini Coffee Cake?
Think of zucchini coffee cake as a cross between your traditional crumb cake and a soft, luscious quick bread—only with a sneaky veggie boost. It’s essentially a tender, cinnamon-spiced cake baked with shredded zucchini (yes, the same kind you toss into salads or stir-fries), which keeps it incredibly moist and tender. The name might throw you off—“coffee cake”—but it’s really just a delightful little treat that pairs wonderfully with your morning coffee or afternoon tea. The “coffee” part is more about the vibe; it’s the kind of cake you can enjoy anytime you’re craving something sweet but not overly indulgent. The swirl of creamy, tangy cream cheese in the middle adds a lovely richness, making each slice feel like a real special occasion. And because it’s so simple to throw together, I often make it during busy weekends or as a quick dessert after dinner. It’s a real crowd-pleaser, even for folks who aren’t big fans of zucchini!
Why you’ll love this recipe?
What I love most about this zucchini coffee cake is how effortlessly it brings comfort and joy into my kitchen. First off, the flavor—cinnamon, vanilla, and just a hint of nutmeg—combine to create a warm, inviting aroma that fills the house. Trust me, the smell alone gets everyone hovering around the oven! The moistness is second to none—I tested this with different types of zucchini, from gently grated to a little coarser, and honestly, the finer grating keeps the texture more cake-like. Plus, with just a handful of pantry staples, it’s budget-friendly and quick to assemble. This one’s a lifesaver on busy weeknights when I want something homemade but don’t want to spend hours baking. I also love how versatile it is—serve it as breakfast, brunch, or even as a side with a scoop of vanilla ice cream for an easy dessert. And the best part? The kids go nuts for the cream cheese swirl—what’s not to love? It’s a perfect balance of sweetness, richness, and cozy spices, making it a true family favorite here.
How do I make Zucchini Coffee Cake?
Quick Overview
This zucchini coffee cake is surprisingly simple—mix your dry ingredients in one bowl, your wet ingredients in another, then gently combine. The batter comes together quickly and lends itself well to add-ins or variations. You’ll spread half of the batter into your prepared pan, dollop on the luscious cream cheese filling, swirl it in, then top with the rest of the batter. A quick bake, a drizzle of glaze, and you’re all set. The beauty of this recipe is how forgiving it is—overt mixing isn’t a big deal, and you can adapt the sweetness or spice level to your liking. It’s perfect when you want something comforting but don’t want to fuss over complicated techniques. I usually keep everything within an hour from start to finish, making it a go-to for busy mornings or last-minute get-togethers.
Ingredients
For the Main Batter:
– 1 1/2 cups all-purpose flour (I do sometimes swap half for whole wheat flour for extra nutrition)
– 1 teaspoon baking powder
– 1/2 teaspoon baking soda
– 1 teaspoon ground cinnamon
– 1/4 teaspoon nutmeg (freshly grated makes a difference)
– 1/4 teaspoon salt
– 1/2 cup granulated sugar (or 1/3 cup for less sweetness)
– 1/4 cup brown sugar
For the Filling:
– 8 oz cream cheese, softened (full-fat makes it extra creamy)
– 1/4 cup granulated sugar
– 1 teaspoon vanilla extract
– Optional: a sprinkle of lemon zest for brightness
For the Glaze:
– 1/2 cup powdered sugar
– 1-2 teaspoons milk or cream
– A splash of vanilla or lemon juice for flavor
Step-by-Step Instructions
Step 1: Preheat & Prep Pan
Set your oven to 350°F (175°C). Line a 9-inch square or round cake pan with parchment paper or lightly butter it. This helps with clean slices later on—trust me, tried and true method.
Step 2: Mix Dry Ingredients
In a large bowl, whisk together the flour, baking powder, baking soda, cinnamon, nutmeg, and salt. This ensures even distribution of the spices and leavening agents, which is crucial for that perfect rise and flavor.
Step 3: Mix Wet Ingredients
In a separate bowl, beat together the eggs, oil, vanilla, and sugars until smooth. I always do this last to make sure everything’s well combined. Pro tip: if your eggs are cold, warm them briefly so the oil doesn’t seize up—it makes all the difference.
Step 4: Combine
Gently fold the wet mixture into the dry ingredients just until combined. Don’t overmix—stirring too much can make the cake dense. The batter should be thick but spreadable, like thick pancake batter.
Step 5: Prepare Filling
In a small bowl, beat the softened cream cheese with sugar and vanilla until smooth. I sometimes add a little lemon zest for a fresh zing—try it, it’s so good!
Step 6: Layer & Swirl
Pour half of the batter into your pan, smoothing to get an even layer. Drop spoonfuls of cream cheese filling randomly over the top, then gently swirl with a knife or skewer to create a marbled effect. Add the remaining batter on top and repeat the swirl technique. This creates beautiful ribbons inside the cake.
Step 7: Bake
Bake for about 45-50 minutes—start checking at 45 with a toothpick inserted in the center. It should come out clean or with a few moist crumbs. Every oven is different, so trust your nose and eye for doneness. The edges will be golden, and the house will smell heavenly.
Step 8: Cool & Glaze
Let it cool in the pan for at least 15 minutes, then transfer to a wire rack. Drizzle the glaze over the warm cake for that sweet finishing touch. I like to make the glaze thick enough to slightly coat the top—visually appealing and perfectly sweet.
Step 9: Slice & Serve
Once cooled completely, slice with a sharp serrated knife. Serve warm or at room temperature—either way, it’s delicious. I love pairing a slice with a hot cup of coffee or a glass of cold milk. The slight crisp on top, the moist crumb inside, and the surprise cream cheese swirl make every bite just so satisfying.
What to Serve It With
This zucchini coffee cake is like a blank canvas—there are plenty of ways to enjoy it depending on the occasion. For breakfast, I serve it warm with a drizzle of honey and a strong cup of coffee. The warm spices and sweet glaze complement the bitter tones perfectly. It’s also fantastic as a brunch centerpiece—pair it with fresh berries and a dollop of whipped cream for an elevated treat. When I serve it as dessert, I love adding a scoop of vanilla ice cream on the side or a dusting of powdered sugar on top for that pretty, inviting look. And on lazy afternoons, it’s the perfect casual snack—great with a mug of herbal tea or even a glass of cold milk. Honestly, I sometimes hide a piece just for myself when the kids aren’t looking—it’s that good!
Top Tips for Perfecting Your Zucchini Coffee Cake
After making this dozens of times, I’ve picked up a few tricks to make it even better. First, always squeeze out excess moisture from the zucchini—moisture can make your batter watery, and your cake might not rise right. I do this easily by wrapping grated zucchini in a clean dish towel and gently squeezing. Trust me, it’s worth the effort for a better texture. When mixing the batter, use a gentle hand—overmixing is a common mistake and can lead to a dense crumb. Fold just until the ingredients are combined; it’s okay if there’s a few lumps. For the swirl, I like to add a little extra vanilla or lemon zest into the cream cheese to make it pop. If you want a more decadent cake, sprinkle some chopped nuts on top before baking. But here’s a tip I’ve learned: don’t overbake! Keep an eye on the clock and start checking for doneness early. The smell is usually your best indicator—it should smell warm, sweet, and inviting. Lastly, don’t skip the glaze—its sweetness perfectly balances the spices and adds that beautiful shiny finish. I’ve tested different glazes, and I find that adding a splash of lemon juice brightens the overall flavor surprisingly well.
Storing and Reheating Tips
This cake keeps surprisingly well. If I have leftovers, I usually store it in an airtight container at room temperature for up to a day—cover it loosely so it doesn’t dry out. For longer storage, pop it into the refrigerator in an airtight container for up to four days—just warm slices slightly before serving for that fresh-baked feel. If you want to keep it even longer, the freezer is your friend. Wrap individual slices tightly in plastic wrap and foil, and freeze for up to three months. Thaw at room temperature or gently reheat in the microwave—preferably covered with a damp paper towel to keep it moist. Regarding the glaze, I recommend adding it just before serving—if you refrigerate the cake with glaze, it will become a bit sticky. The glaze situation is flexible; for a less sweet option, dust the cake with powdered sugar instead. The beauty of this recipe is how adaptable it is—just trust your nose and taste to find what works for you!
Frequently Asked Questions
Final Thoughts
This zucchini coffee cake has become my go-to when I want something cozy, satisfying, and slightly nostalgic. Its moist crumb, aromatic spices, and luscious cream cheese swirl make it feel fancy enough for guests but easy enough for a weeknight treat. Plus, hiding zucchini inside means I can sneak in some veggies without anyone fussing—at least, not once they taste how delicious it is! I’ve tested this recipe countless times, tweaking a little here and there, and honestly, it never disappoints. Whether served warm with a cup of coffee or cooled with a dollop of whipped cream, it’s bound to become a staple in your kitchen too. I encourage you to personalize it—add chopped nuts, swap out the spices, or try different fillings. Most importantly, have fun with it. Baking should be joyful, and this one’s a perfect blend of comfort and creativity. Happy baking, and I can’t wait to hear how yours turns out!
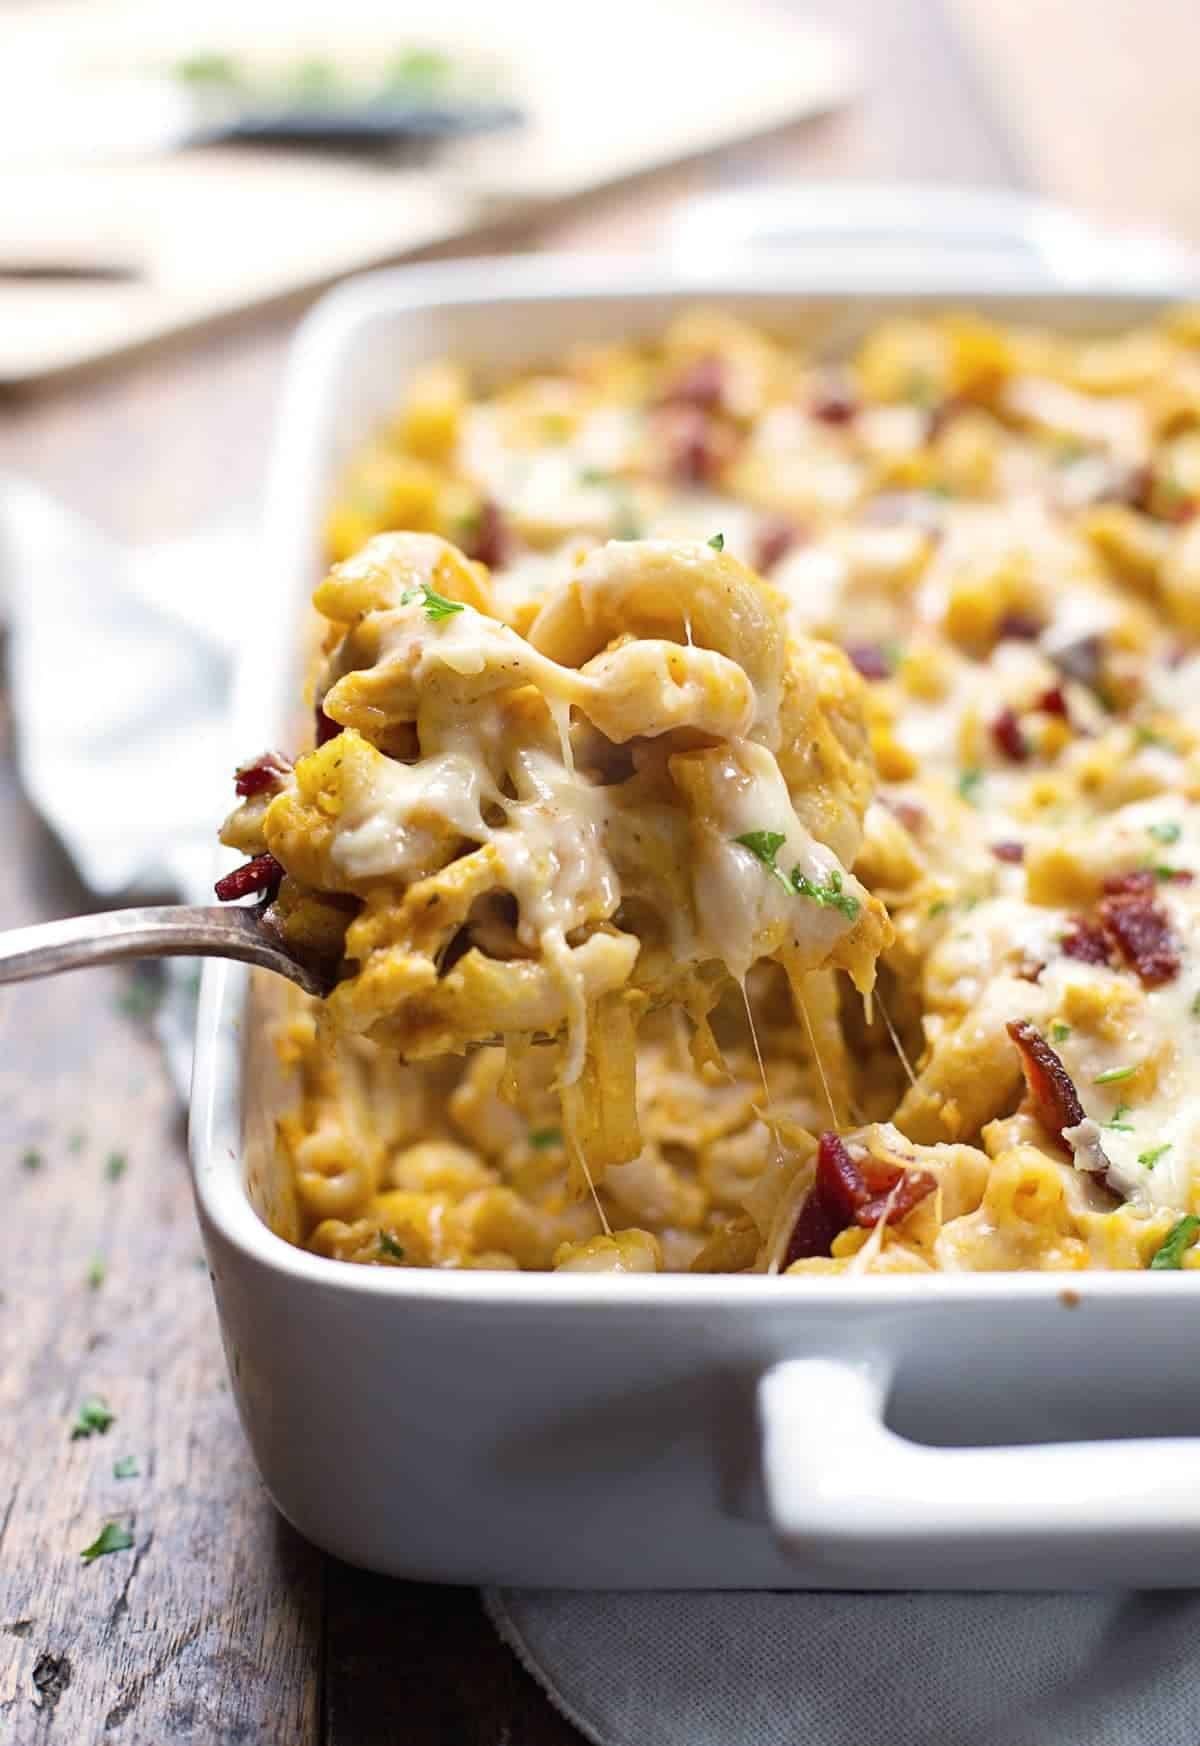
chicken bacon pasta
Ingredients
Method
- Cook the pasta according to package instructions until al dente. Drain and set aside.
- While pasta cooks, cook bacon in a large skillet until crispy. Remove bacon, crumble, and set aside.
- In the same skillet, add olive oil and sauté chopped chicken breasts until cooked through. Add minced garlic and cook for another minute.
- Pour heavy cream into the skillet with chicken and garlic. Stir in parmesan cheese, salt, and black pepper. Let it simmer until sauce thickens.
- Add cooked pasta and crumbled bacon to the sauce. Toss to coat evenly.
- Serve immediately, garnished with chopped parsley.