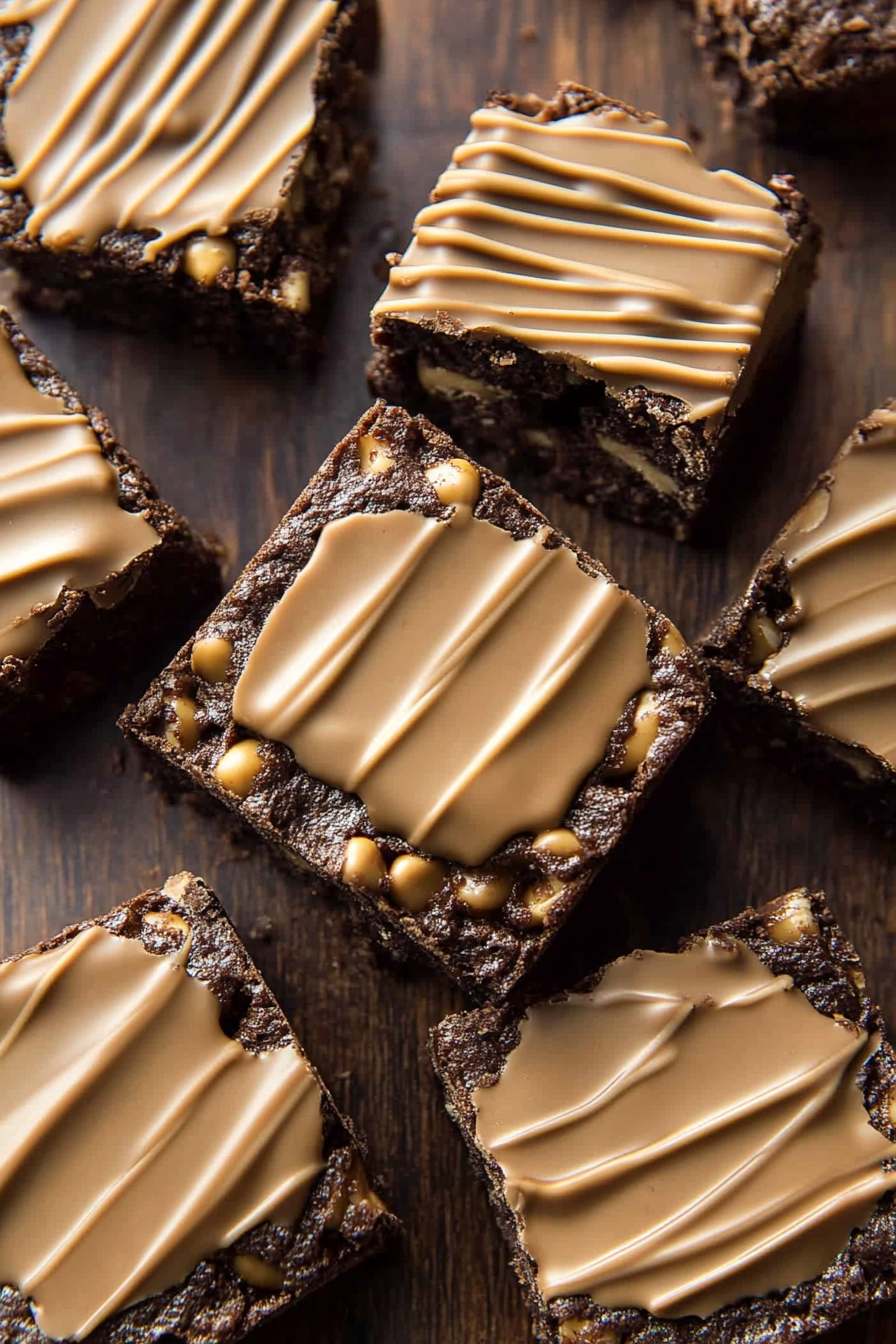
Easy Chocolate Peanut Butter Treats
There’s something about baking this zucchini swirl coffee cake on a lazy weekend morning that just feels like a warm hug. I remember the first time I made it — the smell alone brought everyone rushing into the kitchen, kids with sleepy eyes and coffee mugs in hand. It’s funny how something so simple, like grated zucchini folded into a tender cake, can turn into a real family favorite. My kids ask for this all the time, especially when zucchinis are flooding the garden. Trust me, it’s a sneaky way to get them to eat their veggies without a fuss. I always do this when I want to surprise my family with something homemade, but I don’t want to spend hours doing it. It’s incredibly forgiving and tastes like a slice of heaven—think of it as a cross between a moist crumb cake and your favorite cinnamon roll, only with a veggie twist that’s secretly healthy. And the best part? It’s perfect when you’re craving something sweet at 10pm but don’t want to bake a whole cake. This one’s a lifesaver on busy nights — just mix, swirl, and bake. Let’s dive into how you can make your very own zucchini swirl coffee cake — it’s one of those recipes that makes you feel like a baking hero in your own home.
What is Zucchini Swirl Coffee Cake?
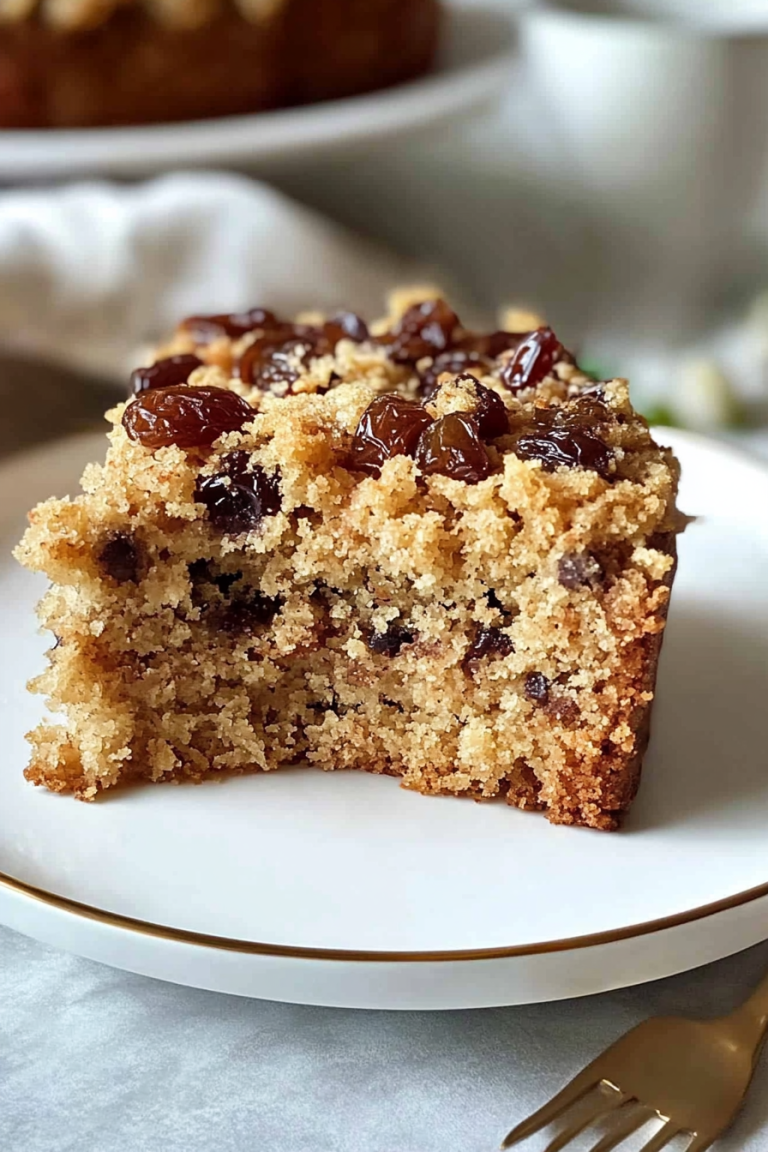
Think of this zucchini swirl coffee cake as a cozy, all-in-one dessert that’s also perfect for breakfast. It’s essentially a tender, moist cake loaded with grated zucchini — which keeps it super soft and adds a little sneaky nutrition — topped with a cinnamon-spiced swirl that gives it that beautiful marbled look. The name might sound fancy, but it’s really just a casual, homey treat. The “swirl” refers to the way the cinnamon and sugar mixture gets beautifully streaked through the batter before baking, making each slice look like a mini piece of art. The zucchini is grated so finely you barely notice it, but it makes the cake incredibly moist without adding any oil or butter. Think of it as a gentle way to sneak those green veggies into your family’s slice of happiness. It’s inspired by classic coffee cake recipes but with a healthy, vegetable-filled twist—absolutely perfect for breakfast, brunch, or a cozy afternoon snack. Plus, it’s flexible enough to adapt with different add-ins or flavor tweaks, which I love because I’m always experimenting in my kitchen.
Why you’ll love this recipe?
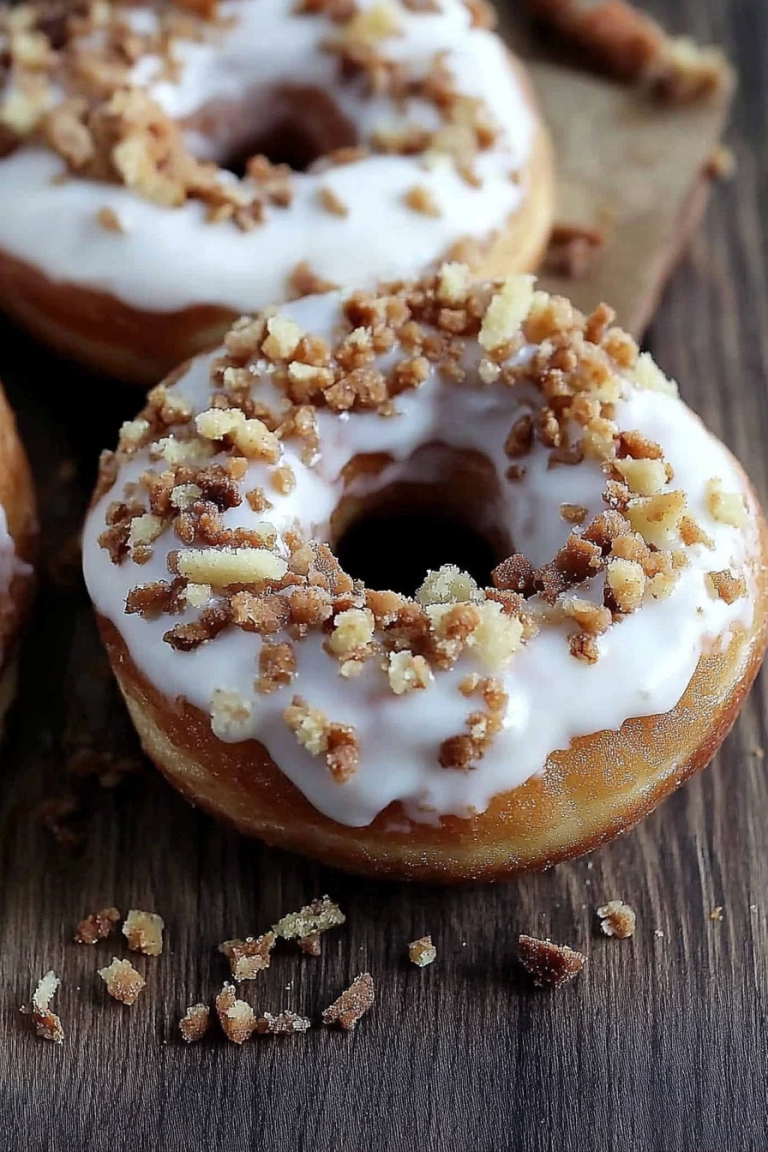
What I love most about this zucchini swirl coffee cake is how it strikes that perfect balance between indulgent and wholesome. The flavor, oh my goodness—the cinnamon-spiced swirl baked into moist, fluffy cake is just addictive. It’s like a hug in every bite, especially with a dollop of whipped cream or a drizzle of simple glaze on top. This recipe is so easy to pull together that I almost feel like I’m cheating — no fancy equipment needed, just a whisk and a spatula. And I can’t tell you how budget-friendly it is! Most ingredients are pantry staples or little extras I keep on hand, yet I still get those “wow” reactions from family and friends. Plus, it’s versatile. Feel free to swap the walnuts for pecans, add a handful of blueberries, or even sprinkle a little streusel on top for extra crunch. What I really love about this is how adaptable it is — it can be a breakfast treat, a brunch centerpiece, or a cozy dessert that’s perfect on any day. I’ve tested this countless times, and I never get tired of how moist and flavorful it turns out, especially when I toss in a dash of vanilla or a pinch of nutmeg. Honestly, if you’re looking for a recipe that’s simple, wholesome, and just downright comforting, this is it.
How do I make Zucchini Swirl Coffee Cake?
Quick Overview
This zucchini swirl coffee cake is basically a one-bowl wonder with an optional extra step for a cinnamon-sugar swirl. You start by grating your zucchini and mixing your batter—think tender, vanilla-infused, airy goodness. Before popping it in the oven, you drizzle a cinnamon-sugar mixture into the batter and swirl it around with a toothpick or knife, creating that gorgeous marbled effect. Bake until golden and fragrant, then enjoy warm or cooled. The entire process takes maybe 45 minutes—perfectly manageable even on busy mornings or lazy weekends. And don’t worry, it’s forgiving if you’re running low on certain ingredients. It’s really just about mixing, layering, and popping it in the oven—no complicated techniques or fancy gadgets needed.
Ingredients
For the Main Batter:
– 2 cups grated zucchini (about 2 medium zucchinis)
– 1 1/2 cups all-purpose flour
– 1/2 cup granulated sugar
– 1/4 cup brown sugar
– 1 tsp baking powder
– 1/2 tsp baking soda
– 1/2 tsp salt
– 1 tsp cinnamon
– 1/2 tsp nutmeg (optional but lovely)
– 1/2 cup unsweetened applesauce or vegetable oil
– 2 large eggs
– 1 tsp vanilla extract
For the Filling (Cinnamon-Sugar Swirl):
– 1/3 cup packed brown sugar
– 1 tbsp ground cinnamon
– 1 tbsp melted butter or coconut oil
For the Glaze (Optional):
– 1 cup powdered sugar
– 1-2 tbsp milk or cream
– 1/2 tsp vanilla extract
– A pinch of salt
Step-by-Step Instructions
Step 1: Preheat & Prep Pan
Preheat your oven to 350°F (175°C). Grease a 9-inch round cake pan or line it with parchment paper. I like to spray it with non-stick spray and then dust lightly with flour—that way, nothing sticks. Set it aside while you prepare the batter. It’s nice and simple, but don’t skip this step or you might wrestle with your cake sticking in the end.
Step 2: Mix Dry Ingredients
In a large bowl, whisk together the flour, sugars, baking powder, baking soda, salt, cinnamon, and nutmeg. This is actually my favorite part—really aerates the dry mix and makes sure all those spices are evenly distributed. Plus, it kind of wakes up the flour, making your cake lighter and fluffier, trust me on this one.
Step 3: Mix Wet Ingredients
In a separate bowl, beat the eggs, then stir in the vanilla, applesauce (or oil), and grated zucchini. I always squeeze a little excess moisture out of the zucchini after grating—about a tablespoon or two—so it’s not too watery. Mix until smooth, and your kitchen will start to smell like a cinnamon dream.
Step 4: Combine
Pour the wet ingredients into the dry and gently fold together until just combined. Don’t overmix—just stop when everything is moistened. The batter should be thick but scoopable. If it feels too stiff, add a splash of milk. If it’s too runny, sprinkle in a little more flour. This is where experience counts; every zucchini can be a little different, so trust your instincts.
Step 5: Prepare Filling
Mix together the brown sugar, cinnamon, and melted butter. This sweet, fragrant mixture is what creates the swirl with each bite. I like to taste it before adding it to make sure the cinnamon flavor shines—sometimes I add a touch more if I really want that spicy kick.
Step 6: Layer & Swirl
Pour half of the batter into your prepared pan and spread it evenly. Dollop half of the cinnamon-sugar mixture on top, then add the remaining batter and smooth it out. Finally, spoon the rest of the cinnamon-sugar filling on top. Using a toothpick or skewer, gently swirl through the batter and cinnamon layer—this creates that beautiful marbled effect. Trust me, this part is oddly satisfying and makes the cake look gorgeous when baked.
Step 7: Bake
Pop it into your preheated oven and bake for about 30–35 minutes. The top should be golden brown and a toothpick inserted into the center comes out clean. If you notice it browning too quickly, tent it with foil for the last 10 minutes. Every oven is different, and I’ve learned to watch that middle rack for even baking.
Step 8: Cool & Glaze
Let the cake cool in the pan for about 10 minutes, then transfer it to a wire rack. While it’s still warm, if you’re using glaze, mix the powdered sugar with milk, vanilla, and a pinch of salt until smooth—and drizzle it over the top. The warmth helps the glaze seep into every nook. If it cools completely, the glaze will set up into a shiny finish that’s just irresistible.
Step 9: Slice & Serve
Use a sharp serrated knife to cut — this keeps the marbled swirl intact. Serve it warm with a cup of coffee or tea, or let it cool completely. I love it slightly warmed the next day—just microwave a slice for 10 seconds and it’s like fresh out of the oven all over again. Trust me, leftovers don’t last long at my house. Everyone asks for seconds!
What to Serve It With
This zucchini swirl coffee cake is such a multi-tasker — it’s great for breakfast, brunch, or dessert. For breakfast, I love pairing it with a strong cup of coffee or a chai latte. It’s also family-favorite brunch fare, served alongside a fresh fruit platter or a simple yogurt parfait. The cinnamon swirl goes beautifully with a splash of cream or a dollop of Greek yogurt, making it feel a little more indulgent. As a dessert, I sprinkle a bit of powdered sugar or top with whipped cream for extra decadence. My mom always slices a big piece for her afternoon treat with a hot cup of tea. And on cozy evenings, it’s the perfect pairing for a scoop of vanilla ice cream or a drizzle of caramel for that wow factor. The versatility makes it just as lovely for a casual family dinner as it is for weekend get-togethers. Honestly, I’ve served it at literally every holiday and special occasion — it’s a guaranteed crowd-pleaser.
Top Tips for Perfecting Your Zucchini Swirl Coffee Cake
The most important tip I learned after making this countless times? Grate your zucchini finely and squeeze out excess moisture—otherwise, the batter can be a little too wet, and your cake might not rise perfectly. I’ve tested this with shredded zucchini that was wetter than others, and trust me—squeezing out that extra water makes all the difference. Also, if your cinnamon-sugar swirl isn’t spreading evenly, try softening the butter a bit more or sprinkling the sugar mix evenly as you layer; swirling is all about patience and careful technique. A little tip for visual oomph: use a toothpick or skewer to gently swirl the cinnamon through the batter; don’t overdo it, or the marbled effect can turn muddy. Ingredient swaps? Absolutely! I’ve used coconut oil instead of butter, which added a lovely tropical note, and swapped almond flour for part of the all-purpose flour for a nutty taste. Just remember, when you switch ingredients, check the batter’s consistency—the goal is moist but not runny. Baked my way through many oven trials, and I’ve found that the middle rack gives the most even heat for a fluffy, beautifully browned top. Lastly, feeling more adventurous? Add chopped nuts or chocolate chips for extra indulgence. This is one of those recipes that really invites your personal touch, so don’t be afraid to play around and make it your own.
Storing and Reheating Tips
This cake keeps beautifully for a couple of days if stored properly. I usually cover it tightly with plastic wrap and keep it at room temperature — it stays moist and soft this way, and the flavors even develop a little more. If you want to keep it longer, pop it in an airtight container in the fridge — it’ll last up to 4 days. Just bring slices to room temperature or warm them briefly in the microwave for that freshly-baked feel. Want to freeze leftovers? Wrap individual slices tightly in plastic wrap and then aluminum foil or place them in a freezer-safe container. They’ll keep well for up to 3 months. Thaw at room temperature or gently warm in the microwave for a quick treat. I do recommend waiting to add the glaze if you’re freezing; it’s best to glaze just before serving to keep that shiny, fresh look and texture. For the best taste and texture, reheat at 50-60% power for about 15-20 seconds and enjoy immediately. The moist crumb and cozy cinnamon aroma make this a perfect make-ahead breakfast or afternoon snack. Honestly, this cake is just as good day two — sometimes better — because the flavors meld together a little more after sitting for a bit.
Frequently Asked Questions
Final Thoughts
This zucchini swirl coffee cake really is a hidden gem in my baking arsenal. It’s a recipe I turn to when I want something comforting and impressive without spending hours in the kitchen. Every time I make it, I discover new little tweaks — a splash more vanilla here, a sprinkle of extra cinnamon there — and it turns out just better and better. The way the cinnamon swirl streaks through the moist, subtly veggie-infused batter is just gorgeous, and the aroma alone is enough to draw everyone to the table. My family loves the balance of sweetness and spice, and I’ve even played around with adding chopped nuts or chocolate chips to make it extra decadent. If you’re craving a cozy, homemade treat that’s just as good for breakfast as it is for dessert, give this a try. I promise, once you bake it yourself, you’ll be wondering why you haven’t been making it for years. Happy baking, and I’d love to hear how yours turns out—leave a comment or share your own twist!
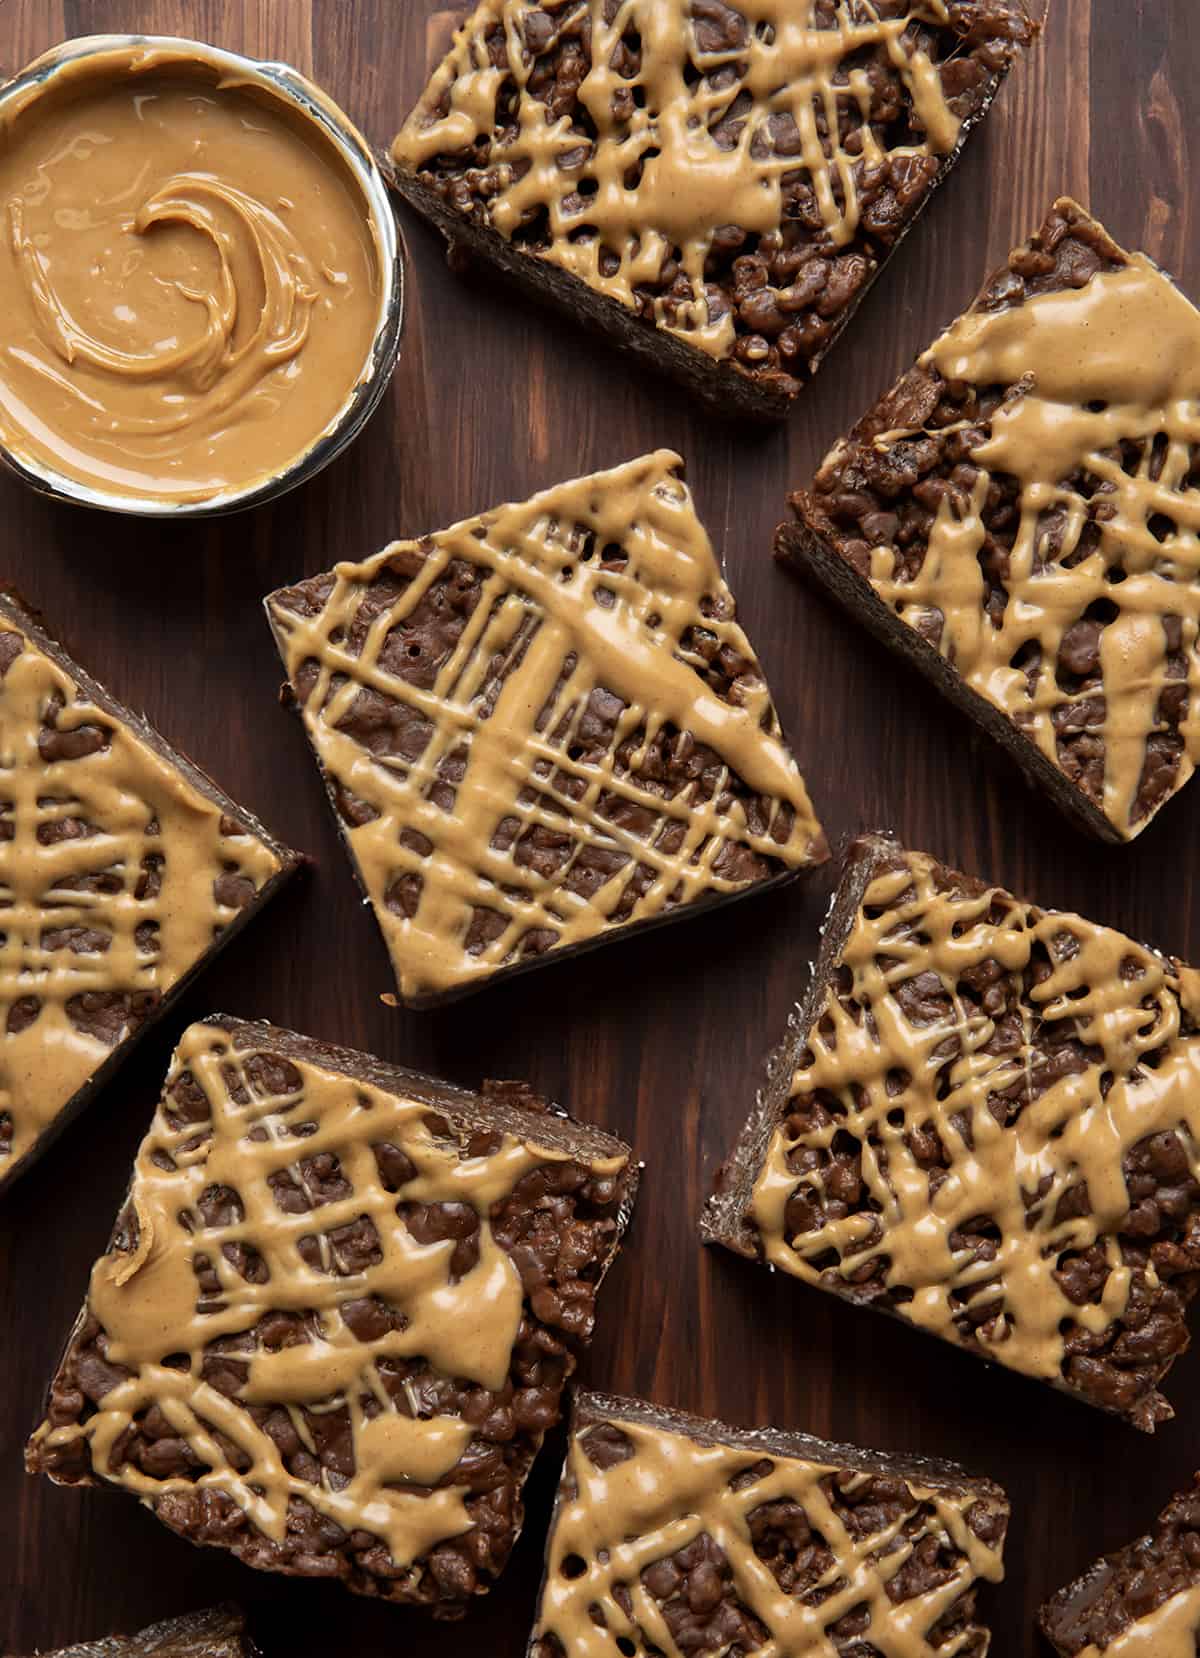
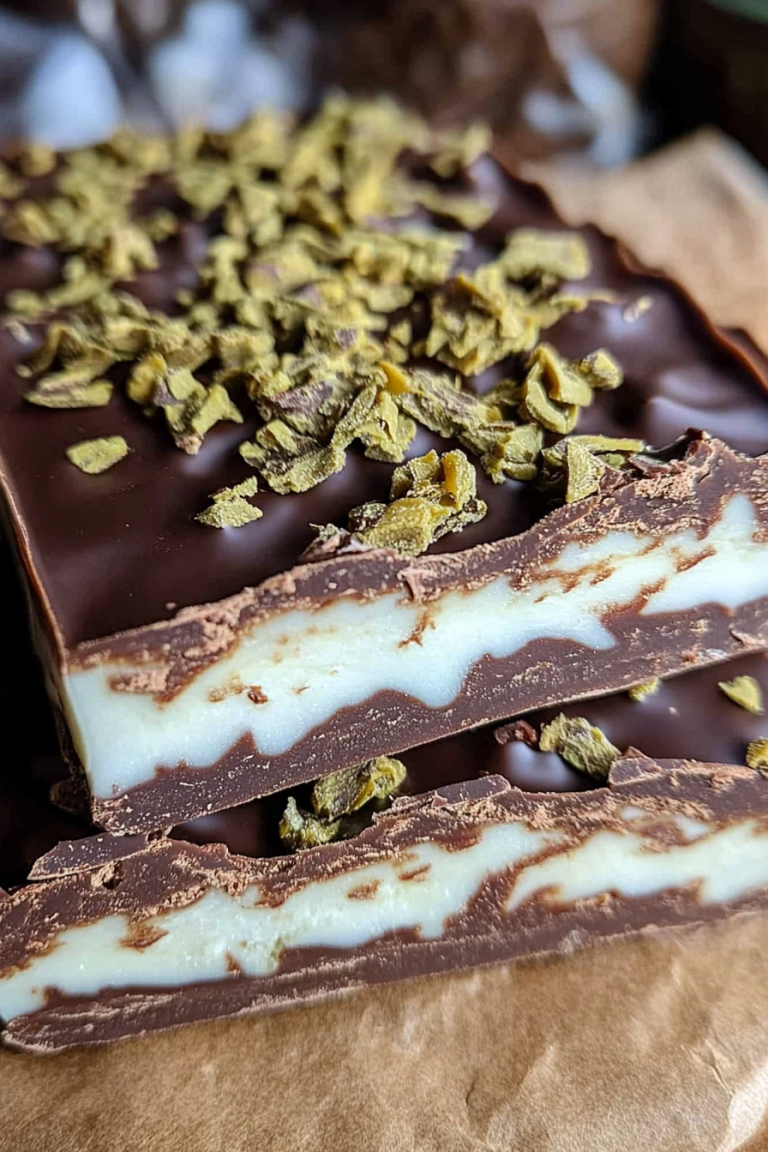
Chocolate Peanut Butter Rice Krispie Bars
Ingredients
Method
- Line a 9x9-inch baking dish with parchment paper. Set aside.
- To a large pot over medium-low heat, add chocolate chips, 0.75 cup peanut butter, and butter. Stir frequently until melted and smooth.
- Add marshmallows, stirring frequently until melted. Once melted, remove from heat.
- Spray a clean rubber spatula with nonstick spray to prevent sticking. Using the spatula, fold in the Cocoa Krispies cereal. Stir until well-coated.
- Transfer the mixture to the prepared baking dish, pressing it into an even layer.
- Add the remaining 0.25 cup peanut butter to a microwave-safe bowl. Heat for about 20-30 seconds. Drizzle over the bars.
- Allow the bars to cool completely at room temperature or in the refrigerator for at least 45 minutes before cutting and serving.