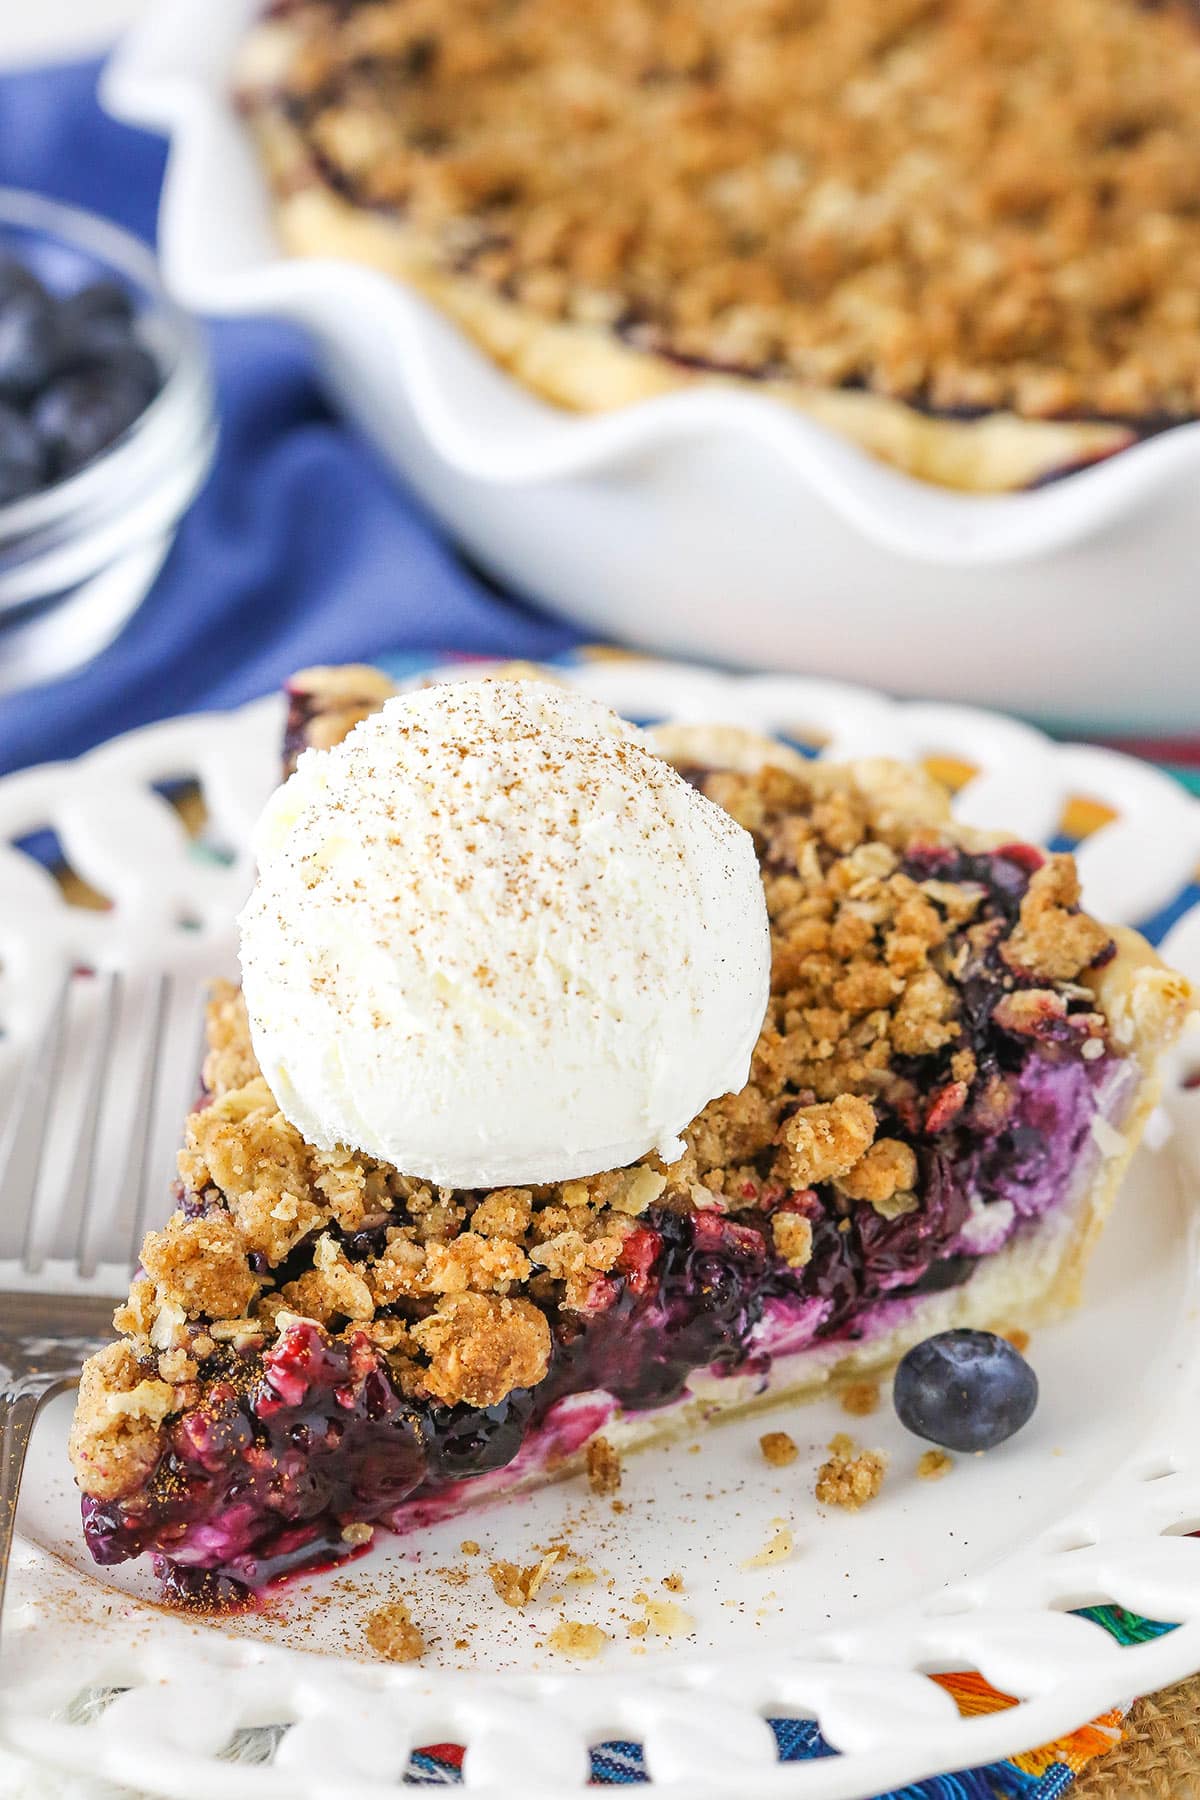
Easy Blueberry Crumble Cheesecake Pie
There’s something magical about pulling a warm slice of coffee cake out of the oven when you’re just craving a little comfort. I remember my grandma making something similar back in the day—her kitchen always smelled like lemon zest and buttery goodness, and I’d sit at the counter, eyes wide, waiting for a piece. Over the years, I’ve tweaked her recipe, and now I have this zucchini lemon coffee cake that’s become a staple in my home. It’s unbelievably moist, with a zing of lemon that cuts through the richness, and those hidden bits of zucchini keep it feeling light while still satisfying that sweet tooth. Honestly, this one’s a lifesaver on busy nights or lazy weekends when I want something homemade but don’t want to fuss too much. My kids ask for this all the time, and I love that I can get away with sneaking in a veggie without them even noticing. Trust me on this — once you try it, it’ll be your new go-to for brunch, snack time, or whenever you need that little burst of happiness.
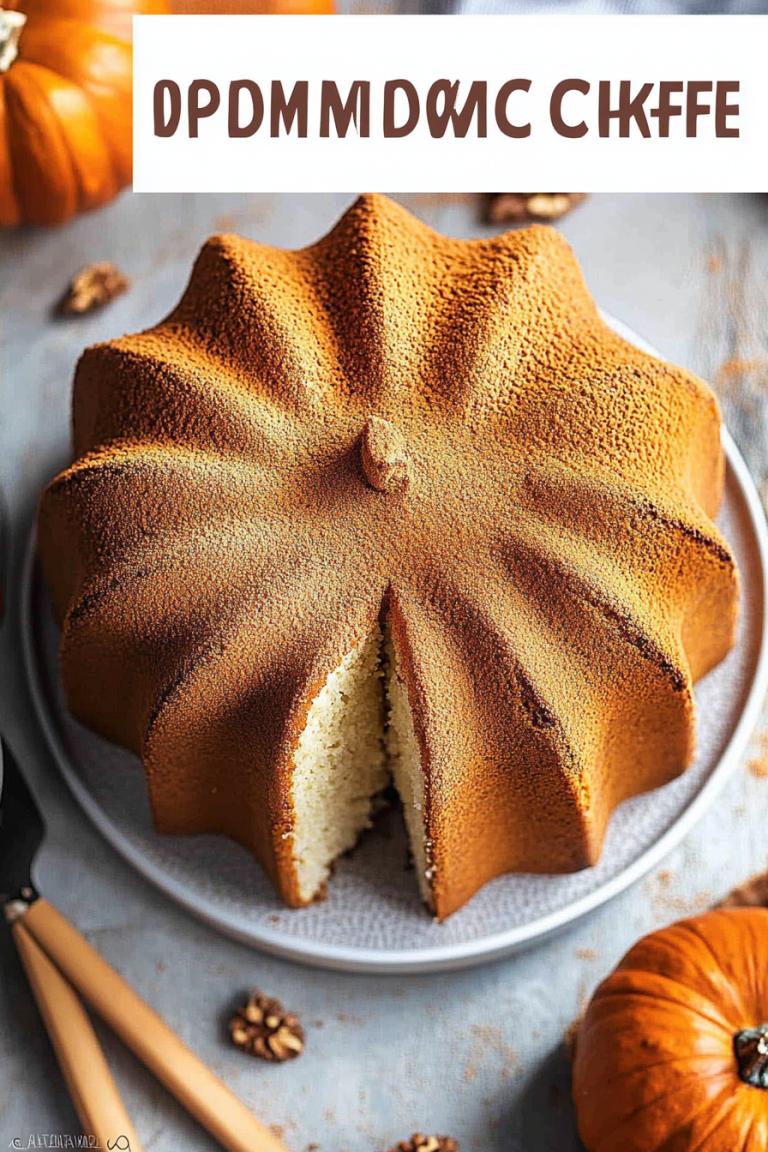
What is Zucchini Lemon Coffee Cake?
Think of this as a cozy, slightly tangy, and oh-so-soft cake that pairs perfectly with your morning coffee or afternoon tea. It’s essentially a mash-up of classic coffee cake with a sneaky twist—the addition of grated zucchini gives it a tender crumb without weighing it down. The lemon zest and juice bring brightness and freshness, making every bite feel like a little morning hug. The beauty here is how easy it is to make—no fancy techniques or hard-to-find ingredients. This cake’s name might throw you at first, but “coffee cake” just means it’s the kind of treat that’s perfect for pairing with a hot cup of coffee or a glass of milk. It’s a humble but delightful dessert or snack, and best of all, it’s a wonderful way to use up those summer zucchinis when they’re in abundance. Think of it as comfort food that’s a little healthier and a lot tastier than your average grocery-store snack.
Why you
One of the reasons I keep coming back to this zucchini lemon coffee cake is how versatile and forgiving it is. The flavor combo of zesty lemon and subtly sweet zucchini is honestly magic—think of it as a fresh, springtime embrace any time of year. The smell alone when it’s baking is enough to make everyone in the house come running, and I always do this when I want to impress guests or just spoil my family. What I love most about this is how insanely easy it is to whip up—no mixers needed, just a few bowls and a spoon. Plus, it’s budget-friendly because you probably already have most of the ingredients in the pantry. And the best part? It’s so adaptable. You can throw in a handful of blueberries, swap out the lemon for orange, or even sprinkle a little cinnamon on top. It’s that kind of recipe that feels cozy but also fresh—perfect for breakfast, brunch, or a sneaky late-night treat. Honestly, once you’ve made it, you’ll be hooked—my friends keep asking for the recipe, and I’ve happily shared it a dozen times.
How do I make Zucchini Lemon Coffee Cake?
Quick Overview
This cake comes together faster than you’d think, with simple steps that don’t require fancy equipment. You start by grating zucchini and mixing up a light, fluffy batter infused with lemon zest and juice. Then, you layer the batter with a touch of sweet, cinnamony filling and swirl it artfully before baking. The result? A moist, flavorful cake that tastes like a sunshine-filled morning in every bite. It’s perfect when you want something homemade but don’t want to spend hours in the kitchen. Plus, the ingredients are common, budget-friendly, and adaptable, so you can customize it to your liking. Cleaning up is a breeze, and the aroma will have everyone asking, “When’s it ready?” from the other room.
Ingredients
For the Main Batter:
- 1 ½ cups all-purpose flour (or gluten-free flour blend if you like)
- 1 teaspoon baking powder
- ½ teaspoon baking soda
- ¼ teaspoon salt
- 1 cup granulated sugar (trust me, this isn’t overly sweet)
- ½ cup vegetable oil (or melted butter for richer flavor)
- 2 large eggs
- 1 teaspoon vanilla extract
- Zest of 2 lemons
- Juice of half a lemon (about 2-3 tablespoons)
- 1 ½ cups grated zucchini (squeezed dry of excess moisture)
For the Filling:
- ¼ cup brown sugar
- 1 teaspoon cinnamon
- Optional: ½ cup chopped nuts or chopped fresh berries
For the Glaze:
- ½ cup powdered sugar
- 2 tablespoons lemon juice
- Optional: a splash of milk or plant-based milk to loosen
Step-by-Step Instructions
Step 1: Preheat & Prep Pan
Preheat your oven to 350°F (175°C). Grease a 9-inch square baking dish or round cake pan with butter or non-stick spray. Line with parchment if you want super easy removal—you know, for those photos you’ll want to snap!
Step 2: Mix Dry Ingredients
In a medium bowl, whisk together the flour, baking powder, baking soda, salt, and cinnamon (if using). This ensures even distribution and prevents clumps—trust me, no one wants pockets of baking soda in their slice!
Step 3: Mix Wet Ingredients
In a large bowl, beat the sugar, oil, eggs, vanilla, lemon zest, and lemon juice until smooth and slightly frothy. I always do this with a whisk—feels more calming, and I get to smell all those fresh lemon oils. Stir in the grated zucchini now, making sure it’s evenly distributed. This is what keeps the cake moist and gives it that sneaky veggie boost.
Step 4: Combine
Gradually add the dry ingredients to the wet, mixing gently until just combined—don’t overmix, or the cake can get dense. A few lumps are okay. The batter will be thick but pourable.
Step 5: Prepare Filling
Mix together the brown sugar and cinnamon in a small bowl. If you’re feeling fancy, toss in nuts or berries now—totally optional, but adds a little crunch or burst of flavor.
Step 6: Layer & Swirl
Spread half of the batter into your prepared pan. Sprinkle the filling evenly over this layer. Dollop the remaining batter on top, then use a butter knife or skewer to swirl it gently—this creates pretty marbled streaks and layers of sweet cinnamon fighting with citrus freshness.
Step 7: Bake
Bake for 40-45 minutes, or until a toothpick inserted in the center comes out clean. Ovens vary, so start checking at 38 minutes. The top should be golden and slightly cracked—looks homey and irresistible.
Step 8: Cool & Glaze
Let the cake cool in the pan for at least 15 minutes. Then, mix up your glaze by whisking powdered sugar with lemon juice. Drizzle over the slightly warm cake, so it seeps into all those nooks and crannies. Trust me, it’s the finishing touch that makes everyone ask, “Is there more?”
Step 9: Slice & Serve
Cut into squares or wedges once totally cooled to prevent crumbling. Serve with another cup of coffee or a scoop of vanilla ice cream if you’re feeling indulgent. It tastes even better the next day, if it lasts that long—though, honestly, it disappears in minutes at my house.
What to Serve It With
This cake is incredibly flexible, so I like to play around with accompaniments depending on the occasion. For breakfast, I serve it with a strong black coffee or a frothy cappuccino—nothing beats that contrast of bitter and sweet to jump-start the day. When I have guests over for brunch, I like to add fresh fruit on the side—think strawberries or blueberries—and maybe a dollop of Greek yogurt. It’s pretty enough to sit on a fancy platter, but honestly, even a simple paper plate works because everyone’s too busy digging in! As a dessert, it’s a lovely ending to a light meal—pair with a glass of sparkling wine or a warm cup of tea. And if you’re just craving a comforting snack? Warm a slice and spread a little extra lemon glaze on top. It’s pure happiness—warm, sweet, with just that hint of citrus zing.
Top Tips for Perfecting Your Zucchini Lemon Coffee Cake
Experience is the best teacher, and after making this a dozen times, I’ve learned some secrets to get it just right every time:
- Zucchini Prep: Always squeeze out excess moisture after grating. A dry zucchini keeps your cake from turning soggy. I like to wrap it in a clean dish towel and press gently—this is a game changer.
- Mixing Advice: Overmixing the batter can make the cake dense. Mix until ingredients are just combined—imagine folding gently with a spatula, not stirring vigorously.
- Swirl Patterns: For pretty marbling, don’t over-swirl—just enough to see streaks. Use a pointed stick or a skewer and make gentle figure-eights.
- Ingredient Swaps: Want more citrus punch? Add extra lemon zest or even lime. Looking to add some crunch? Nuts or seeds work beautifully on top or mixed in.
- Baking Tips: Oven temperatures vary. If your cake browns too quickly, tent it with foil and lower the temp after 30 minutes. Use a toothpick inserted in the center—if it comes out clean, you’re good.
- Glaze Variations: Switch up the glaze flavor—try orange juice, or mix powdered sugar with a splash of milk for a creamier finish. For a richer look, sprinkle some citrus zest on top before glazing.
Honestly, I’ve learned to just trust my nose and sight—once the edges look crisp and the top is golden, it’s usually done. And don’t forget, this cake gets even better after a day or two—so I often bake it the night before a family brunch or to send home with friends.
Storing and Reheating Tips
This cake keeps well, which is a blessing because I often bake a batch on Sunday and nibble on it all week. Here’s how I store it:
- Room Temperature: Wrap it tightly in foil or store in an airtight container. It stays soft and fresh for about 1-2 days—though, honestly, it rarely lasts that long.
- Refrigerator: Keeps for up to a week in an airtight container. If it feels a little dry, warm a slice in the microwave for 10-15 seconds—trust me, it’s like fresh out of the oven.
- Freezer: Wrap individual slices tightly in plastic wrap, then in foil or a freezer bag. It lasts for up to 3 months. To reheat, defrost in the fridge overnight and warm gently in the microwave. The lemon glaze might get a little dull, so I often add fresh glaze when serving from frozen.
To keep the glaze looking shiny and nice, best to add it after reheating. If you want to keep it looking pretty, sprinkle a little extra lemon zest on top when serving later in the week.
Frequently Asked Questions
Final Thoughts
This zucchini lemon coffee cake has become one of my most treasured recipes—I love how simple it is, how adaptable it is, and most of all, how incredible it tastes. It’s a reminder that you don’t need complicated ingredients or fancy techniques to create something that feels special and homemade. Every time I bake this, I think of my grandma’s warm kitchen and those carefree Sunday mornings. Whether it’s a quick weekday snack or a centerpiece for Sunday brunch, it always hits the spot. I hope you give it a try and add your own twist—maybe extra lemon, nuts, or berries. And don’t forget to share it with someone you love. Happy baking, and I can’t wait to hear how yours turns out!
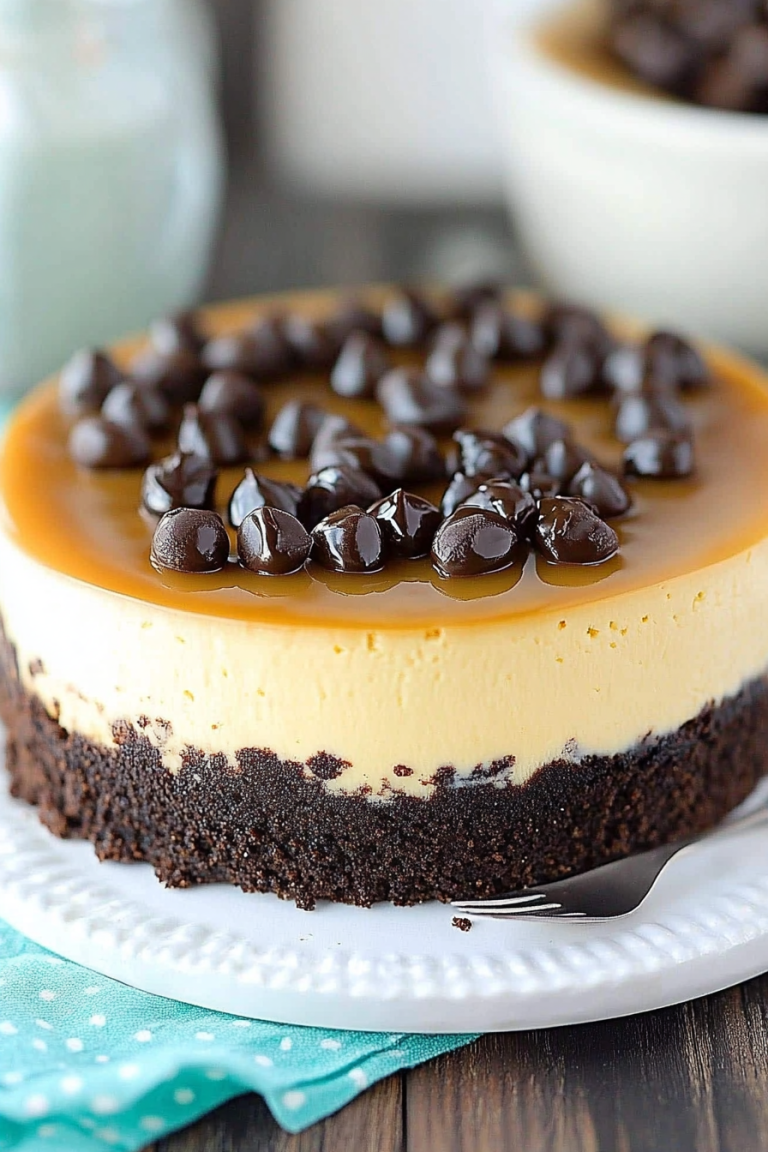
Blueberry Crumb Cheesecake Pie
Ingredients
Method
- Stir together the sugar, cornstarch and salt in a large saucepan. Whisk in the water until everything has dissolved, over medium-low heat.
- Bring the mixture to a boil over medium-high heat, stirring regularly. Reduce the heat slightly and simmer for 2 minutes.
- Add the blueberries and increase the heat to medium-high, allowing the blueberries to release their juices. Continue heating and stirring, allowing the mixture to boil a little and thicken for about 8-10 minutes. Remove pan from heat and let mixture cool.
- Refrigerate filling in an airtight container for 4-6 hours to thicken. Store in the refrigerator for up to 2 weeks.
- Preheat the oven to 375°F. Spray a 9-inch deep dish pie plate with non-stick baking spray.
- Place the pie crust in the pie plate. Fold the edges of the crust under and mold them to your preference. Refrigerate until ready to use.
- To make the cheesecake layer, beat the cream cheese until creamy.
- Add the sugar and beat the mixture until smooth.
- Add the egg and beat until full incorporated. Do not overbeat the batter.
- Spread the cheesecake batter in the prepared pie crust.
- Gently spoon the blueberry filling on top of the cheesecake batter.
- For the crumb topping, mix together the crumb topping ingredients. Sprinkle the mixture evenly over the blueberry filling.
- Bake the cheesecake pie for 40 minutes.
- Remove the pie plate from the oven and place it on a wire rack. Let the cheesecake pie cool for 1 hour, then refrigerate for 2-3 hours, until completely chilled.
- Serve with vanilla ice cream and a sprinkle of cinnamon, if desired.