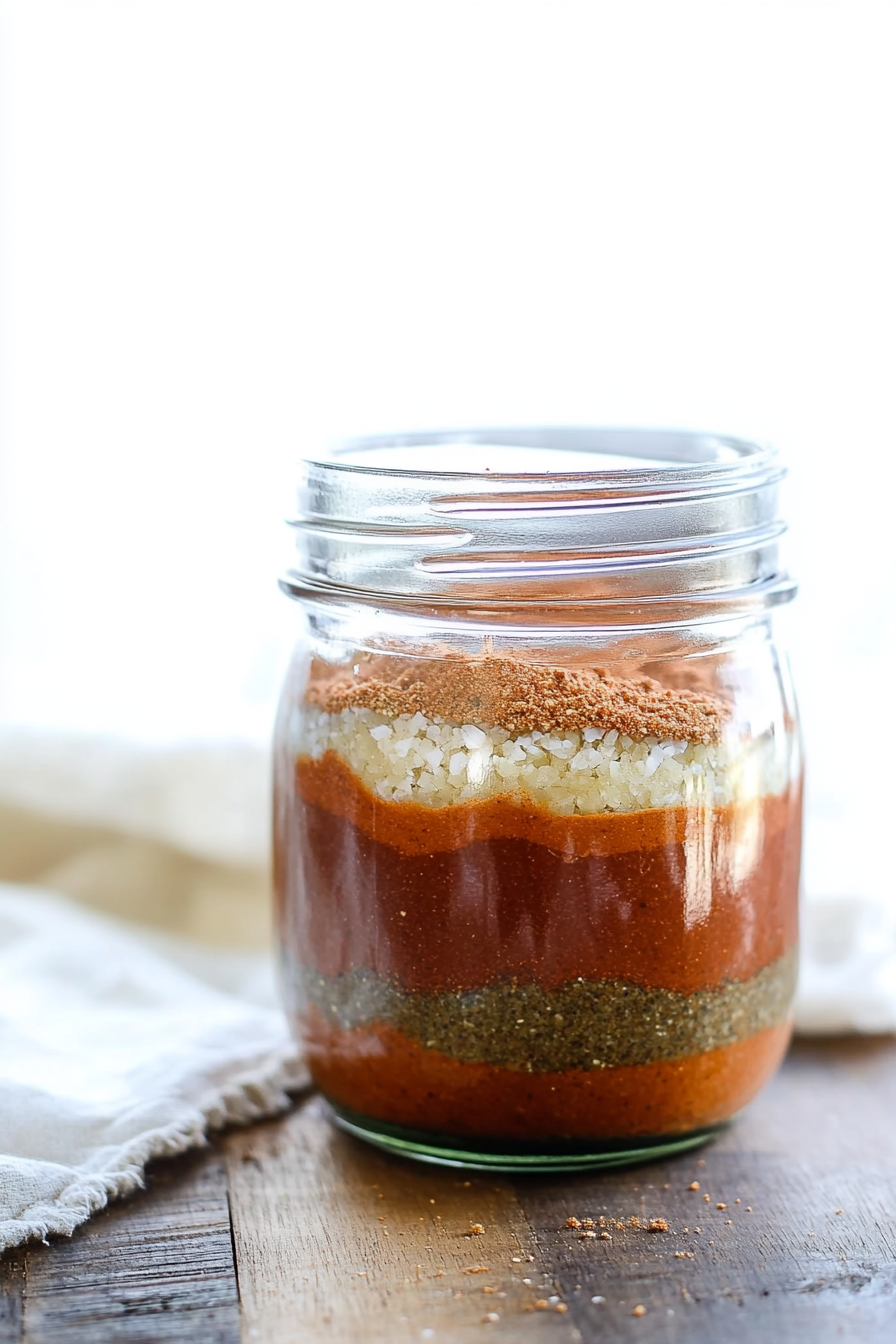
Spice Up Your Tacos Simply
There’s something so comforting about a slice of this zucchini and cream cheese swirl cake—maybe because it reminds me of those lazy weekend mornings at grandma’s house, where the smell of baked goods drifts through the air and everyone gathers around the table with sleepy smiles. I’ve made this cake countless times, and honestly, it’s one of those recipes I always keep in my back pocket when I want to impress but keep things simple. The best part? It’s ridiculously moist, bursting with fresh zucchini flavor, and that creamy swirl in the middle? It’s a total game changer. Plus, it’s a fantastic way to use up those garden zucchini that seem to grow faster than my kids eat their vegetables! Trust me, once you try this, it’ll become a family favorite—mine ask for it all the time, especially when we’re craving something sweet but want it to feel a little wholesome.
What is Zucchini and Cream Cheese Swirl Cake?
This dessert is essentially a moist, tender cake layered with a rich cream cheese filling, all swirled together to create a beautiful marbled effect. Think of it as an upgrade to your typical quick bread; it’s a little fancier but still easy enough to whip up on a busy weekday. The “swirl” part makes it look like you put tons of effort into it, but really, you just need a few good-quality ingredients and a spatula. The name might sound fancy, but it’s so approachable—think of it as a cozy hybrid between a coffee cake and a cheesecake loaf, perfect for breakfast, brunch, or even a sneaky late-night treat. The zucchini keeps it super moist without adding any detectable veggie taste, making it a kid-approved, sneaky way to get those nutrients in!
Why you’ll love this recipe?
What I love most about this zucchini and cream cheese swirl cake is how it seamlessly combines comfort with a touch of elegance. The flavor profile is just out of this world—the gentle sweetness of the cake mixed with the tangy, creamy filling is honestly addictive. Plus, it’s straightforward to make; I’ve tested this with just about every pantry staple, and I promise, it comes together in no time. It’s also a real money-saver because most of the ingredients are things I always have lying around—flour, sugar, eggs, and of course, zucchinis from my garden. And the versatility? Oh, you can adapt this in so many ways! Swap out the vanilla for lemon zest, sprinkle some cinnamon over the top, or even add chopped nuts in the filling for extra crunch. Oh, and did I mention that it’s perfect for leftovers? I’d say the flavor only deepens overnight, making it ideal for breakfast or tea time.
How do you make Zucchini and Cream Cheese Swirl Cake?
Quick Overview
This cake is all about simple layers—whisk together your batter, prepare a luscious cream cheese filling, pour the batter into your pan, dollop and swirl the filling in, then bake until golden and glorious. The trick is not overmixing the batter, which keeps the cake super fluffy, and swirling just enough so that every slice is a gorgeous marbled masterpiece. It’s about combining basic ingredients with a gentle touch to create something that looks and tastes like you fussed for hours. The smell alone will draw everyone into the kitchen, and trust me, each slice is worth every minute spent in the oven.
Ingredients
For the Main Batter:
– 2 cups all-purpose flour (I like to use unbleached if I have it for a richer flavor)
– 1 ½ teaspoons baking powder
– ½ teaspoon baking soda
– ¼ teaspoon salt
– 1 teaspoon ground cinnamon (optional, but I love a hint of warmth)
– ¾ cup granulated sugar
– ½ cup vegetable oil or melted butter
– 3 large eggs
– 1 teaspoon vanilla extract
– 1 cup grated zucchini (squeeze out excess moisture — a crucial step!)
– ½ cup buttermilk or regular milk (I tested with almond milk, and it made it even creamier!)
For the Filling:
– 8 oz cream cheese, softened
– ½ cup powdered sugar
– 1 teaspoon vanilla extract
– 1 egg (for a slightly firmer swirl, optional)
For the Glaze:
– Powdered sugar mixed with a splash of milk or lemon juice until drizzly consistency
– Optional zest of lemon or orange for extra zing
Step-by-Step Instructions
Step 1: Preheat & Prep Pan
I always start by preheating my oven to 350°F (175°C). Then, I grease a standard loaf pan or a 9-inch square baking dish—whatever I have handy—and line it with parchment paper. This helps with easy removal later on. Do yourself a favor and set everything out beforehand so you’re not scrambling once you’re ready to pour the batter.
Step 2: Mix Dry Ingredients
In a large bowl, whisk together the flour, baking powder, baking soda, salt, and cinnamon. I do this to make sure everything’s evenly distributed—no pesky pockets of baking soda at the bottom. It’s a simple step but makes all the difference in getting a uniformly rise.
Step 3: Mix Wet Ingredients
In a separate bowl, combine the sugar, eggs, and vanilla until well blended. Then, stir in the oil or melted butter. I like to do this step in a medium bowl—you’ll see it turn glossy, and the aroma of vanilla really starts to fill the kitchen. Once smooth, fold in the grated zucchini (make sure you’ve squeezed out the excess moisture—trust me, this prevents sogginess) and milk. The batter will be a little lumpy, but don’t overmix, or the cake might get tough.
Step 4: Combine
Add the wet mixture to your dry ingredients and gently fold everything together just until combined. No overmixing—that’s the secret to fluffy cake. If you see streaks of flour, just fold a few more times, but no more—patience is key here.
Step 5: Prepare Filling
In a small bowl, beat the softened cream cheese, powdered sugar, vanilla, and egg (if using) until smooth and creamy. This gives it that luscious texture that contrasts with the tender cake. For a more decadent version, I sometimes add a teaspoon of lemon zest into the filling—trust me, it brightens the whole thing.
Step 6: Layer & Swirl
Pour about half of the batter into your prepared pan. Spread it evenly, then dollop the cream cheese mixture on top in small spoonfuls. Cover with the remaining batter, then use a toothpick or skewer to swirl the filling into the batter—try to create a beautiful marbled pattern without mixing too much. My kids ask for this part because they like to see that swirl develop — it’s almost like a mini art project!
Step 7: Bake
Pop it into the oven and bake for about 45-50 minutes, or until the top is golden and a toothpick inserted in the center comes out clean. Ovens vary, so I start checking around the 45-minute mark. If the top browns too quickly, tent it with foil to prevent over-darkening.
Step 8: Cool & Glaze
Let the cake cool in the pan for at least 15 minutes, then transfer to a wire rack. It’s tempting to dig right in, but trust me—waiting until it’s fully cooled lets the flavors settle and prevents it from falling apart. Once cooled, drizzle with your glaze of choice. I like a simple powdered sugar glaze, but lemon or orange zest in the glaze adds a fresh, tangy kick that complements the zucchini beautifully.
Step 9: Slice & Serve
I use a serrated knife to get clean, pretty slices. Serve it slightly warm or at room temperature. These slices disappear in minutes at my house—my kids ask for seconds and thirds, and I always get compliments on how moist and flavorful it is. It’s hearty enough for breakfast but fancy enough for dessert. Serve with a cup of coffee or tea, and you’ve got yourself a real treat.
What to Serve It With
This cake is versatile enough to shine at all kinds of gatherings. For breakfast, I love pairing it with a strong black coffee or a chai latte—something warm to balance the sweetness. It’s also perfect as a brunch centerpiece—ladled with fresh berries or whipped cream on the side helps elevate it a notch.
As an after-dinner dessert, I like to add a dash of extra glaze and a sprinkle of toasted nuts or a few fresh mint leaves for that wow factor. My family also loves enjoying slices with a cold glass of milk or even a little dollop of vanilla yogurt on the side—because, honestly, who doesn’t need a little extra creaminess?
On casual days, I just cut big slabs and keep them in a container for an easy snack that everyone loves. It’s become a staple at my house, and I always find myself reaching for it when I need something sweet but nourishing. It’s like having a little piece of homemade love waiting for you whenever you want it.
Top Tips for Perfecting Your Zucchini and Cream Cheese Swirl Cake
After dozens of attempts, I’ve picked up a few tricks to make sure this cake comes out perfect every time. First, squeezing the moisture out of the zucchini is crucial—wet zucchini will make the batter too thin and could cause sogginess. I always use a clean kitchen towel or paper towels to press out excess water after grating.
When mixing, be gentle. Overmixing the batter develops gluten too much, leading to a dense crumb. Fold ingredients just until combined—think of it as a gentle hug, not a vigorous stir. For the swirl, I’ve learned that dropping spoonfuls of the cream cheese mixture and using a skewer or toothpick to make figure-eights creates a pretty marbled effect that’s almost too pretty to cut.
If I want to get creative, I’ll add a teaspoon of lemon zest to the cream cheese filling—it adds a lovely bright flavor that cuts through the richness. Or, for a bit of crunch, sprinkling chopped walnuts or pecans over the top before baking gives a delightful texture contrast.
And don’t forget to check for doneness—every oven is different, so start checking around the 45-minute mark. A toothpick inserted in the center should come out with a few moist crumbs but no wet batter. Once cooled, the cake will settle into its beautiful marbled form, each slice a little piece of homemade magic.
Storing and Reheating Tips
This cake keeps beautifully in an airtight container at room temperature for about 2 days. If you want to keep it longer, I recommend refrigerating it, where it will stay fresh for up to 4 days. Just bring it to room temperature before slicing for that perfect moist texture—hot or cold, it’s wonderful either way.
To freeze, wrap the cooled slices tightly in plastic wrap or foil and store in a freezer-safe container for up to 3 months. Thaw overnight in the fridge or at room temperature. I find that the flavor and moistness hold up really well after freezing, especially if you add the glaze fresh when serving.
If you want to reheat a slice, just pop it in the microwave for about 15-20 seconds—just enough to warm through without drying out the cake. A quick reheat makes it even more comforting, especially on chilly mornings or rainy afternoons.
Remember, if you’re adding glaze or toppings, do that after reheating or serving, so everything stays fresh and vibrant. It’s a simple way to make leftovers feel just as special as freshly baked!
Frequently Asked Questions
Final Thoughts
If you’re looking for a cozy, semi-fancy treat that’s as versatile as it is delicious, this zucchini and cream cheese swirl cake is a total winner. It’s a wonderful way to put those garden zucchinis to good use—and honestly, it’s become my go-to when I want to bring something homemade to gatherings or just need a sweet pick-me-up during the week. The blend of moist cake, tangy cream cheese, and a hint of cinnamon is one that never fails to bring smiles—and trust me, once you’ve tried making it, you’ll understand why it’s a recipe I keep coming back to. So go ahead, gather your ingredients, and get ready to fill your home with that irresistible smell of fresh-baked goodness. I can’t wait to hear how yours turns out! And don’t forget—leave a comment or share your own twists. Happy baking!
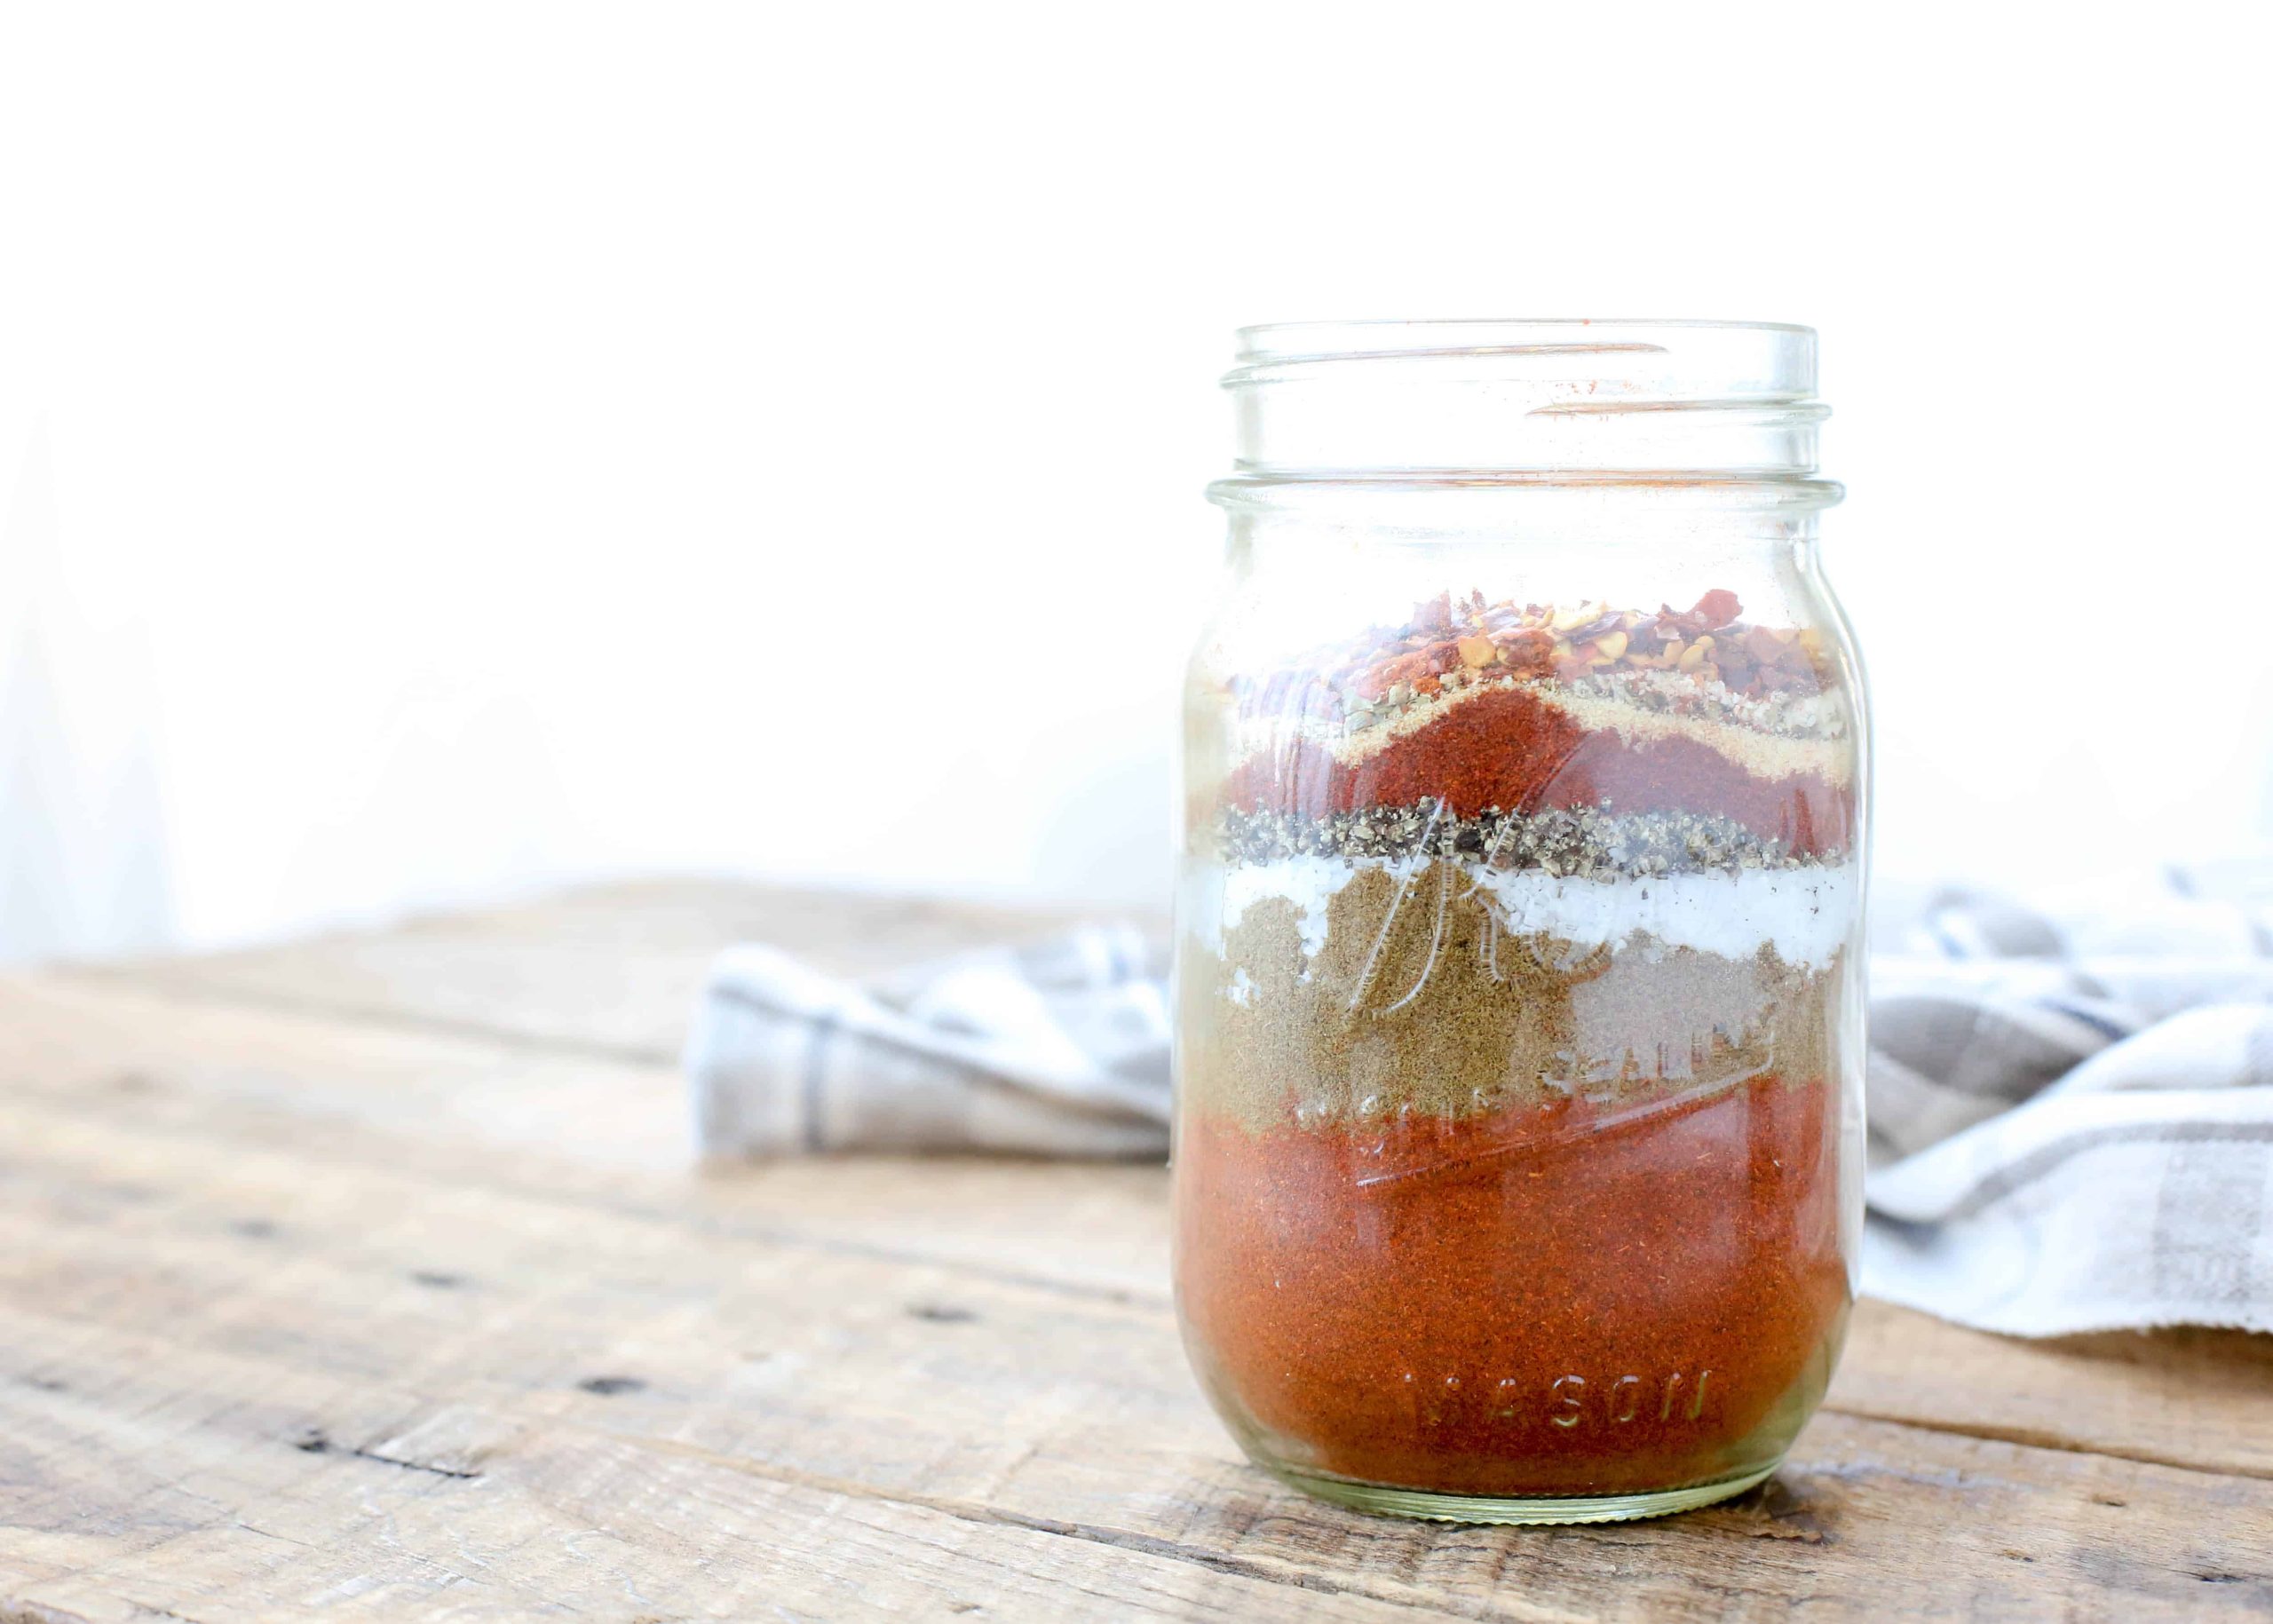
taco seasoning
Ingredients
Method
- In a small bowl, stir together all of the spices. Store the seasoning mix in an airtight container. Keep in a cool, dry place.