Zesty Lemon Cupcakes How to Bake Bliss
There’s nothing quite like the smell of something sweet baking in the oven, right? I remember my grandma making her famous zucchini bread when I was little, and I’d hover in the kitchen, noses pressed to the glass as the warm aroma filled the house. That smell—I swear—has this magical way of bringing everyone together. I’ve made her recipe countless times, but when I want a slightly more special twist, I often turn to my zucchini swirl cake. It’s one of those recipes that feels like a warm hug — incredibly flavorful, a little nostalgic, and surprisingly easy to make on the busiest days. Plus, I love how the zucchini keeps everything moist and tender. Honestly, I always do this when I want to impress my family without a ton of effort, and my kids ask for this all the time. It’s perfect for casual afternoons, weekend brunches, or even rushed weeknights when a sweet treat is calling my name. Trust me, once you try this, it’ll be your new go-to too!
What is Zucchini Swirl Cake?
Think of this zucchini swirl cake as a cozy hybrid — a moist, tender cake with a lovely marbled pattern of cinnamon-spiced filling rippling through each slice. It’s essentially a veggie cake that’s more dessert than vegetable, making good use of summer zucchinis or even those leftover bits from your garden. The name “swirl” comes from how you layer and gently swirl the cinnamon mixture into the batter before baking, creating a visual marbling and a burst of warm flavor in every bite. It’s a bit like a quick bread, but soft enough to slice and serve at the table like a cake. What I love most about this is how it balances the subtle sweetness with the earthiness of the zucchini — no one ever guesses how sneaky healthy ingredients can be! And if you’re like me, you’ll appreciate that it’s straightforward to whip up with simple pantry staples, making it perfect for any baking day when you’re craving comfort with a little flair.
Why you’ll love this recipe?
Okay, I’ve tested quite a few zucchini cakes over the years, and what makes this one stand out? Well, for starters, the flavor is just *incredible*. That cinnamon swirl — oh my gosh — it’s like a cozy hug in every bite, with just enough spice to warm you up but not overpower. The texture? It’s so beautifully moist and tender, thanks to the zucchini, which acts as a natural binder and moisture lock. This one’s a lifesaver on busy nights because the batter comes together in minutes, and baked, it just needs to cool slightly before slicing. Plus, it’s super cost-effective — most ingredients are pantry staples or fridge leftovers, which means no stress about fancy ingredients. And versatility? Oh, totally! I’ve experimented with adding chopped nuts, swapping the cinnamon for cocoa powder, or even glamming it up with cream cheese frosting. It’s adaptable to whatever mood strikes. Honestly, what I love most about this recipe is how it makes the house smell like I’ve got a professional bakery running—everybody smells it and comes running, asking if it’s ready yet. It’s this beautiful little recipe that brings a little homemade magic to your day, every single time.
How do I make Zucchini Swirl Cake?
Quick Overview
This zucchini swirl cake is a breeze to put together — no fancy equipment needed! You start with grating your zucchini, which keeps everything moist and adds that subtle vegetable sweetness. Mix together your dry ingredients first, then in a separate bowl, whisk up your wet ingredients. Once combined, you gently fold everything together, avoiding overmixing, so the cake stays light and fluffy. The cinnamon filling comes together quickly — just cinnamon, sugar, and a touch of butter — and then you layer and swirl it into the batter before baking. In about 35 to 40 minutes, you’ve got a golden, fragrant cake that’s begging to be sliced and enjoyed. The best part? It’s forgiving — if you forget to swirl perfectly, it still looks gorgeous and tastes divine. You’ll love how easy it is to customize and how the whole process feels like a warm hug from your own kitchen.
Ingredients
For the Main Batter:
- 2 cups grated zucchini (squeeze out excess moisture so it’s not watery)
- 1 1/2 cups all-purpose flour (or a gluten-free blend if you prefer)
- 1 teaspoon baking powder
- 1/2 teaspoon baking soda
- 1/4 teaspoon salt
- 1 teaspoon ground cinnamon
- 1/2 cup granulated sugar (or coconut sugar for a richer flavor)
- 1/2 cup brown sugar (adds depth)
- 1/2 cup vegetable oil or melted butter
- 2 large eggs
- 1 teaspoon vanilla extract
For the Filling:
- 1/2 cup brown sugar
- 1 tablespoon ground cinnamon
- 2 tablespoons unsalted butter (melted)
For the Glaze (optional but recommended):
- 1/2 cup powdered sugar
- 2-3 teaspoons milk or cream
- Few drops vanilla or almond extract
Step-by-Step Instructions
Step 1: Preheat & Prep Pan
Set your oven to 350°F (175°C) and grease a standard loaf or bundt pan. Lightly dust with flour or line with parchment paper for easy removal. I always do this first so the cake slides out perfectly after baking. Remember, a well-prepped pan makes all the difference!
Step 2: Mix Dry Ingredients
In a big bowl, whisk together the flour, baking powder, baking soda, salt, and cinnamon. This step is key to ensuring your leavening agents are evenly distributed, giving your cake a nice rise and even crumb. Trust me, I once forgot to mix my baking soda evenly, and the edges rose beautifully while the middle stayed flat — lesson learned!
Step 3: Mix Wet Ingredients
In a separate bowl, whisk the eggs, oil, vanilla, and sugars until smooth. The mixture should be a little frothy and fragrant — this is what makes your batter rich and flavorful. I tested this with almond milk once, and it surprisingly made the batter even creamier, so feel free to experiment!
Step 4: Combine
Pour the wet ingredients into the dry and fold gently until just combined. Overmixing can make the cake dense, so I stop as soon as all flour streaks disappear. The batter will be thick but spoonable, with a slight sheen from the oil and the zucchini moisture.
Step 5: Prepare Filling
In a small bowl, mix together the brown sugar, cinnamon, and melted butter. Your kitchen will smell incredible at this point! Feel free to throw in chopped nuts or a pinch of ginger if you’re feeling adventurous — I’ve done both, and it’s so good.
Step 6: Layer & Swirl
Pour half the batter into your pan, then sprinkle half the cinnamon mixture over it. Add the rest of the batter and finish with the remaining cinnamon topping. Using a knife or skewer, gently swirl through the batter to create a marbled effect. Don’t worry if it’s not perfectly neat — the swirl pattern will look rustic and charming when baked.
Step 7: Bake
Pop it into the oven and bake for 35–40 minutes, or until a toothpick inserted in the center comes out clean. If your oven runs hot, check around the 30-minute mark. The top should be golden and slightly cracked — that’s a good sign it’s done!
Step 8: Cool & Glaze
Let the cake cool in the pan for about 10 minutes, then transfer it to a wire rack. Mix your glaze ingredients and drizzle over the slightly warm cake. The glaze adds a lovely sweetness and a pretty shine — perfect for serving.
Step 9: Slice & Serve
When fully cooled, slice into thick pieces and serve. I love having a little extra glaze on the side for dipping, and a cup of coffee or cold milk pairs beautifully with this. Trust me, it’s just as good warm as at room temp — the cinnamon swirl kind of melts into every bite.
What to Serve It With
This cake is such a versatile treat. For breakfast, I often pair it with a robust black coffee or a mug of frothy cappuccino — it’s like a homemade coffee shop moment. At brunch, I like serving slices with a dollop of whipped cream or a dusting of powdered sugar, maybe alongside fresh berries or a side of yogurt. As a dessert, it shines with a scoop of vanilla ice cream or a drizzle of caramel sauce. My family especially loves it as a cozy snack in the afternoon — warm with a glass of cold milk or a cup of herbal tea. Since it’s subtly sweet and moist, it makes a perfect anytime treat that feels indulgent but isn’t over the top. It’s one of those recipes I turn to when I want something comforting but also a little special — sure to make everyone smile.
Top Tips for Perfecting Your Zucchini Swirl Cake
If you want to elevate your zucchini swirl cake even further, here are some tips I’ve collected over years of baking it:
- Zucchini Prep: Always squeeze out excess moisture from the grated zucchini to prevent a soggy cake. I shred it first, then press it gently between paper towels — a trick I learned after one too many zucchini puddles that turned my batter watery.
- Mixing Advice: Avoid overmixing once wet and dry are combined. This keeps the crumb tender and light. A few lumps are totally fine — they’ll dissolve during baking!
- Swirl Pattern: To get nice, even marbling, use a gentle swirling motion and don’t overdo it. You want a few ripples, not a marble cake — unless you’re feeling fancy!
- Ingredient Swaps: I’ve experimented with coconut sugar for a richer flavor or added a splash of orange extract for brightness. Both work beautifully, but keep the ratios intact to avoid altering the batter’s consistency.
- Baking Tips: If your edges brown too quickly, tent the top with foil halfway through baking. And don’t forget to test with a toothpick; it’s the best sign your cake’s ready.
- Glaze Variations: For a cream cheese frosting or a lemon glaze, swap out the powdered sugar for softened cream cheese or fresh lemon juice. That’s next on my list—I bet it would be divine!
Honestly, this recipe is forgiving and adaptable — I’ve made it countless times, and it never fails. Every oven is different, so trust your senses: look for that golden color, smell the cinnamon, and test for doneness. And don’t forget, the best part of baking is tasting your own creation — so savor each bite and enjoy the process!
Storing and Reheating Tips
Once your zucchini swirl cake has cooled, you’ll want to store it properly to keep that moist crumb just right. If you plan to eat it within a day or two, wrap it tightly in plastic wrap or store in an airtight container at room temperature. It’s best to consume within 2 days — it often tastes even better the next morning! For longer storage, pop it in the fridge for up to a week. To keep it fresh and moist, I like slicing only what I’ll eat that day, then reheat individual slices in the microwave for about 15 seconds. The warmth really enhances the cinnamon aroma and keeps the cake soft. If you want to freeze it, double-wrap the whole cake or slices with plastic wrap and aluminum foil. It’s best to consume within three months. When ready to eat, thaw overnight in the fridge and warm gently. Just hold off on glazing until just before serving — the glaze can sometimes get a little dull if it sits too long.
Frequently Asked Questions
Final Thoughts
This zucchini swirl cake has become a staple in my home — it’s one of those recipes that you keep returning to because it feels like a warm conversation in baked form. The fact that it’s so adaptable makes it perfect for any mood or occasion, whether I want a quick snack or a special dessert to share with friends. Over the years, I’ve learned little tricks like how to squeeze out all moisture from the zucchini or swirl the filling just right, and honestly, those small details make a huge difference. What I love most is how it fills my house with that irresistible cinnamon-spiced aroma — it’s so inviting, so nostalgic. If you give this a try, I’d love to hear how yours turns out! Don’t forget, baking is all about having fun, tasting as you go, and enjoying every moment in the kitchen. Happy baking, friends!
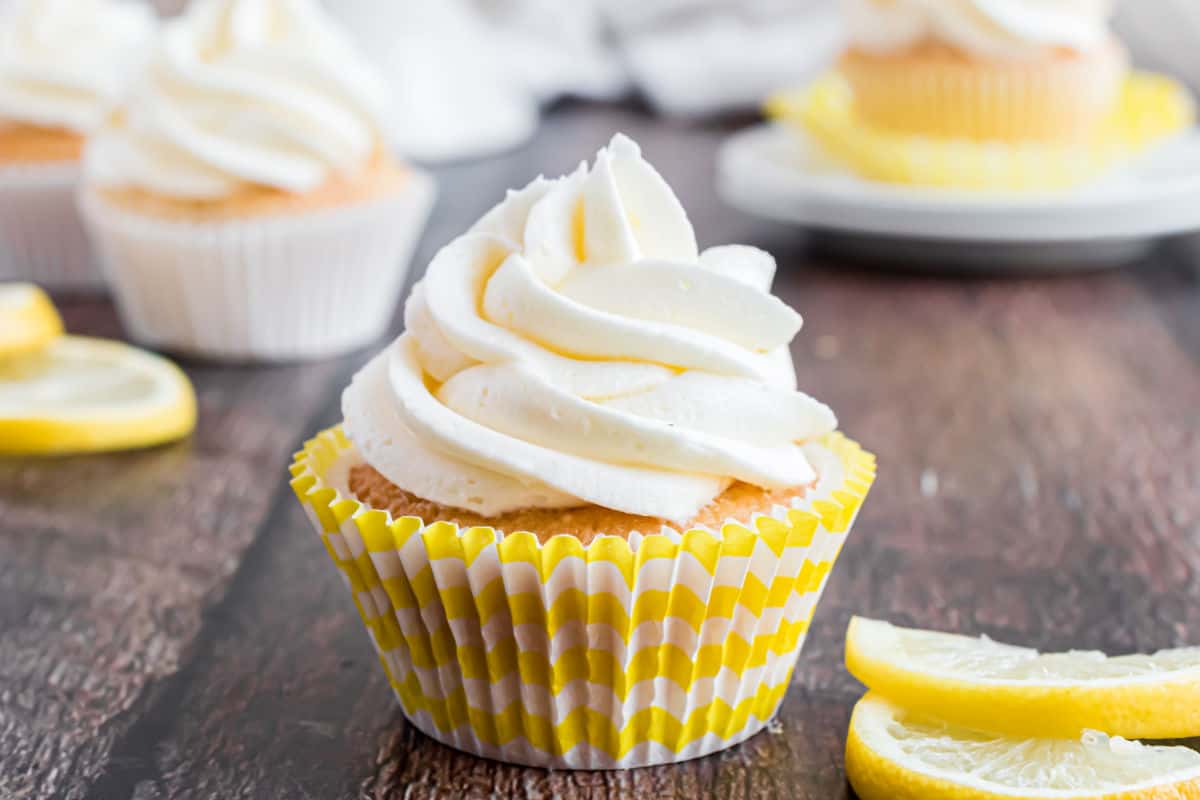
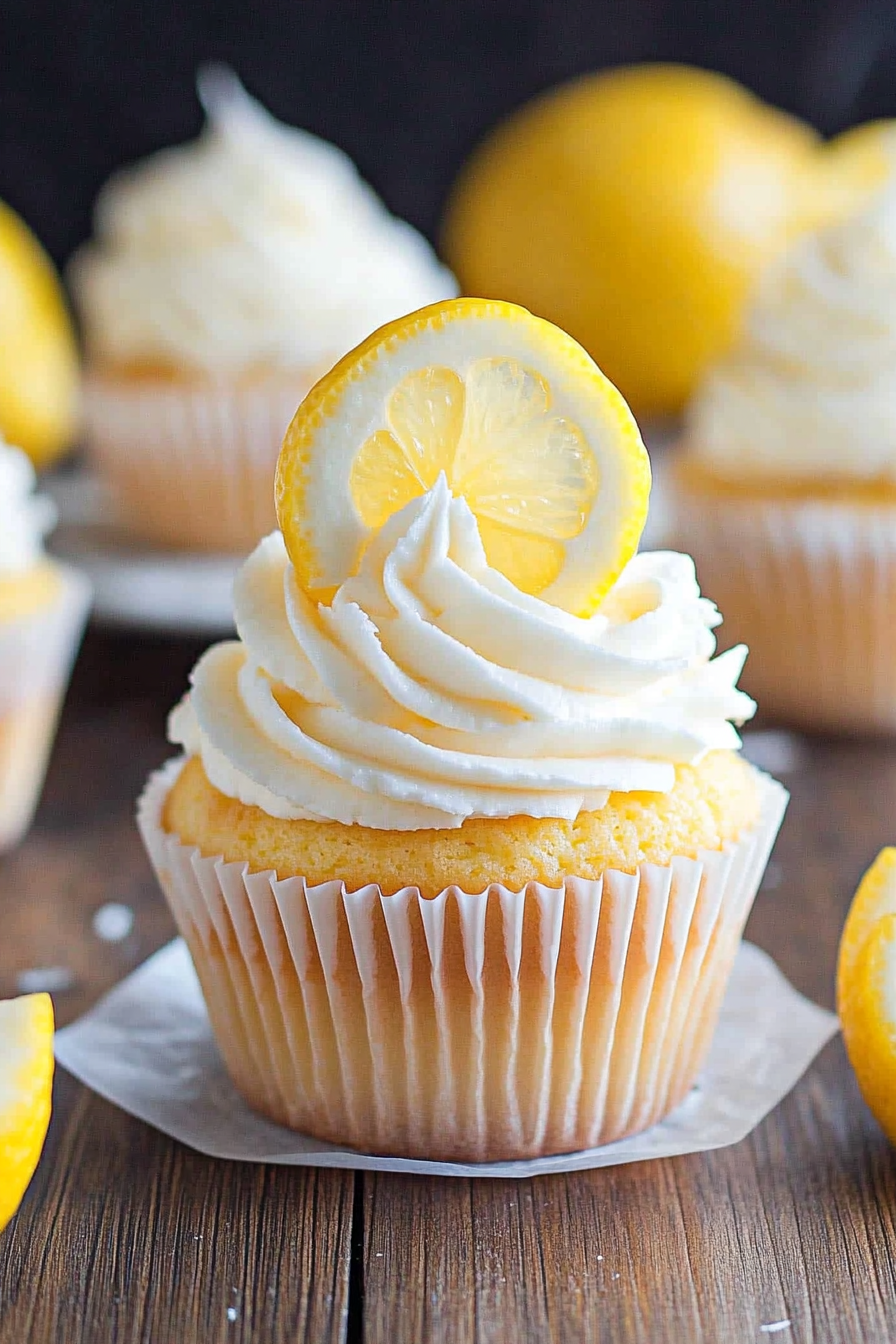
Lemon Cupcakes
Ingredients
Method
- In a small bowl, whisk together the egg whites, 1/4 cup of whole milk, and the lemon zest. Set aside.
- In a large mixing bowl, beat the softened butter and granulated sugar until light and creamy, about 2-3 minutes. Gradually add the dry ingredients (cake flour, baking powder, and salt) and mix until just combined. Slowly pour in the egg white mixture and beat until incorporated. Add the remaining milk and beat until the batter is smooth.
- Prepare cupcake tins with paper liners. Fill each liner about two-thirds full with batter. Bake in a preheated oven at 350°F (175°C) for 15 minutes, or until a toothpick inserted into the center comes out clean. Let the cupcakes cool in the pan for 5 minutes before transferring them to a wire rack to cool completely.
- To make the frosting, beat the softened butter in a large bowl for 3-5 minutes until pale and fluffy. Gradually add the powdered sugar, lemon zest, lemon juice, and heavy cream. Beat for another 3-5 minutes until the frosting is light and smooth.
- Once the cupcakes are completely cool, frost them using a piping bag and your desired tip, or spread with a spatula. Enjoy your delicious homemade lemon cupcakes!